
12 Exercises to Learn React Native


So you want to learn React Native? Here's 12 exercises to that will help you do that.
The post is inspired by a free self-paced workshop I've created. If you're interested in guided instructions, solutions, and extra exercises check it out!
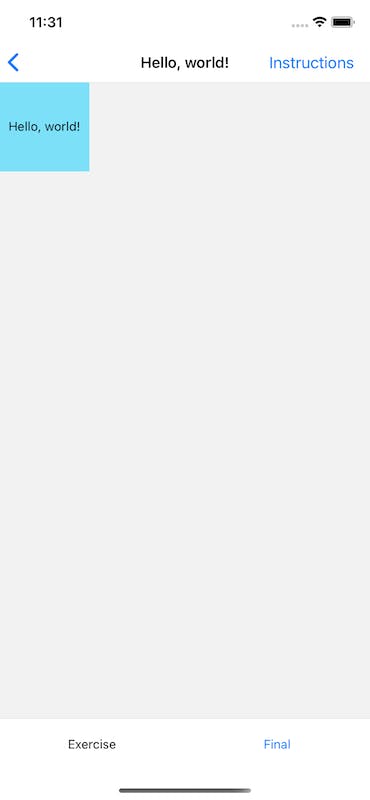
Exercise 1: Hello, World!
The classic starter project. Render a square with a background color. Inside of the square render the text "Hello, world".
Helpful Links
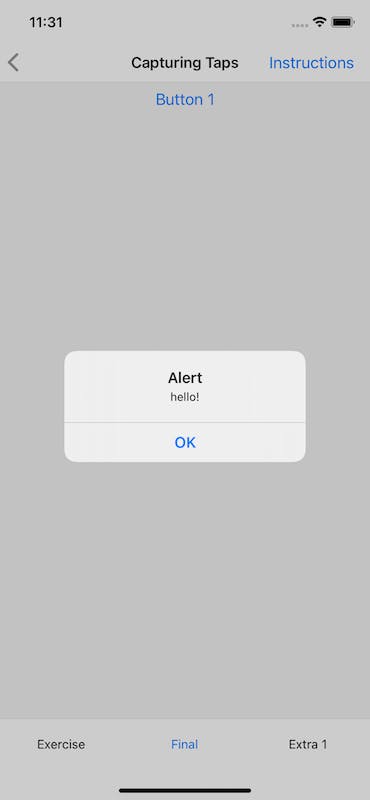
Exercise 2: Capturing Taps
An app isn't much if a user can't interact with it. The most basic form of interaction is capturing a user's tap (or press) on a screen. Using the Button component, capture a tap event and alert "hello".
Helpful Links
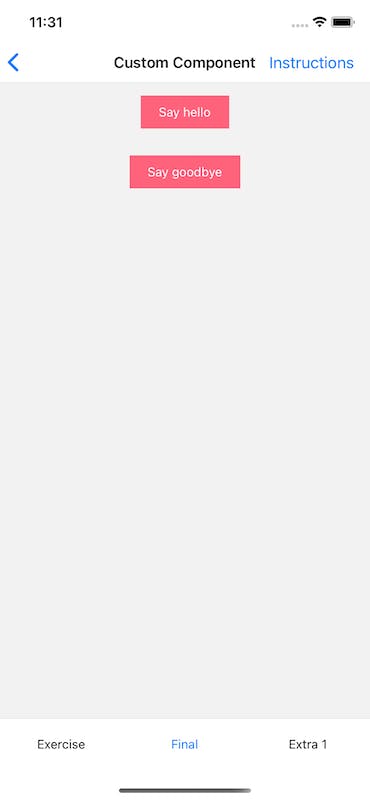
Exercise 3: Custom Component
Previously we've been exclusively using component from React Native. But what about our creating our own? Build your own button component that accepts an onPress and text prop. Use the TouchableOpacity and Text components to accomplish this.
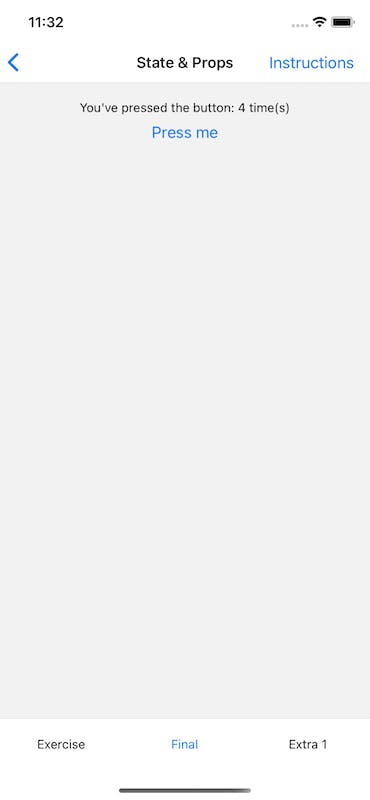
Exercise 4: State & Props
We've taken a look at props previously - props allow us to pass data down to a component to interact with it. These props can be static values or dynamic (changing) ones. What we haven't used is state. State allows us to track changing values and update our UI automatically when they change. hell Using state track how many times a user presses the button and display that number.
Helpful Links
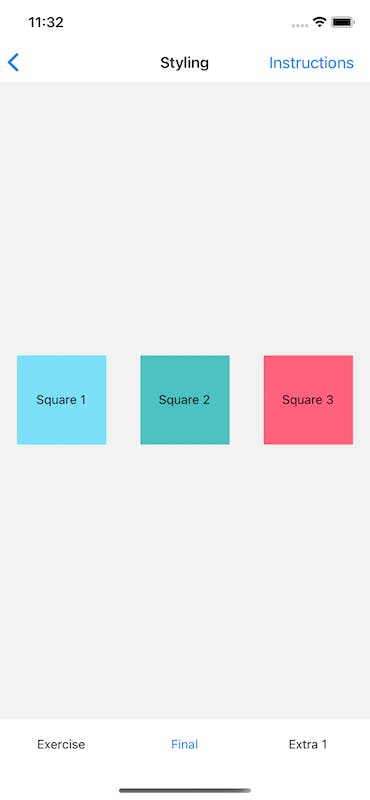
Exercise 5: Styling
If you're familiar with CSS-in-JS you should be able to fall right into styling in React Native as it follows the same principles. Create 3 squares that are vertically and horizontally centered. Each square should have a unique background color but all shared styles should only be defined once.
Helpful Links
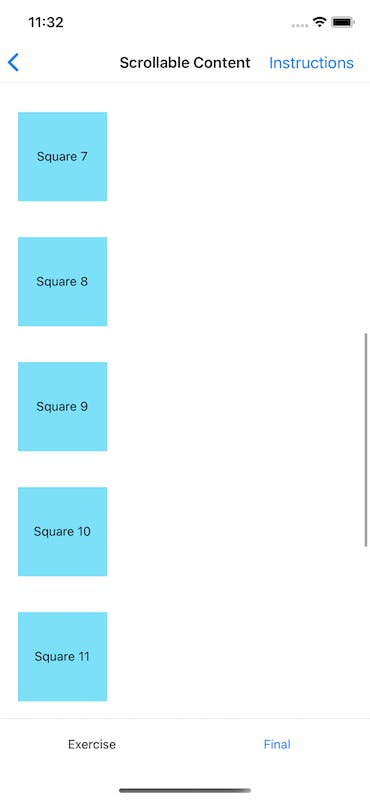
Exercise 6: Scrollable Content
Rarely does all of the content you want to display completely fit into the user's screen - that's where scrolling comes in. Render 15 squares in a scrollable list.
Helpful Links
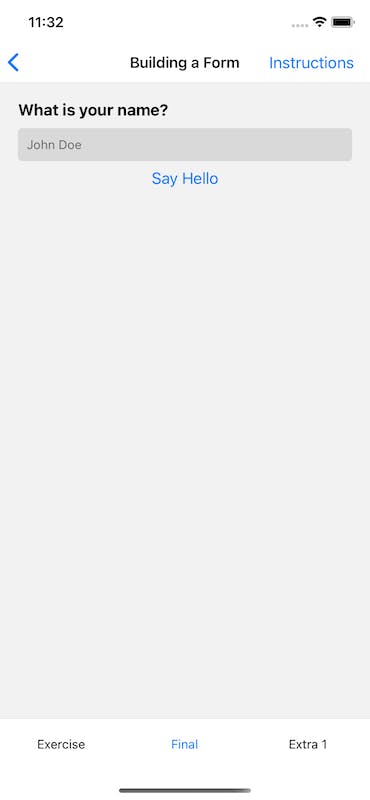
Exercise 7: Building a Form
Much like you would have an input in html, React Native has the TextInput component. The big difference between the two is that, with a TextInput, you get no styling with it - you're responsible for it all.
Using the TextInput component capture a user's name and, upon a button press, alert their name back to them. Add some style to the TextInput while you're there!
Helpful Links
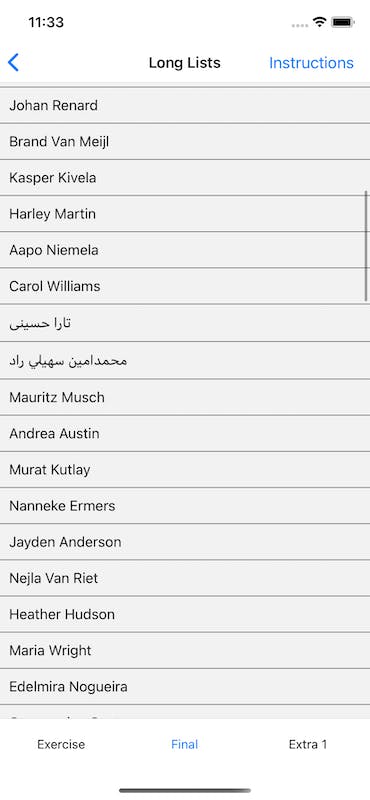
Exercise 8: Long Lists
When you have longs lists of data the ScrollView component won't cut it - it's just not built for it.
Render the array of people using the FlatList component.
Helpful Links
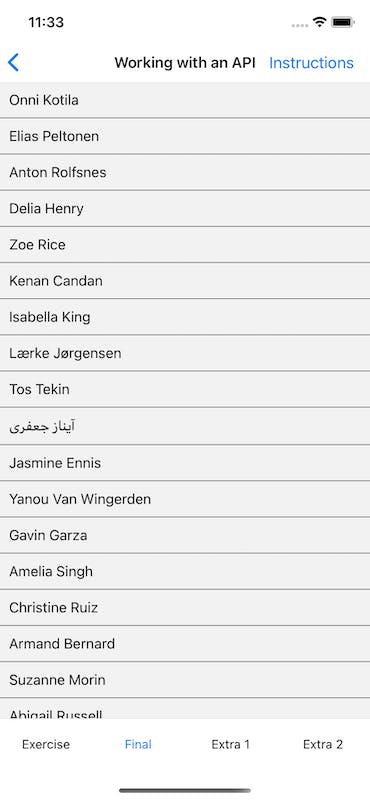
Exercise 9: Working with an API
Just like a web browser, React Native implements the fetch and XMLHttpRequest APIs. This means that the same logic and packages we would use to fetch data in a web browser will work in React Native.
Fetch data from the https://randomuser.me/api/?results=100&inc=name url (it returns JSON) and render it in the FlatList.
Helpful Links
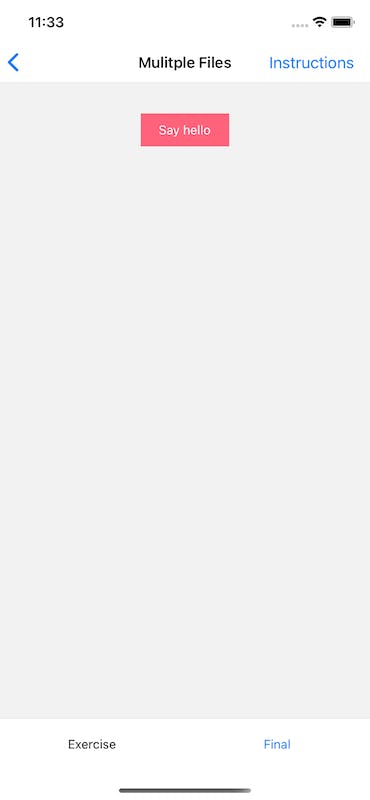
Exercise 10: Multiple Files
In React Native we leverage JavaScript Modules. These allow us to export code from one file and import it into another file.
Take the Button component and put it in it's own file then import the component from that file.
Helpful Links
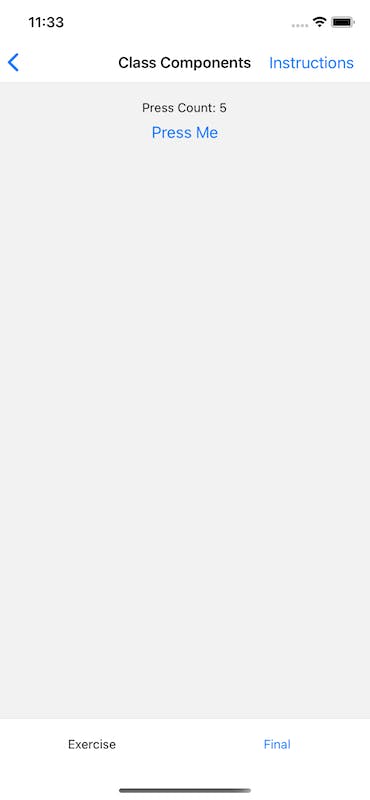
Exercise 11: Class Components
Throughout this workshop we've been using functional components. In reality, this is what you'll most likely be writing.
BUT they're a somewhat new concept. That means that some older tutorials/documentation will use the previous API - class components.
Using the React.Component render a screen that has a button. Count each time the button has been pressed and store it in state.
Helpful Links
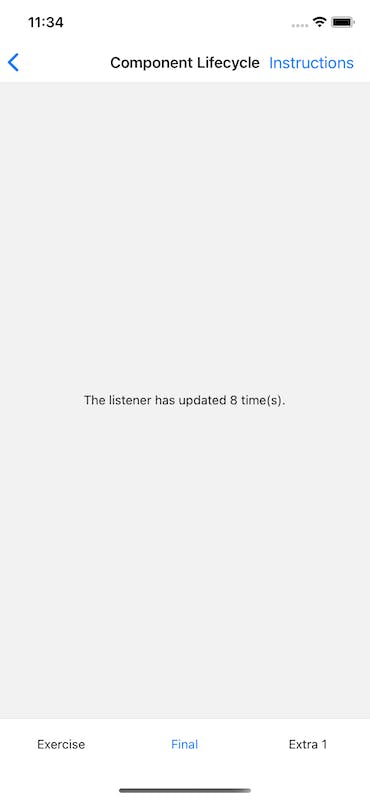
Exercise 12: Component Lifecycle
A component has a lifecycle, much like we do.
They're born (mount).
Things change (update).
And then they die (unmount).
Sometimes we need to take actions based on where the component is in the lifecycle.
Upon component mount, start listening to the listener. Store in state how many times it has been called. When leaving the exercise screen and going back to the exercise list screen the listener should stop.
Helpful Links
Good luck learning React Native!
You can watch the full workshop here: