


Building a react x electron code editor pt.1 - Setting up with npm and electron


Hi, my name is Pablo Fuster and I'm making a react × electron based code editor. Why? To learn, and because I want to make a great code editor in the process. I'm not an expert at all in node or react for that matter, so it's as much a learning experience for me.
This will be a series of posts documenting my process, thoughts, and highlights while making it, to record what I do and show others what I've learnt using these frameworks.
This project is open-source, lives in this repo and I welcome anybody else who wants to start participating in its process, although it is very early days.
setting up
Nothing too special here, just npm init a new node.js project with the latest react packages as dependencies and babel configured.
I used webpack to bundle the project and configured to hot reload with webpack-dev-server.
My package.json as a basic structure looks like this. Note the webpack loaders used to import css, image files and babel syntax into the project (Make sure to update packages, by the time you are reading this they'll surely be outdated):
{
  "name": "code-link",
  "version": "0.1.0",
  "description": "A react code editor",
  "main": "index.js",
  "scripts": {
    "start": "webpack-dev-server --config webpack.dev.js"
  },
  "author": "Pablo Fuster",
  "devDependencies": {
    "babel-loader": "^8.0.4",
    "css-loader": "^2.1.1",
    "file-loader": "^3.0.1",
    "@babel/core": "^7.3.4",
    "@babel/preset-react": "^7.0.0",
    "webpack": "^4.29.5",
    "webpack-dev-server": "^3.2.1",
  },
  "dependencies": {
    "react": "^16.8.4",
    "react-dom": "^16.8.4"
  }
}
Now we are all set up to add electron into the project. Install!
npm install --save-dev electron
Electron's index.js
I don't want to go into much detail on how to set up the electron index.js file, as its docs give a documented, simple example already.
We could start our new window by running the command electron ., unfortunately it won't do much now. We actually want to start an electron native window that listens to the server hosting the bundled webpack project, and then build the project normally with webpack,, all in one swift command.
Thankfully webpack allows us to do this with a before callback in its devServer object property:
NOTE You might have noticed I am using webpack-merge to split the config file into a production, common and dev file.
const merge = require('webpack-merge');
const common = require('./webpack.common.js');
const { spawn } = require('child_process')

module.exports = merge(common, {
    // Providing the mode configuration option tells webpack to use its built-in optimizations accordingly.
    mode: 'development',
    // inline-source-map - A SourceMap is added as a DataUrl to the bundle.
    devtool: 'inline-source-map',
    // target instructs webpack to target a specific environment.
    target: 'electron-renderer',
    devServer: {
        contentBase: './dist',
        // devServer.before
        // Provides the ability to execute custom middleware prior to all other
        // middleware internally within the server. This could be used to define custom handlers.
        before() {
          // The child_process.spawn() method spawns a new process using the given command, with command line
          // arguments in args. If omitted, args defaults to an empty array.
          // If the shell option is enabled, do not pass unsanitized user input to this function.
          // Any input containing shell metacharacters may be used to trigger arbitrary command execution.
            spawn(
              // The command to run,
              'electron',
              // list of string arguments ,
              ['.'],
              // options object,
              // shell runs command inside of a shell. Uses '/bin/sh' on Unix, and process.env.ComSpec on Windows. A different shell can be specified as a string.
              {
                shell: true,
                //Use env to specify environment variables that will be visible to the new process, the default is process.env.
                env: process.env,
                // Child's stdio configuration
                // The options.stdio option is used to configure the pipes that are established between the parent
                // and child process. By default, the child's stdin, stdout, and stderr are redirected to corresponding
                // subprocess.stdin, subprocess.stdout, and subprocess.stderr streams on the ChildProcess object. This
                // is equivalent to setting the options.stdio equal to ['pipe', 'pipe', 'pipe'].
                // For convenience, options.stdio may be one of the following strings:

                // 'pipe' - equivalent to ['pipe', 'pipe', 'pipe'] (the default)
                // 'ignore' - equivalent to ['ignore', 'ignore', 'ignore']
                // 'inherit' - equivalent to ['inherit', 'inherit', 'inherit'] or [0, 1, 2]
                stdio: 'inherit'
              }
            )
            // listeners,
            .on('close', code => process.exit(0))
            .on('error', spawnError => console.error(spawnError))
          }
    }
});
To summarise, before bundling we spawn an electron process by running the command:
electron .
This runs the index.js file located in the project folder as the electron main process, i.e. the process holding the state and creation of our application's windows, listeners for app-wide events ...etc.
To understand the difference between main and render process, refer to the docs :
The main process creates web pages by creating BrowserWindow instances. Each BrowserWindow instance runs the web page in its own renderer process. When a BrowserWindow instance is destroyed, the corresponding renderer process is also terminated.
The main process manages all web pages and their corresponding renderer processes. Each renderer process is isolated and only cares about the web page running in it.
So the renderer process is each window's own thread!
Now we simply tell electron to listen for the index.html hosted in our localhost server and open dev tools when running in developer mode! In the project index.js:
const { app, BrowserWindow } = require('electron')
const path = require('path')
const url = require('url')

// Keep a global reference of the window object, if you don't, the window will
// be closed automatically when the JavaScript object is garbage collected.
var win

/*
... Browser window code here ...
*/

 // Keep a reference for dev mode
var dev

/*
... Find out if you are in dev mode your favorite way...
*/

// and load the index.html of the app.
var indexPath

// Implementing Webpack dev server,
if (dev) {
        // it's dev mode so make the index path be from the server,
    indexPath = url.format({
        protocol: 'http:',
        host: 'localhost:8080',
        pathname: 'index.html',
        slashes: true
    })

    // Open the DevTools.
    win.webContents.openDevTools()
}

// load url of the index path
win.loadURL(indexPath)
Next Steps
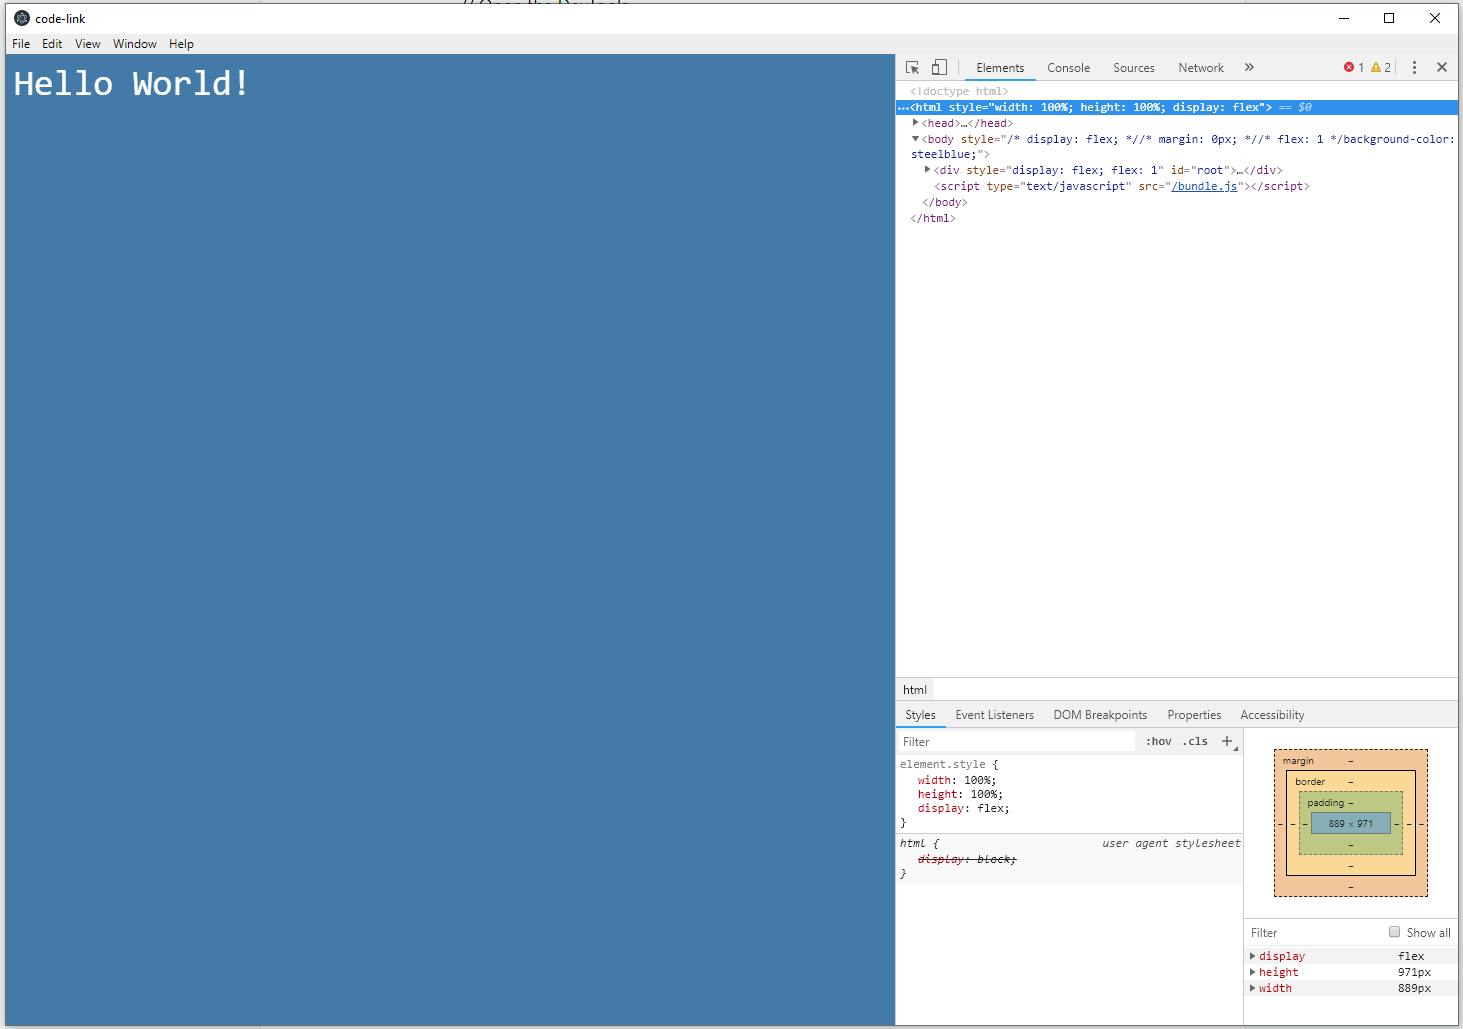
I'll leave it here for now. We now have a functioning native window running react code that is served by the webpack dev server with hot reload enabled. Pretty decent!
So when you run
npm start
an electron window will start up with dev tools open:
Stay tuned for part 2.
P.S. React Dev Tools
Since we are using React, its advisable to use their great developer tools extension available in Chrome. Since an electron window is just a Chromium window we can easily add a developer tools extension using the electron BrowserWindow API:
// Add the React dev tools manually to the chromium window,
// Make sure you have the FULL path here or it won't work
BrowserWindow.addDevToolsExtension("/path/to/react/dev/tools/extension/file");
The extension ID should be something like this fmkadmapgofadopljbjfkapdkoienihi