
Customize Windows Terminal with WSL2


After customization, the terminal will look something like this:
Pre-requisites:
- You must have WSL or WSL2 installed in your Windows 10 PC. For installation process, you can refer the official docs or watch this video by David Combal.
- You must have the Windows Terminal or Windows Terminal Preview version installed. The easiest and recommended way to download it is from the Microsoft Store. I prefer to use the preview version as it has more features 😁(but may have some bugs).
Initital steps
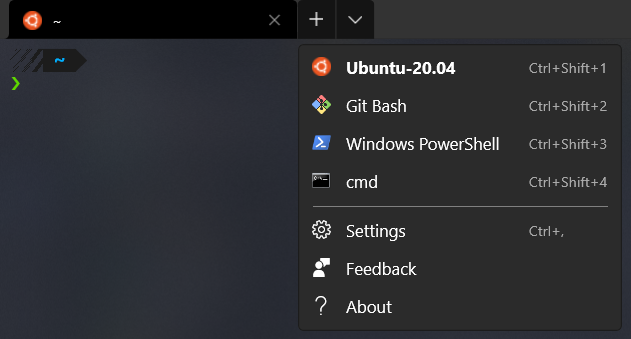
Open up the Windows Terminal.
Open up Ubuntu (or any distro you have installed) in the Windows terminal by clicking on the down arrow next to the + icon.
- Run the following command to check the version of the distro you have installed.
lsb_release -a
- (Optional but best practice) Run the following command to update your Ubuntu packages. For the other distros, run their respective commands.
sudo apt update && sudo apt upgrade -y && sudo apt autoremove && sudo apt autoclean
Install zsh shell
- Run the command:
sudo apt install zsh - To check if zsh if installed, run:
zsh --version
Set zsh as the default login shell by running the following command:
sudo usermod -s /usr/bin/zsh $(whoami)Restart you computer and you must see zsh as the default login shell. 😀
Install oh-my-zsh
There are a ton of other frameworks for zsh shell like prezto, antigen, etc. My favorite is oh-my-zsh, but you can also try the other ones.
- Run the command:
sh -c "$(curl -fsSL https://raw.githubusercontent.com/ohmyzsh/ohmyzsh/master/tools/install.sh)"~/.zshrcshell. This file runs every time we open the z shell just like the.bashrcfile runs every time we open the bash shell. With the help of oh-my-zsh, a lot of cool plugins can be installed to increase your productivity. Here is a guide for installing some useful oh-my-zsh plugins.
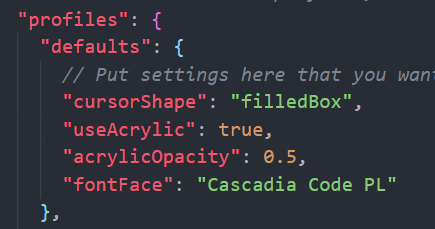
Change settings in windows terminal
- In the windows terminal, open Settings by pressing
Ctrl+,. This should open thesettings.jsonfile in your default editor (Mine is VS Code). - (Optional) To make Ubuntu as your default profile, copy the
guidnumber from thelist.
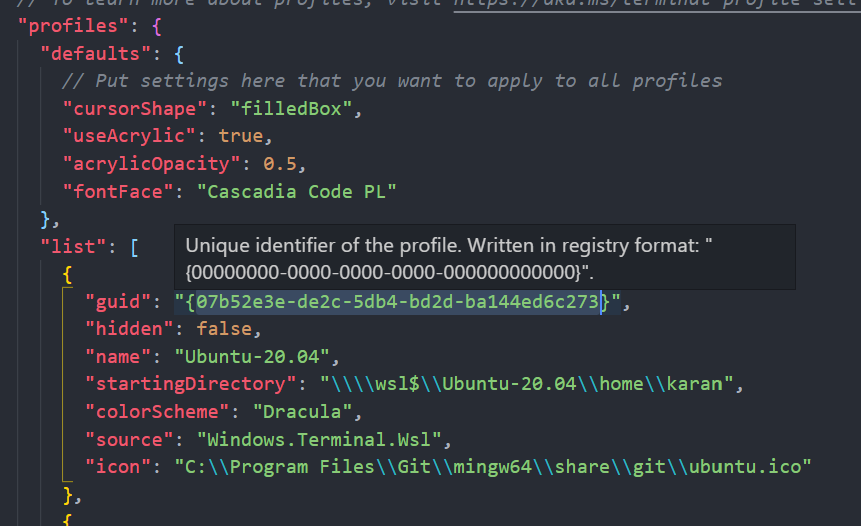
and paste it at the top in the defaultProfile property.
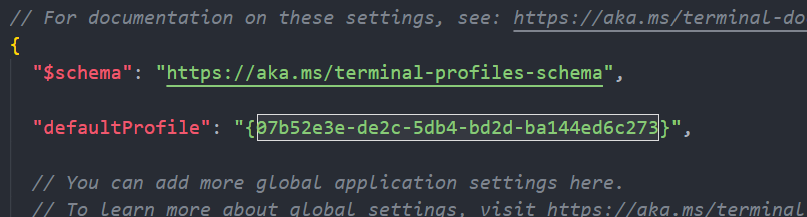
Next time you open Windows Terminal, Ubuntu must be the default profile opened.
- Download the Cascadia Code PL and set it as a default
fontFace. (Note: Instead of Cascadia Code PL, you can install and apply one of the Nerd fonts from this website)
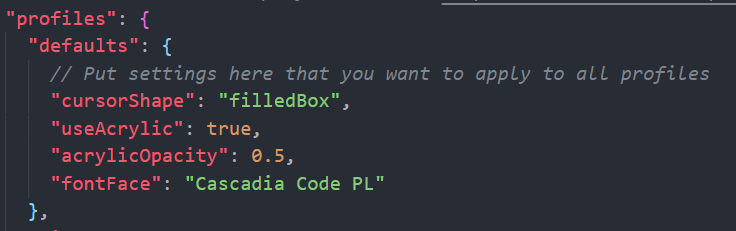
- Set the
useAcrylicandacrylicOpacityproperties to add a beautiful opacity to your terminal.
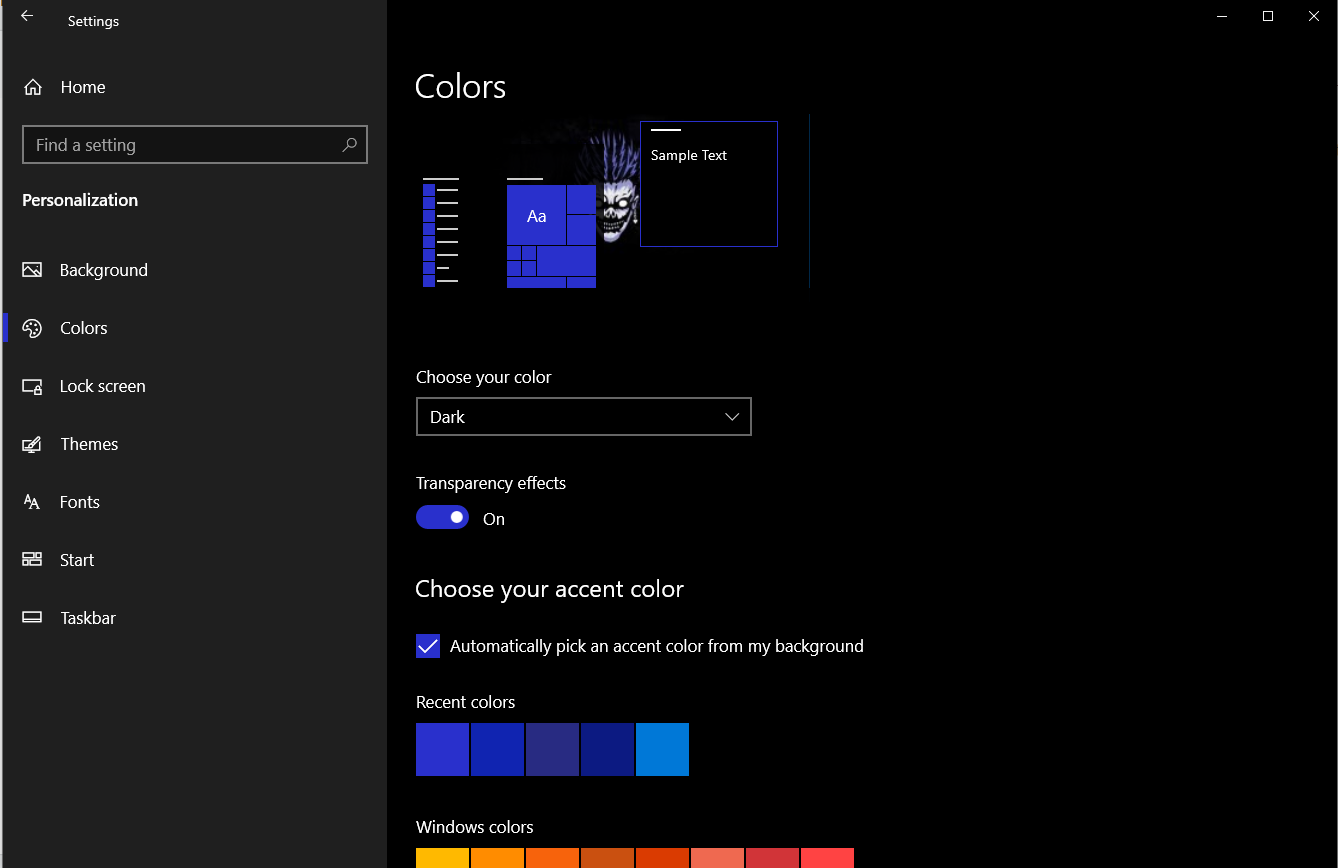
If it isn't working, check if Transparency Effects is checked in Settings > Personaliation > Colors.
If you want to have a look at my full settings, here it is. For all the available settings in the terminal, refer the official docs.
Install Powerline fonts
- Run the following command:
sudo apt install fonts-powerline
Install Powerlevel10k theme
Run the command:
git clone --depth=1 https://github.com/romkatv/powerlevel10k.git ${ZSH_CUSTOM:-$HOME/.oh-my-zsh/custom}/themes/powerlevel10kOpen
~/.zshrcfile in your favorite editor. For VS Code, run the commandcode ~/.zshrc. Add the lineZSH_THEME="powerlevel10k/powerlevel10k"and save.

Run the command
source ~/.zshrcto apply the changes made in.zshrcfile. Configure the p10k settings according to your liking :).(Optional) After all this, the terminal should look pretty awesome. But even more customization can be made by opening the file
~/.p10k.zshfile. Check their offical github page for more info.
Done!! Your terminal must look similar to this:
Thank you for reading :). Please do share your feedback ✌