

Let’s Build a Low Code Brex Client With Appsmith


Some things are fantastic together. 🍔🥤
In particular, REST APIs and Low code dovetail nicely.
Although APIs simplify development, they also demand a level of programming skill and technical ability. Low code frameworks like Appsmith can provide a visual layer on top of the API that empowers non-technical audiences and citizen developers to build client applications.
There is much value in simplifying the development process where we can. Low code works best for development projects where the problem domain is well understood and there are very few use cases. REST API clients are well suited to that extent - the API contract itself serves as a kind of blueprint for the client application. Take, for instance, the Brex APIs.
Brex offers several APIs that range from Onboarding and Payments to Teams and Transactions. Brex admins can plug into these APIs to build powerful workflows and custom automations. To demonstrate, we'll build an Appsmith dashboard that will connect to your Brex account.
Contents
- What are we building?
- What do I need?
- Brex APIs
- Onboarding API
- Team API
- Idempotency
- Payments API
- Initial Data Loading
- Appsmith Pages
- Application Logic
- Page Load
- JS Objects
- Cards
- Reading CSV Files
- Iterating API Calls
- Users
- Invites vs Referrals
- Referral Data Store
- Vendors
- Error Handling
- Conclusion
Key Takeaways
- Appsmith has a REST interface that allows us to create and modify query objects. A query object is a portable, reusable construct that defines parameters needed for a single API call. We'll use several query objects to engage the Brex APIs.
- Building a multi-page interface with Appsmith is incredibly simple and well-documented. The platform provides a visual way to build pages using widgets and drag/drop functionality. However, unlike the global Appsmith store, page resources are page-scoped and cannot be referenced across different pages. Despite that, it is still possible to move or copy resources from one page to another.
- We'll use JavaScript Promises to simplify asynchronous workflows. This will enable us to launch multiple API calls concurrently and then handle the responses elegantly. Normally, this is a challenge because API calls rely on the network and conclude at inexact points in time. To overcome this, we used to apply callback functions, but JavaScript Promises are an improvement over callbacks.
What are we building?
In this tutorial, we'll create an Appsmith tool that leverages the Brex APIs to perform bulk operations on your Brex account. By uploading a CSV file, you'll be able to create credit cards, users, and vendors. These changes will be reflected in your Brex dashboard immediately. Our tool will also support terminating cards and deleting vendors.
As it is not intended for production use, this application doesn't attempt to be either complete or systematic. It is more like a demo project. Rather than serve as a proper software solution, the final application is meant to demonstrate what is possible using Appsmith and the Brex APIs.
For context, this tutorial depicts the reader as a fictional Brex customer in order to provide a frame of reference and bring meaning to the sample CSV files. Pretend that you are an outer space company that issues Brex credit cards to your colleagues. The cardholders have personal cards as well as other cards designated for expenses such as Equipment Repairs, Launch Services, and Telecom. You will also define fictional Vendors: General Atomics, Orbital Transport Services, Space Food Systems. Let's suppose you are building this application to automate a few back office operations. You have chosen to build it using Appsmith.
What do I need?
First, you'll want to sign into Appsmith and create a new application. Next, sign in to your Brex account and generate a user token with Read/Write permissions for Cards, Referrals, Users, and Vendors. Appsmith will use this token to authorize API calls.
To confirm that your token is working, you can perform a quick sanity check with curl:
curl --request GET 'https://platform.brexapis.com/v2/users/me' \
--header 'Authorization: Bearer <your-token>'
The response will resemble the following:
{
    "id": "cuuser...",
    "first_name": "Michael",
    "last_name": "Collins",
    "email": "mcollins@example.com",
    "status": "ACTIVE"
}
Postman
Alternatively, you can use Postman to test API calls. In fact, the Brex Developer workspace allows you to experiment with every endpoint documented in the Brex Developer Portal.
Appsmith Echo API
Consider using the Appsmith Echo API to spare production API calls.
[POST] https://mock-api.appsmith.com/echo/post
While testing your Appsmith tool, sometimes you will need to invoke non-idempotent API endpoints such as Create card and Invite user. Instead of exercising the live endpoints, you can create an API datasource that relies on the Appsmith Echo API:
for(let i = 0; i < 5; i++) {
   echo_post.run(onSuccess, onError, params);
}
To mock HTTP status codes and errors, you might try httpstat.us.
Disposable Inbox
For testing user invites, I recommend a disposable email system like Mailinator or Temp Mail.
Git Repo
There's a companion repo that contains sample CSV files and supporting JavaScript code for this tutorial. You can also use Appsmith's Import-Export feature to migrate the demo application to your own account.
Brex APIs
The base URL for all Brex APIs is https://platform.brexapis.com.
- Use this URL to create an authenticated API datasource called
brex-prod. - Select
Bearer Tokenfor theAuthentication Type. - Supply your Brex user token.
- Click
Save.
You should now have a datasource that we can use to create Queries.
New query objects will show in the left side panel, under QUERIES/JS. For example, here I've created a query for the Get current user endpoint:

Now, you can create new query objects from the brex-prod datasource. The following search box will appear when you click the + icon next to the QUERIES/JS menu option:

Going forward, we'll create several queries to support our application.
Onboarding API
The Onboarding API allows you to refer your customers and personal contacts to Brex. You might use the Create referral endpoint as part of the Brex Referral Program.
Unlike the Get current user endpoint, Create referral is a POST endpoint that requires a JSON body.

Later on, we'll discuss this.params. For now, understand that it is possible to run the create_referral query object and pass parameters into it, like so:
const params = { referral_code, email, first_name, last_name };
return create_referral.run(params); // always return the promise
Team API
The Team API lets you manage users, departments, locations, and cards. For this example, we'll manage users and cards, starting with the Invite user endpoint, which allows you to invite a new team member as an employee. Through the dashboard, Brex admins can assign various role types to the employee, but team members created through this endpoint will bear the Employee role type by default.
Your invite_user query object will POST to /v2/users. The request body should match the following:
{
    "first_name": {{this.params.first_name}},
    "last_name": {{this.params.last_name}},
    "email": {{this.params.email}}
}
Idempotency
Under the Headers tab, be sure to generate a random string value for the Idempotency-Key:

Idempotency is well beyond the scope of this tutorial. But, in short, the idempotency key ensures that the API server will only process a non-idempotent request once.
For a moment, consider network interruptions that may cause downstream services (or even the application itself) to perform a retry. Without an idempotency, the server would attempt to process the same request again. The idempotency key helps the API server keep track of whether the operation was already performed or not.
Notice that the code to generate the Idempotency-Key includes a reference to Lodash: _.random(1000). Lodash, among other libraries, is built into the Appsmith platform, which is super handy.
Create Card
The create_card query object also requires an Idempotency-Key, and will POST to /v2/cards. The request body is:
{
    "owner": {
        "type": "USER",
        "user_id": {{this.params.user_id}}
    },
    "card_name": {{this.params.card_name}},
    "card_type": "VIRTUAL",
    "limit_type": "USER"
}
The Create card endpoint also accepts other parameters, card types, and limit types, so check out the developer docs. There's also a spend_controls parameter that allows you to define a spend limit for the card. This limit can be set to refresh each month, quarter, year, or never (for one-time use).
Terminate Card
We can also reference {{this.params...}} in the query object URL. For example, the terminate_card query object will POST to the Terminate card endpoint, which has a URI parameter, {{this.params.card_id}}:
/v2/cards/{{this.params.card_id}}/terminate
The request body for terminate_card:
{
  "description": "demo",
  "reason": "OTHER"
}
There are also other reason codes such as CARD_LOST, CARD_NOT_RECEIVED and FRAUD, but for this example, we'll stick with OTHER.
Note that the Idempotency-Key is not required, because card termination is idempotent by definition. In other words, terminating a card multiple times has the same effect as terminating a card once.
Payments API
The Payments API allows you to initiate and manage payments and vendors from your Brex Cash account. We'll use the Create vendor endpoint as an example. In a production application, you would also include vendor payment information to enable ACH, wire, or cheque payments from your Brex Cash account. But, for this example, we'll omit the vendor's payment type. You can also add vendor payment information from the dashboard - How do I manage my vendors on Brex Cash?
Create Vendor
The create_vendor query object will POST to /v1/vendors. This endpoint requires an Idempotency-Key and the request body is:
{
   "company_name": {{this.params.company_name}}
}
Delete Vendor
The delete_vendor query object will send DELETE requests to /v1/vendors/{{this.params.vendor_id}}. There is no request body.
Initial Data Loading
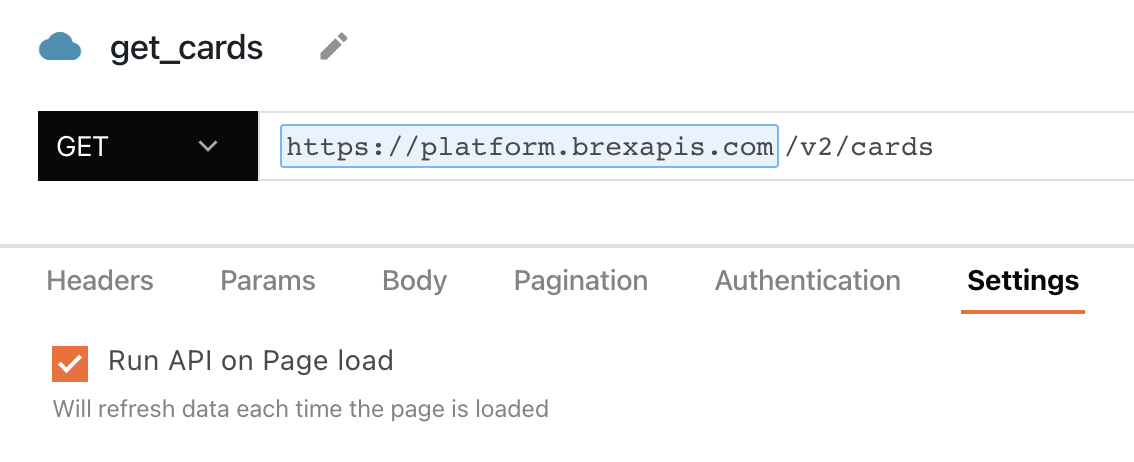
The following query objects will enable us to populate tables on page load. To ensure that Appsmith pulls the initial dataset each time, you can configure each query object to run on page load:
| Query | Endpoint |
get_cards | List cards |
get_users | List users |
get_vendors | List vendors |
This option is located under the Settings tab inside the query object:
Appsmith Pages
The goal of our app is to provide a user-friendly way to create Brex credit cards, vendors, invites, and referrals. In this section, we'll envision the page layout and breifly touch on a few key points. You'll use a drag/drop interface to build the UI. But, before we get started:
- Rename
Page1toCards. - Add a page for
Usersand another page forVendors. - Move
get_users,create_referralandinvite_userfrom theCardspage to theUserspage. - Move
get_vendors,create_vendoranddelete_vendorto theVendorspage.
Now that our work is cut out, we'll begin creating each page.
Cards
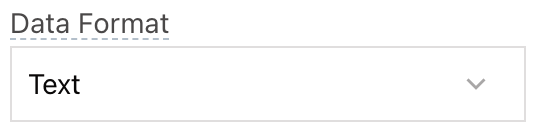
Use the Appsmith widgets to create the following page to your ability. Note that the green Upload widget is a file picker, not a button.

Make sure the Data Format property is set to Text for each file picker:
Users
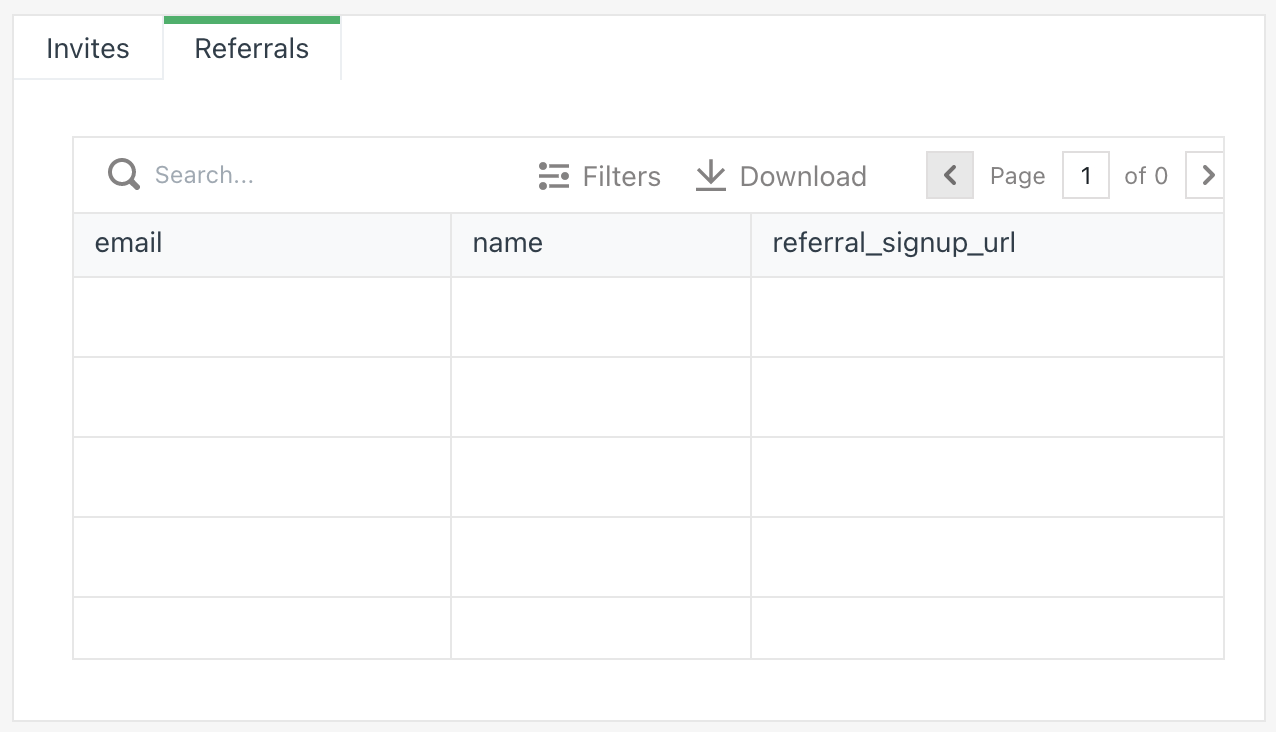
The Users page has a Tabs widget with two tabs, one for invites and one for referrals. You can drag each Table widget into the appropriate tab.

The Referrals tab:
Vendors
The Vendors page is almost identical to the Cards page. In fact, you can select every widget on the Cards page and copy/paste them onto the Vendors page. Of course, you'll also need to adjust the widget properties and table data.

Application Logic
Our application is starting to take shape. We now have an end-to-end skeleton system. Next, we'll incrementally add functionality to each page, incorporating the query objects we created earlier. We'll also learn about JS Objects, which allow us to define handler functions that we can bind to the page widgets.
Page Load
Earlier, we created a few query objects to run on page load. Now, we'll use them to populate our table widgets. As stated in Running APIs on Page Load, "If we connect an API response to a widget, Appsmith automatically runs that API on page load..."
In effect, this means that binding {{get_cards.data.items}} to the Table Data property for tbl_cards will populate the table. However, for this tutorial, we only need the card id and card_name fields from each card. So, we'll write some additional code to remove the unwanted fields:
// bind this to tbl_cards - Table Data property
get_cards.data.items
  .filter(card => card.status == "ACTIVE") // only get ACTIVE cards
  .map(card => ({ id: card.id, card_name: card.card_name }))
Likewise, we initialize tbl_invites and tbl_vendors:
// bind this to tbl_invites - Table Data property
get_users.data.items
  .filter(item => item.status == "INVITED") // only get INVITED users
  .map(item => ({ email: item.email, name: `${item.first_name} ${item.last_name}` }))

// bind this to tbl_vendors - Table Data property
get_vendors.data.items.map(vendor => ({ id: vendor.id, company_name: vendor.company_name }))
JS Objects
In earlier versions of Appsmith, there was only support for writing small code snippets to data bind page widgets. But, Appsmith now supports JS Objects, which enable multi-line JavaScript code and reusable functions.
To create a new JS Object, click the + icon next to the QUERIES/JS menu option, and find the New JS Object option.

Create an object for each page: cards_object, users_object, and vendors_object.
Cards
Replace the contents of cards_object with the following code:
export default {
    upload: () => {
        showAlert('Cards created!', 'success');
    }
}
We'll revisit this code shortly. At the moment, let's go back to the page editor and bind {{cards_object.upload()}} to the file picker's onFilesSelected event:
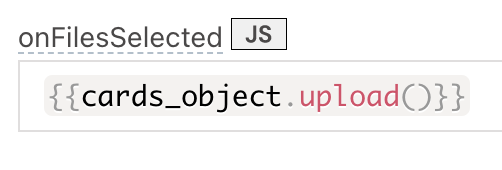
If you are curious, deploy the application and upload a file to the Cards page. You should receive a Cards created! notification.
The cards_object.upload method will leverage the create_card query to issue virtual cards. To follow along here, you'll need your Brex cuuser ID, which you can obtain by running the get_current_user query. Place your ID into a CSV file, formatted like this:
card_name,user_id
Michael Collins,cuuser...
Later on, we'll upload this file to the Cards page.
Reading CSV Files
The following code will read lines from a CSV file, assuming that your file picker is called fp_cards:
// get the first uploaded file
const csv_file = fp_cards.files[0];

// collect each line from the csv file
const csv_lines = csv_file.data.split("\n");

// omit csv header and blank lines
const rows = csv_lines.slice(1).filter(row => row.length > 0);
Simplified:
const rows = fp_cards.files[0].data.split("\n")
                     .slice(1).filter(row => row.length > 0);
Iterating API Calls
To smoothen the discussion around asynchronous code and JavaScript promises, we'll be using a helper function called loop to iterate API calls. For reference, the full loop implementation is here, but we'll strictly focus on understanding its usage:
// visit each row
return cards_object.loop({
  collection: rows, // assign rows as the collection
  onReadLine: () => {
    // do this on every row
  },
  onEnd: () => {
    // do this after the loop ends
  }
})
The loop helper calls onReadLine once per row. On each loop iteration, we can pass card_name and user_id into create_card.run():
onReadLine: (card_name, user_id) => {
  // be sure to always return the promise,
  // otherwise this will not behave as expected
  return create_card.run({ card_name, user_id });
}
When the loop ends, we report the number of cards created successfully, and then call get_cards.run so that the new items appear in tbl_cards:
onEnd: () => {
  const count = appsmith.store.success_count;
  if (count > 0) {
    showAlert(`${count} cards created!`, "success");
  }
  get_cards.run();
}
Once you re-deploy the application and upload a valid CSV file, your card will show in the Brex dashboard, under Card > Manage cards:

Last, but not least, we have cards_object.terminate. Bind this method to btn_terminate_cards - onClick event:
terminate: () => {
    // clear variables
    cards_object.reset();

    // get comma-separated values from the textbox
    const rows = txt_card_ids.text.split(",").map((id) => id.trim());

    // visit each row, terminate card
    return cards_object.loop({
      collection: rows,
      onReadLine: (card_id) => {
        return terminate_card.run({ card_id });
      },
      onEnd: () => {
        const count = appsmith.store.success_count;
        if (count > 0) {
          showAlert(`${count} cards terminated!`, "success");
        }
        get_cards.run();
      },
    });
  }
Users
The Users page involves many of the same techniques and concepts discussed earlier. However, there are two tables involved here. We'll need to refresh one of the tables, depending on whether the CSV file is intended for referrals or invites.
I should mention that an invite asks someone to join your Brex account as a team member, whereas a referral prompts someone to sign up for their own Brex account.
Invites vs Referrals
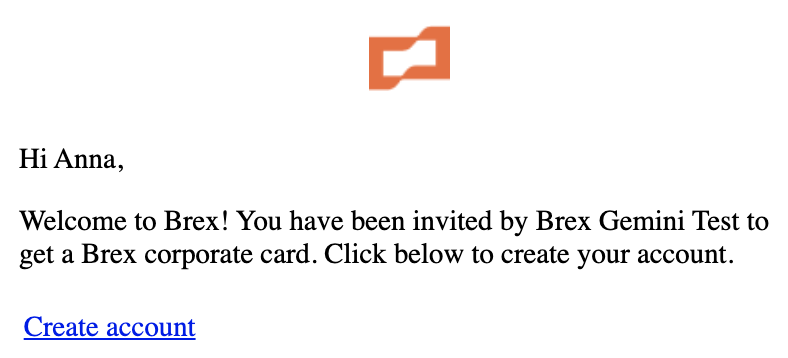
Creating an invite sends an email to the recipient:
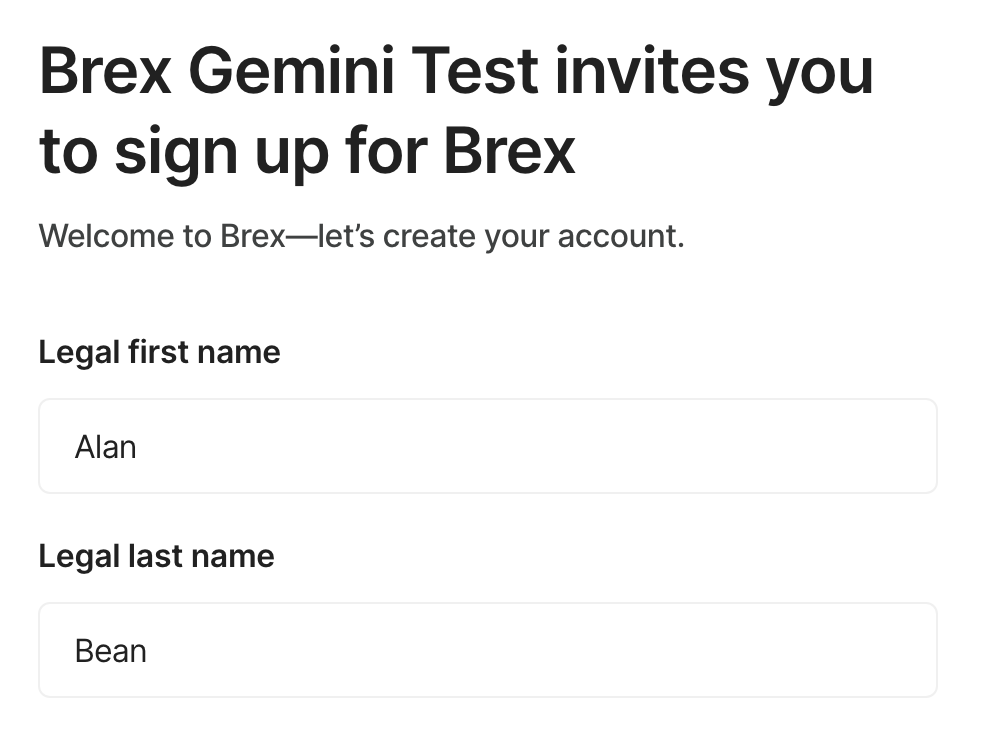
On the other hand, creating a referral generates a personalized invite link to an onboarding flow. You can find your referral code at dashboard.brex.com/referrals. When the prospect visits their personalized link, they will see a pre-filled form containing data values sent through the Create referral API call:
When the CSV file is uploaded, we can inspect the header row to determine if the file contains referrals or not - referrals have a referral_code column while invites do not:
// invites csv header: "first_name,last_name,email"
// referrals csv header: "referral_code,first_name,last_name,email"
let is_referral = rows[0].indexOf("referral_code,") == 0;

// ...

return is_referral
        ? users_object.createReferrals(rows)
        : users_object.createInvites(rows)
For brevity, the full implementation code is shown here.
Referral Data Store
Something to note about the Create referral endpoint is that it returns the referral id and the referral_signup_url, but it does not return the applicant details (first name, last name, and email). Instead, the API consumer is expected to store and handle their own Brex referrals securely, as they contain sensitive information about the applicant.
Why do we need a data store?
At first glance, this might seem trivial. Perhaps, we don't need a referral data store. Maybe we could just create the referrals and then use the List referrals endpoint to load the recent items. However, the List referrals endpoint does not return any applicant information either.
So, by design, we need the data store to establish a link between the applicant details (passed into create_referral) and the referral id (returned from create_referral).
Without a data store, it's also not possible to seed tbl_referrals on page load. The List referrals endpoint doesn't return any applicant information, so we need to query the data store instead and then use that response data to populate tbl_referrals.
Implementing the data store
I'm using a serverless database (Fauna) to host the data store for this tutorial, but the type of database you use is unimportant. It is only important that the data store is accessible via a REST API, so that we can easily connect to the data source and create query objects:
| Query | Endpoint |
add_referral | graphql.us.fauna.com/graphql |
get_referrals | graphql.us.fauna.com/graphql |
Fauna exposes a GraphQL API. Please see the the wiki for more details about this as it relates to
add_referralandget_referrals.
Storing the referral data
Now that the data store is in place, we can persist the referral id and referral_signup_url along with the applicant information:
// get response data and csv row
onSuccess: ({ id, referral_signup_url }, row) => {
  // get applicant info from the row
  const [referral_code, first_name, last_name, email] = row;
  // store the referral data
  add_referral.run({
    id,
    name: `${first_name} ${last_name}`,
    email,
    referral_signup_url,
  });
},
Get referrals on page load
Also, remember to configure get_referrals to run on page load:
// bind this to tbl_referrals - Table Data property
get_referrals.data &&
get_referrals.data.data &&
get_referrals.data.data.allReferrals.data
Vendors
Implementation of the Vendors page is left as an exercise for the reader. Here are some things to keep in mind:
- The
fp_vendorsfile picker needs an event handler foronFilesSelected. - The
create_vendorquery object has acompany_nameparameter. - The
delete_vendorquery object has avendor_idparameter. - Bind
{{appsmith.store.vendors_arr}}totbl_vendors. - Uploading vendors.csv should create three new vendors in your Brex dashboard.
The full vendors_object implementation is here. You can also create multiple vendors by using the bulk upload tool in your Brex dashboard.
Error Handling
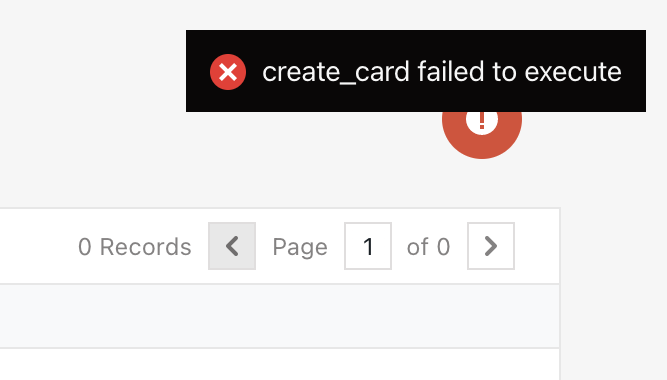
Thus far, we've only explored the happy path. If we return to the Cards page and upload cards.invalid-user-id.csv the create_card query will fail. Thankfully, Appsmith will handle this exception and display an error message.
But, imagine if you were to upload the following CSV file:
card_name,user_id
Space Mountain,invalid-user-id
Cargo Dragon,cuuser...
Planet Express,invalid-user-id
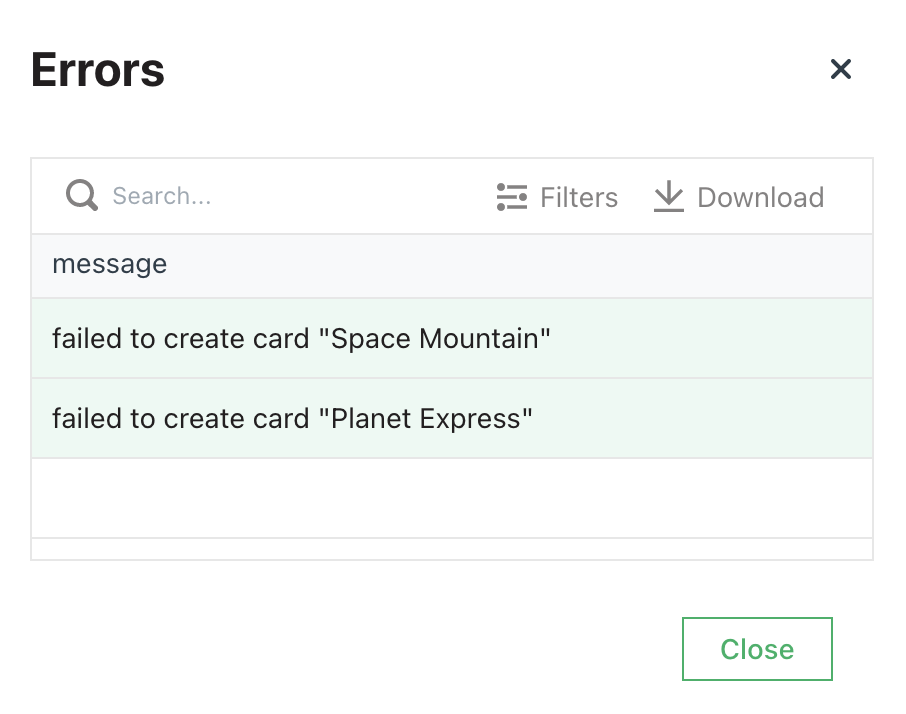
In this case, the API call would fail on Space Mountain and Planet Express, but the default error handling would not be able to detect which rows failed. To correct this, we'll need to implement the error handling ourselves.
During cards_object.loop(), whenever onReadLine fails, the onError function will trigger. We can implement onError to display a message:
onError: ({ row }) => {
  const [card_name] = row;
  const message = `failed to create card "${card_name}"`;
  showAlert(message, "error");
  return message; // return message to the loop helper
}
The loop helper also keeps track of errors. There's a has_errors flag, which is a boolean that indicates when any errors have occurred. There is also an errors_arr collection where we store each error message for later display in tbl_errors.
The has_errors flag will determine if the red Icon Button is visible. Set its Visible property to {{appsmith.store.has_errors}}. Also bind its onClick handler to {{showModal("error_modal")}}. This button will launch a Modal that contains a table bound to {{appsmith.store.errors_arr}}:
Conclusion
The beauty of Appsmith is that you can migrate this application to your own workspace and repurpose it for your own needs. Here, we've touched on a few Brex API endpoints. We've also learned how to create an Appsmith dashboard that allows Brex admins to create and terminate Brex cards and refer and invite Brex users.
I encourage Brex admins to build and share custom Appsmith workflows that tap into the Brex APIs. There is much value in simplifying the development process where we can. Low code tools like Appsmith can provide practical advantages to Brex admins who need them, but they can also change the perspectives and attitudes of those who do not.
👋 Thanks for reading.
🧠 What kinds of Appsmith-Brex workflows are on your mind?