Step-by-step guide to building a blog with Angular and Hashnode GraphQL APIs

Introduction
Hashnode GraphQL API gives you countless possibilities to build your blog using your toolbox–a fronted kit. You can access information such as blog posts, drafts, comments, tags, and many more. We’re going to explore Hashnode API by building the Angular front end. Before delving deeper, you can also take a look at Headless Hashnode, an official blog starter kit, built with Next.js and Tailwind. You can start your blog, your way. Deploy on any domain.
Step 1: Creating a new Angular project
With node.js and npm installed, please run the following command to install Angular CLI, tooling for Angular development.
npm install -g @angular/cli
The Angular CLI tool has a built-in command to create a new project. It will install the needed packages and set up the initial project. Also, it will ask some project-related questions. We will answer them accordingly:
ng new my-blog

? Which stylesheet format would you like to use? CSS
? Do you want to enable Server-Side Rendering (SSR) and Static Site Generation (SSG/Prerendering)? Yes
Now, we are ready to serve our project using the CLI command ng serve:
cd my-blog/ && ng serve

Application bundle generation complete. [1.651 seconds]
Watch mode enabled. Watching for file changes...
  ➜  Local:   http://localhost:4200/
  ➜  press h + enter to show help
Hot Reloading is enabled by default. Any changes will have an immediate effect on the browser window. Navigate to http://localhost:4200/
Step 1.2: Setting up prerequisites
Angular has built-in HttpClient that we can use for fetching posts from Hashnode GraphQL API. You can navigate Hashnode Public API Docs to check out the existing examples. There is also Hashnode GraphQL API Playground where you can test your queries before implementing them.
Before using HttpClient, we need to define HttpClientModule as a root dependency in our project. This allows us to inject HttpClient as a dependency in any component. We will be able to make HTTP requests to API endpoints. To set up HttpClientModule, we will use the importProvidersFrom method from Angular. We need to do the following:
Open
src/app/app.config.tsAdd the
HttpClientModulefrom@angular/common/httpWrap it into
importProvidersFromcall
import {ApplicationConfig, importProvidersFrom} from '@angular/core';
import {HttpClientModule} from '@angular/common/http';

export const appConfig: ApplicationConfig = {
  providers: [
    // ... other providers
    importProvidersFrom(HttpClientModule),
  ]};
Step 1.3: Styling
Angular has a default template located in src/app/app.component.html. That’s the template we have seen when we browsed localhost. You can remove everything in this file until the last line, the router-outlet tag. That element will be useful when we use the router component to show different components per URL. The app.component.html should look like this after the cleanup:
<router-outlet />
Now we can set up our blog template. Let’s install Tailwind for that!
Step 1.4: Setting up Tailwind
Install Tailwind and @tailwindcss/typograph package, using npm and npx,
npm install -D tailwindcss @tailwindcss/typography
npx tailwindcss init
Next, we also need to set up the Tailwind config file, tailwind.config.js:
/** @type {import('tailwindcss').Config} */
module.exports = {
  content: ["./src/**/*.{html,js}"],
  theme: {
    extend: {},
  },
  plugins: [
    require('@tailwindcss/typography'),
  ],
}
Next, we can add the base Tailwind styles in the src/styles.css file:
@tailwind base;
@tailwind components;
@tailwind utilities;
We’re ready to use Tailwind. Now, the ng serve command will build Tailwind styles too! We can already wrap our app into a container by adding the following in app.component.html:
<div class="container mx-auto px-4 w-1/2 py-8">
  <router-outlet></router-outlet>
</div>
That’s it! We will continue with styling later when we fetch the blog posts.
Step 2: Listing blog posts
In this tutorial, we will focus on two different components: ListComponent and PostComponent. As their name already suggests, the ListComponent will focus on listing the blog posts, and we will show it in our home page. On the other hand, the PostComponent will focus on showing a single blog post. We will configure a different route to handle that.
Step 2.1: Creating a new component
Angular has a built-in CLI command to create components easily.
ng generate component <component-name>
In our case, we will start by the List component:
ng generate component list
By default, this command creates the following:
A directory named after the component
A component file,
list.component.ts- A TypeScript class that defines behavior
A template file,
list.component.html- An HTML template that declares what renders on the page
A CSS file,
list.component.css- Since we are using Tailwind, we don’t need this CSS file. You can safely remove it. You also need to remove it from the
@Componentdecorator. It's mentioned in thestyleUrlproperty.
- Since we are using Tailwind, we don’t need this CSS file. You can safely remove it. You also need to remove it from the
You can also manually create components using @Component decorator. If you wish to do that, please create a new file, list/list.component.ts
import { Component } from '@angular/core';

@Component({
  selector: 'app-list',
  standalone: true,
  templateUrl: './list.component.html',
})
export class ListComponent {

}
We need to import CommonModule in our component to use directives like ngForOf, and ngIf, in our templates. The ngForOf directive will allow us to loop through the blog posts. The final version of the ListComponent should look like this:
import {CommonModule} from "@angular/common";

@Component({
  selector: 'app-list',
  standalone: true,
  imports: [CommonModule],
  templateUrl: './list.component.html',
})

export class ListComponent {

}
Configuring the ListComponent to act as the homepage
Let’s make this ListComponent the default page. We want to see this component when we navigate to http://localhost:4200/. This is quite easy to do with app.routes.ts. Open that file and add the following lines:
import { Routes } from '@angular/router';
import {ListComponent} from "./list/list.component";

export const routes: Routes = [
  {path: '', component: ListComponent},
];
Step 2.2: Creating the BlogPost type
First, let’s create our BlogPost type and a variable to store an array of blog posts. This type could be used in different places, so it’s better to define it outside a component. Create a file called types.ts under src/app/ location.
export type BlogPost = {
  slug: string,
  title: string,
  brief: string
  coverImage: {
    url: string,
  },
}
We can import this type in our list.component.ts and initialize our array.
import {BlogPost} from "../types";

// @Component(...)
export class ListComponent {
  blogPosts: BlogPost[] = [];
}
Next up, we need to send the API request to Hashnode GraphQL API.
Step 2.3: Injecting HttpClient
We can import the HttpClient from @angular/common/http, and Angular’s dependency injection container will resolve it automatically. All we need to do is add it as a constructor dependency:
import {HttpClient} from '@angular/common/http';

export class ListComponent {
  constructor(private httpClient: HttpClient) {

  }
}
Now, we’re ready to make requests to Hashnode GraphQL API.
Step 2.4: Fetching posts from Hashnode GraphQL API
In this section, we’ll use the recently injected HttpClient, and the BlogPost type we just created. Let’s define our GraphQL query in list.component.ts:
// imports

const postsQuery = `
query {
  publication(host: "compiler.blog") {
    title
    posts(first: 10) {
      edges {
        node {
          slug
          title
          brief
          publishedAt
          coverImage {
            url
            photographer
          }
        }
      }
    }
  }
}
`;

// @Component(...)
Let’s create a corresponding type to this request so we can map the response output and use it in a type-safe way.
// const postsQuery = ...

type ApiResponse = {
  data: {
    publication: {
      posts: {
        edges: [
          {
            node: BlogPost
          }
        ]
      }
    }
  }
}

// @Component(...)
For the simplicity, we will define these types and queries inside the component. Of course, for more complicated examples, you could define a service such as HashnodeGraphqlService or PostFetchService, and encapsulate the API request/response inside that service. For now, we will use the OnInit interface to achieve that inside our component.
We will bind response data to variables during the initialization of our component. Later, we will use this blog post data in our template. Let’s glue everything together and make our first request! Here is the final form of the list.component.ts:
import {Component, OnInit} from '@angular/core';
import {BlogPost} from "../types";
import {HttpClient} from "@angular/common/http";
import {CommonModule} from "@angular/common";

type ApiResponse = {
  data: {
    publication: {
      posts: {
        edges: [
          {
            node: BlogPost
          }
        ]
      }
    }
  }
}


const postsQuery = `
query {
  publication(host: "compiler.blog") {
    title
    posts(first: 10) {
      edges {
        node {
          slug
          title
          brief
          url
          coverImage {
            url
            photographer
          }
        }
      }
    }
  }
}
`;

@Component({
  selector: 'app-list',
  standalone: true,
  imports: [CommonModule],
  templateUrl: './list.component.html',
})
export class ListComponent implements OnInit {
  blogPosts: BlogPost[] = [];

  constructor(private httpClient: HttpClient) {

  }

  ngOnInit() {
    const request = this.httpClient.post<ApiResponse>(
      'https://gql.hashnode.com',
      {
        query: postsQuery
      },
      {
        headers: {
          'Content-Type': 'application/json',
          Accept: 'application/json'
        }
      },
    );

    request.subscribe((response) => {
      this.blogPosts = response.data.publication.posts.edges.map(edge => edge.node);
    });
  }
}
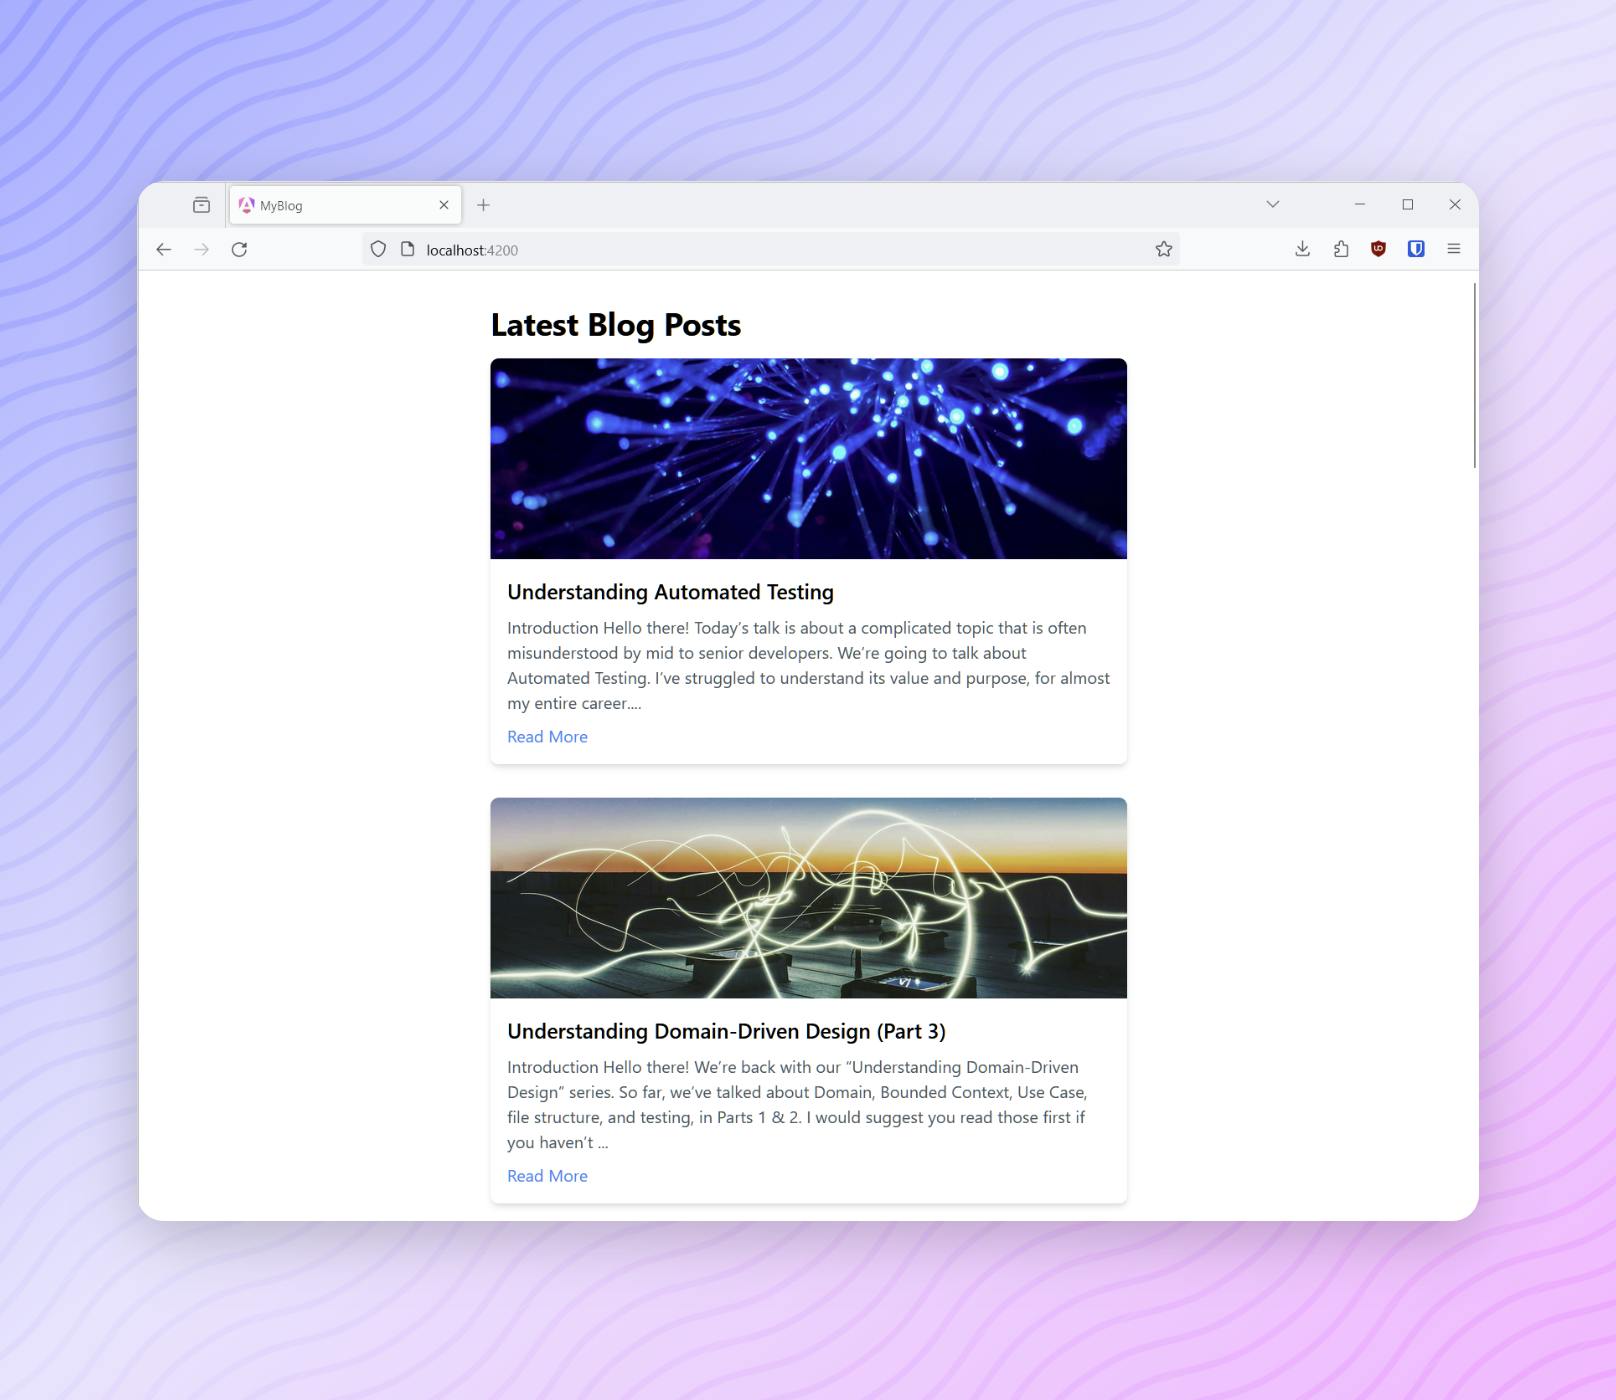
Step 2.5: Showing the blog posts
We can go ahead and edit list/list.component.html:
<h1 class="text-3xl font-bold mb-4">Latest Blog Posts</h1>
<div class="grid grid-cols-1 gap-8">
  <div *ngFor="let post of blogPosts" class="bg-white rounded-lg shadow-md overflow-hidden">
    <img src="{{ post.coverImage.url}}" alt="Blog Post Image" class="w-full h-48 object-cover">
    <div class="p-4">
      <h2 class="text-xl font-semibold mb-2">{{ post.title }}</h2>
      <p class="text-gray-600">{{ post.brief }}</p>
      <a href="{{ post.slug }}" class="block text-blue-500 mt-2 hover:underline">Read More</a>
    </div>
  </div>
</div>
Ta-da! 🎉
Step 3: Creating a component for displaying single blog post
As we’re already familiar with the steps; We need to create a new component called PostComponent. Our basic setup is almost completely ready, so we don’t have to repeat all steps. Let’s create a component using ng generate component post, alternatively, you can create it yourself.
Step 3.1: Adding a new route
Since we’re going to serve a different page from this component, we need to add a new route definition in the src/app/app.routes.ts:
import { Routes } from '@angular/router';
import {PostComponent} from "./post/post.component";
import {ListComponent} from "./list/list.component";

export const routes: Routes = [
  {path: '', component: ListComponent},
  {path: ':slug', component: PostComponent}
];
We have a parameter called :slug, and will use this parameter to fetch single posts later on.
Step 3.2: GraphQL query for a single post
We’re going to use the router parameter :slug to fetch the corresponding single post. Here is what the single post query looks like:
const singlePostQuery = `
query ($slug: String!) {
  publication(host: "compiler.blog") {
    post(slug: $slug) {
      title
      brief
      publishedAt
      author {
        name
        profilePicture
      }
      content {
        html
      }
      coverImage {
        url
      }
    }
  }
}
`;
Step 3.3: Extending the BlogPost type with content and author details
Since our single post component requires more information than the list component, we can extend the TypeScript type and define the corresponding ApiResponse type for the PostComponent:
// imports

type BlogPostWithContentAndAuthor = BlogPost & {
  publishedAt: string
  author: {
    name: string,
    profilePicture: string
  }
  content: {
    html: string
  }
}

type ApiResponse = {
  data: {
    publication: {
      post: BlogPostWithContentAndAuthor
    }
  }
}

// @Component
Step 3.3: Fetching single post from Hashnode GraphQL API
Now, we can glue everything together. One thing that will be different is that we’ll import the DatePipe to format date strings in our template. The final version of the component should look like this:
import {Component, OnInit} from '@angular/core';
import {HttpClient} from '@angular/common/http';
import {BlogPost} from "../types";
import {ActivatedRoute, ActivatedRouteSnapshot} from "@angular/router";
import {DatePipe} from "@angular/common";

type BlogPostWithContentAndAuthor = BlogPost & {
  author: {
    name: string,
    profilePicture: string
  }
  content: {
    html: string
  }
}

type ApiResponse = {
  data: {
    publication: {
      post: BlogPostWithContentAndAuthor
    }
  }
}

const singlePostQuery = `
query {
  publication(host: "compiler.blog") {
    post(slug: "understanding-domain-driven-design-part-1") {
      title
      brief
      publishedAt
      author {
        name
        profilePicture
      }
      content {
        html
      }
      coverImage {
        url
      }
    }
  }
}
`;

@Component({
  selector: 'app-post',
  standalone: true,
  imports: [DatePipe],
  templateUrl: './post.component.html',
})
export class PostComponent implements OnInit {
  post: BlogPostWithContentAndAuthor = {} as BlogPostWithContentAndAuthor

  constructor(
    private httpClient: HttpClient,
    private route: ActivatedRoute
  ) {
  }

  ngOnInit() {
    const snapshot: ActivatedRouteSnapshot = this.route.snapshot;
    const slug = snapshot.params['slug'];

    const request = this.httpClient.post<ApiResponse>(
      'https://gql.hashnode.com',
      {
        query: singlePostQuery,
        variables: {
          slug: slug
        }
      },
      {
        headers: {
          'Content-Type': 'application/json',
          Accept: 'application/json'
        }
      },
    );

    request.subscribe((response) => {
      this.post = response.data.publication.post;
    });
  }
}
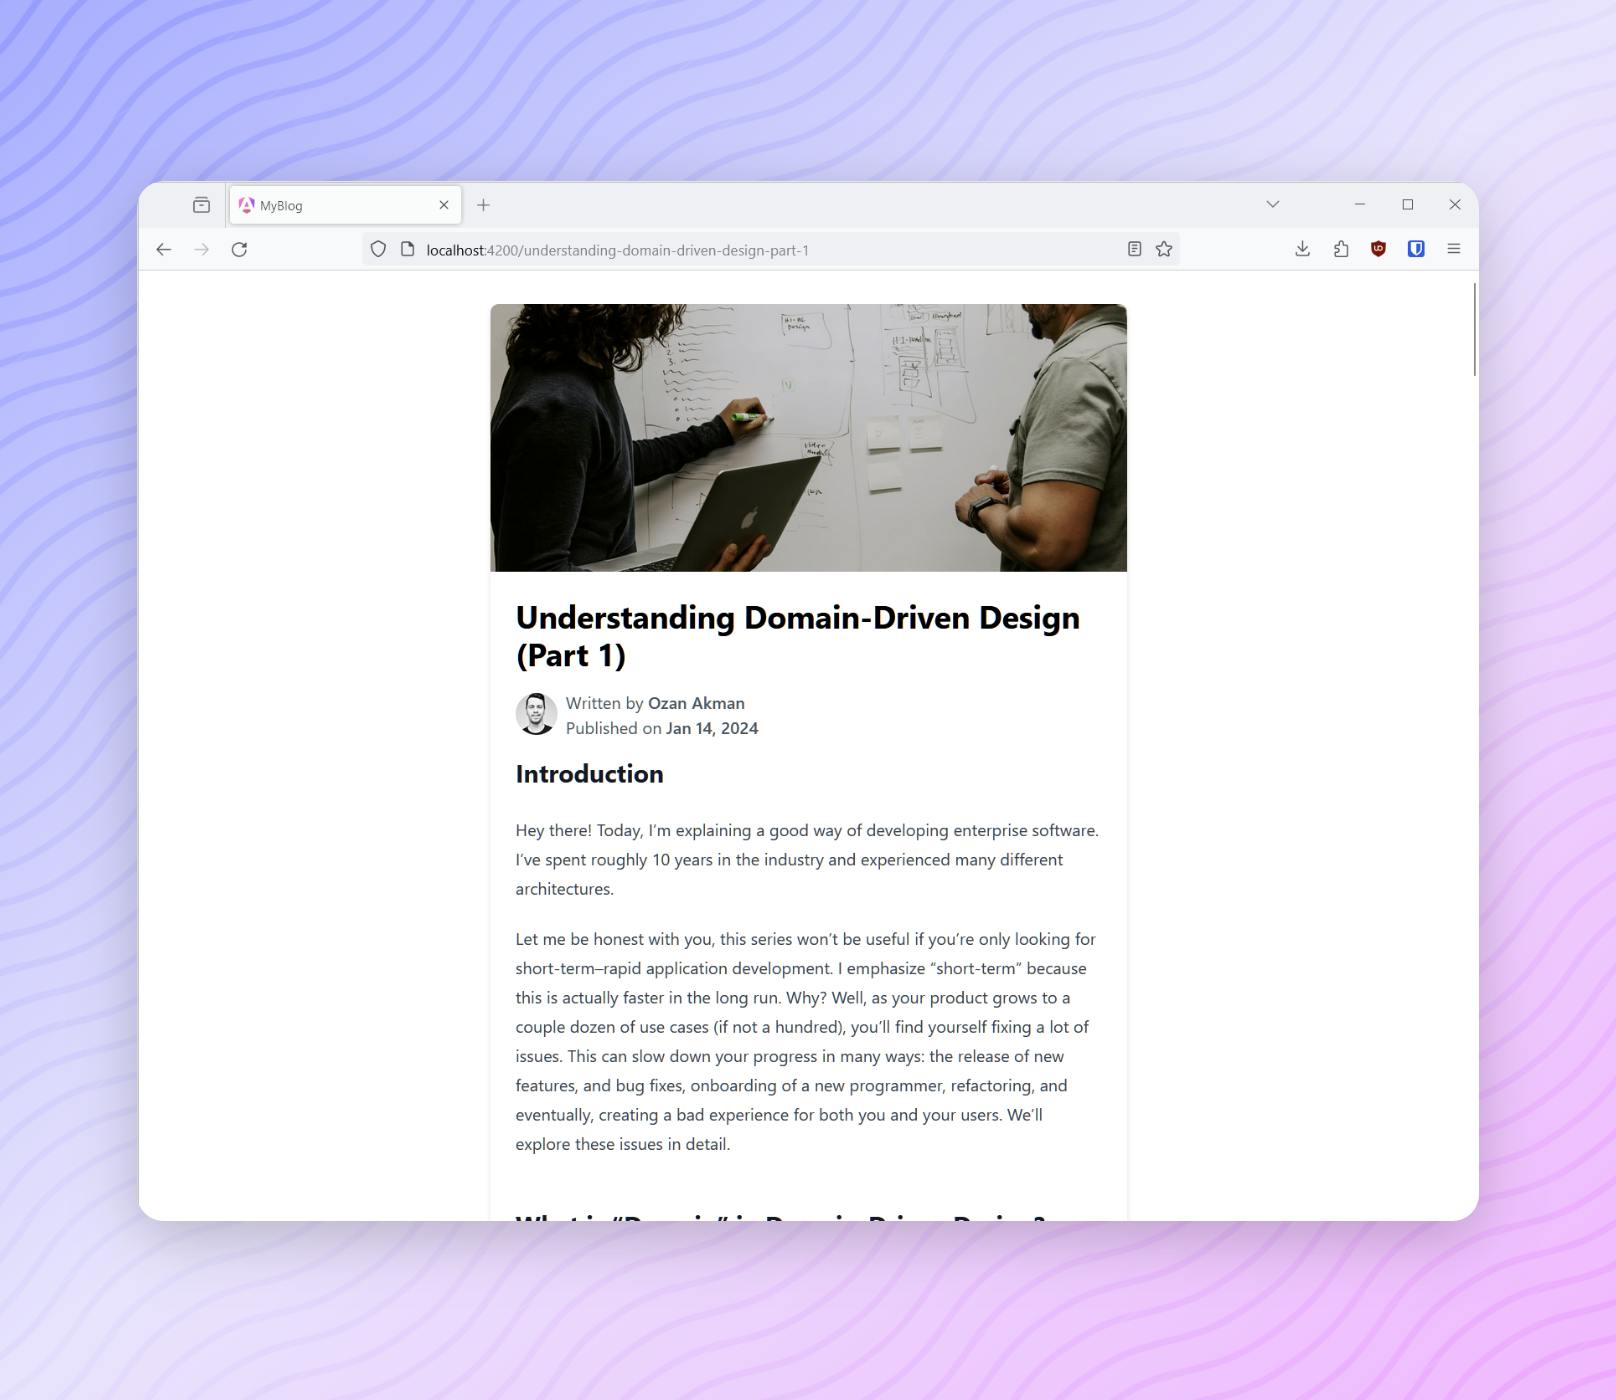
Step 3.4: Displaying single post
Let’s create a basic single blog post template. We will leverage Tailwind typography styles and wrap our content into prose class to show it in a beautiful way.
<article class="bg-white rounded-lg shadow-md overflow-hidden">
  <img src="{{ post.coverImage.url }}" alt="{{ post.title }}" class="w-full h-64 object-cover">
  <div class="p-6">
    <h1 class="text-3xl font-bold mb-4">{{ post.title }}</h1>
    <div class="flex items-center mb-4">
      <img src="{{ post.author.profilePicture }}" alt="{{ post.author.name }}" class="w-10 h-10 rounded-full mr-2">
      <div>
        <p class="text-gray-600">Written by <span class="font-semibold">{{ post.author.name }}</span></p>
        <p class="text-gray-600">Published on <span class="font-semibold">{{ post.publishedAt | date }}</span></p>
      </div>
    </div>
    <div class="prose max-w-none" [innerHTML]="post.content.html">
    </div>
  </div>
</article>
There we have it! 🎉
Conclusion
We’ve learned how to use Hashnode GraphQL API to create custom Angular frontends. There are many examples in the API Docs page that you can use to extend your blog’s functionality. Feel free to share your thoughts in the comments!