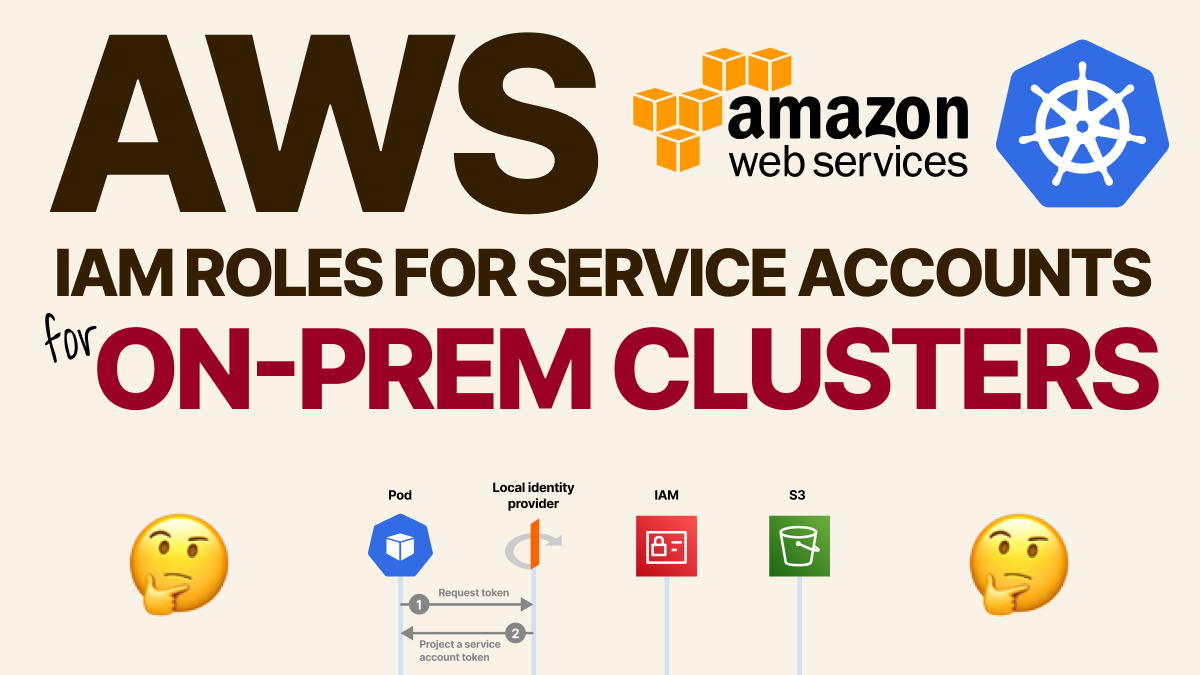
Binding AWS IAM roles to Kubernetes Service Account for on-prem clusters
TL;DR: In this short tutorial, you will learn how to configure the IAM roles for Service Account for a bare-metal cluster using minikube as an example.
Create a cluster with a specific service account issuer:
minikube start --extra-config=apiserver.service-account-issuer="https://[bucket name].s3.amazonaws.com"
Create a service account:
kubectl create sa test
Create a Pod with a projected service account token and an audience:
apiVersion: v1
kind: Pod
metadata:
  name: nginx
spec:
  serviceAccount: test # <- service account
  containers:
  - image: nginx
    name: nginx
    volumeMounts:
    - mountPath: /var/run/secrets/kubernetes.io/serviceaccount
      name: kube-api-access-td7d6
      readOnly: true
  volumes:
  - name: kube-api-access-td7d6
    projected:
      defaultMode: 420
      sources:
      - serviceAccountToken:
          path: token
          audience: test # <- audience
      - configMap:
          items:
          - key: ca.crt
            path: ca.crt
          name: kube-root-ca.crt
      - downwardAPI:
          items:
          - fieldRef:
              apiVersion: v1
              fieldPath: metadata.namespace
            path: namespace
Exec into the pod:
kubectl exec -ti nginx -- bash
And retrieve the projected service account token, the OpenID configuration and the JWT signing keys:
export APISERVER=https://kubernetes.default.svc
export SERVICEACCOUNT=/var/run/secrets/kubernetes.io/serviceaccount
export TOKEN=$(cat ${SERVICEACCOUNT}/token)
export CACERT=${SERVICEACCOUNT}/ca.crt
curl --cacert ${CACERT} --header "Authorization: Bearer ${TOKEN}" -X GET ${APISERVER}/.well-known/openid-configuration
curl --cacert ${CACERT} --header "Authorization: Bearer ${TOKEN}" -X GET ${APISERVER}/openid/v1/jwks
The content of the openid-configuration file should be:
{
  "issuer": "https://[bucket name].s3.amazonaws.com",
  "jwks_uri": "https://[bucket name].s3.amazonaws.com/openid/v1/jwks",
  "response_types_supported": [
    "id_token"
  ],
  "subject_types_supported": [
    "public"
  ],
  "id_token_signing_alg_values_supported": [
    "RS256"
  ]
}
And for the jwks:
{
  "keys": [
    {
      "use": "sig",
      "kty": "RSA",
      "kid": "ZO4TUgVjBzMWKVP8mmBwKLvsuyn8z-gfqUp27q9lO4w",
      "alg": "RS256",
      "n": "34a81xuM…",
      "e": "AQAB"
    }
  ]
}
Upload the files on the S3 bucket with the following directory structure:
.well-known/openid-configurationfor the configuration.openid/v1/jwksfor the configuration.
Test that the endpoints are publicly reachable:
curl https://[bucket name].s3.amazonaws.com/.well-known/openid-config…
curl https://[bucket name].s3.amazonaws.com/openid/v1/jwks
Create an Open ID connect provider on AWS:
aws iam create-open-id-connect-provider   --url https://[bucket name].s3.amazonaws.com   --thumbprint-list "1234567890123456789012345678901234567890"  # <- this is ignored, but you need to enter 40 digits
  --client-id-list test # <- this is the audience
The
thumbprint-listis ignored if you host on an S3 bucket.
From the AWS console, navigate to IAM > Identity Providers > click on the IdP you just created.
On the top right corner, click on assign a role for the Identity Provider and assign the permissions you wish to use (e.g. AmazonS3ReadOnlyAccess).
- Create a new role.
- It's for a "web identity".
- Assign the policies.
- Edit the trust relationships.
The content for the trust relationship should be the following:
{
    "Version": "2012-10-17",
    "Statement": [
        {
            "Effect": "Allow",
            "Principal": {
                "Federated": "arn:aws:iam::[aws account id]:oidc-provider/[bucket name].s3.amazonaws.com"
            },
            "Action": "sts:AssumeRoleWithWebIdentity",
            "Condition": {
                "StringEquals": {
                    "[bucket name].s3.amazonaws.com:aud": "test", // <- this is the audience
                    "[bucket name].s3.amazonaws.com:sub": "system:serviceaccount:default:test" // <- optional
                }
            }
        }
    ]
}
Note, there's a limited number of fields that you can match.
Make a note of the Role ARN.
At this point, if your application uses the AWS SDK, you can expose the following environment variables from your pods:
AWS_ROLE_ARN— the ARN role.AWS_WEB_IDENTITY_TOKEN_FILE— this is the value of the projected service account token.
The AWS SDK knows how to use those two to obtain an access and secret key.
You can also generate the access and secret token manually.
Make a call to obtain the credentials:
export AWS_ROLE_ARN=arn:aws:iam::[aws account id]:role/oidc-test # Role ARN
export AWS_WEB_IDENTITY_TOKEN_FILE=eyJhbGciOi… # make sure this did not expire in the meantime
aws sts assume-role-with-web-identity   --role-arn $AWS_ROLE_ARN   --role-session-name test   --web-identity-token $AWS_WEB_IDENTITY_TOKEN_FILE   --duration-seconds 1000
The output is a new set of credentials:
{
    "Credentials": {
        "AccessKeyId": "ASIAWY4CVPOBS4OIBWNL", // <- always starts with ASIA
        "SecretAccessKey": "02n52u8Smc76…",
        "SessionToken": "IQoJb3JpZ…",
        "Expiration": "2022-06-13T10:50:25+00:00"
    },
    "SubjectFromWebIdentityToken": "system:serviceaccount:default:test",
    "AssumedRoleUser": {
        "AssumedRoleId": "AROAWY4CVPOBXUSBA5C2B:test",
        "Arn": "arn:aws:sts::[aws account id]:assumed-role/oidc-test-2/mh9test"
    },
    "Provider": "arn:aws:iam::[aws account id]:oidc-provider/[bucket name].s3.amazonaws.com",
    "Audience": "test"
}
Create a new entry in the ~/.aws/config file:
[profile test]
aws_access_key_id = ASIAWY4CVPO…
aws_secret_access_key = Hcp3Xt+B0…
aws_session_token = IQoJb3JpZ2luX2V…
Test the access with:
aws s3 ls --profile test
Useful Links
- Azure AD Workload Identity — Self managed clusters
- Authentication using kubernetes service account JWTs
- Introducing fine-grained IAM roles for service accounts
- IAM Roles for Service Accounts
- Workload Identity
Closing remarks
And finally, if you've enjoyed this short post, you might also like the Kubernetes workshops that we run at Learnk8s or this collection of past Twitter threads twitter.com/danielepolencic/status/1298543….