
Building a react x electron code editor pt.2 - lexical analysis and tokenisation


Recap
We left pt. 1 with an electron window running react code served by the webpack dev server with hot reload enabled.
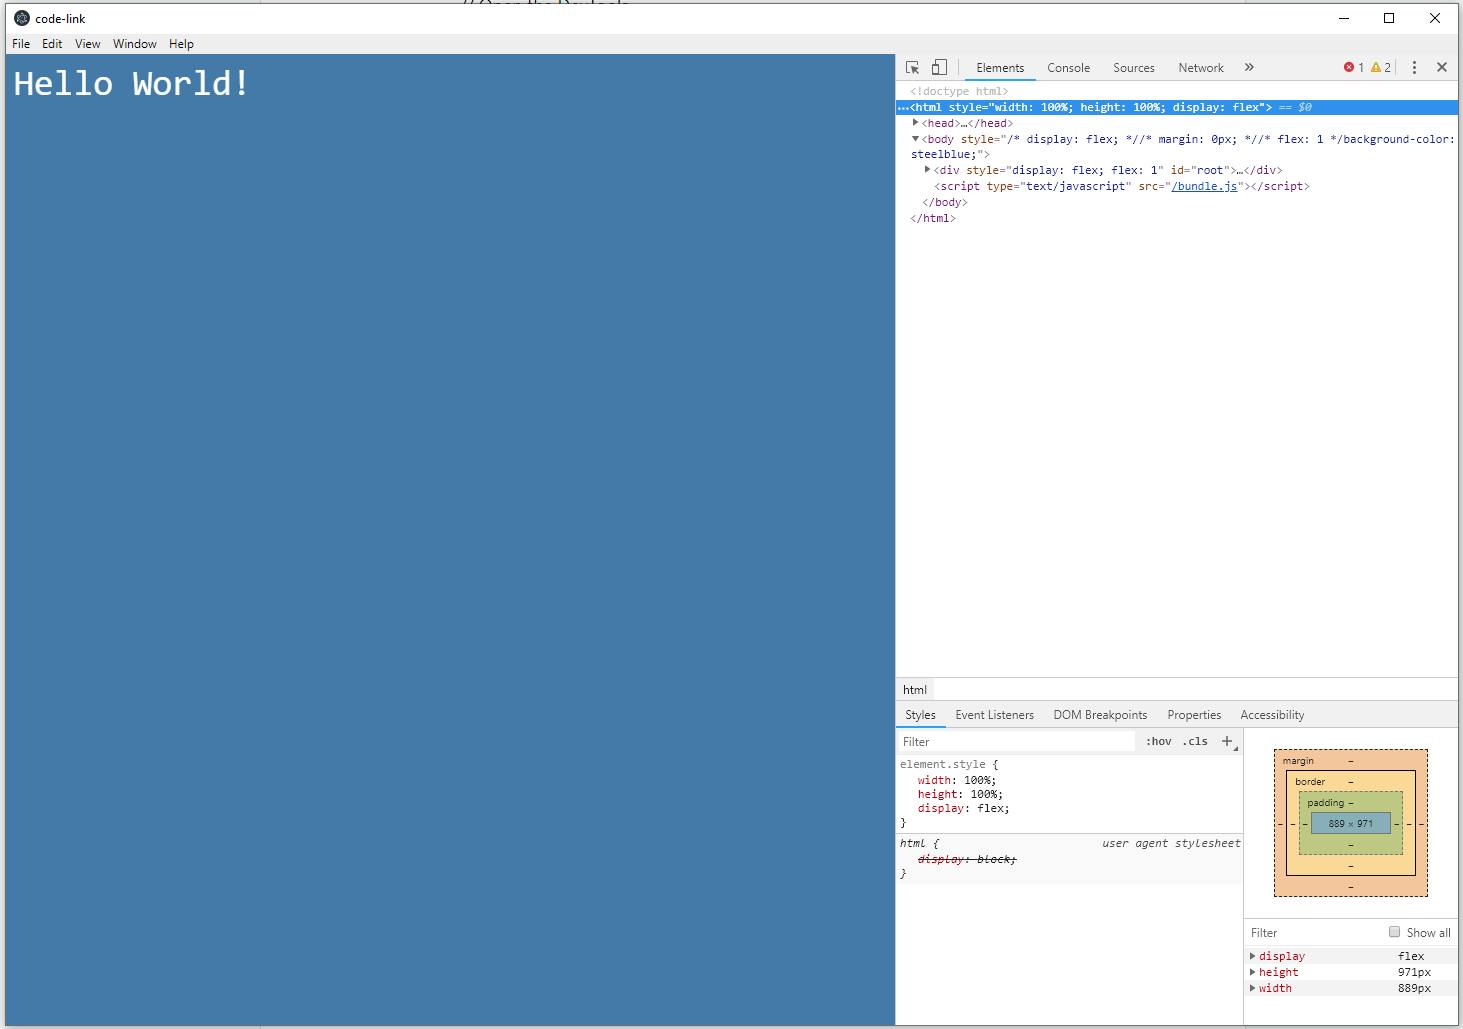
Once the setup is done to start development, the interesting part can begin.
the world of lexical analysis
A code editor is a big undertaking because it combines a few different challenges and should do them all perfectly: syntax highlighting, project file management, smooth text editing and some kind of smart code completion.
Let's start with one of the most interesting parts of the code editor: syntax highlighting. It's actually a product of a larger set of work called lexical analysis, or simply tokenization, of the input code the user writes. So in order to achieve all the awesome colors and themes we see in modern code editors, they analyse the input code and separate it into distinct tokens, or lexemes. As we know computer languages text is mostly made up of these special words that allow us to define functions, operations, variables...etc. These sequences of characters are matched to a defined pattern of the language and thus identified by the analyzer as a token. The library that performs this is usually known as a lexer.
For example the common tokens that are matched in code are:
- identifier: variable, constant names
- keyword: specific pre-defined names in languages that do something
- punctuation & whitespace: separates tokens or defines scopes
- operator: symbols such as + or -
- literal: numbers, strings, booleans
comment: line comments or multi-line blocks
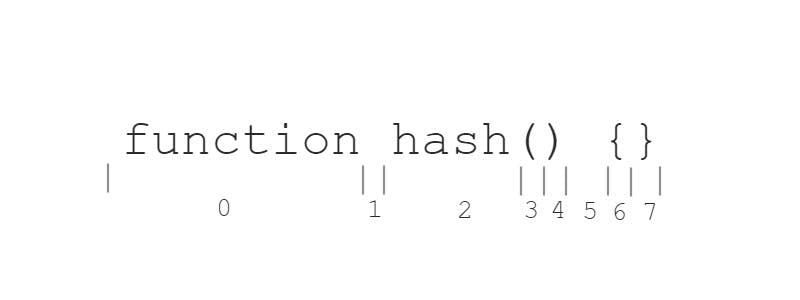 In this diagram, the tokens would be output like this
0 -> keyword1 -> whitespace2 -> identifier3 -> punctuation.paren.start4 -> punctuation.paren.end5 -> whitespace6 -> punctuation.brackets.start7 -> punctuation.brackets.end
These patterns are defined as part of a set of rules, called the lexical grammar, usually comprised of regular expressions that match a certain sequence of characters or tokens. Once the lexer extracts from the text the tokens we can assign to them a token name, and start coloring them, highlighting them, anything we want!
Cool, so we have to create our own lexer library. 😅
hand-made or plugin-based
There are many great open source code editors out there to learn from, such as VSCode and Atom, and even more lexers than editors. Some tokenizers are written for each language by hand, specifically crafted to handle all the patterns of that language. These offer benefits such as optimised highlighting of language-specific features or faster lexer start-up times.
However I find particularly commendable editors that work in a plugin-based manner. This means the lexer is language agnostic, and works by plugging in a language's lexical grammar for it to analyze and output the tokens from the text.
The language plugin is a clearly defined JSON, with a schema composed of something like a language id, an array of the language grammars, and any other information needed to abstract away from the lexer.
This means the lexer's entrypoint would look something like this:
function tokenise(text: string, grammar: LanguageGrammar): Token[] {
    ...
    // tokenising ongoing...
    ...

    return tokens
}
The sole input of the lexer is the text to tokenise, and the language's set of rules defining the tokens! This in my opinion works best in an open-source project as it allows for easier contribution to new languages from anybody, without having to rely on the original author alone.
With this in mind we can start creating a simple plugin to start our tokeniser function. For example the javascript plugin could start something like this:
{
    "id": "javascript",
    "grammar": {
           "whitespace": {
                  "id": "whitespace",
                  "rule": "\s"
            },
            "operator" {
                   "id": "operator",
                  "rule": "[\d+-=<>]"
            },
           "number" {
                   "id": "number",
                  "rule": "\d"
            }
           ...
     }
}
The tokeniser would loop through all the children in the grammar node, apply the RegEx rules to the text, find the matches and apply the grammar id to the token extracted from the match. We can then make powerful token matches by combining different grammars that match the same characters with a dot, such as:
operator.number
The dot combination allows us to leverage the power of CSS as well as being a good separator. You may have noticed before how the open parentheses was tokenised as punctuation.paren.start. This is the same idea and will actually allow us to know when scopes start and end in the code, which is awesome.
All we need to do is continue adding appropriate grammars to have a complete javascript tokeniser!
using the power of css
If we can apply to a specific string of text an id assigning it as a token, then we can use css to color it. With classnames, we can assign our token ids and the text will have syntax highlighting.
From the plugin above, say we have matched characters as numbers and we end up with a combined id of operator.number, then we can have a css stylesheet like this:
.operator {
     color: white
}

.number {
     color: red
}
We can assign them these classnames and css will handle giving the spans some color.
on the next episode
I'll end it here. In pt. 3 I'll post my advances with the tokeniser code and how I'll generate the tokens into html elements to create actual highlighted code. Stay tuned!