Create a personal blog on Hashnode in under 2 minutes -- for developers
Hashnode is one of the best blogging platforms for developers when it comes to creator freedom and engagement with the dev community. It lets developers create a super-fast, fully optimised blog in under 2 minutes. Developers on the community will discover your posts on their feeds and visit your blog to read them. This gives you extra visibility and reader-base from day zero.
Key features of Hashnode Blog
- Blog on the personal domain: CNAME mapping for free.
- Avoid cold start: Every time you publish an article on your domain, Hashnode shares it with its dev community on the homepage. This gives you extra visibility and readership from day zero.
- Optimised for developers: Write in Markdown and save drafts for future.
- AMP Support: You can choose to enable AMP support on your blog from the dashboard.
- In-house newsletter service: Grow your readership by showing newsletter subscription box on the blog's homepage and post pages. You won't have to buy a 3rd party newsletter service.
- HTTPS by default: We provision SSL certificates for free after you map your domain to Hashnode's blog.
- Add your personality: To give your blog a personal touch you can change logo, header colour and more from the dashboard.
- Automatically backup your posts on GitHub: You can choose to backup your posts on your personal private GitHub repository to republish on other platforms.
- No annoying pop-ups and ads on articles: We won't show ads or sign in prompts on your articles. We hate them too!
- Super fast Edge caching: Hashnode caches your blog's pages on Cloudflare to serve your articles super fast to your readers.
In this article, I walk you through the steps to creating a personal blog on Hashnode.
Step 1: Create an account
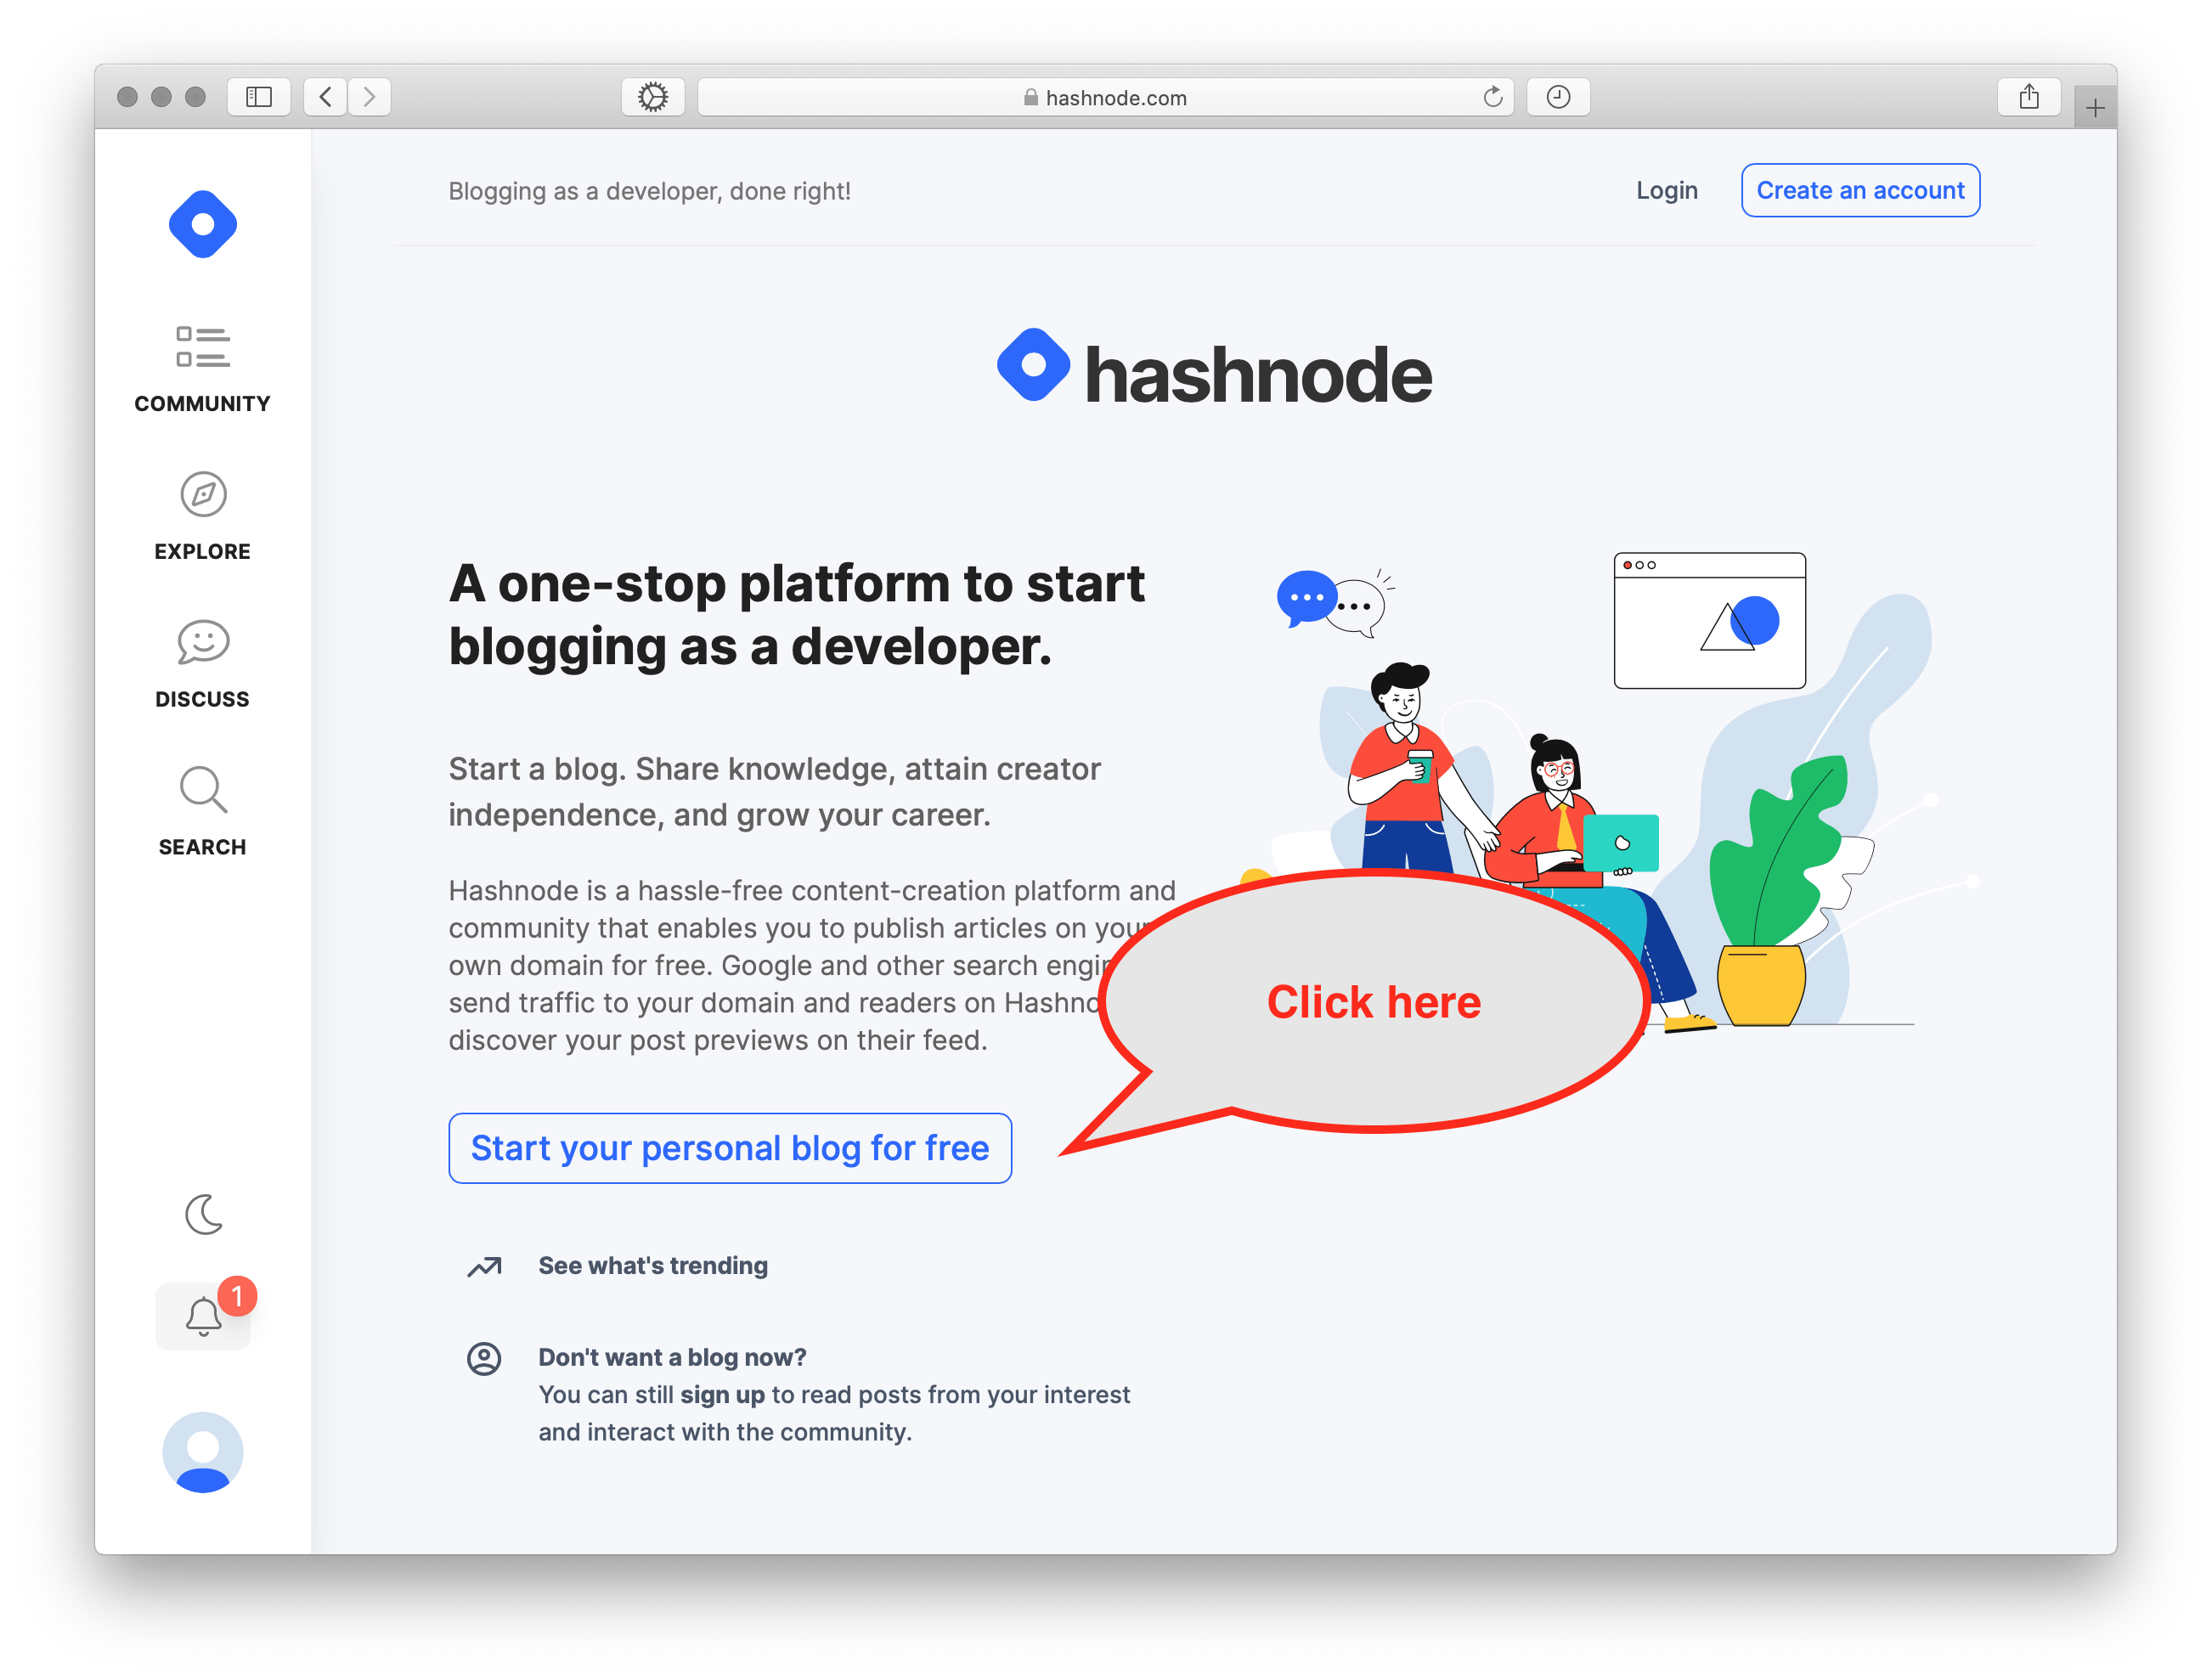
To get started, go to Hashnode and click on the Start your personal blog for free button to sign up.
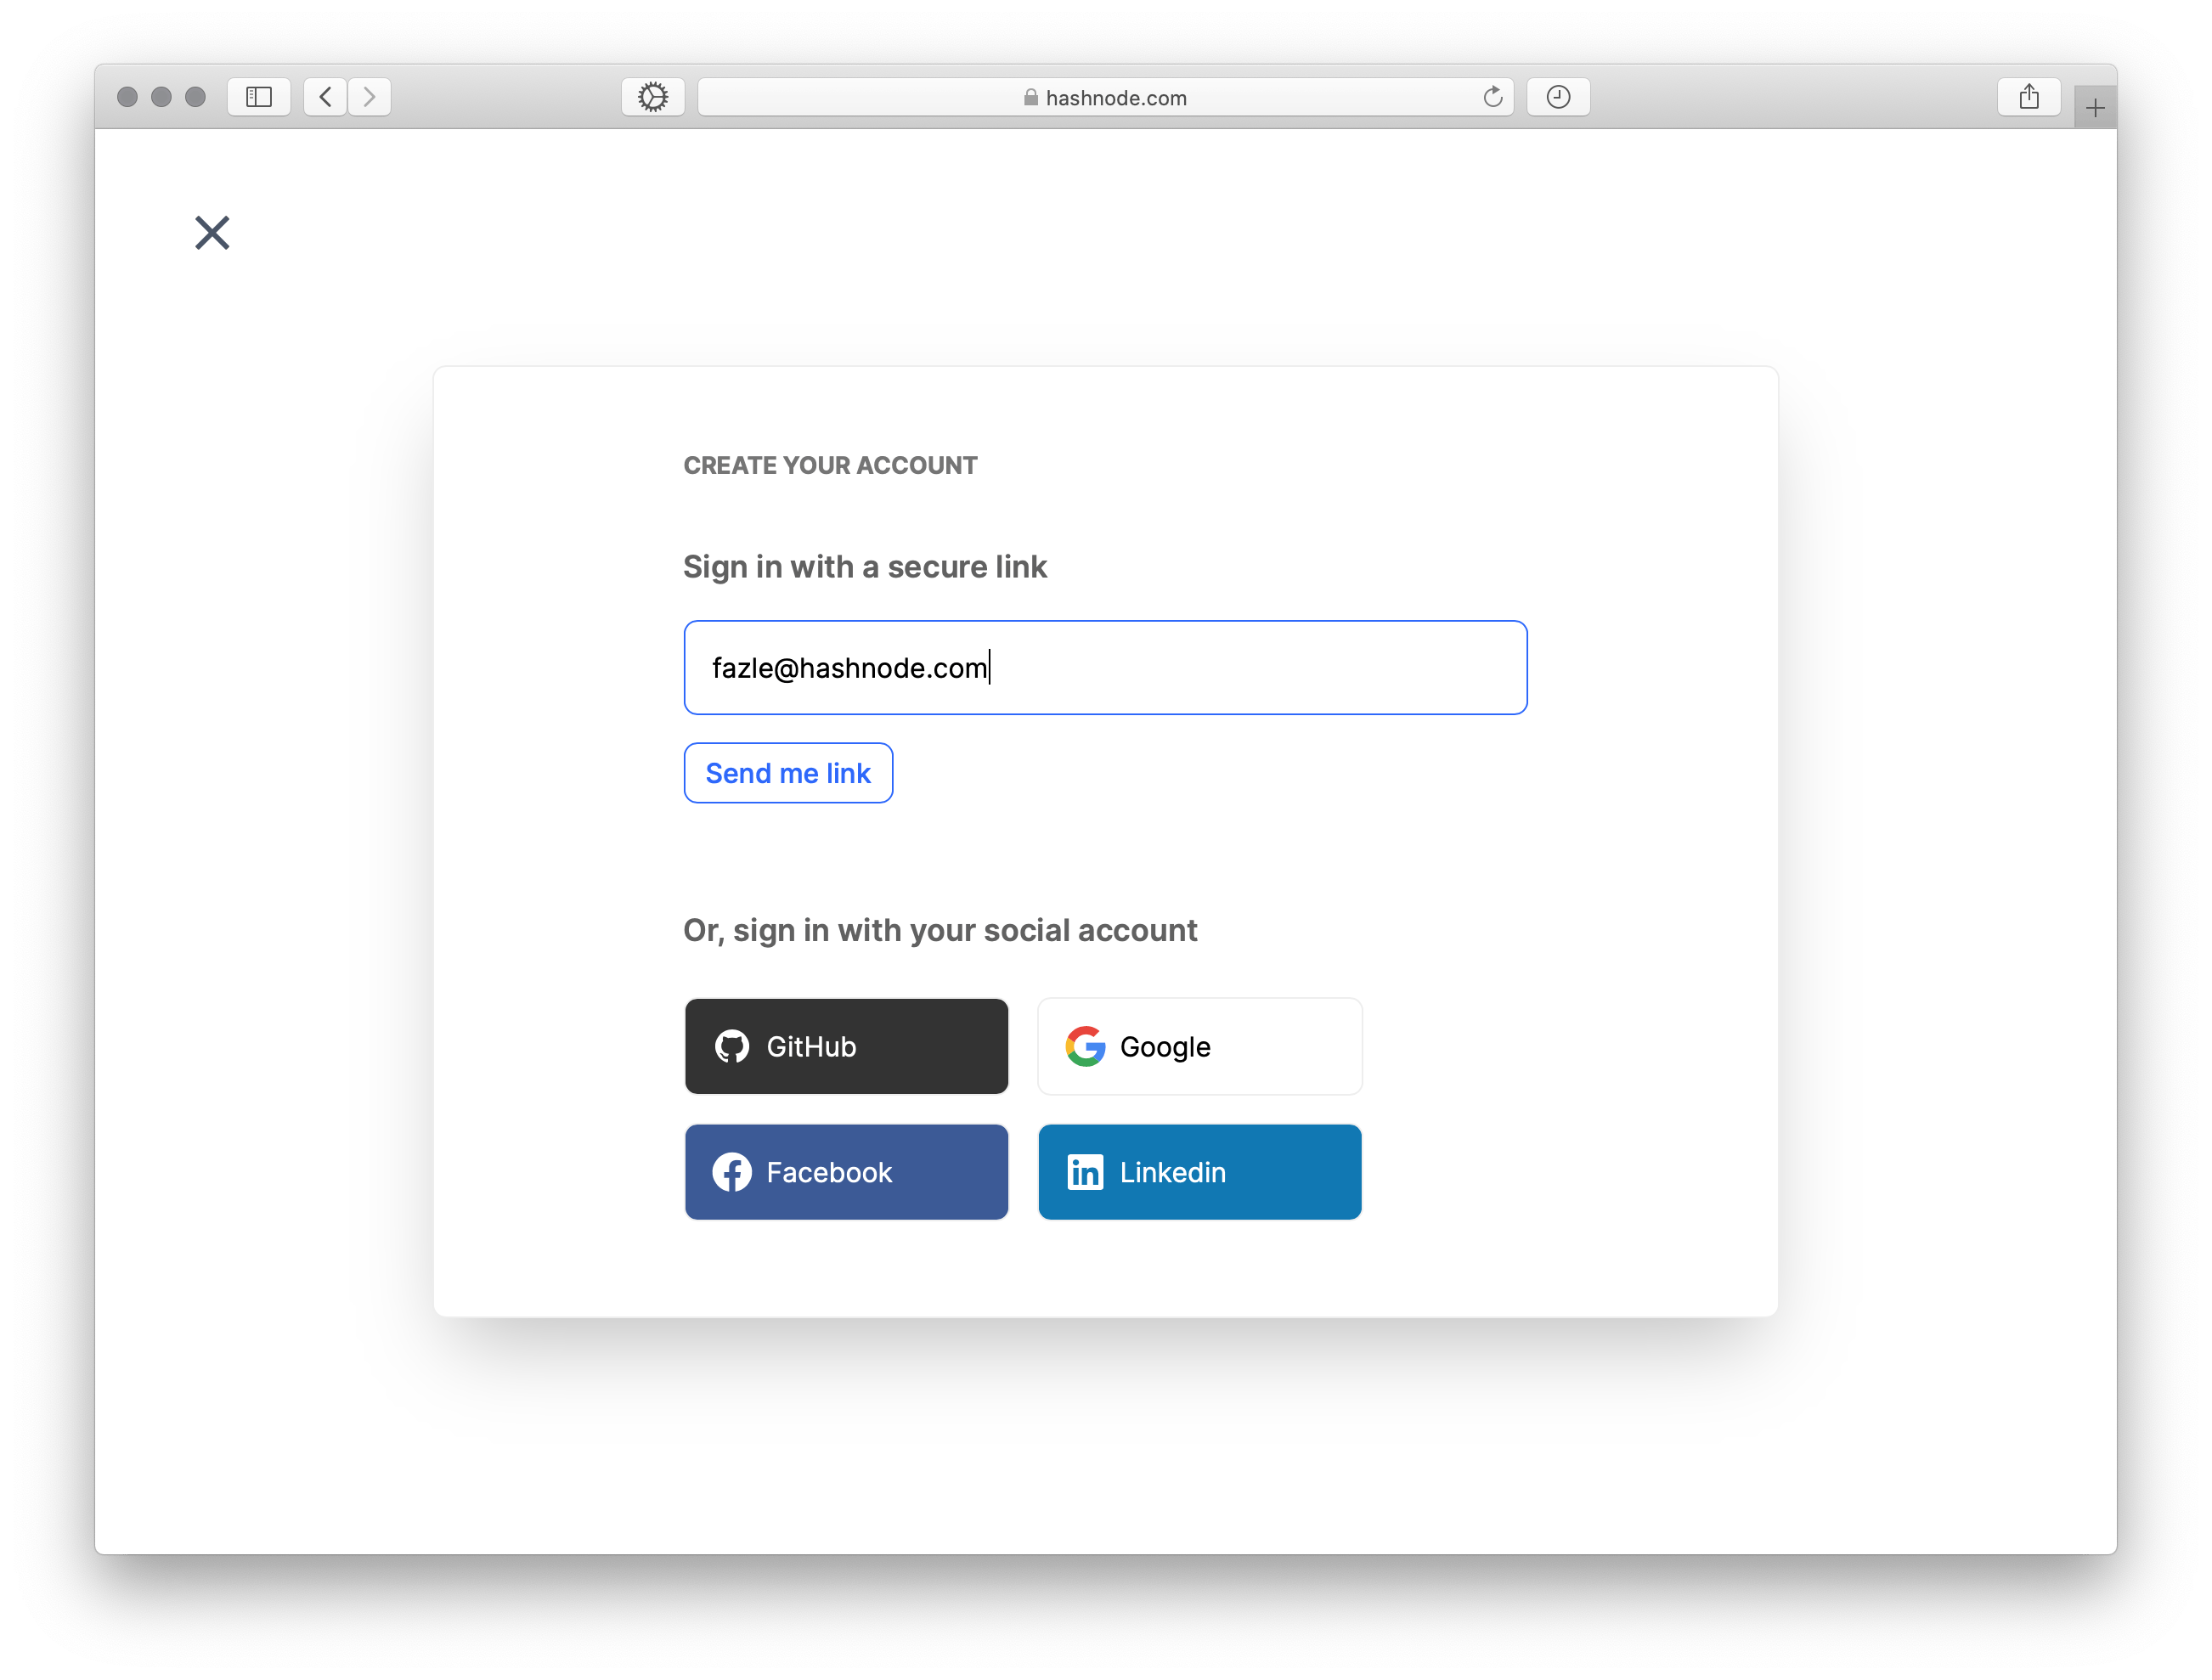
Enter your preferred email address or sign in with your favourite social network:
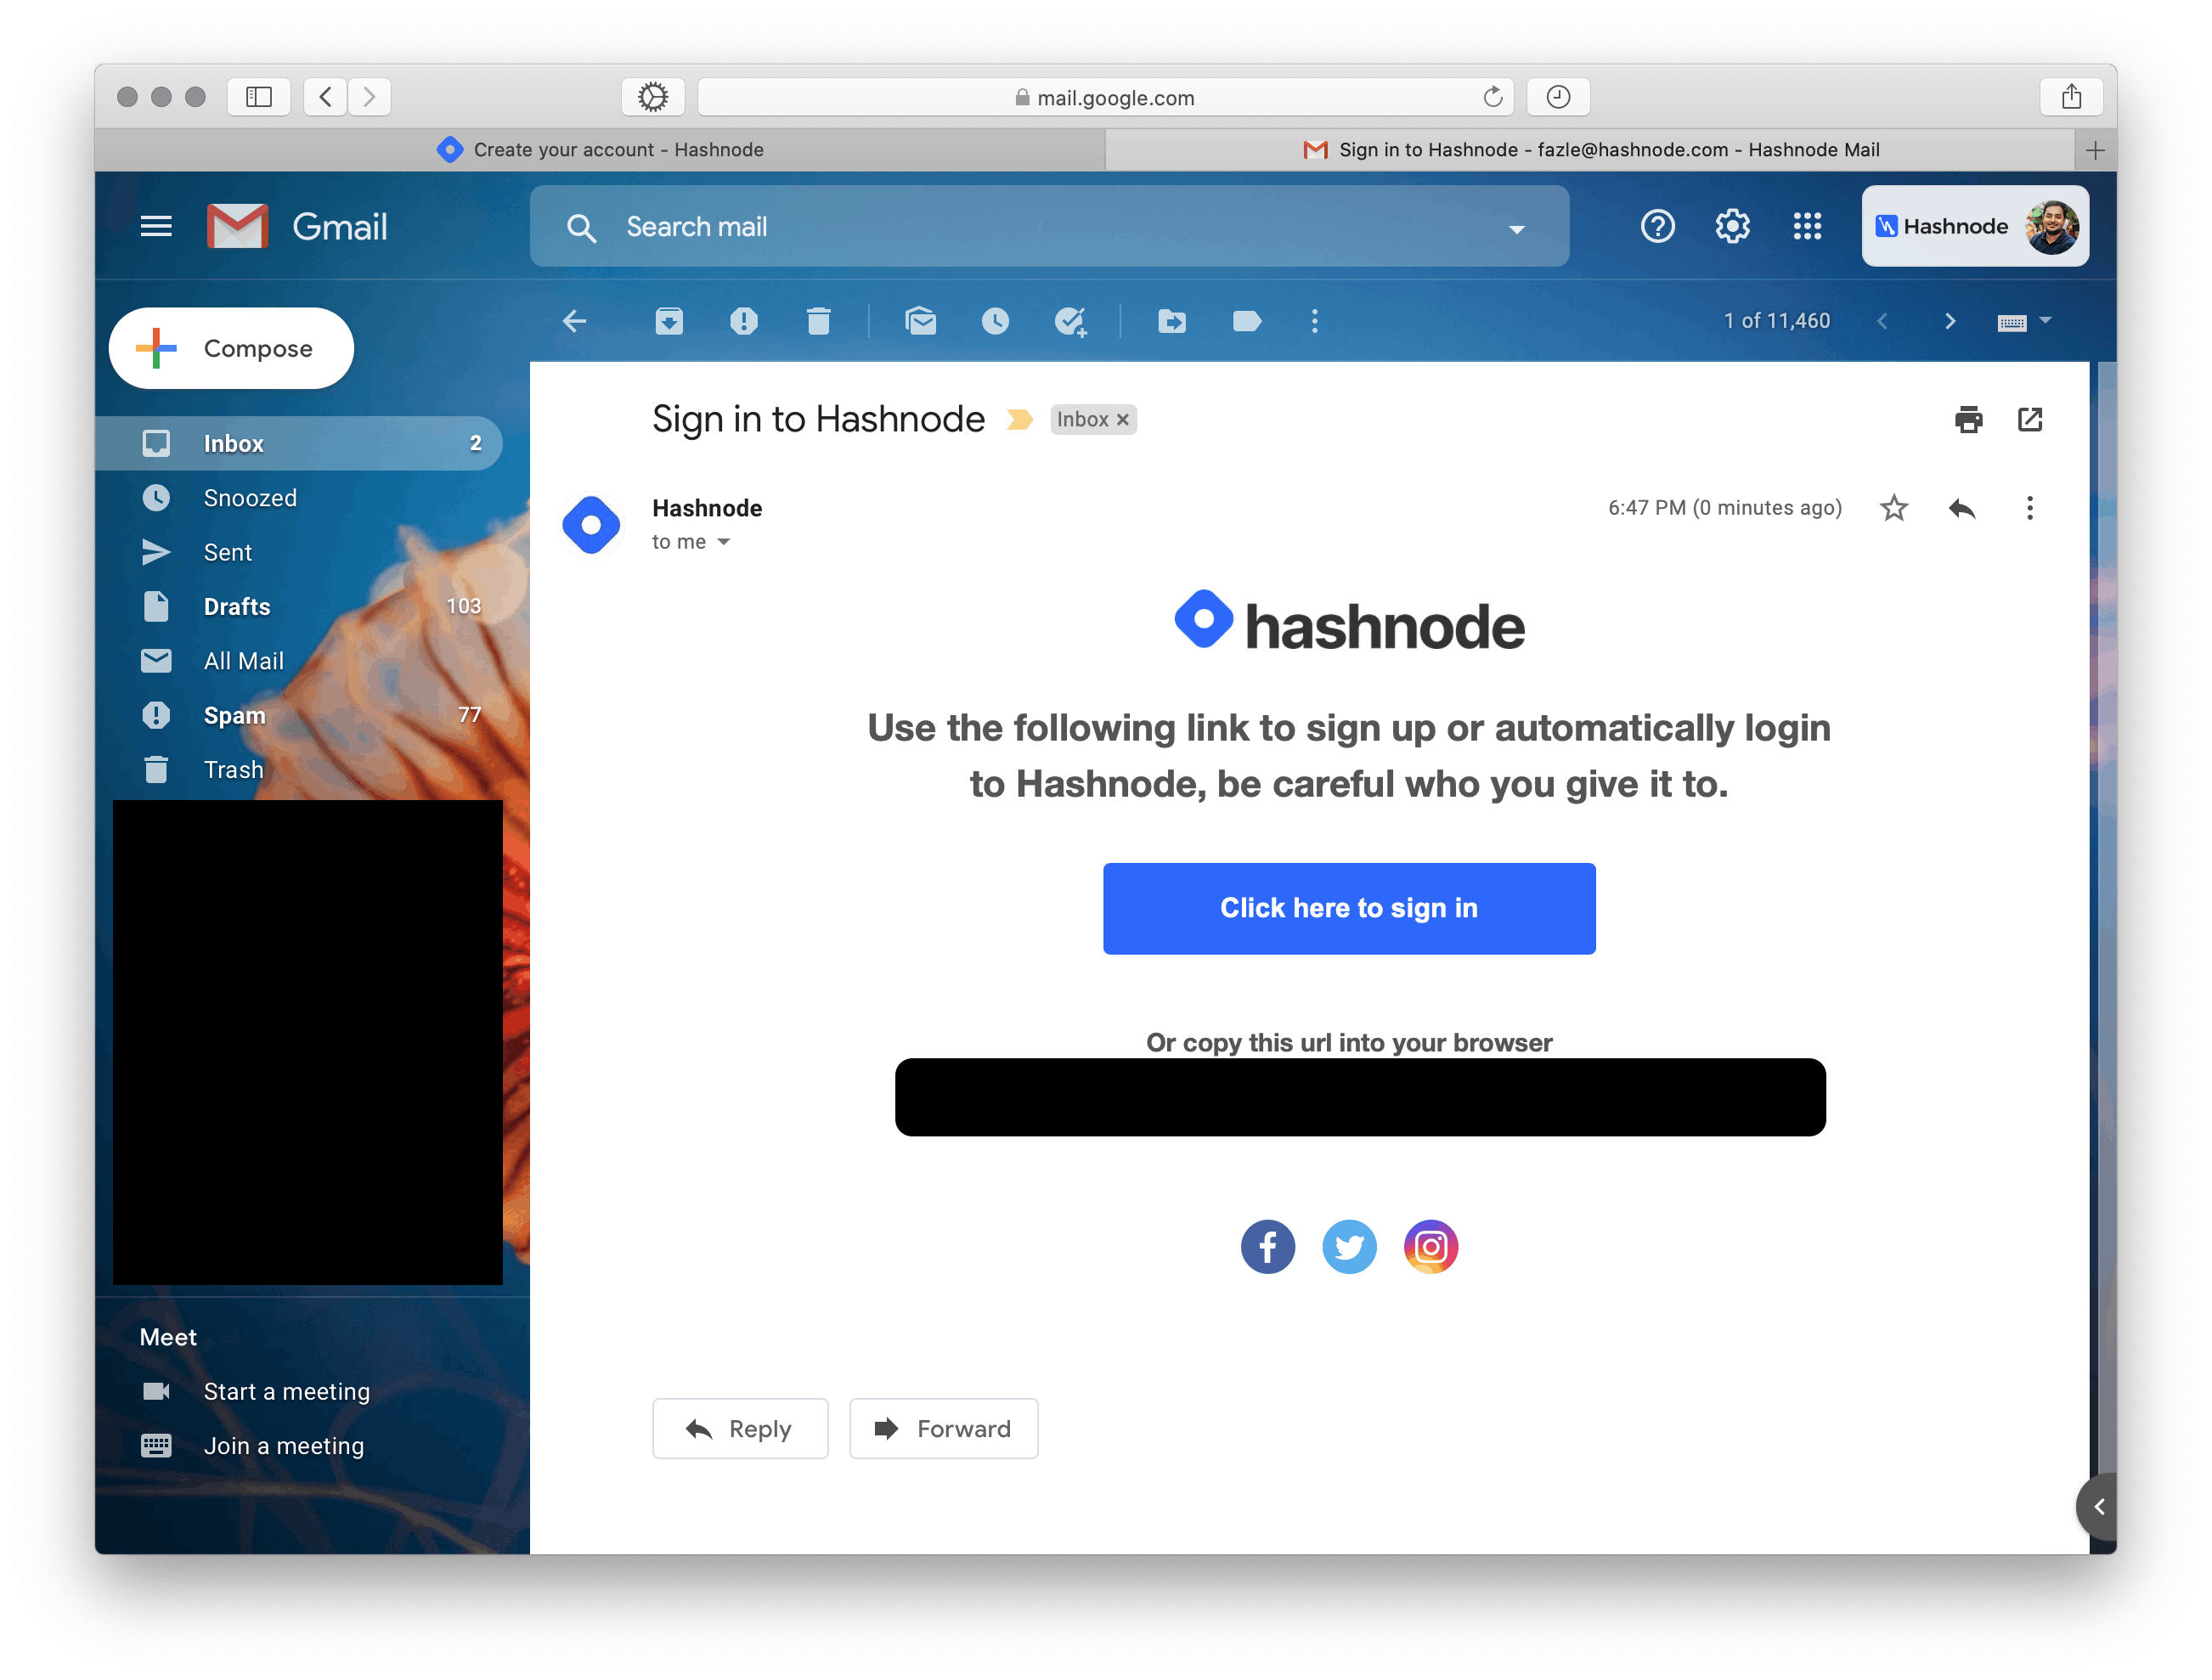
If you chose to enter the email address instead, you'll receive a secure link in your inbox. Click on it to sign up.
Step 2: Setup your profile on Hashnode
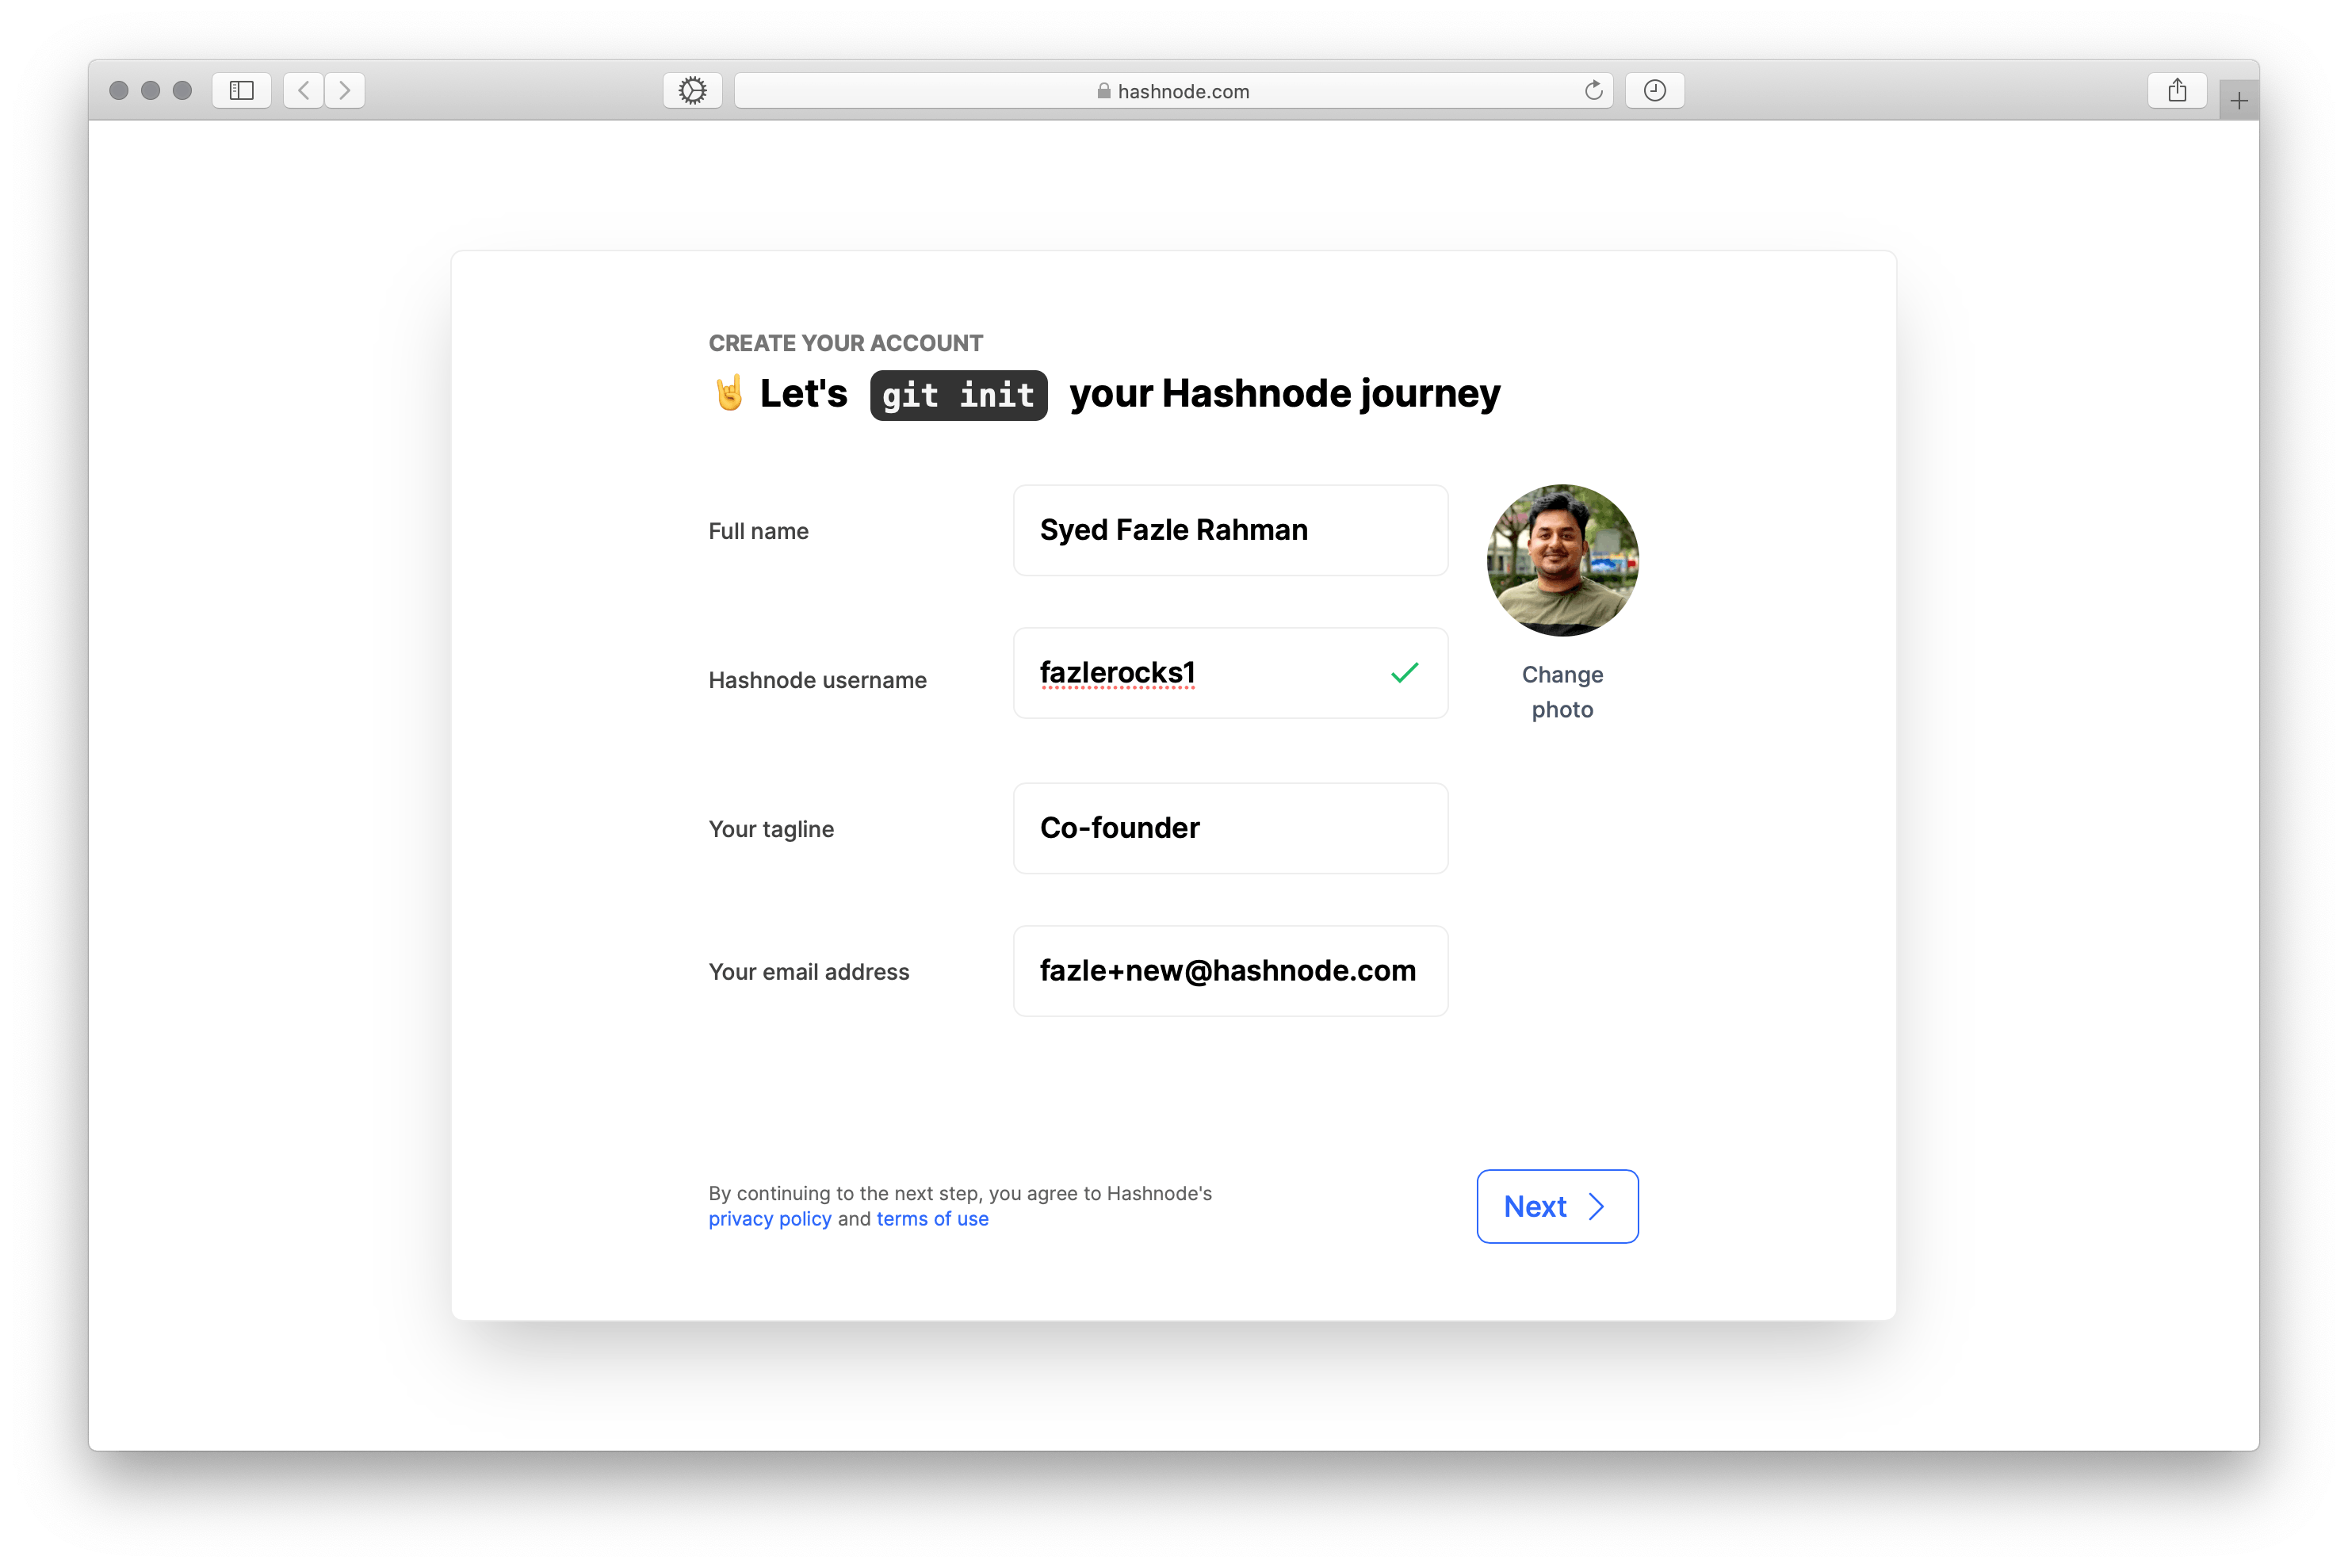
Enter your profile details on this. Select a unique username for your profile and make sure to upload your best profile picture.
Step 3: Create a blog
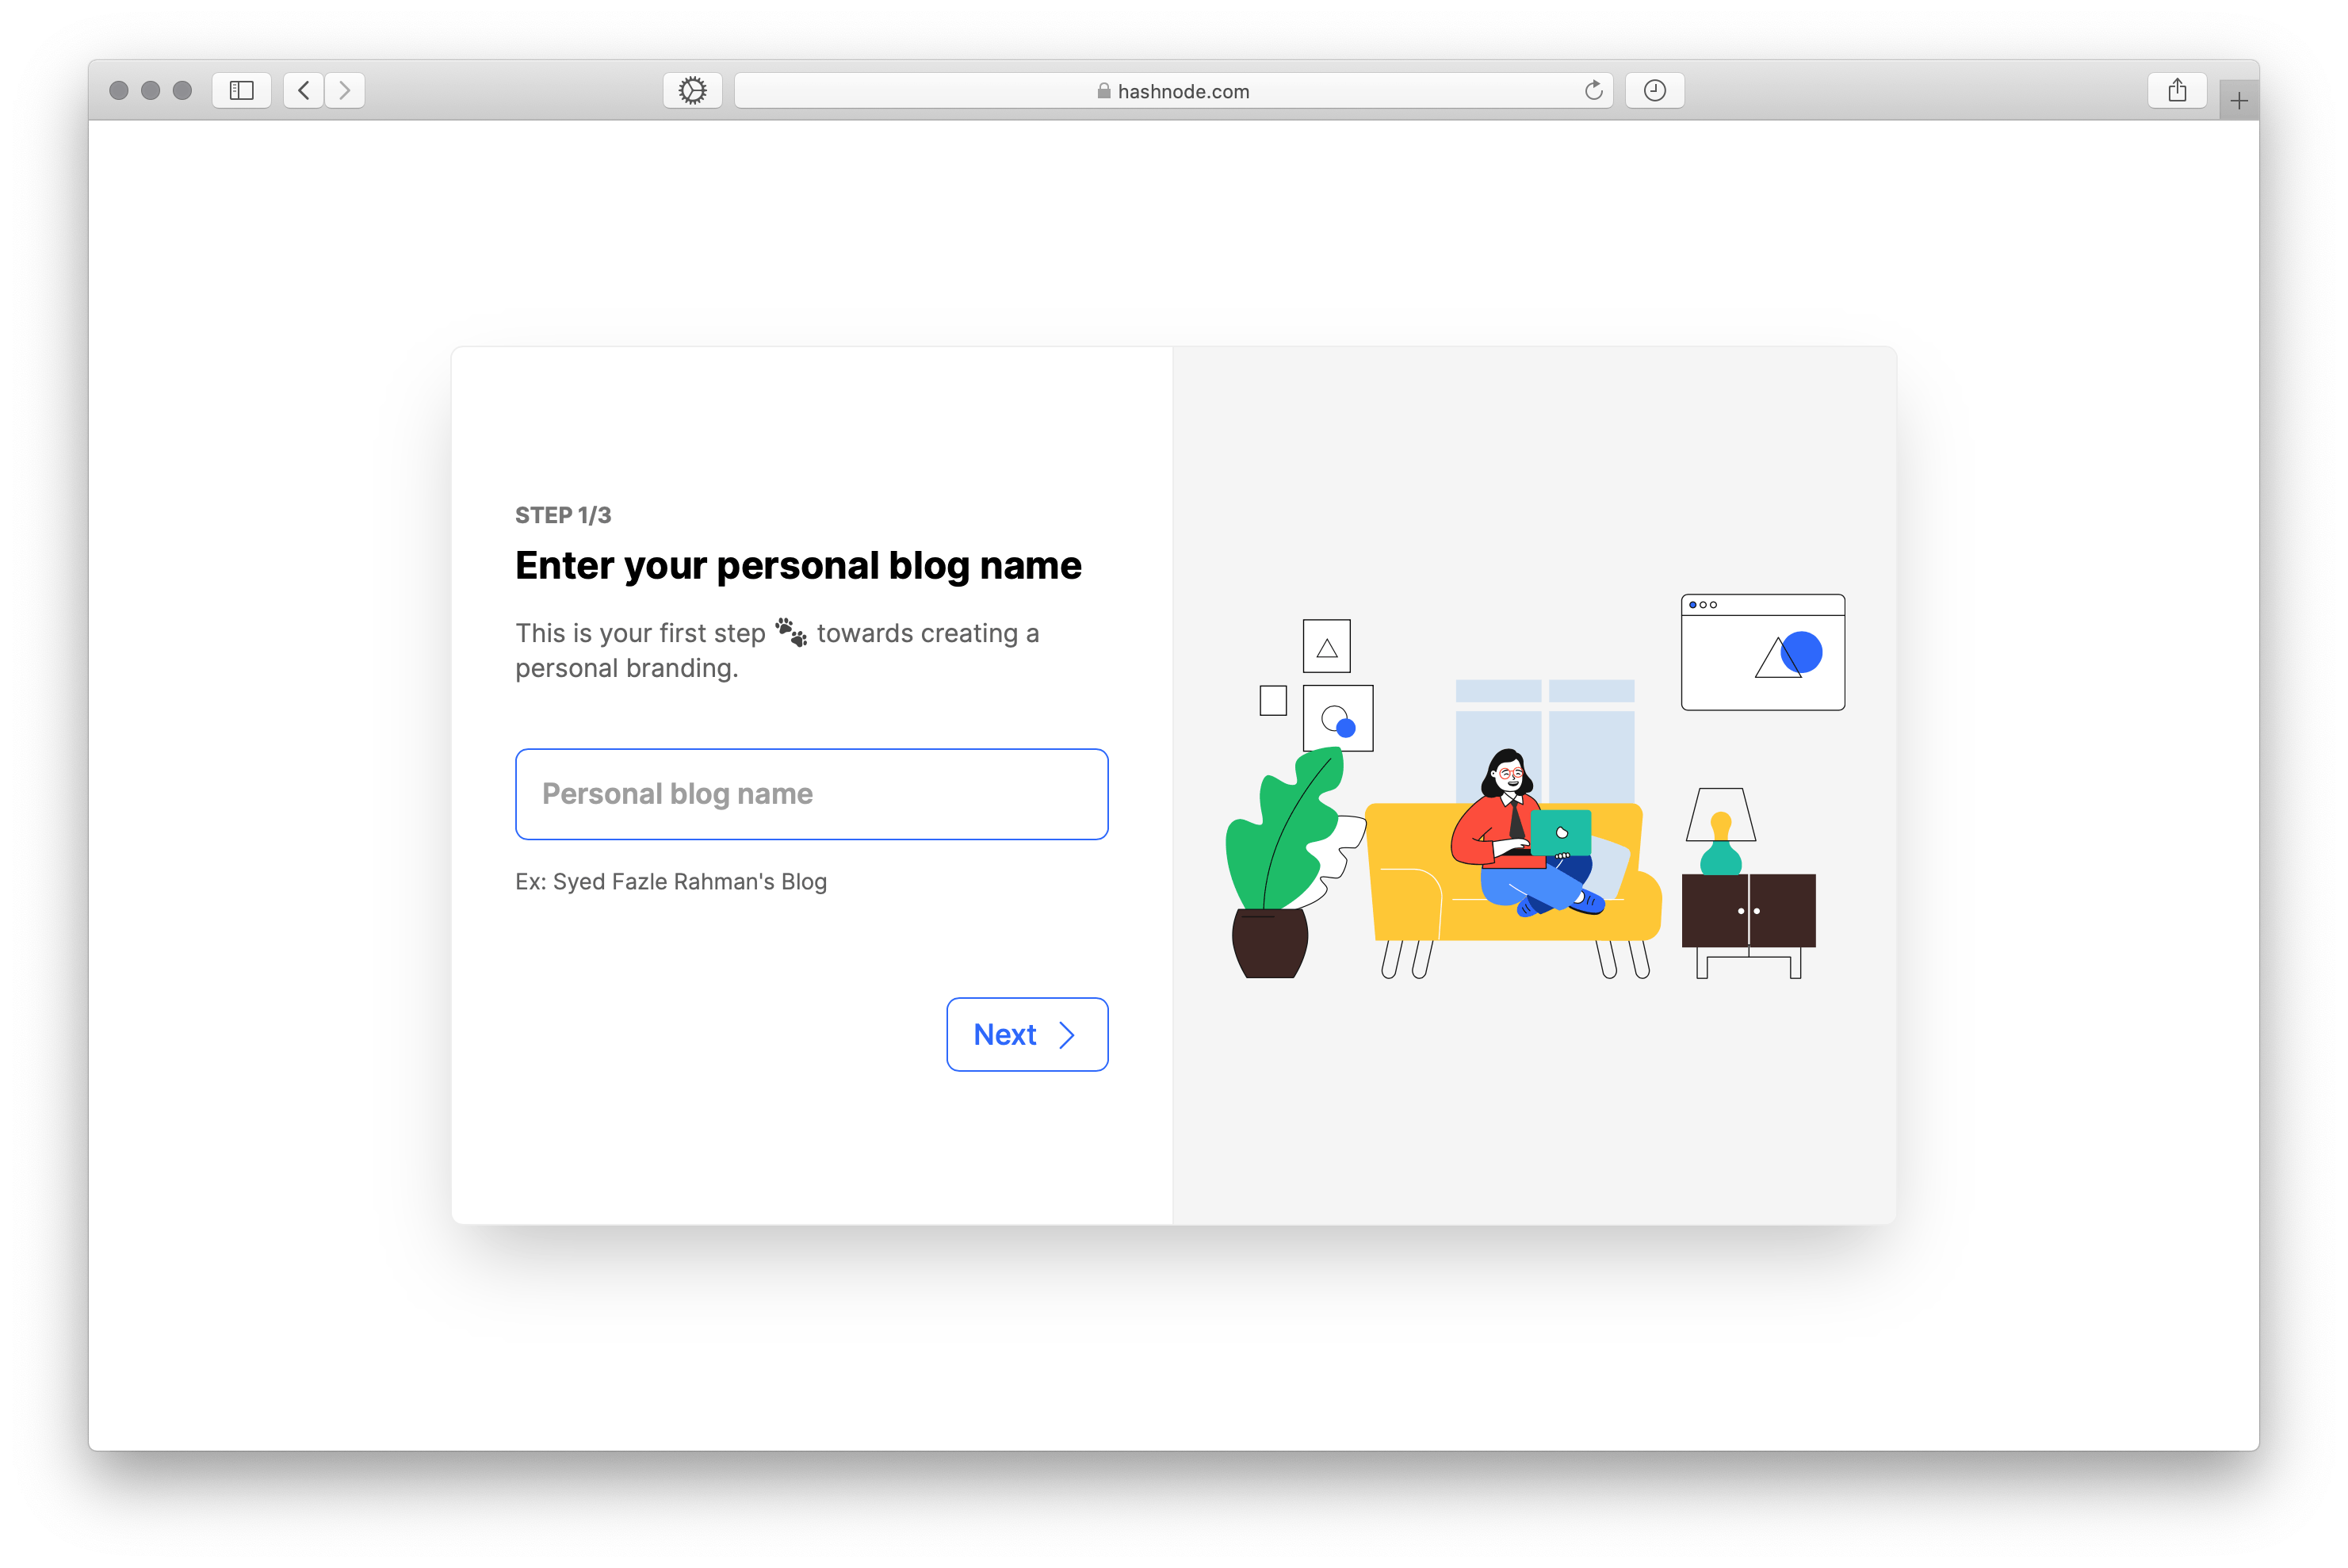
This is your first step 🐾 towards creating a personal branding. Enter the name for your website.
In the next step, you'll be asked to decide where you want your blog to open. You can choose between Hashnode's free subdomain or your personal domain. In this article, we'll focus on the personal domain option.
In my case, I want my blog to open at fazle.dev. I bought this domain from namecheap.com. And in the next step, I will map fazle.dev to Hashnode's blogging platform.
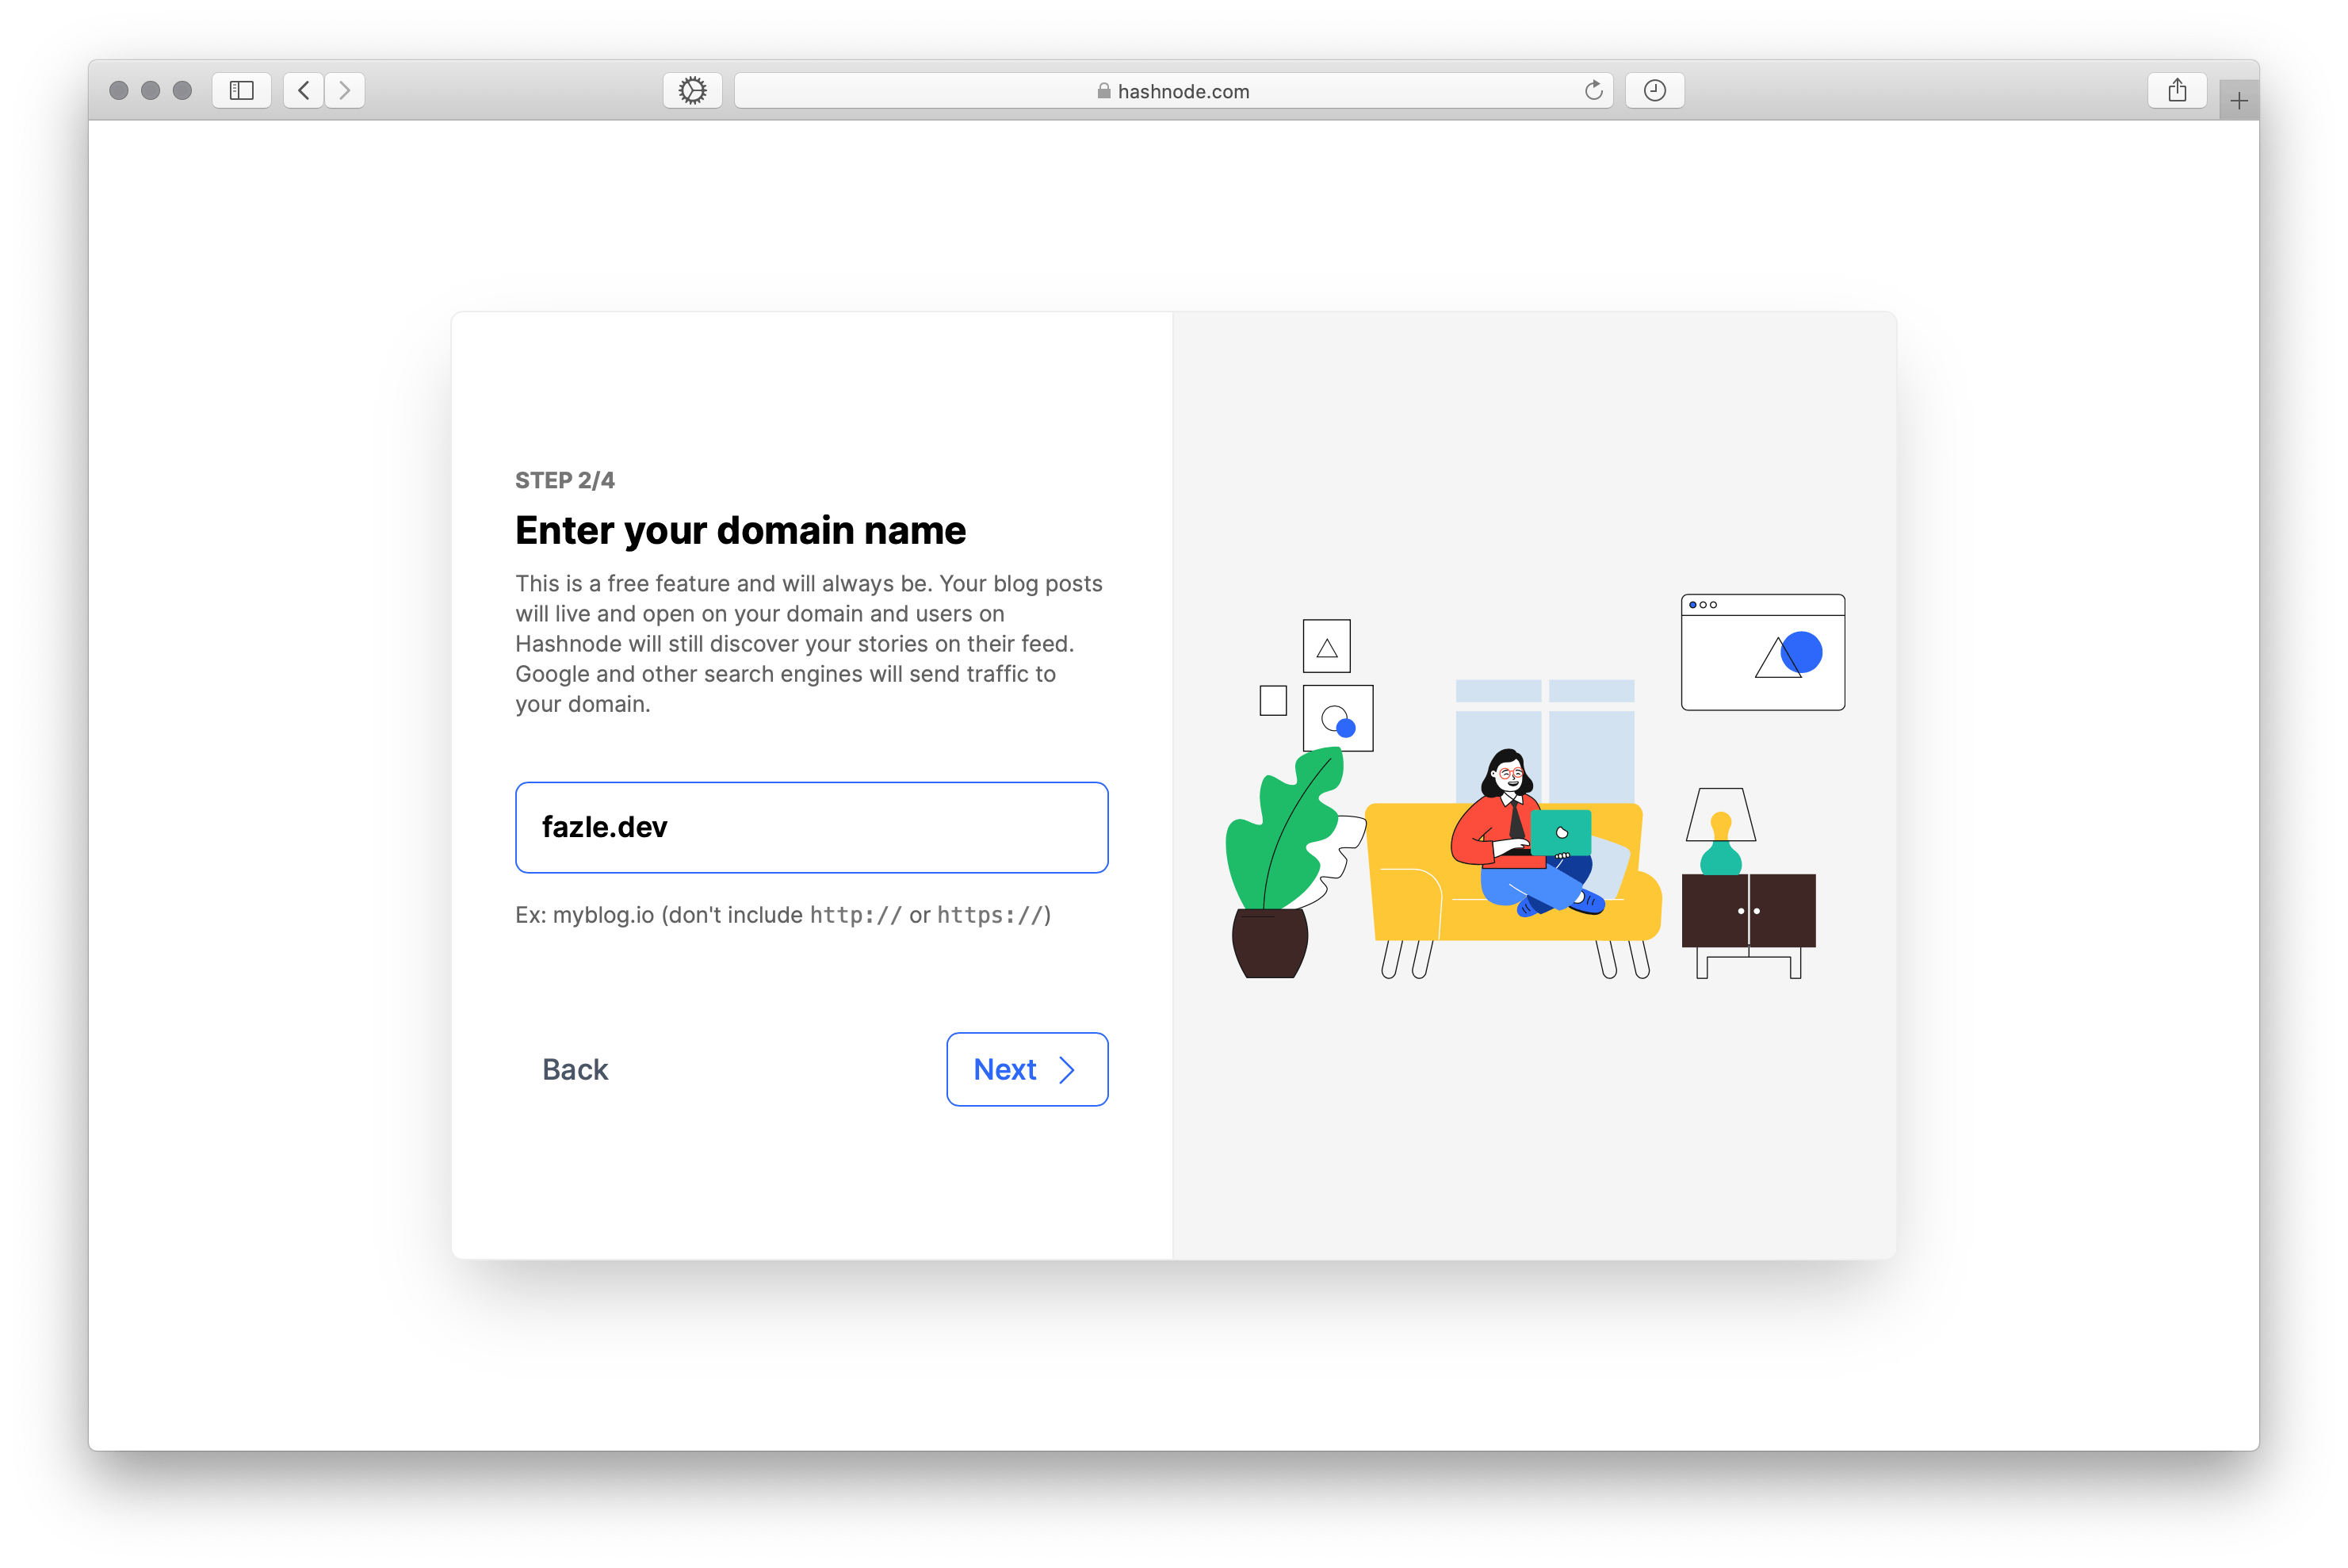
Enter your domain name without HTTP protocol. In my case, I entered fazle.dev. Now, click on next.
Step 3: Map your personal domain to your Blog
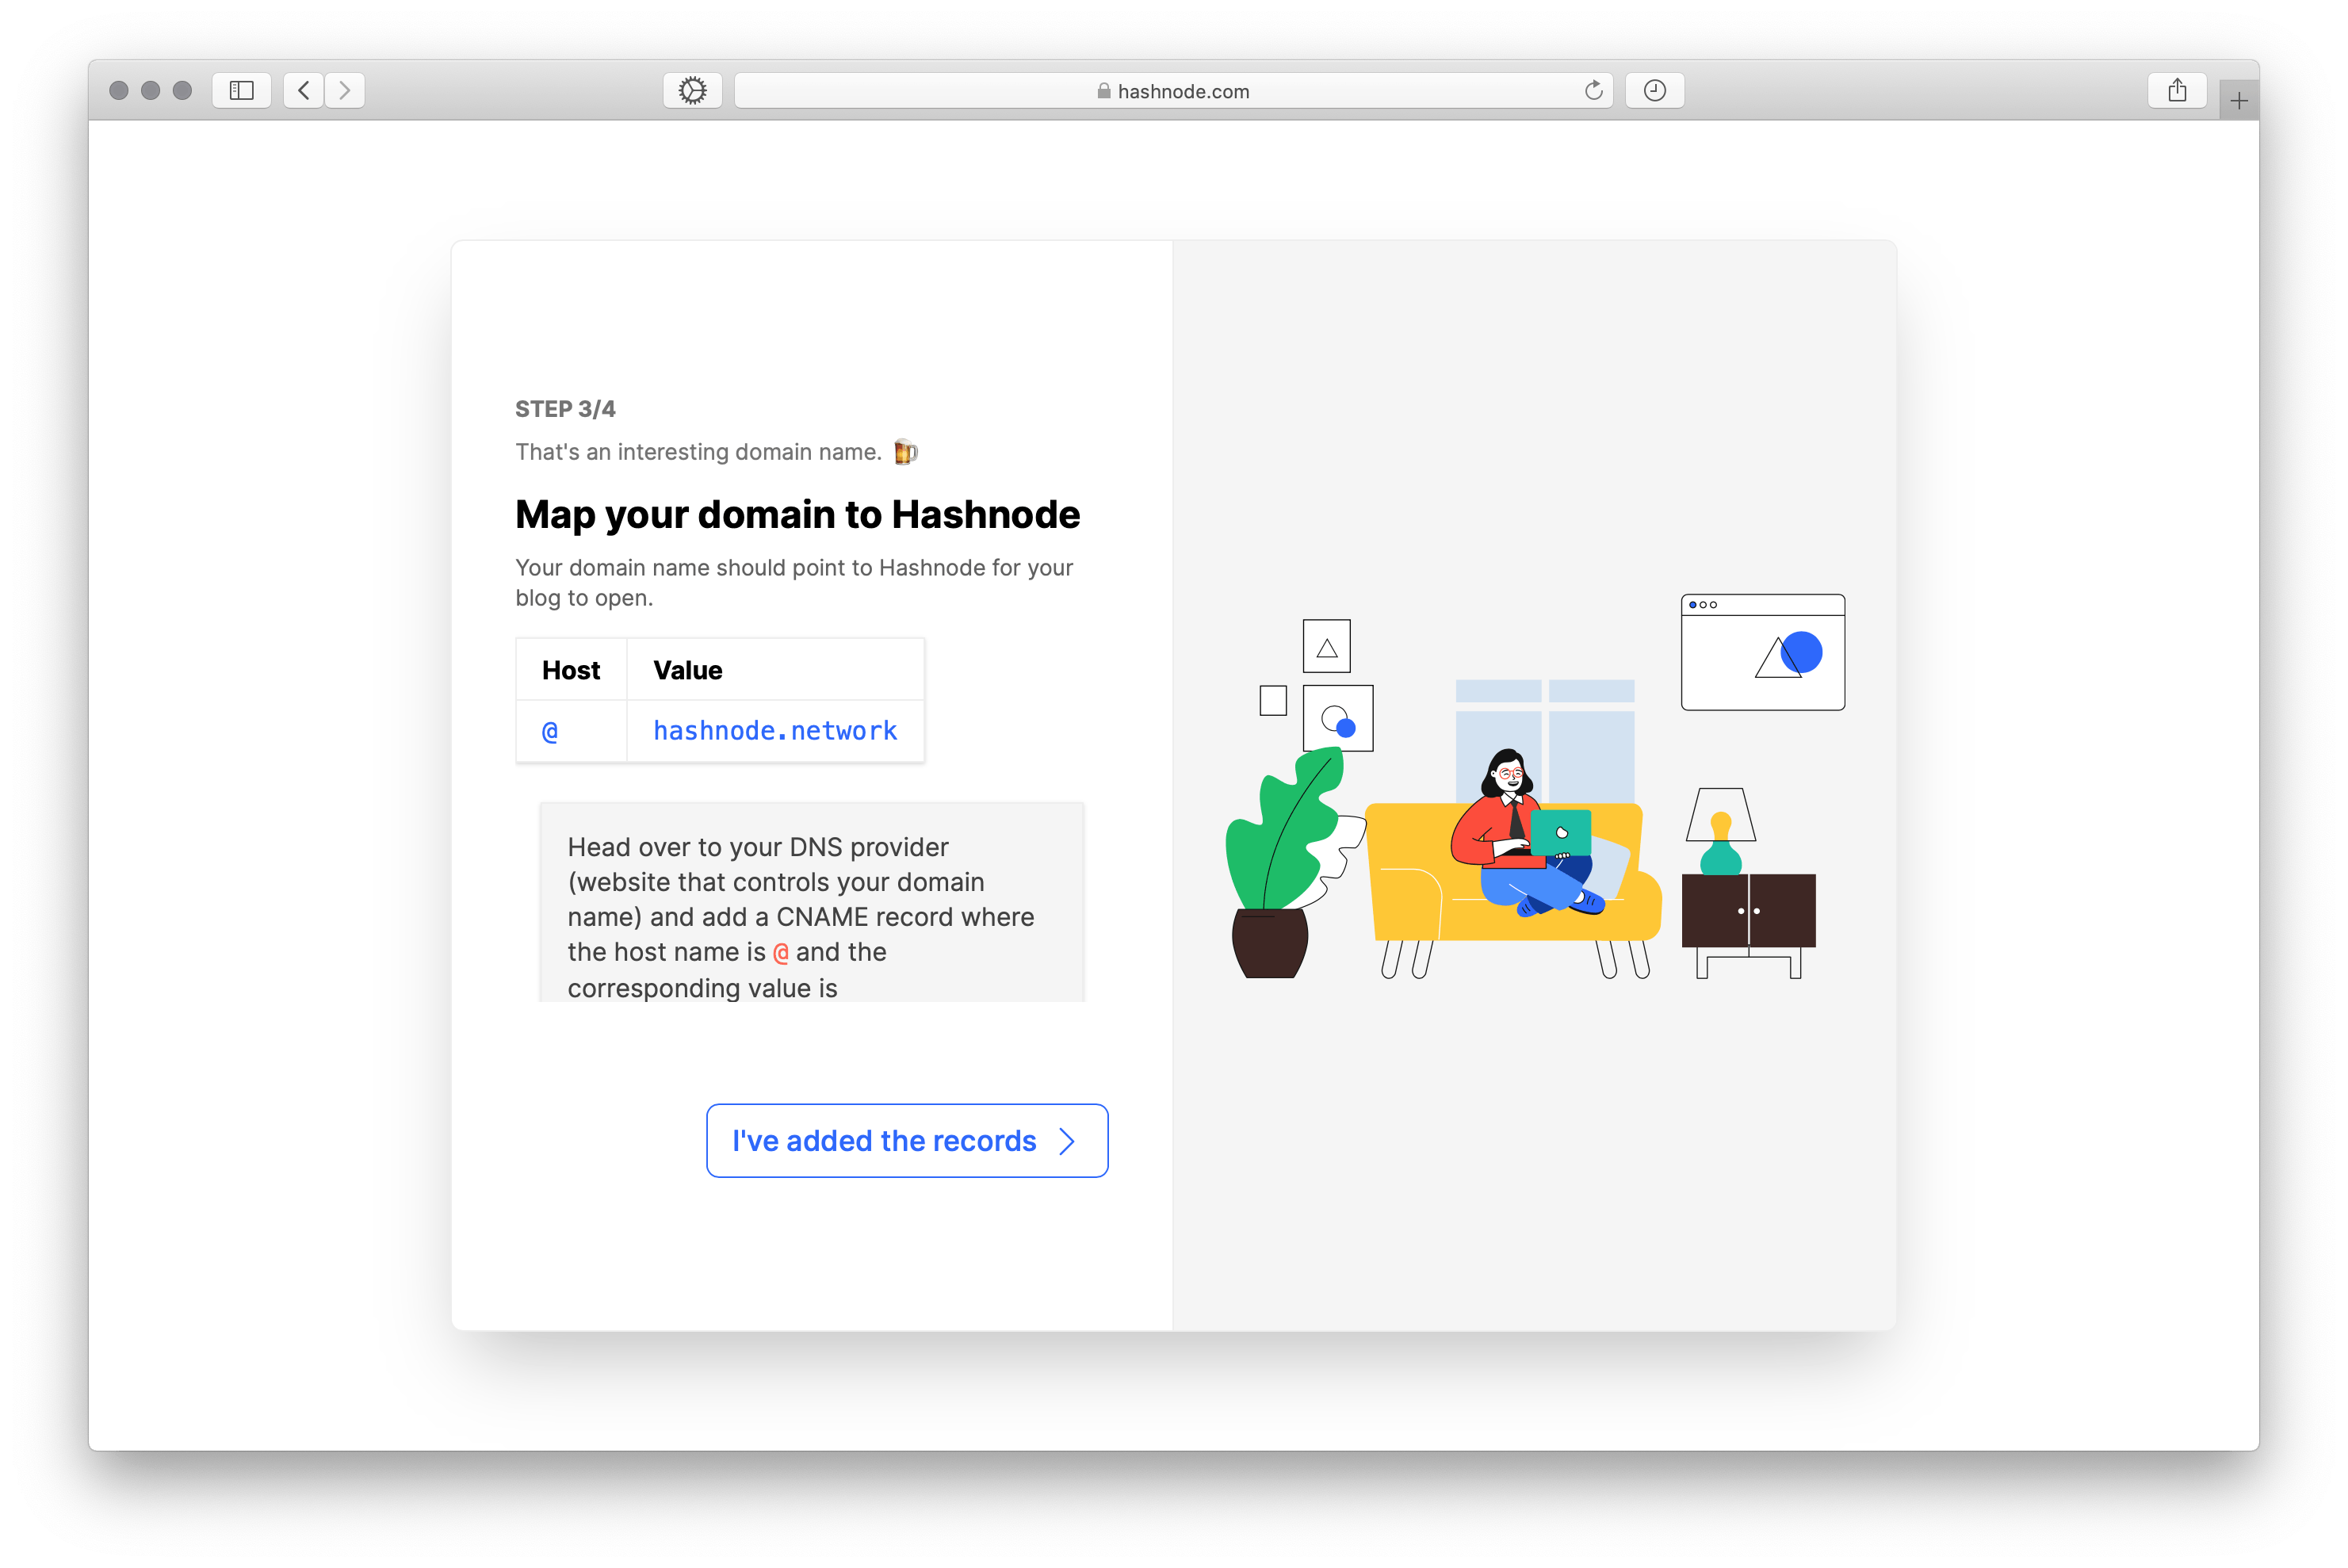
After entering your personal domain in the previous step, Hashnode will provide a CNAME record. You need to enter this CNAME record in the DNS management section of your domain provider.
In my case, I will go to namecheap.com, select the domain and click on DNS management. I will enter @ under host and hashnode.network as the value and then click on "Add record".
Hashnode recommends adding a CNAME record instead of A records. If you want to proceed with A record, enter host as
@root whose value is192.241.200.144.
That's it. Your personal blog will soon point to Hashnode. So far from our experience, DNS propagation happens within some seconds. However, it might take up to 30 mins in the worst-case scenario.
What about SSL certificate?
We'll automatically provision an SSL certificate for you when you visit your blog for the first time. If you are using something like Cloudflare, please bypass it for this domain.
You're all set!
You're all set to start blogging on your personal domain that's powered by Hashnode's blogging platform. Every time you write a story, it'll be published on your domain. Google and other search engines will index your personal domain on search instead of Hashnode unlike other blogging networks like Devto and Hackernoon.

So, are you ready to get the creator freedom? Blogging on a personal domain as a developer has never been so easy and fulfilling. Also, everything is free! All the blogging features are available for free and will always be for individual developers.
Here are some of my favourite blogs on Hashnode:
- lo-victoria.com
- nelsonmichael.dev
- jatinrao.dev
- blogdolipe.com.br
- edidiongasikpo.com
- blog.greenroots.info
More Info?
If you have any questions or suggestions at all, we’re more than happy to hear from you. Join our Discord server and chat with us.