


I started learning React in late January and i have found it fun and exciting. Due to advice from different experienced developers, documenting and writing a simple article about what you have learnt helps retain the knowledge and is vital for your career. So i decided to give it a try.
We start by creating a new react app by running npx create-react-app todo-app in the command prompt or Git Bash, cd into the todo-app and run npm start
npx create-react-app todo-app
cd todo-app
npm start
This will generate the boilerplate that will be required to start our react app.
We open the app folder in our text editor and navigate to the App.js and edit the react-starter text-markup to print Hello World
import React  from 'react';

function App() {
 return (
  <div>Hello World</div>
)
}

We set up a todo state in the functional component using useState, print it out, add a checkbox(to mark completed) and delete button to each todo item. We also set up a ternary operator to check if there is no Todos and render Todo Empty(this will come in handy when we start deleting todos) if no todo.
import React, { useState }  from 'react';

function App() {
 const [Todos, setTodos] = useState([
      {id: 1, title: 'Todo', checked: false},
      {id: 2, title: 'Todo 2', checked: false},
      {id: 3, title: 'Todo 3', checked: false}
    ])
 return (
    <div
    style={{ textAlign: 'center'}} >
        <h1>Todo App</h1>
        {Todos.length <= 0 ? <h3> Todo Empty...</h3> : Todos.map(todo => (
          <div key={todo.id}>
            <h3>{todo.title}</h3>
            <input
              type="checkbox"
              onChange={() =>handleChange(todo.id)}
              checked={todo.checked}
            />
            <button
            onClick={() => handleDelete(todo.id)}
            >Delete</button>
          </div>
        ))}
    </div>
  );
}

With the current set-up the checkbox will never be checked because its value is set to false by default(todo.checked === false). We set up a function handleChange to handle this check button
  const handleChange = (id) => {
      let newTodos = [...Todos]
      let todo = newTodos.find(t => t.id === id)
      todo.checked = !todo.checked
      setTodos(newTodos)
    }
This allow us to toggle the checkbox but we need to add functionality to the title to show that the todo has been checked/ completed, so we define a const marked and function changeStyle to change the style of the h3 title element color to red(I don't want to set up a seperate css sheet) on checking the checkbox
const marked = {
    color: 'red',
    textDecoration: 'line-through',
    display: 'inline'
}

  const changeStyle = (todo) => {
      return todo.checked ? marked : { display: 'inline'}
    }
The h3 title looks like this
<h3 style={changeStyle(todo)}>{todo.title}</h3>
 To add an input field that adds new Todo to the existing ones, first we create a JSX markup directly below the Todo App header
      <input
          name="todo"
          type="text"
          onChange={handleInput}
          value={todo}
        />
        <button onClick={addTodo}>Add Todo</button>
Now we need three set-ups:
- We set up the useState for todo in order to manage/communicate with input change
- We set up the handleInput functionality in order to set the state on input change
- We set up the addTodo functionality in order to add todo to the todo list
1. We set up the useState for todo in order to manage/communicate with input change
const [todo, settodo] = useState('')
2. We set up the handleInput functionality in order to set the state on input change
   const handleInput =(e) => {
      settodo(e.target.value)
    }
3. We set up the addTodo functionality in order to add todo to the todo list
Note that we already added a simple valid check for empty string on the Add Todo button{ disabled={!todo} }, so that should do for simple validation. We also set the todo to empty string to clear the input once we add todo.
   const addTodo = () => {
      const newTodo = {
        id: Date.now() + todo,
        title: todo,
        checked: false
      }
      const newTodos = [...Todos, newTodo]
      setTodos(newTodos)
      settodo('')
    }
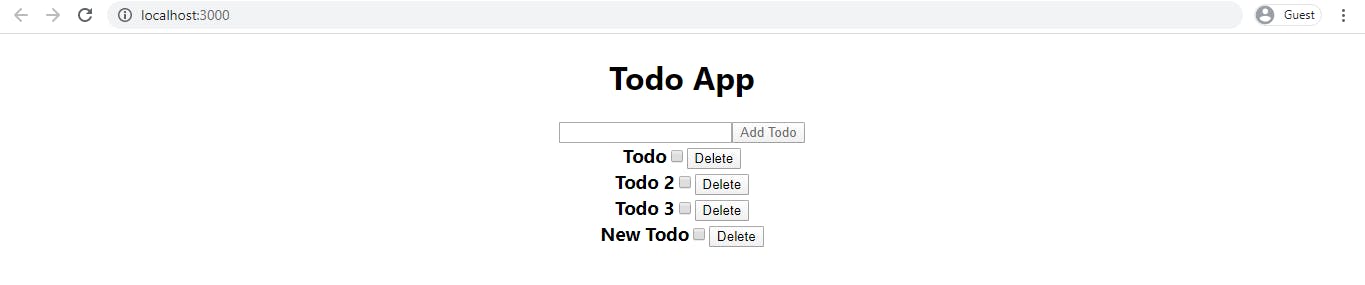
We should be able to add new todo
Now to set up the functionality for deleting todo
    const deleteTodo = (id) => {
      const newTodos = [...Todos]
      const filteredTodos = newTodos.filter(t => t.id !== id)
      setTodos(filteredTodos)
      saveToStorage(newTodos)
    }
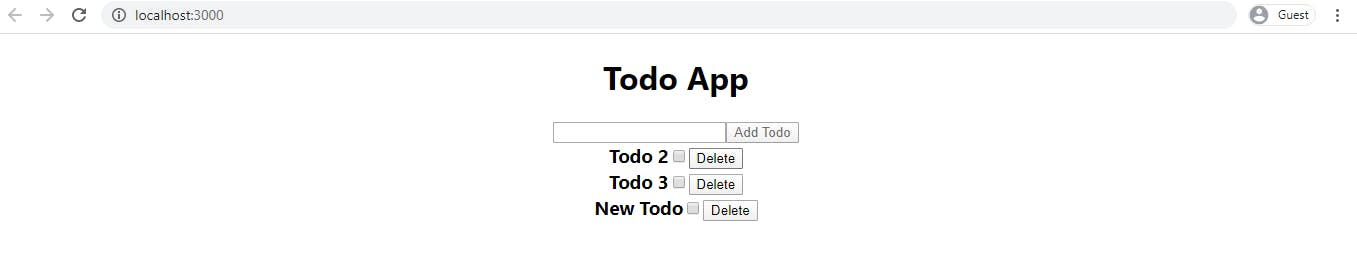
Now we should be able to delete any of the todo list. Lets delete the first one.

Now to add one more functionality. The todos are static and would rerender the three todos we started with once we refresh or reload the page. To make it dynamic we set up another react hooks functionality known as useEffect by setting and getting information from the browser local storage.
We define the saveToStorage and getFromStorage functionality
  const getFromStorage = (item) => {
      const fromStore = JSON.parse(localStorage.getItem(item))
      return !fromStore || typeof fromStore === "undefined" || fromStore.length <= 0 ? [] : fromStore
    }

   const saveToStorage = (todos) => {
      localStorage.setItem('todos', JSON.stringify(todos))
    }
We add the saveToStorage functionality to the handleChange, addTodo and deleteTodo functions
 const addTodo = () => {
      const newTodo = {
        id: Date.now() + todo,
        title: todo,
        checked: false
      }
      const newTodos = [...Todos, newTodo]
      setTodos(newTodos)
      settodo('')
      saveToStorage(newTodos)
    }

    const deleteTodo = (id) => {
      const newTodos = [...Todos]
      const filteredTodos = newTodos.filter(t => t.id !== id)
      setTodos(filteredTodos)
      saveToStorage(newTodos)
    }
Now to add the useEffect functionality
import React, {useState, useEffect } from 'react';

  useEffect(() => {
      const todosFromStore = getFromStorage('todos')
      setTodos(todosFromStore)
    }, [])
Voila, our todos are now dynamic and we can reset the static one to an empty array.
const [Todos, setTodos] = useState([])

Thanks for reading. (NB: Sorry for my poor write-up, I hope to write better and more comprehensive in future)