
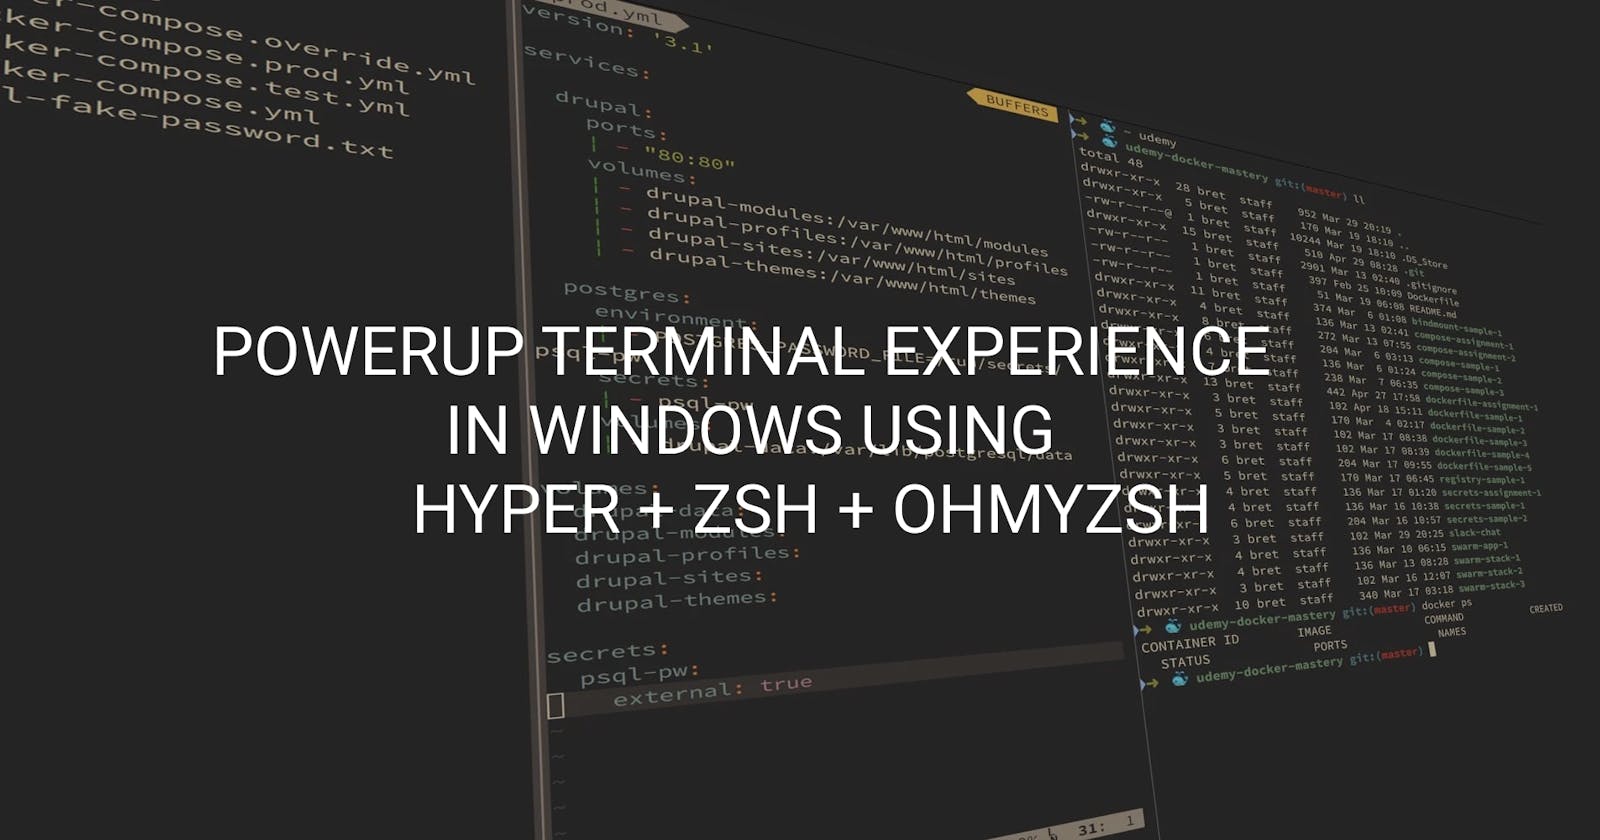
Customize Hyper Terminal in Windows using Oh My Zsh and Powerline Fonts


If you are a developer who is used to linux style - bash terminal for all your development, and when switched to Windows ! feel like a nightmare, this post is for you. Because I will help you get the same experience as you get in you in Linux ! Well Good News is soon, they will be launching a new Windows Terminal, which got all the features inbuilt, which will replace your default Command Prompt :D
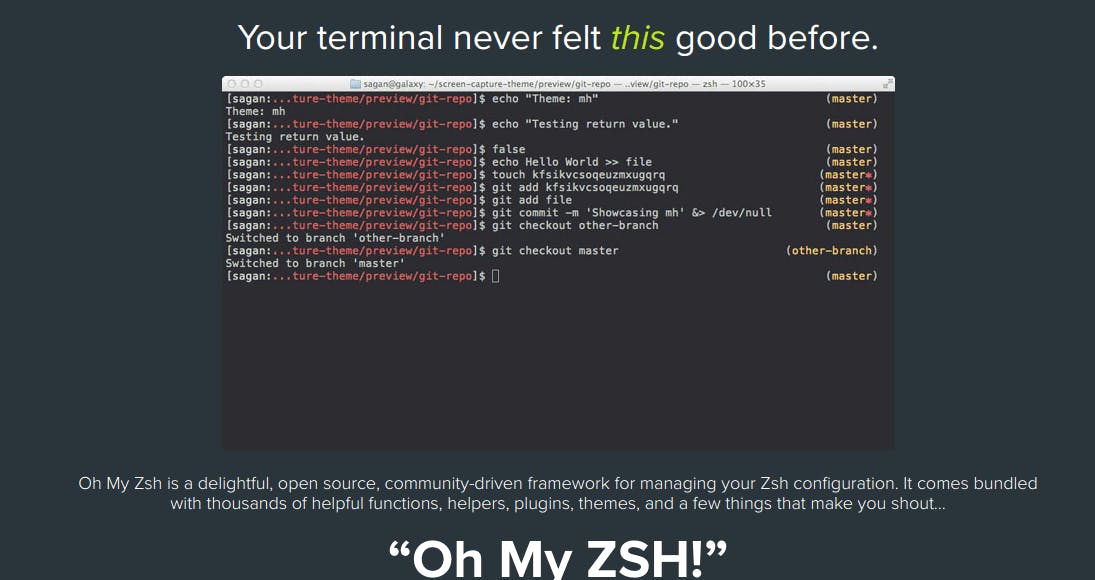
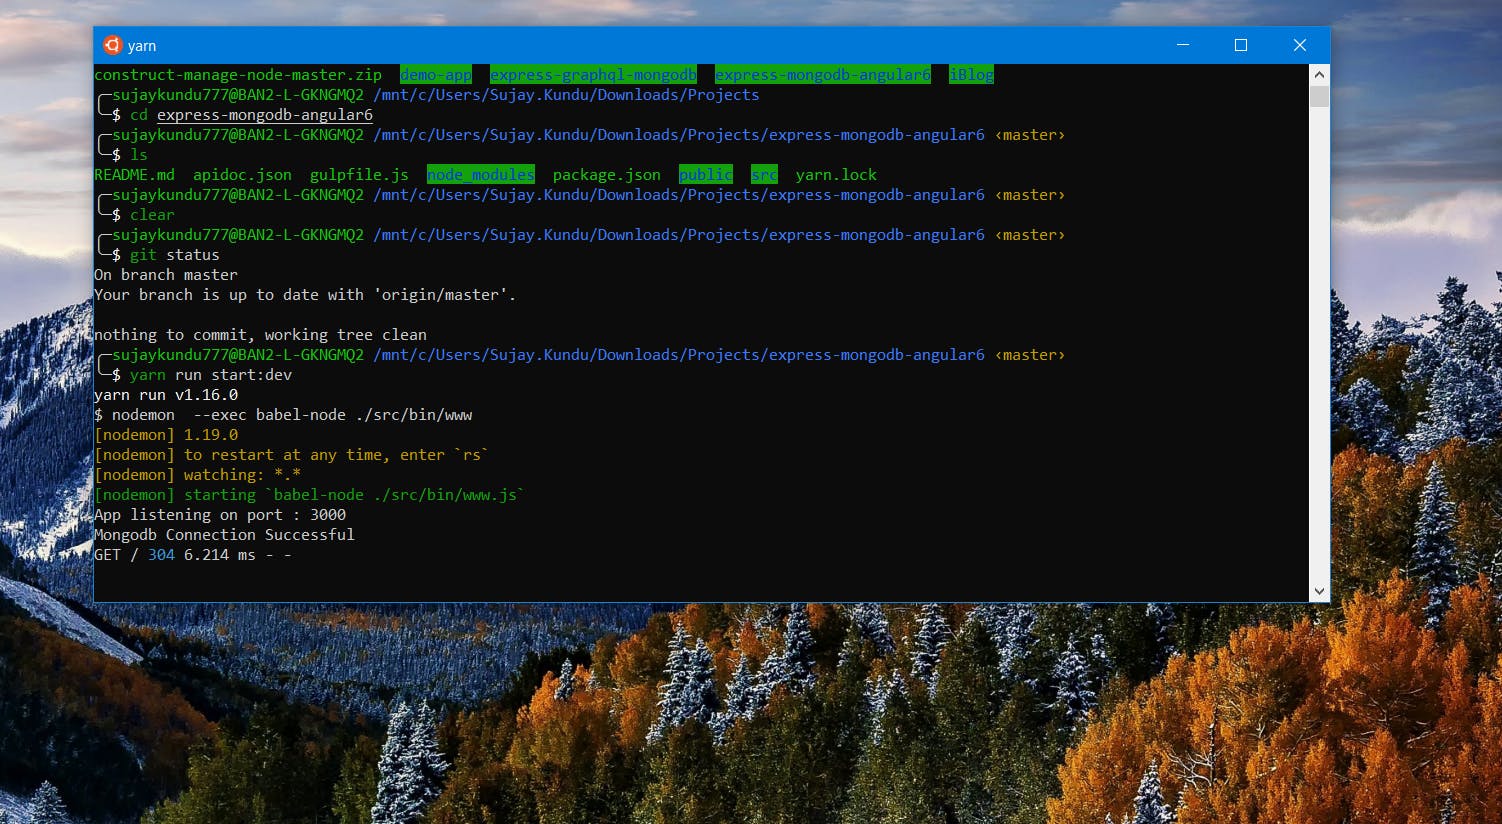
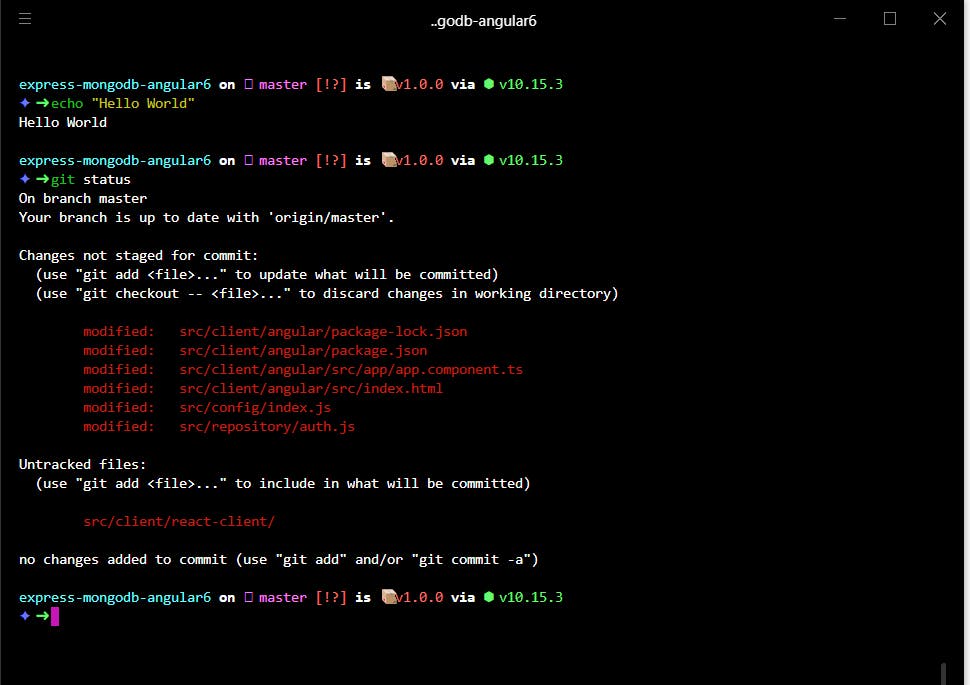
We get something like this in the end :

So Let's get started in customizing up our environment ! So this are the steps we gonna follow :
1. Switch to Windows Developer Mode
2. Setup Windows Subsystem for Linux
3. Install Ubuntu from App Store
4. Install Hyper Terminal
5. Install Zsh Terminal
6. Install Oh My Zsh
7. Install Powerline Fonts
8. Install ZSH Syntax Highlighting
9. Selecting the Theme
Switch To Windows Developer Mode
We need to switch to developer mode in windows to make some changes to the current shell.
Go to Settings > Update and Security > For developers ( From Sidenav).
Select the Developer Mode Option and Press Yes !
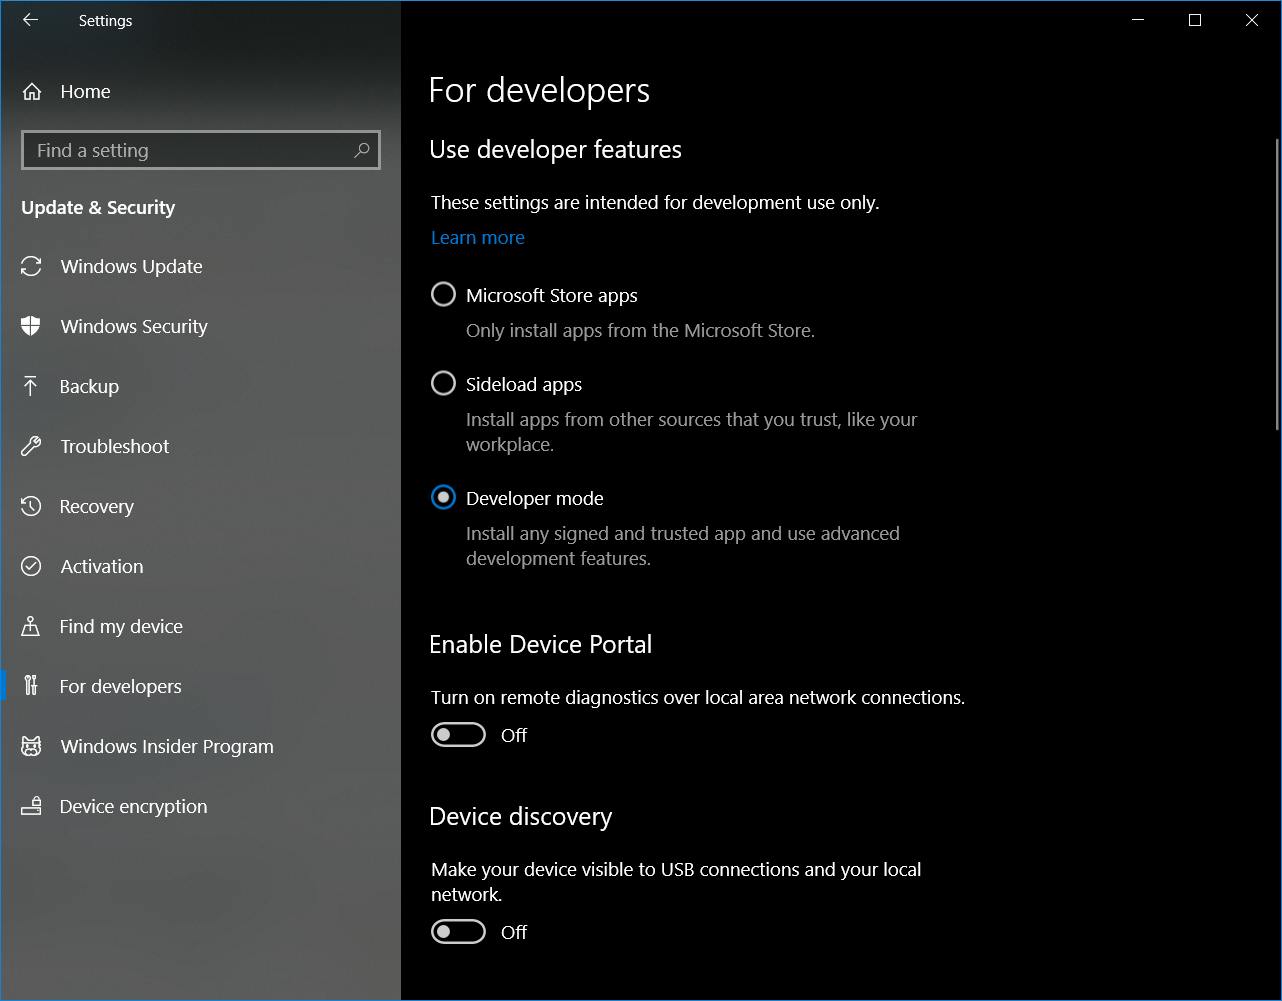
After the necessary components, you'll need to restart your computer.
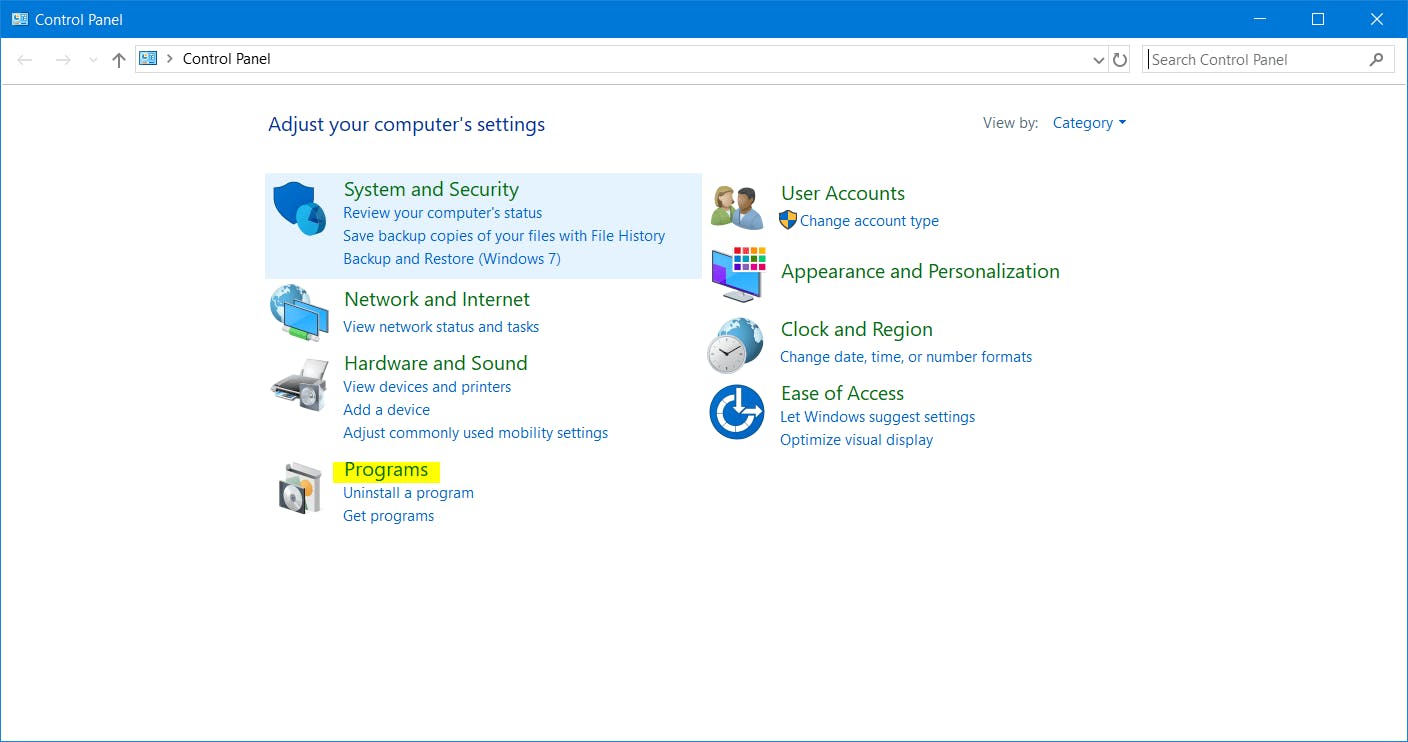
Once your Computer Reboots, open Control Panel.
Setup Windows Subsystem For Linux
- Click on Programs
- Click on Turn Windows Features on or off
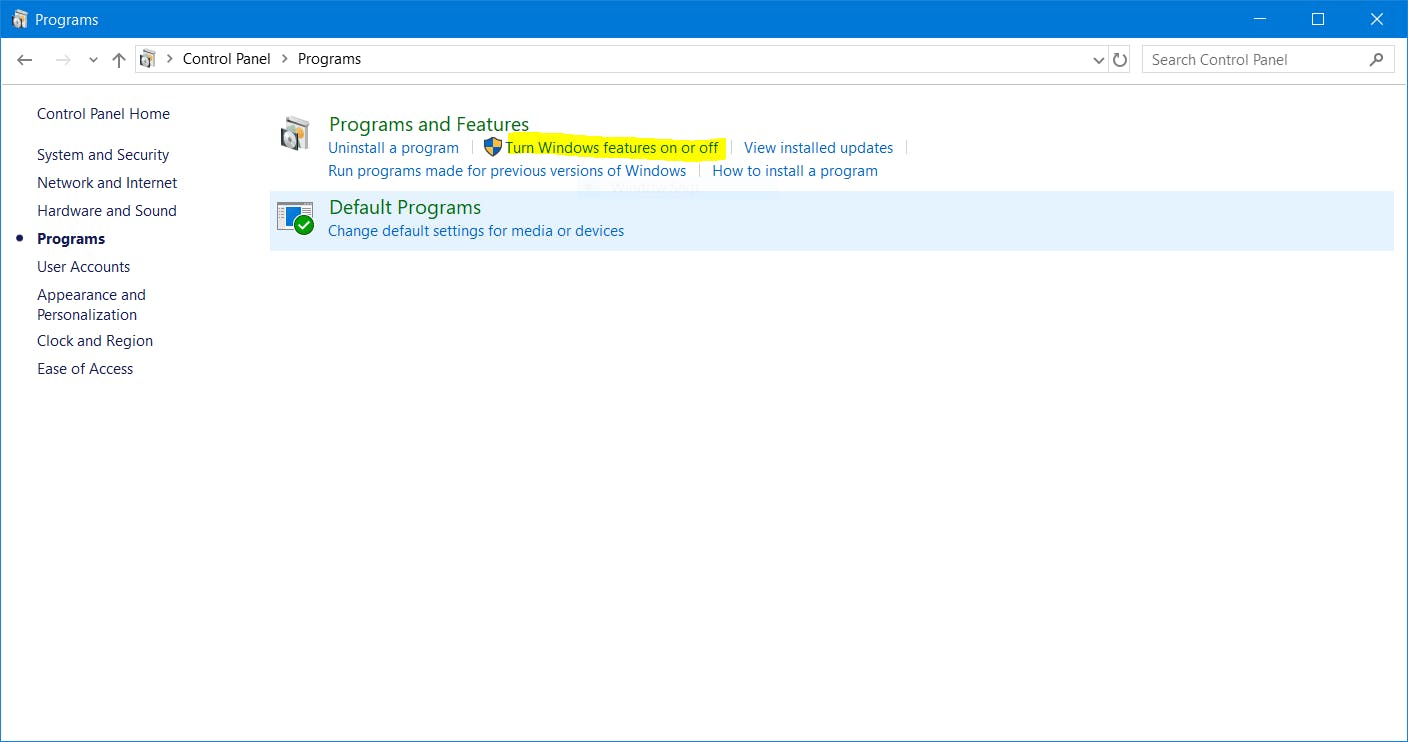
- Check the Windows Subsystem for Linux option and Press Ok.
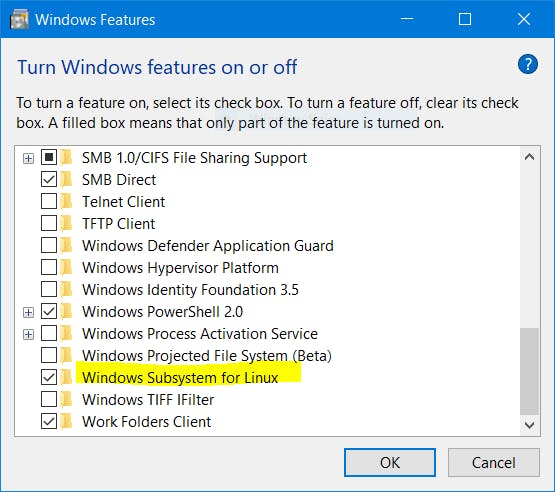
- Once the components are installed on your computer, click the Restart Now button to complete the task.
After your computer restarts, you will notice that Bash will not appear in the "Recently Added" list of apps, this is because Bash isn't actually installed yet. Let's do it now.
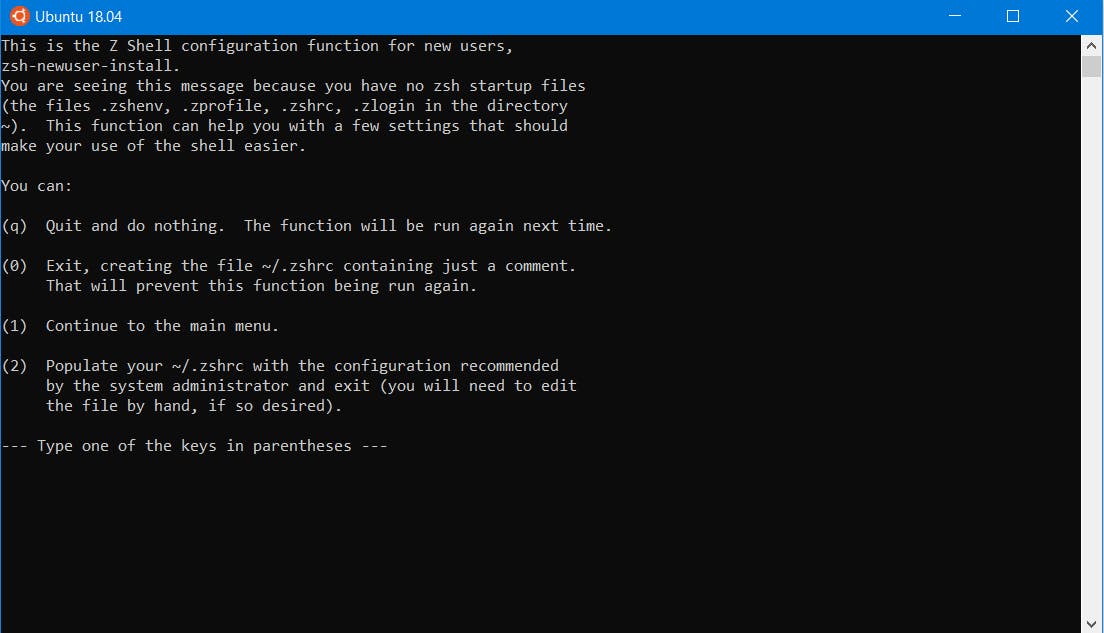
Install Ubuntu From App Store
- Go to Windows App Store and Search for Ubuntu 18.04 LTS
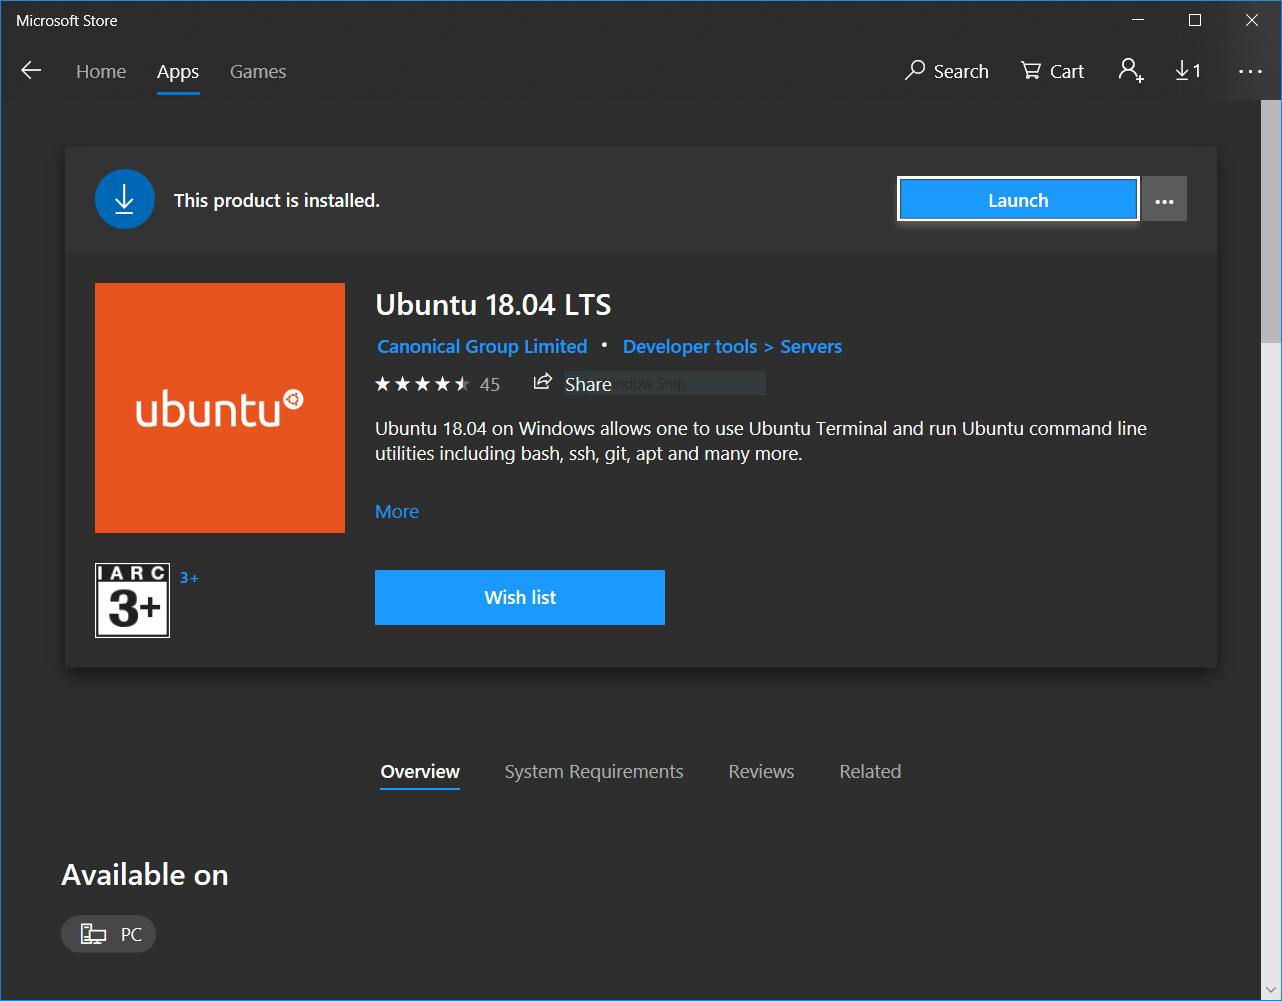
Open start, do a search for Ubuntu and press Enter.
Create a new Unix User and Password, This account doesn't have to be the same as your Windows Account. Enter the username in the required field and press Enter( you can't use the username "admin")
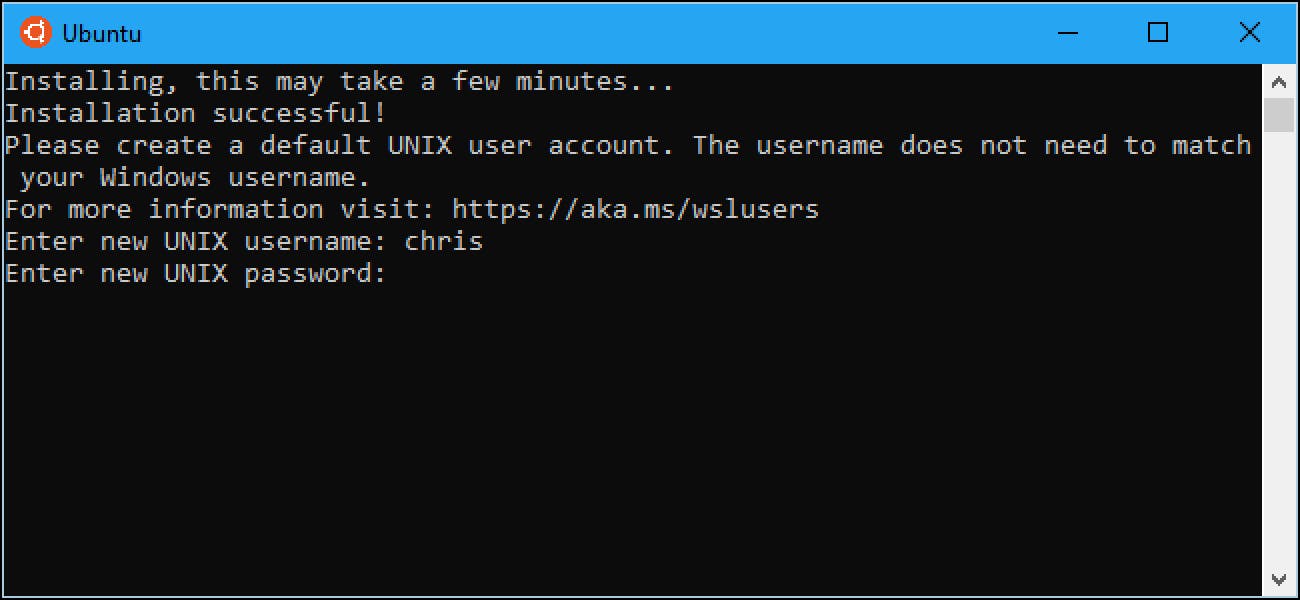
- Done. Now you can use the bash commands in the Ubuntu Bash Shell.
(Tip: In ubuntu bash you can directly move to your Windows Folders using : cd \mnt\c)
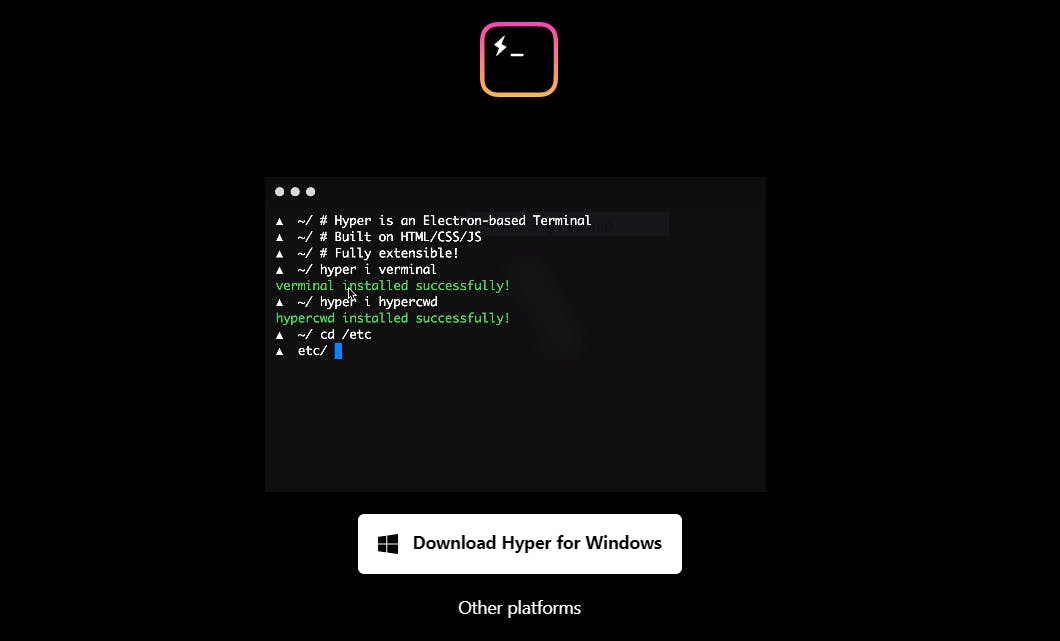
Install Hyper Terminal
To use all the customizations, we require a terminal that supports them. So let's install Hyper Terminal, which is built upon Javascript.
Setup Hyper terminal to use ZSH
After you installed Hyper Terminal open %USERPROFILE%/.hyper.js config file and replace line:
shell: '',
with
shell: 'C:\\Windows\\System32\\bash.exe',
Now each time when you will open hyper terminal it’s will be use zsh as default shell environment.
Install ZSH Shell
sudo apt-get install zsh
and open bashrc using nano editor
nano ~/.bashrc`
add
if [ -t 1 ]; then
exec zsh
fi
Install Oh My Zsh
curl -L raw.githubusercontent.com/robbyrussell/oh-… | bash
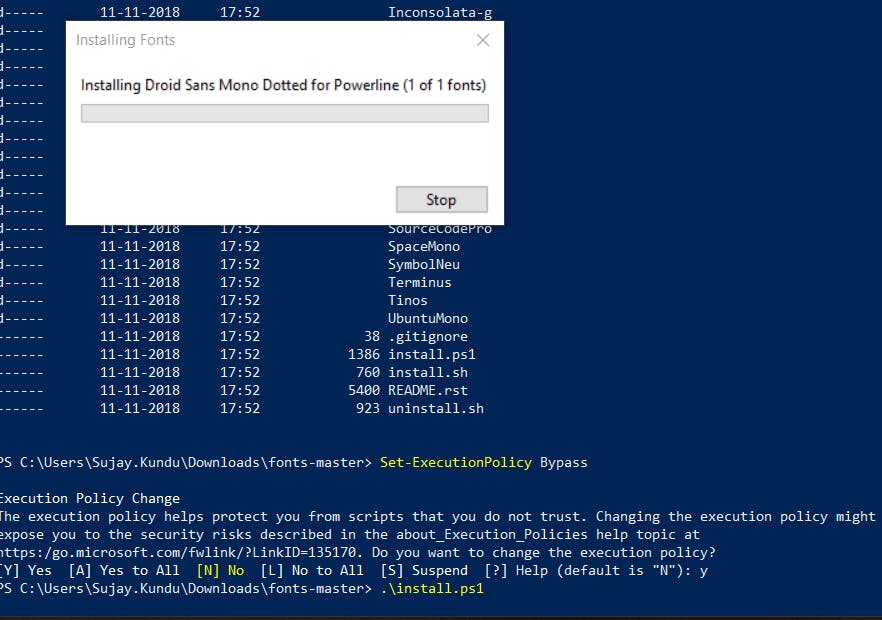
Install Powerline Fonts
Download fonts-master
We require to change some permissions first. Open the folder using Powershell ins Administrator Mode and type:
SetExecutionPolicy Bypass
- Press y
Once done Install the fonts using
sudo apt-get install fonts-powerline
.\install.ps1
Install ZSH Syntax Highlighting
Clone the ohmyzsh synta highlighting plugin using this:
git clone github.com/zsh-https://github.com/robbyrus… ${ZSH_CUSTOM:-~/.oh-my-zsh/custom}/plugins/zsh-syntax-highlighting
Then edit zshrc file using nano editor :
nano ~/.zshrc
add plugin(git zsh-syntax-highlighting) then after saving do :
source ~/.zshrc
Selecting The Theme
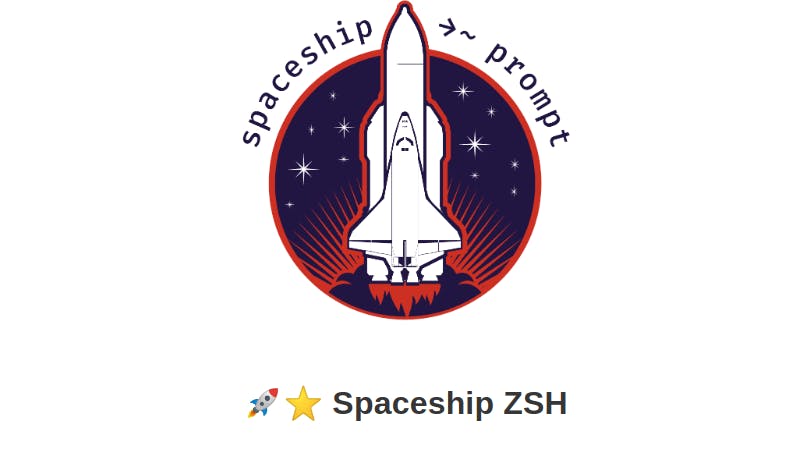
You can use any theme you want. We will be using the very famous Spaceship Theme : For more themes please visit: Oh My Zsh Themes
To Select the Theme for the terminal to use:
Open your terminal and type :
nano ~/.zshrc
and search for the line for the theme and replace it with the theme you want to use:
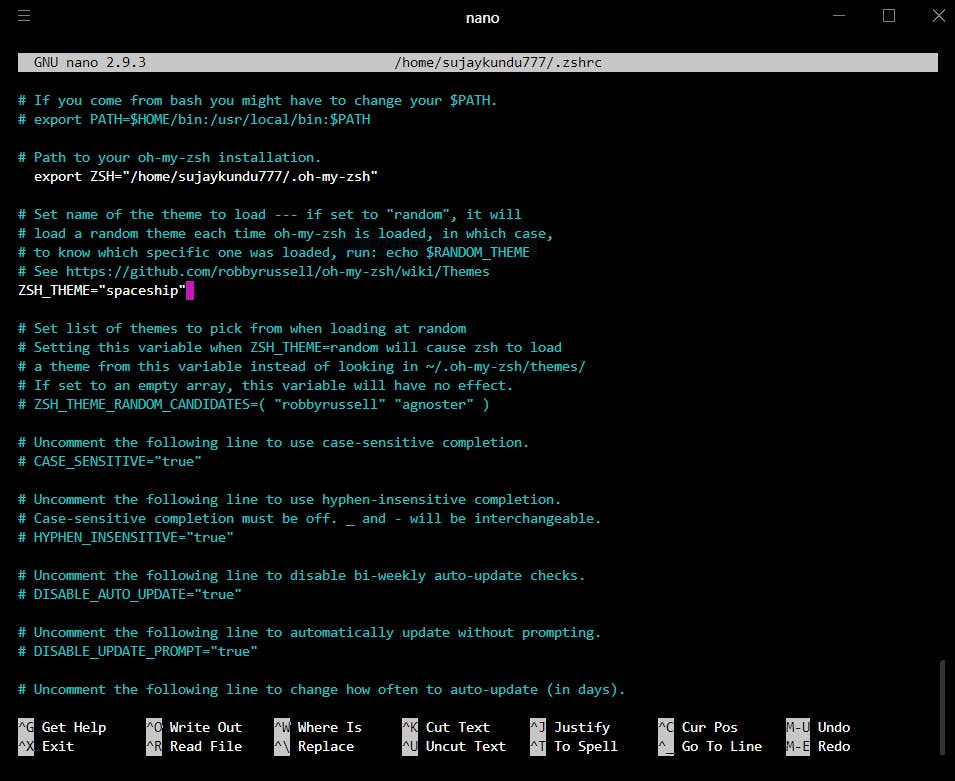
Install Spaceship Theme
git clone github.com/denysdovhan/spaceship-prompt.git "$ZSH_CUSTOM/themes/spaceship-prompt"
Now Symlink spaceship-prompt
ln -s "$ZSH_CUSTOM/themes/spaceship-prompt/spaceship.zsh-theme" "$ZSH_CUSTOM/themes/spaceship.zsh-theme"
Done, Restart the terminal and enjoy hacking with your brand new Terminal :D
Thanks for reading, hope you like the tutorial. Do forget to subscribe to my blog for more cool tricks upcoming ! :D
Have a great day :)


Abhinav
coding
Nov 9, 2021
I cant do it I want help