
Event Listeners in JS - the advanced concepts
Includes: bubbling, capturing, etc.


Table of contents
- Introduction
- Bubbling
- Capturing
- Remove an event listener
- Event delegation
Event listeners are pretty basic parts of DOM manipulation in JavaScript. when you first start learning what DOM manipulation is and how we can manipulate the document we are working with within JavaScript we are pretty much introduced to the concept of event listeners. Those of you who are new, I will try to give a basic understanding of what event listeners are and how they work. But for the people who have a basic understanding of event listeners but are looking to expand in English learn even they can continue or navigate to the later part of the article and read about the important concepts covered in this article.
First Things First, what are event listeners?
As the name suggests, event listeners are used to listening for events on any particular element. What can be that element? - anything you define in your HTML document. And what is an event? - it could be anything/ For example in terms of a button, it could be the event of clicking of the button. Or for example, we want to do something when the mouse hovers over a particular element, that ‘hovering’ could be our event.
This is pretty much what event listeners are. Or so you thought!. Let us dig right into some cool and conceptual stuff that you might not know. We’ll be covering:
- Bubbling and capturing in JS
- removeEventListener
- Event delegation
Bubbling
For reference, we have our HTML document which contains the following code:
 <div id="outer">
        <div id="middle">
            <div id="inner">Bubbling and Capturing</div>
        </div>
    </div>


Now moving to our JS part, we have the following:
const inner = document.querySelector("#inner");
const middle = document.querySelector("#middle");
const outer = document.querySelector("#outer");

outer.addEventListener("click", function() {
    console.log("outer was clicked");
});
This piece of code tells our JS to listen for the event ‘click’ on the outer div element and when you see it on your console, we have the output: “outer was clicked”.
Works as we expected. But let us change the code to the following:
const inner = document.querySelector("#inner");
const middle = document.querySelector("#middle");
const outer = document.querySelector("#outer");

inner.addEventListener("click", function() {
    console.log("inner was clicked");
});
middle.addEventListener("click", function() {
    console.log("middle was clicked");
});
outer.addEventListener("click", function() {
    console.log("outer was clicked");
});
Now when we click on the inner div, we should get the output as: “inner was clicked”, right?. But when you run it, it logs the following on the console:
“Inner was clicked”
“Middle was clicked”
“Outer was clicked”
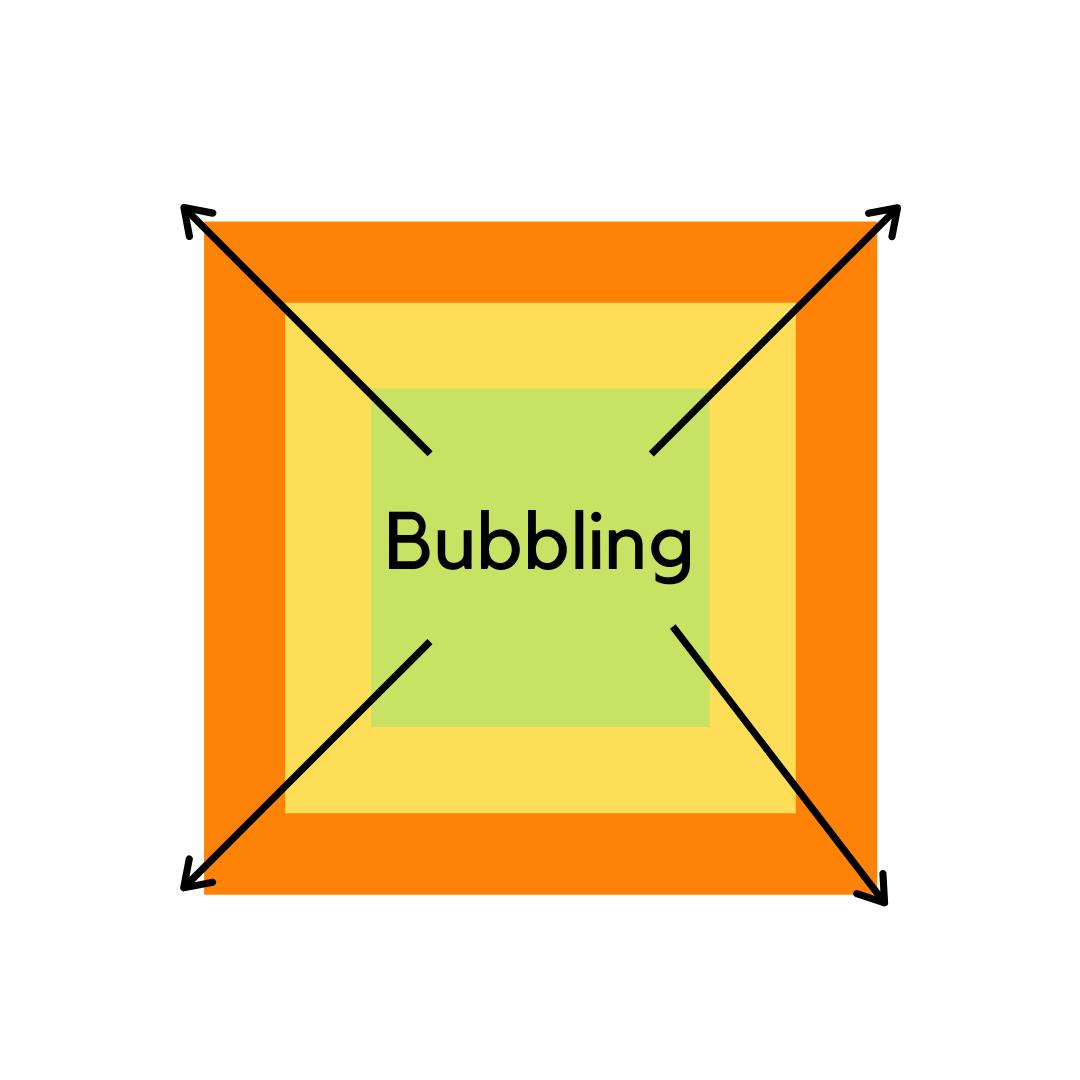
Hmm, what is this happening? This is something known was bubbling. What we see on our HTML page is this:
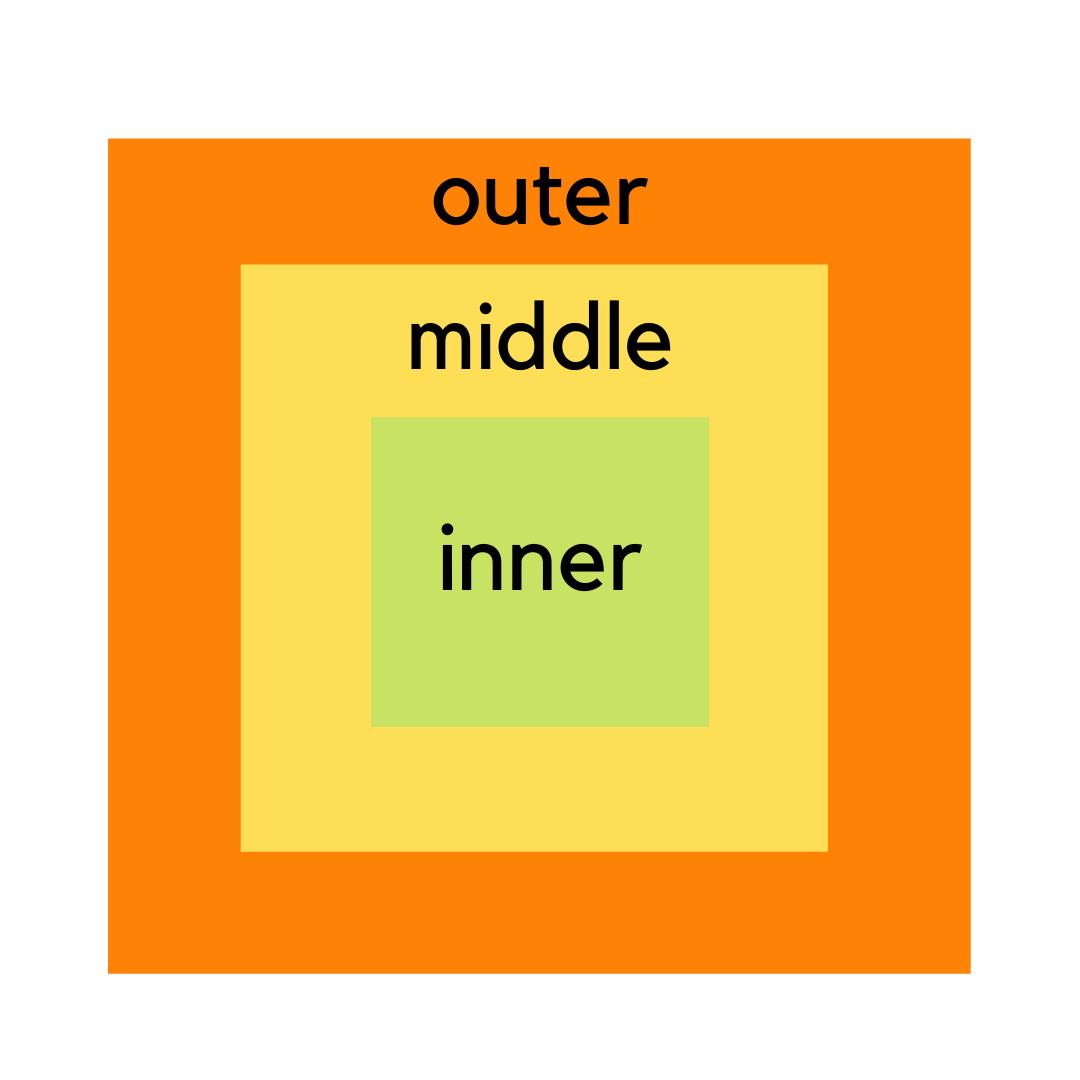
But let us see a bit from its side view.

With this diagram, it becomes clear that these 3 divs are not one inside the other but are one above the other. Hence when we click on the inner box, we are clicking on top of the 3 boxes stacked one on the top of the other i.e. we are clicking on inner as well as middle and the outer div. This is the concept we call as bubbling i.e. the behavior of events to expand from inner divs to outer divs or parent divs.
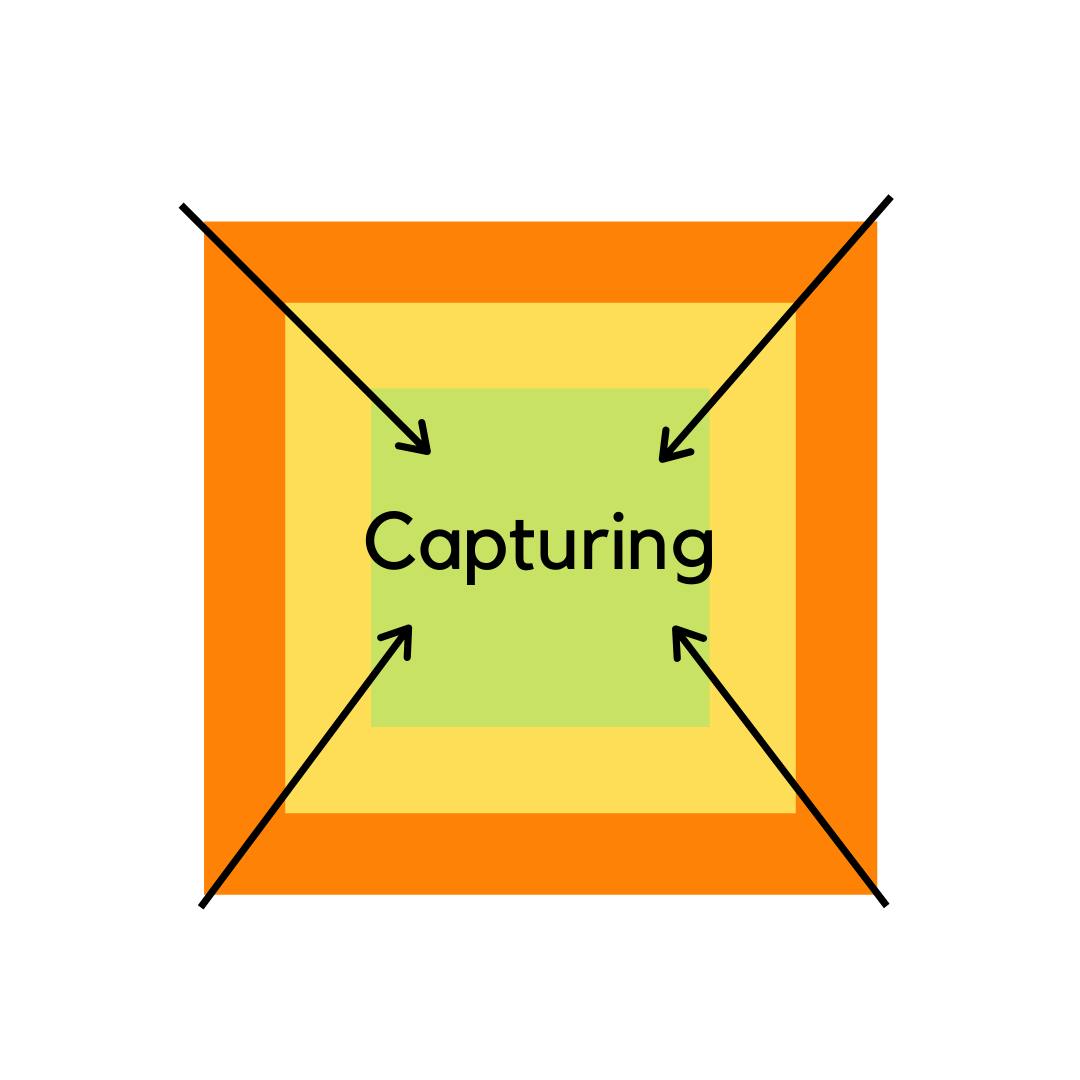
Capturing
Capturing has the same idea of expansion as bubbling but opposite in direction. It means that if we now click on the inner div under the concept of capturing, now first the event on the outermost parent would be heard, then it goes towards inner divs. To illustrate the difference, here is an image. (bear with me for the diagrams, I create them myself.)
But how do we implement capturing because unlike bubbling, capturing is by default set to false. Here's how it is done:
const inner = document.querySelector("#inner");
const middle = document.querySelector("#middle");
const outer = document.querySelector("#outer");

inner.addEventListener(
    "click",
    function() {
        console.log("inner capturing");
    }, { capture: true }
);
middle.addEventListener(
    "click",
    function() {
        console.log("middle captuing");
    }, { captur: true }
);
outer.addEventListener(
    "click",
    function() {
        console.log("outer capturing");
    }, { capture: true }
);
Now when you take a look at the console, it would show:
Outer capturing
Middle capturing
Inner capturing
This was about the capture and bubble phase. By default capture is set to false, hence what we see is bubbling by default. Now let’s move on to subtle concepts related to event listeners in JS.
removeEventListener
We can easily remove any event from our code with this method. Example :
const inner = document.querySelector("#inner");
const middle = document.querySelector("#middle");
const outer = document.querySelector("#outer");

inner.addEventListener("click", fun1);

function fun1() {
    console.log("listened to click event");
}
setTimeout(() => {
    inner.removeEventListener("click", fun1);
}, 2000);
Exploring next, we have event delegation.
Event Delegation
Suppose we have a code that looks like this. Take a moment to read the code, run it in your browser and analyze what is going on. Next, answer the following question: what happens when we click on the new div we create with this code?
const alldivs = document.querySelectorAll("div");
alldivs.forEach(div => {
   div.addEventListener(“click”,()=>{console.log("hi, i am a div");
});

const newdiv = document.createElement("div");
document.body.append(newdiv);
We might expect our message to be displayed one more time since we are clicking on our new div but that is not the case. We already selected all divs in line one and then created a new div which is hence not selected and the event listener is not applied on it. This can be handled with event delegation.
How do we achieve that ?. let's approach the idea one by one. First, we need to get all divs or to put it in another way, we are listening for our event on every div in our document. So, we can attach our event listener to the document itself.
document.addEventListener("click", (e) =>{})
Now, notice the little “e” I wrote and try console.log(e). This will give you a whole bunch of parameters inside it. But what we need to focus on is something called “target”. When you look at “targets” inside of e, we see it as “div” if the click event happened on a div. So, out of all the elements in the document, we needed only the divs, so what if we check if our target = div on every element in the document?
This solves our problem. We already added an event listener on our document but now we need to see if the event happened on a div. We will use an in-built JS function called “matches” which checks if the current element is a div and if it is, then logs the message onto the console.
document.addEventListener("click", (e) => {
    if (e.target.matches("div")) {
        console.log("hi, i am a div");
    }
});
const newdiv = document.createElement("div");
document.body.append(newdiv);
Voila! We just covered a whole bunch of conceptual things related to event listeners. Phew! That was long. But thanks for coming so far and I hoped this article helped you in some way or the other. Feel free to reach out for any doubts, queries, or feedback!. I publish articles easily explaining complex concepts to help everyone and anyone. For the whole working source code of this article, check out my Github repo.