Post hidden from Hashnode
Posts can be hidden from Hashnode network for various reasons. Contact the moderators for more details.

Face Detection in Python


In this article, we are going to take a look at how we can detect faces using Python and OpenCV.
OpenCV uses Machine Learning algorithms to detect faces. For a dumb machine like Computer, faces are too complex when represented in Computer understandable language. There is no simple test to detect faces. One has to match thousands of patterns. Using the divide and conquer rule these big processes are broken down into small task which is also known as Classifiers.
OpenCV uses cascades to detect faces. Cascades are nothing but a bunch of XML files that has all necessary OpenCV data to search for specific object in an image. OpenCV comes with built-in cascades for face-recognition but if you were to detect any other object you might have to create your own custom cascade. Creating custom cascade is a deep and complex process. Fortunately, we won't be going deep into it since we don't have to create any custom cascade for face detection.
To get started make sure you have OpenCV installed. To install OpenCV, type the following command in the terminal:
pip install opencv-python
If you don't encounter any problem while installing OpenCV, you can proceed to the next part.
The next step is to import OpenCV Module. This is how you can import the OpenCV module:
import cv2
In the next step, we have to read the image in which we want to detect the face. We also need to convert the image into a grayscale image since it is faster to do operations with grayscale images.
img = cv2.imread('man.png') # must pass valid file directory
gray_img = cv2.cvtColor(img, cv2.COLOR_BGR2GRAY)  #converting the image into grayscale image
Next step is to initialize the Cascade Classifier. To do this you will need to download the haarcascade_frontalface_default.xml file from here
Initializing the haar cascade
face_cascade = cv2.CascadeClassifier("haarcascade_frontalface_default.xml")
The next step is the most important step in this process.
faces = face_cascade.detectMultiScale(gray_img, scaleFactor = 1.05, minNeighbors=5)
The detectMultiScale function detects the object. Here the first argument is the image itself (the grayscale image), second argument is scaleFactor which is mainly responsible to adjust some discrepancies. Some faces in the image can be small while some can be bigger and this is where scaleFactor plays its role. The algorithm requires a moving window to detect objects. minNeighbors defines how many objects are detected near the current one before it declares the face found.
Remember, all these values are generally used values. You might have to experiment around these values depending upon your need.
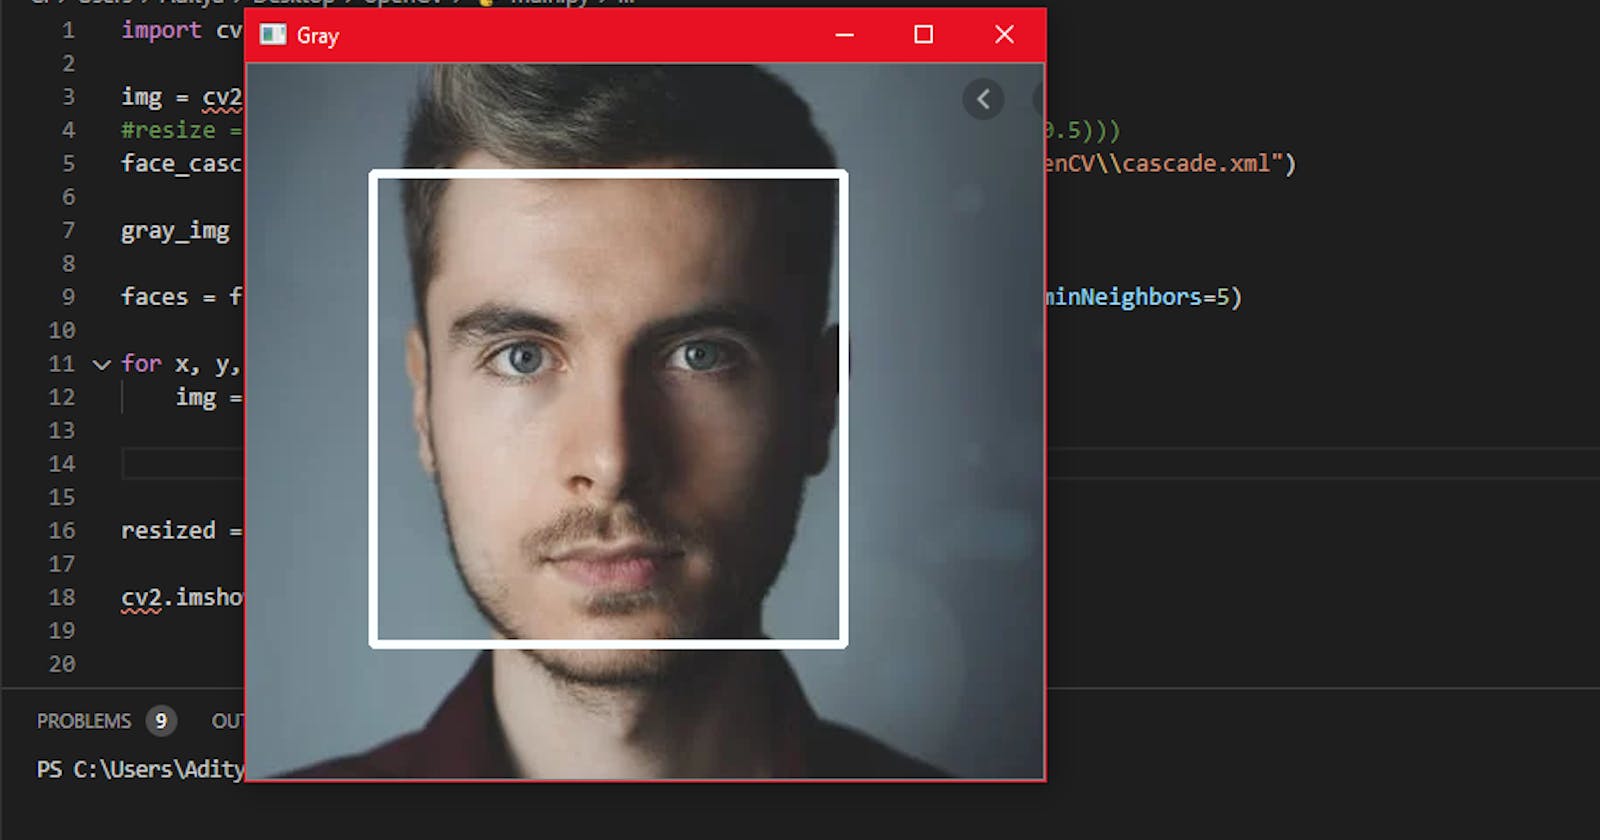
The next step is to draw a rectangle on the image with the help of the data in faces .
for x, y, w, h in faces:
    img = cv2.rectangle(img, (x,y), (x+w,y+h), (255, 255, 250),3)
Remember that we are drawing the rectangle on the original image and not on the grayscale image.
You are almost done! Just display the image:
cv2.imshow("ImageWindow", img) # displaying the image
cv2.waitKey(0) #waitKey is set to 0, that means the image window will close as soon as any key is pressed.
cv2.destroyAllWindows()
Let's test the results!
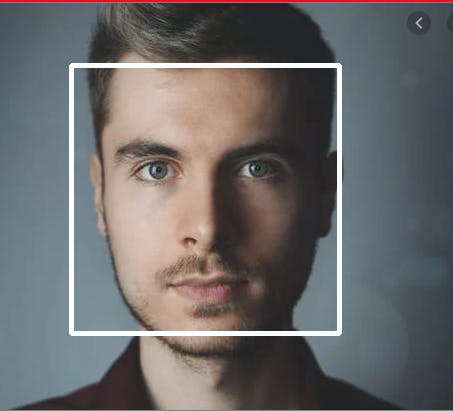 Congratulations! You made the dumb machine to detect a face!