


INTRO
Phone authentication comes in handy when you want to verify the user's phone number. In the world of cybersecurity, this is known as two-factor authentication.
Welcome to my first blog post. I appreciate blogs, am not so much into creating them, and yes, this is a task I enjoyed doing. This article leaves out the nitty-gritty details concerning the flutter framework workflow. Since we need that OTP feature, let's dive in 🚀.
CONFIGURATION STEPS
- Set up a firebase project and create a new app using your flutter project package name.
Hint: minimum SDK version in app-level Gradle should be 21 or add multidex configuration in the android files. - Sign your app by creating a Keystore and add (SHA1 and SHA256 keys) as fingerprints in your
Firebase project (settings>general>your apps).
Follow the steps in the link below and add the necessary files and code snippets. https://flutter.dev/docs/deployment/android#signing-the-app
The Keystore explorer software is useful in viewing the Keystore properties. https://keystore-explorer.org/ Create a debug key by running the command below in the project directory. Use android as the password
keytool -list -v -alias androiddebugkey -keystore %USERPROFILE%\.android\debug.keystoreThen again copy and add (SHA1 and SHA256 keys) as fingerprints in your Firebase project (settings>general>your apps).
- Start coding ... 👩💻
THE GIST
Firstly, we import the following libraries in the pubspec.ymal file
firebase_auth: "^1.0.1"
firebase_core: ^1.0.2
Then we create a firebase auth instance in the root file in this case main.dart
void main() async {
  WidgetsFlutterBinding.ensureInitialized();
  await Firebase.initializeApp();
  runApp(MyApp());
}
Secondly, we set up two methods namely
Hint: Documentation URL https://firebase.flutter.dev/docs/auth/phone/
Generate OTP(one-time pin) method, this method will take the phone number as an input, create a phone verification instance and provide a verification Id as the output.
A completer came in handy in preventing the function from returning a null in place of the verification Id.generateOtp(String phoneNumber) async { try { final _completer = Completer<String>(); await _auth.verifyPhoneNumber( phoneNumber: phoneNumber, codeAutoRetrievalTimeout: (String verId) {}, codeSent: (String verificationId, [int? forceCodeResend]) { _completer.complete(verificationId); }, timeout: const Duration(seconds: 60), verificationCompleted: (PhoneAuthCredential phoneAuthCredential) { if (Platform.isAndroid && phoneAuthCredential.smsCode != null) { verifyOtp(phoneAuthCredential.smsCode!, phoneAuthCredential.verificationId!); } }, verificationFailed: (FirebaseAuthException e) { if (e.code == 'invalid-phone-number') { throw Exception('The provided phone number is not valid'); } else { throw Exception('Exception occured'); } }); return _completer.future; } catch (e) { throw Exception('Verfication Error'); } }Verify OTP method, this method will take SMS code and verification Id passed by the above method, if the SMS code was correct it will provide a Firebase UserCredential object as an output.
verifyOtp(String smsCode, String verificationId) async {
 try {
   final phoneAuthCredential = PhoneAuthProvider.credential(
     verificationId: verificationId,
     smsCode: smsCode,
   );
   final user = await _auth.signInWithCredential(phoneAuthCredential);
   return user;
 } catch (e) {
   throw Exception('Error happened');
 }
}
Finally, we set up the UI we have three screens,
- Phone number entry screen, (in normal setting this would be the login screen).
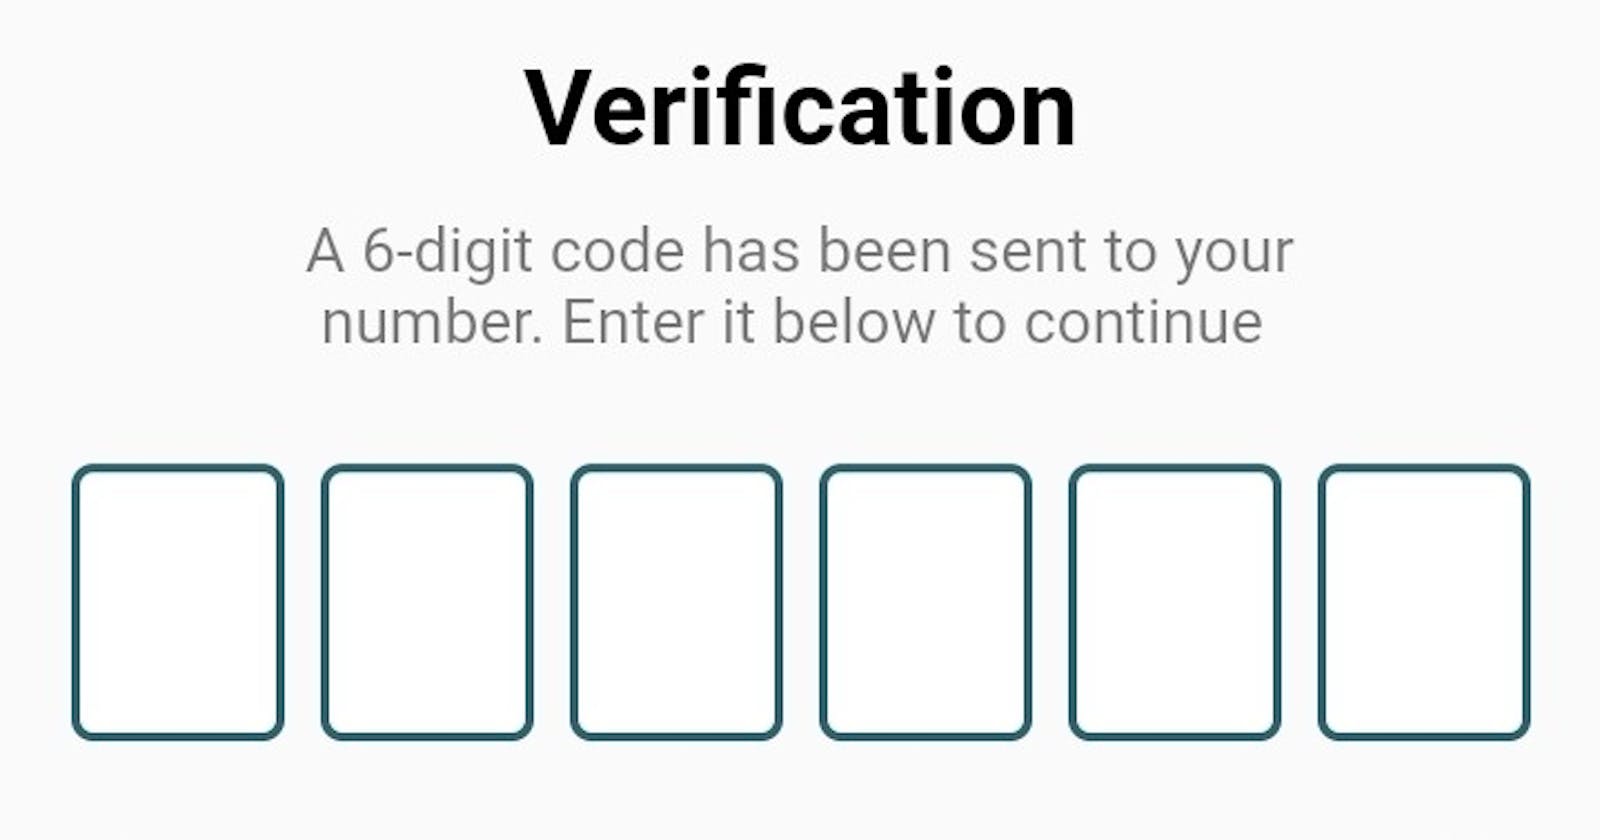
- OTP screen where we call the generate-otp method in the initState method and the verify-otp method once a user has clicked verify code button.
- The home page, the final screen after a successful verification
CLOSING REMARKS
The entire source code can be found in this repository.
https://github.com/petermusembi69/flutter_firebase_otp .
Feel free to open a PR.
Happy coding 🐞.