


Beginning with the question of - what is Angular ?
Angular is a Javascript framework that allows you to create single-page applications or SPAs. Angular allows us to create web apps that work very fast which would otherwise take a lot of time to load from the server. Angular, since its inception, has released many many versions. Angular 1 was the first version ever released and now it is called “AngularJS”. But as we know, there is nothing perfect. Angular 1 had issues. So, it was re-written again and released in the form of Angular 2 in 2016.
Angular 2 works differently from Angular 1 and fixed all the issues Angular 1 had. The latest version today is Angular 11. Every 6 months, the Angular team releases a new version but that does not mean they re-write it again and again. They only add some new features or change something behind the scenes. After AngularJS, every other version is called Angular.
Building your first app
Angular has a command-line interface (CLI) that can be used to create projects. You also need NodeJS installed on your system which won’t be used by us today to write any Node code but we need it for optimizing our project. You can download NodeJS here.
Step 1 : installing angular CLI After you've got NodeJS up and working in your computer, open your terminal/command prompt and type in the following:
npm install -g @angular/cliFor Mac or Linux :
sudo npm install -g @angular/cliThis will install the angular CLI on your system. To check, run :
ng versionIf “ng” is not recognized, try debugging with the methods stated here.
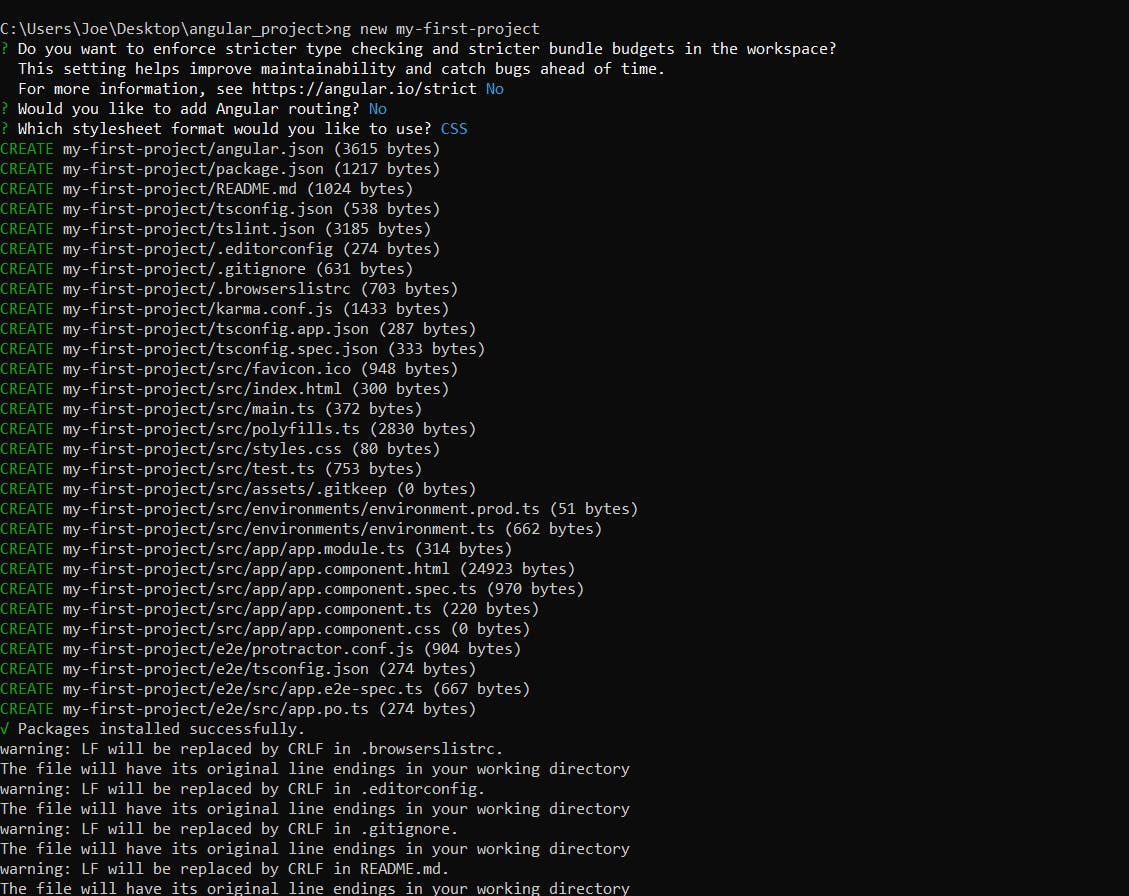
Step 2 : creating first project Navigate to the folder you want to create your project in. In my case, it is named as “angular_project” in my desktop
cd Desktop
cd angular-project
Now you can create a new project by entering the following command:
ng new [name of the project]You can enter any name in [name of the project] but make sure not to use reserved keywords like “test”. This will start your angular project and present in front of you many questions which you can put Y or N for yes or no according to your preferences. Here’s what my screen looks like at this moment :
- Step 3 : Open your project and inside it run: `` ng serve ``` This will create a server for your development process. Now you can see your project running in your browser. By default, the localhost is 4200.
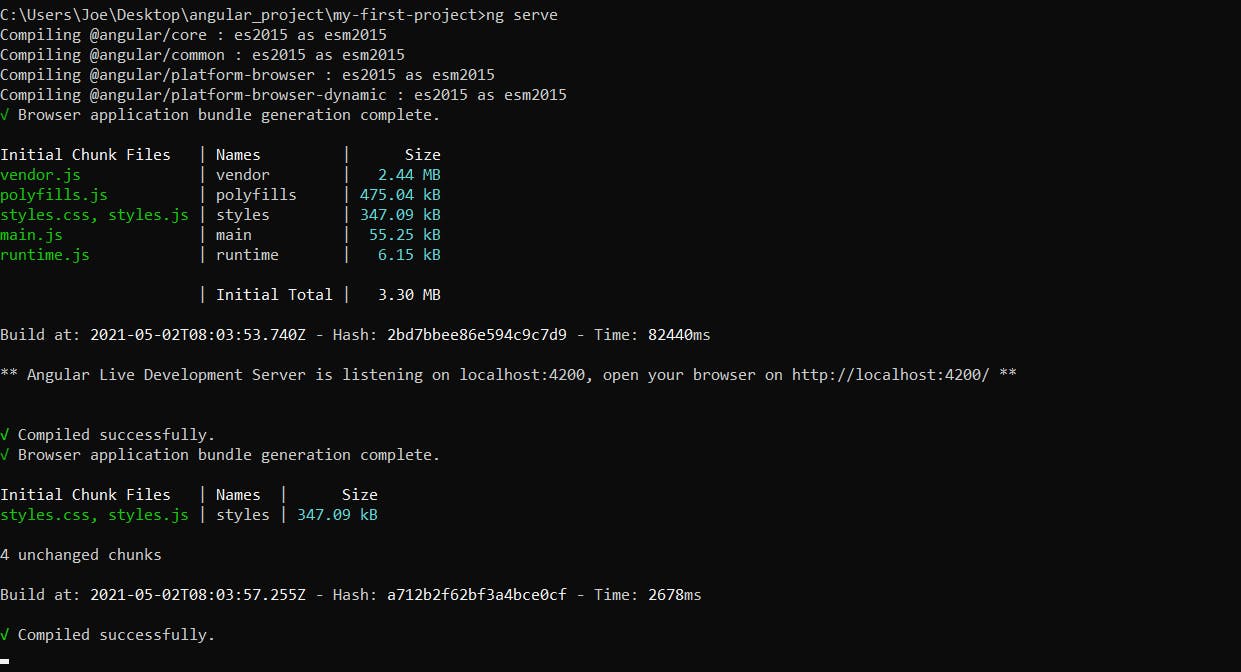
You can see the build process message which says that your server is up and running at localhost: 4200. Open your localhost:4200 and you will see it running like this :
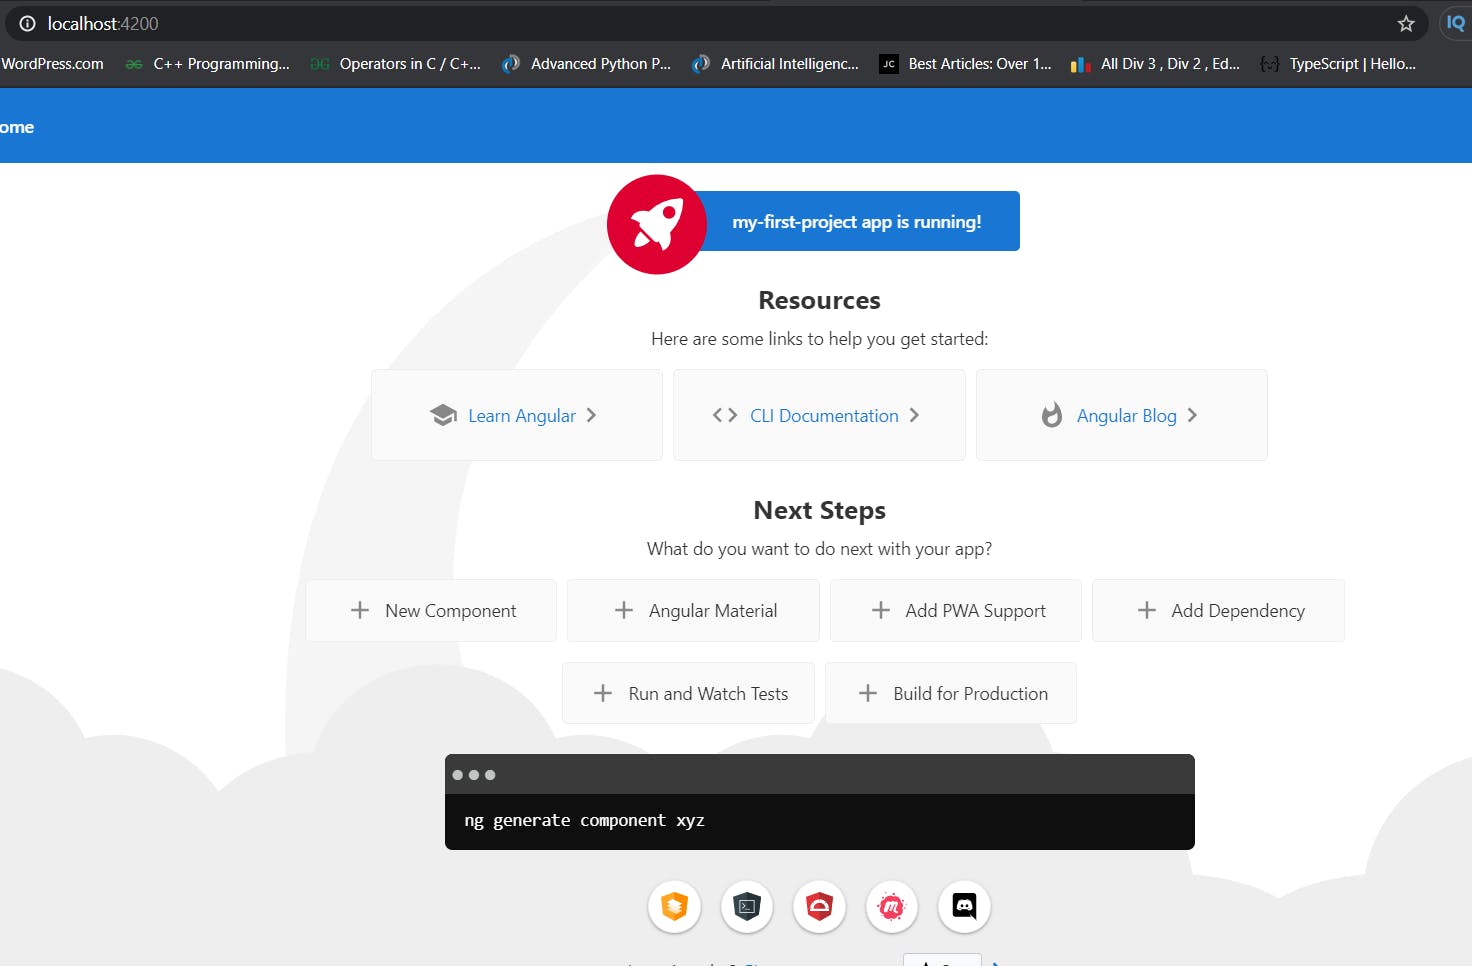
Congratulations! You just had our first project up and running. But it doesn't do much, does it?. With this blog series, we will build a really simple project and I will explain some important concepts with each blog post. Look over this space for links to further reading and continue learning Angular!.