Introduction
Every developer, over the course of their career, develops an inexplicable attraction to their command line; and after a while, the GUI seems nothing short of a visage for the mere mortals. For people just dabbling their way through, this can come as a mortifying challenge: seeing everything in weird colors, with absolutely the bare minimum displayed. And, the worst of all, the people using it, seem to be pretty content with what they have on their monitors.
In this article, I will share my experience - over the course of around 4 years - on becoming more CLI and keyboard oriented. Further, I will be sharing some tips and tricks on how you can ease your way in along with some pretty nifty little commands and must-knows for a terminal power user.
Many of you might be wondering: "Right, that's all good; but why?" And the very simple answer, in a single line, would be because it made me infinitely more productive.
Just as a side note though, I am a macOS user; so for folks on Windows, using this might not be possibly natively. If you are one of those who have been touched by Microsoft, I'd suggest you use a bash emulator such as the excellent cygwin.
Four Years Back
My setup was pretty simple: Atom as my primary text editor with the following plugins:
- autocomplete-paths for automatically completing my paths in
requireorimportstatements; - ava test runner for, well, running ava unit tests;
- dash for an excellent integration with Dash - The Offline Documentation Library;
- editorconfig for
.editorconfigsupport; - emmet for dynamic snippets in HTML, CSS and JSX;
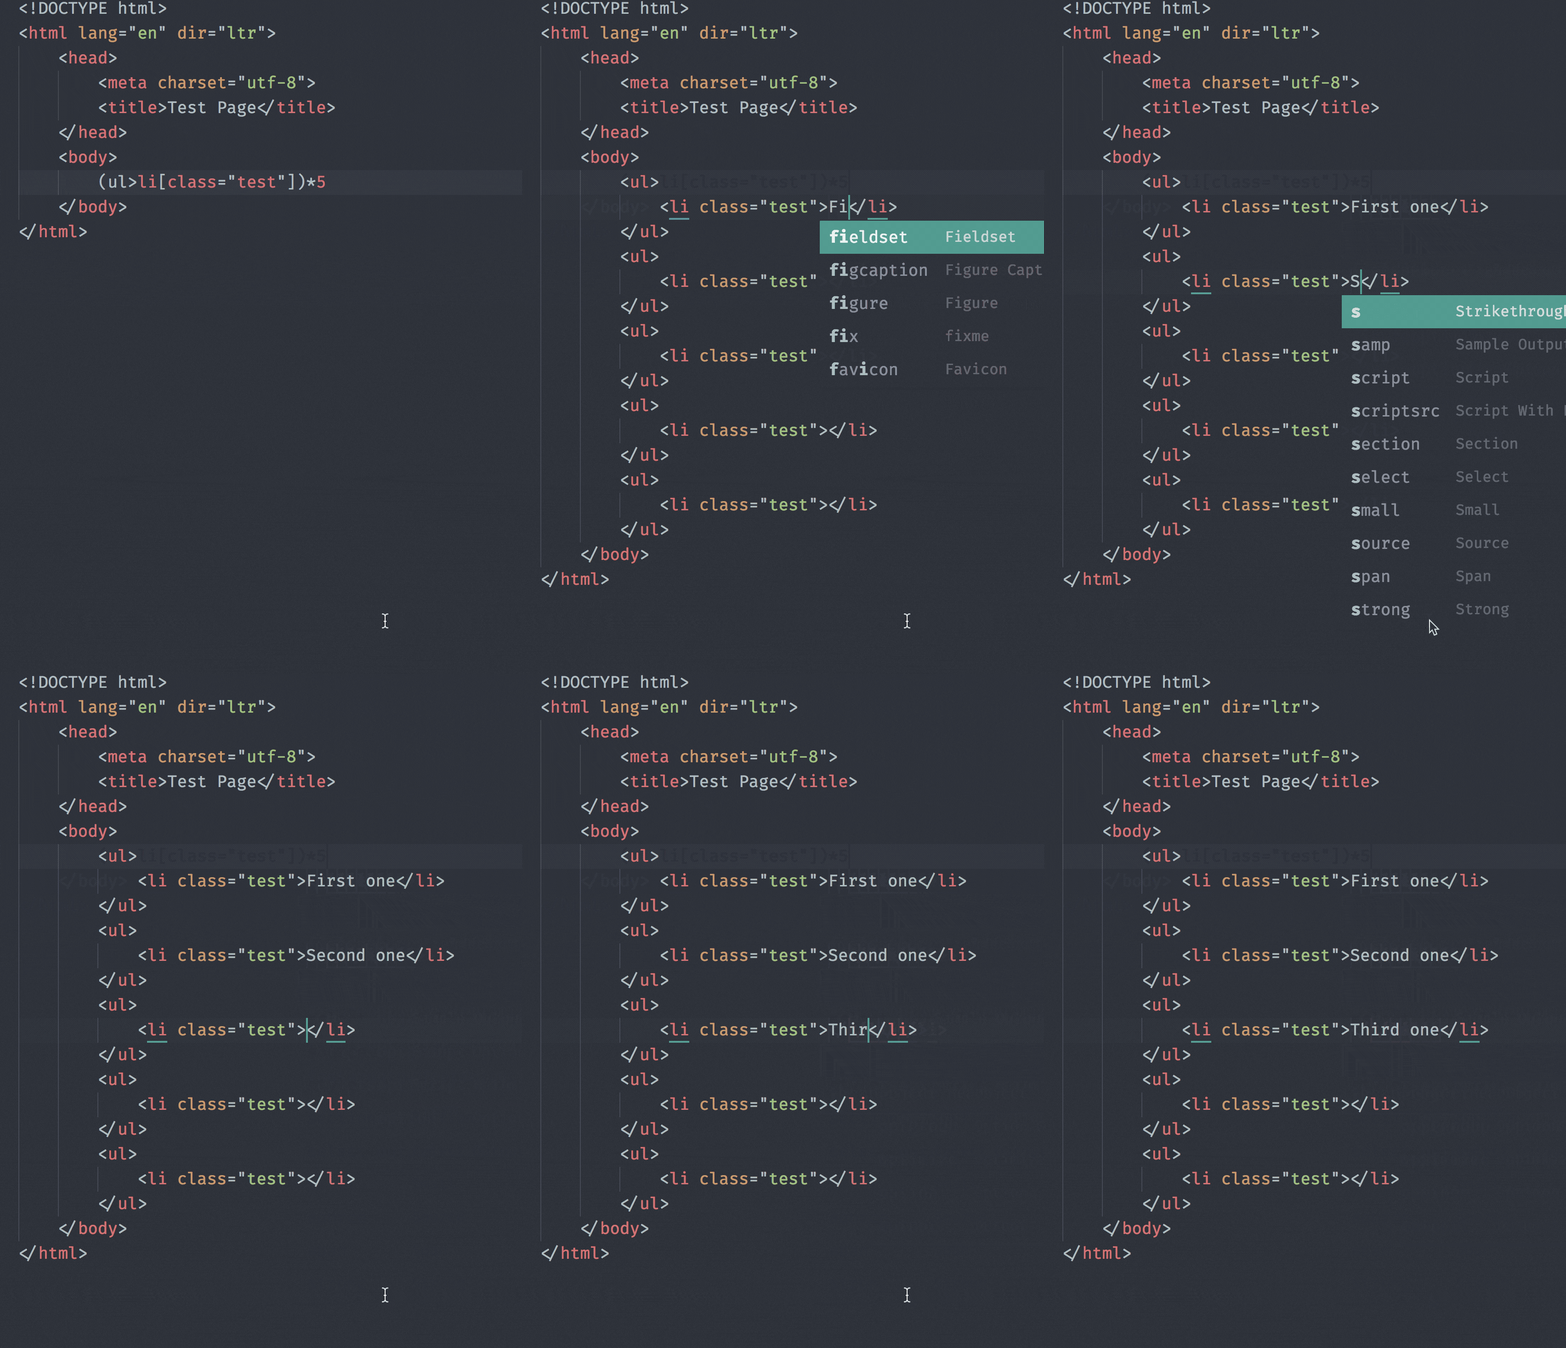
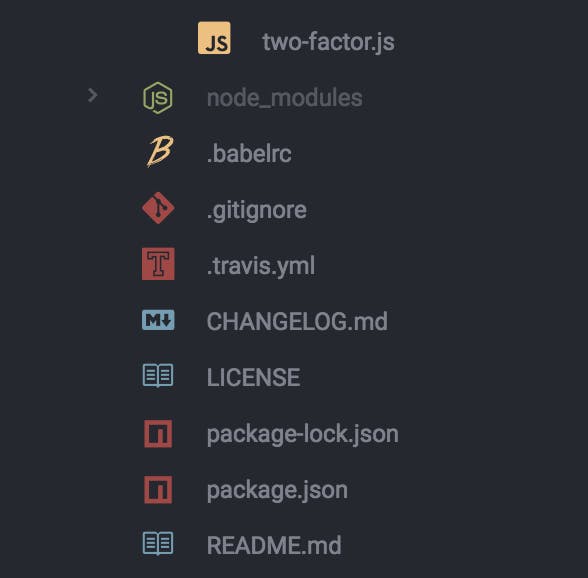
- file-icons for some beautiful file icons.
I use(d) the atom-material theme with the one-dark syntax. The font size was a nice 18px and the family was Operator Mono for a while after which I switched to, my now favorite, fira code.
 Operator Mono was definitely a pretty sweet font!
 But fira code looked just so much better!
Sidenote - why spending on inanimate items is worth it
As developers, we spend close to 12-14 hours (more for night owls like me!) in front of the computer screen. Since, this is out livelihood, why shouldn't we invest in the best tools?
Think of it this way: a businessman spends money on the right tooling and machinery for their production; a doctor spends money on their equipment (too extreme, but yeah); a lawyer spends a lot of money on fancy pens for some reason, etc.
Then why shouldn't we? It's a $400 font? It looks good? You can buy it? It'll ease reading and writing code? Go ahead! You really need a better keyboard since the inhumane Macintosh keyboard is causing wrist sprains? Go ahead and buy that mechanical keyboard!
If it makes you a better developer, it's worth it. End.
Apart from this, I used the native terminal application as my command line emulator.
Paradigm Shift
Now, all of this was good and shiny and worked, but I had the constant need to use the mouse to browse around the file tree, open a new tab, split it, etc (without keybindings) and whatever time I took off my keyboard affected my typing speed, and viś-a-viś, my productivity.
The constant and inevitable need to open multiple tabs in Terminal got to me and I got seriously frustrated with the entire experience. This is where I made the first change: switch to a better terminal emulator.
Enter iTerm2. My new best friend.
*fast forward a couple of months*
This setup worked for me, but it was brittle and very tightly coupled. It depended very heavily on the GUI. Even in iTerm, I had to use git branch to check the current branch I was on and git status on the current working tree. For long commands, I had to type them again and it was annoying. I searched for some stuff online but seeing the amount of configuration required, I was scared. Very scared.
Further, the keyboard shortcuts to split and move around were not ergonomic at best and annoying at worst. Another worry was: what if I wanted the same sort of setup in a GUI-less environment? Considering I spend most of my time writing backends, I am often writing or tweaking files on remote servers. What if I want to split it there? And even if I could run iTerm there, how would I port my configuration: the configuration I am so used to and fond of now.
This is when my paradigm changed. I saw why people are so fond of the terminal. It's like beer or wine C#: an acquired addiction. And once you start, you just can't stop!
This is when my configuration changed even more; I started with the zsh shell and ohmyzsh! as the configuration manager. For styling, I used the oxide theme with powerline patched fonts with Material color scheme
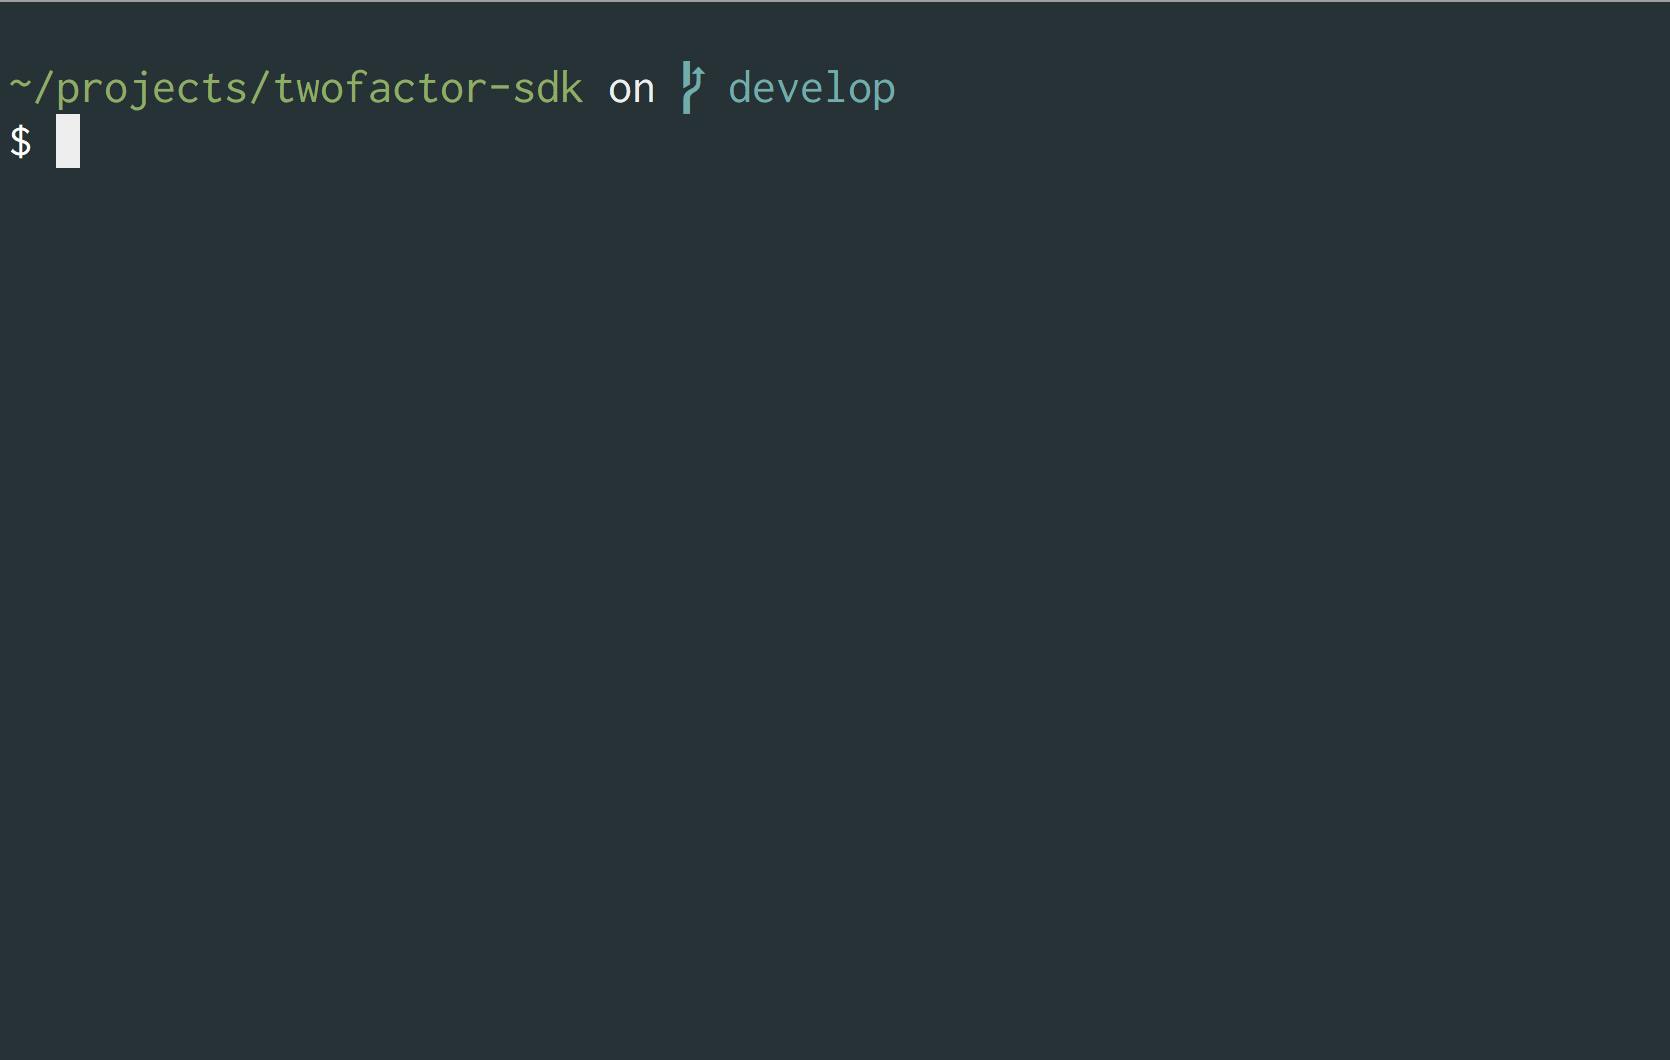 Not bad, huh?
I could see the current branch, changes, everything!

My Problems Using the Terminal
Even after all of this, there were still a lot of things which prevented me from using the terminal effectively! And I had to search how to do something pretty basic every few hours. Bad memory.
That is when I decided that I will try to do everything from the terminal for as long as I sanely can.
And this proved to be the biggest step in the direction of productivity and happiness and comfort and unicorns! (Okay, probably not the last one!)
Using Terminal is Hard
Well, it is. If you are just starting. I wouldn't say hard, I would say it's a little confusing, but if you start with some baby steps at once, you should be fine!
First Steps
For starters, I learnt some of the basic commands:
Ctrl+a- go to the beginning of the line;Ctrl+e- go to the end of the line;Ctrl+c- break current execution;
And a few others like clear, ls, ls -la, etc. And I used them everyday, without fail. It takes a while to get the hang of it, but once you do, it'll become a reflex!
Getting a little advanced
Right! Now that you have the basic cleared, let's move onto something you should know!
wget and curl
These two are the go-to utilities for downloading files and sending requests to a server. Now, you can use them interchangeably but I prefer wget for downloading files and curl for sending requests.
As a quick example, this is how you download a file called cat.jpg from cdn.cats.com/cat.jpg
$ wget -O cat.jpg https://cdn.cats.com/cat.jpg
And this is how you send a GET request with curl:
$ curl -XGET https://foo.bar/baz
cat, tail and head
cat is the command used to concatenate and print files (man cat). Simply put, it displays the content of a file on the terminal output as shown below.
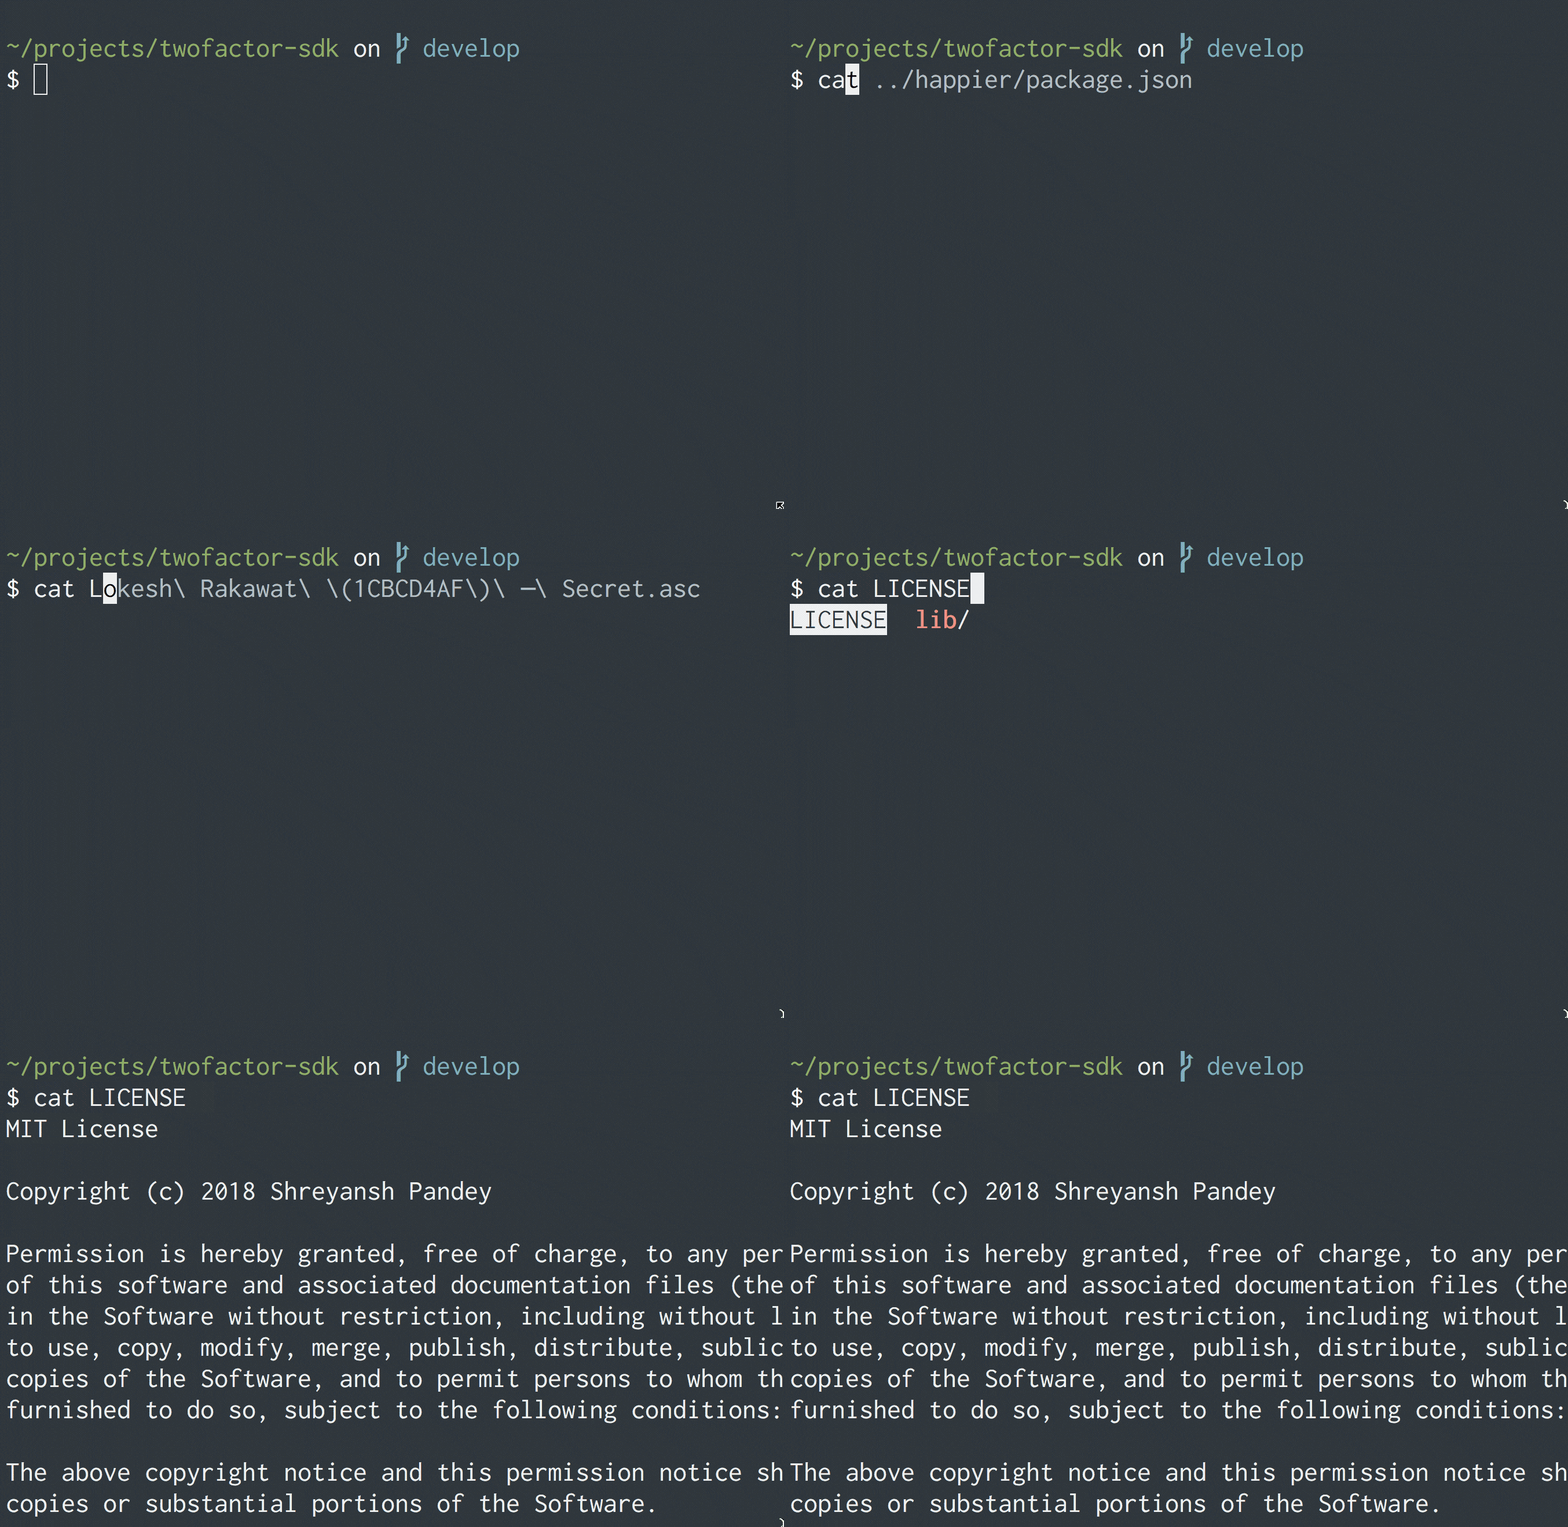
tail and head display the last and the first part of a file respectively. They are often used when you want to view the latest entries of a log file (which can be huge and opening the entire file in the buffer isn't worth it!)
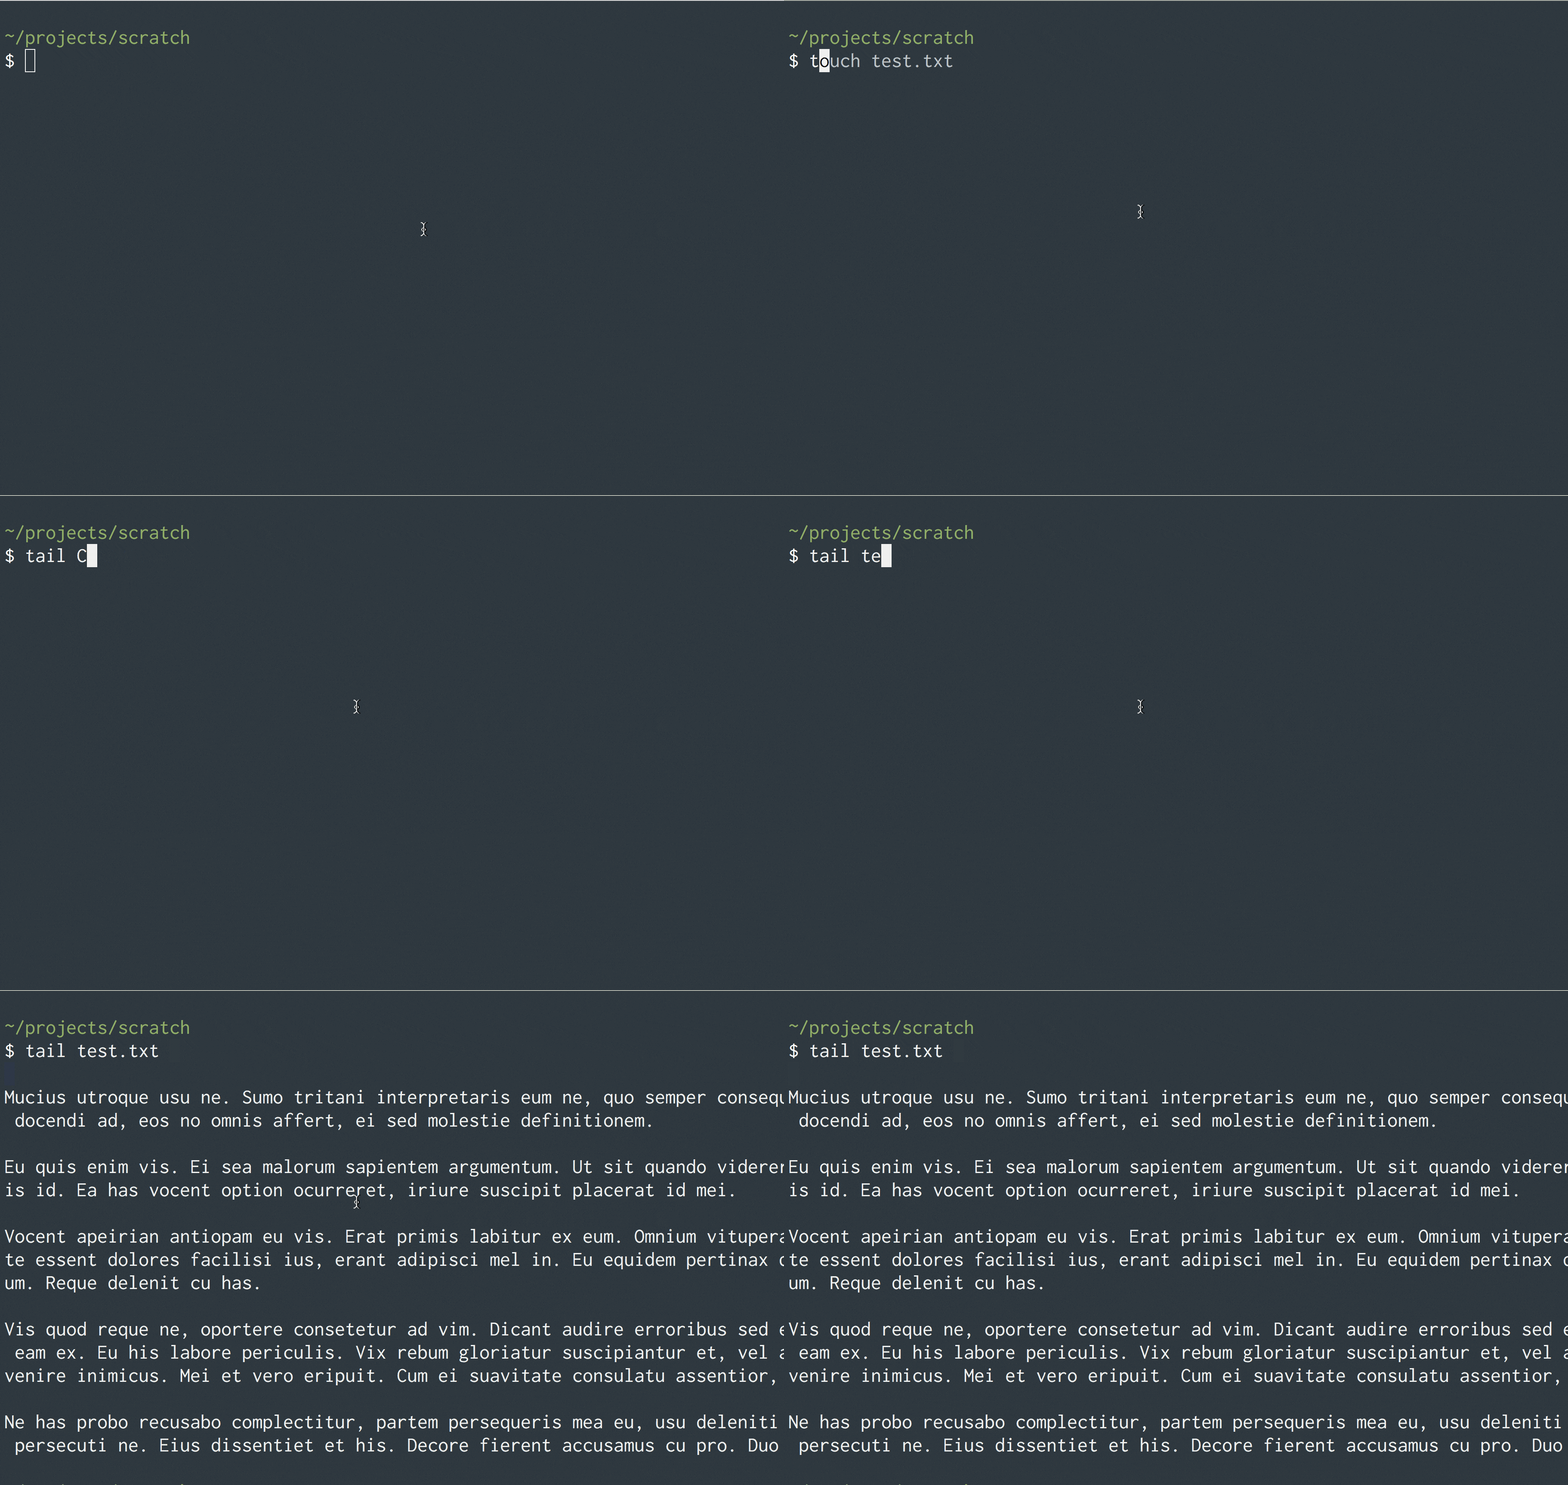 this is the
 tail command showing the last few lines
Just as a comparison, this is what cat will produce:
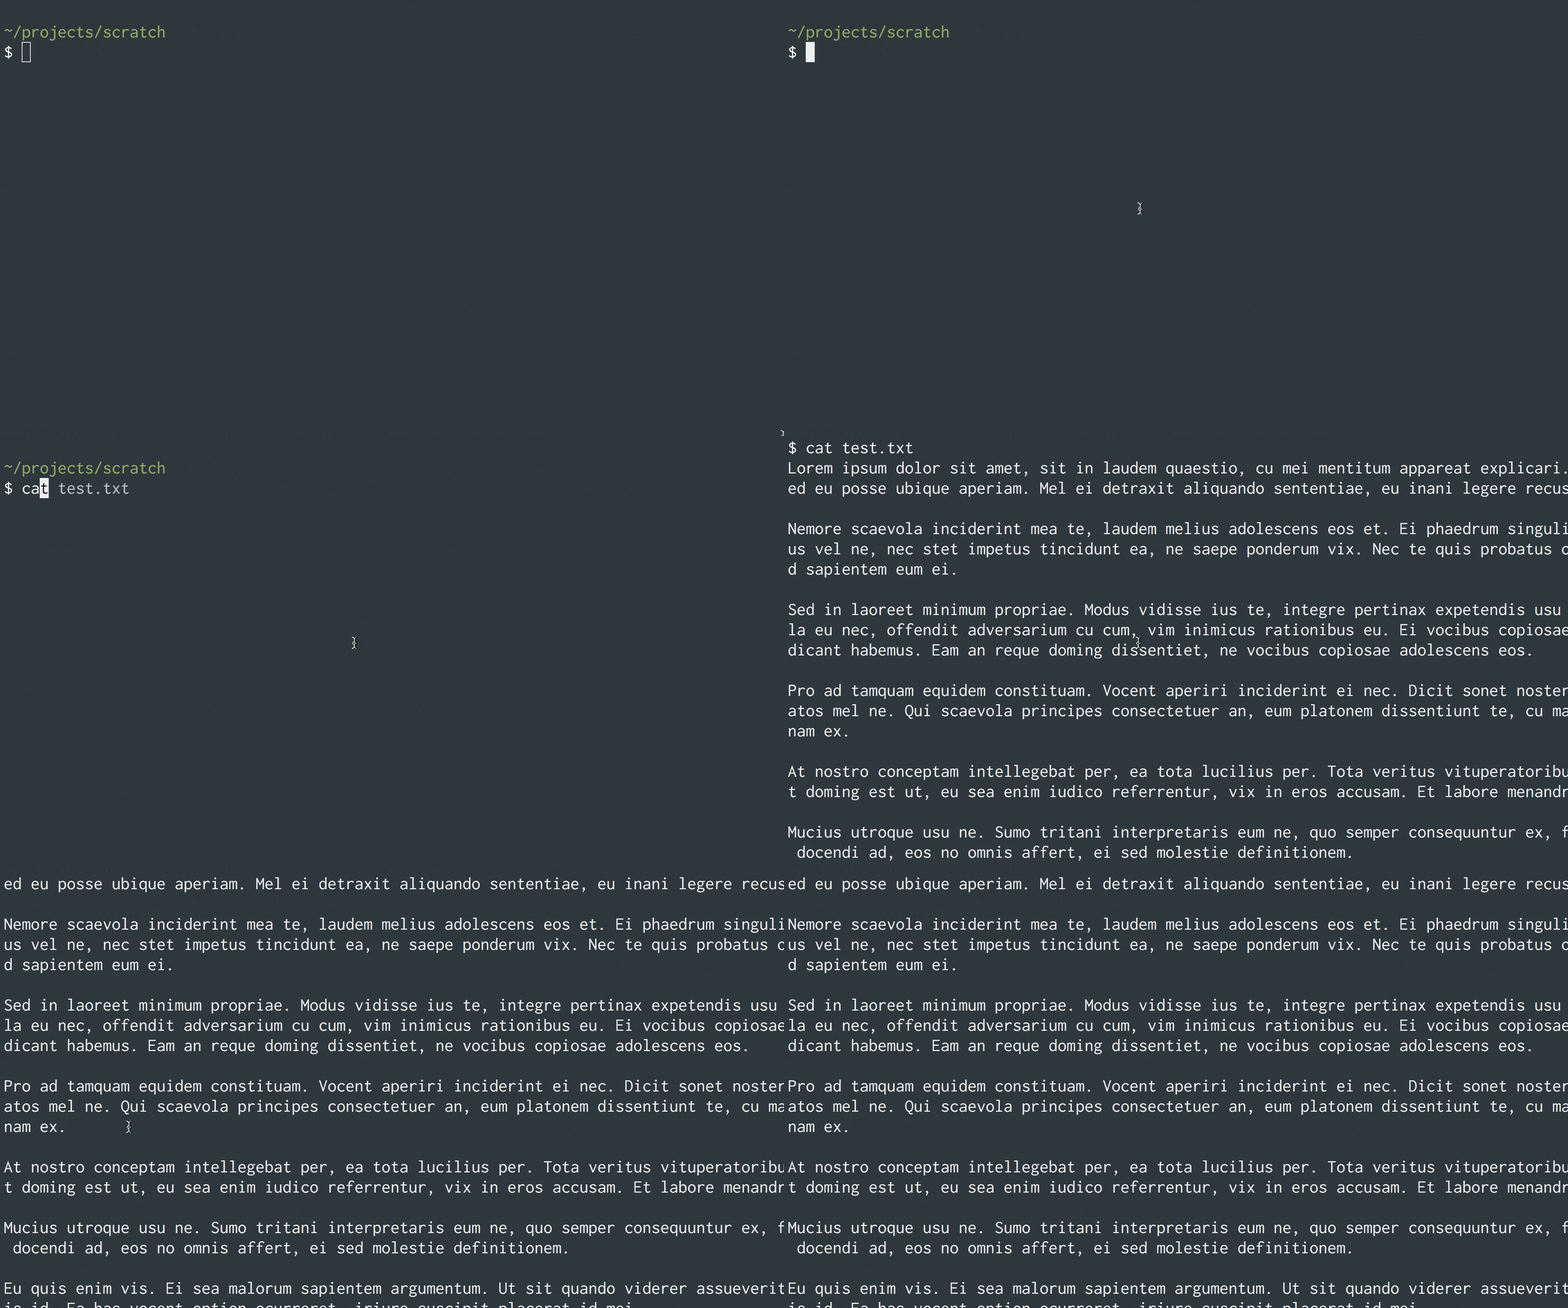 this is the whole file!
More Shortcuts!
Searching through the commands
How many times has this happened: you typed a long command but can't remember it and you have to rewrite it?! It's annoying! You wish you has some sort of searching mechanism. Alas...
But! You do. It's called reverse fuzzy search and you can activate it using Ctrl + R. A demo would be better, I guess!
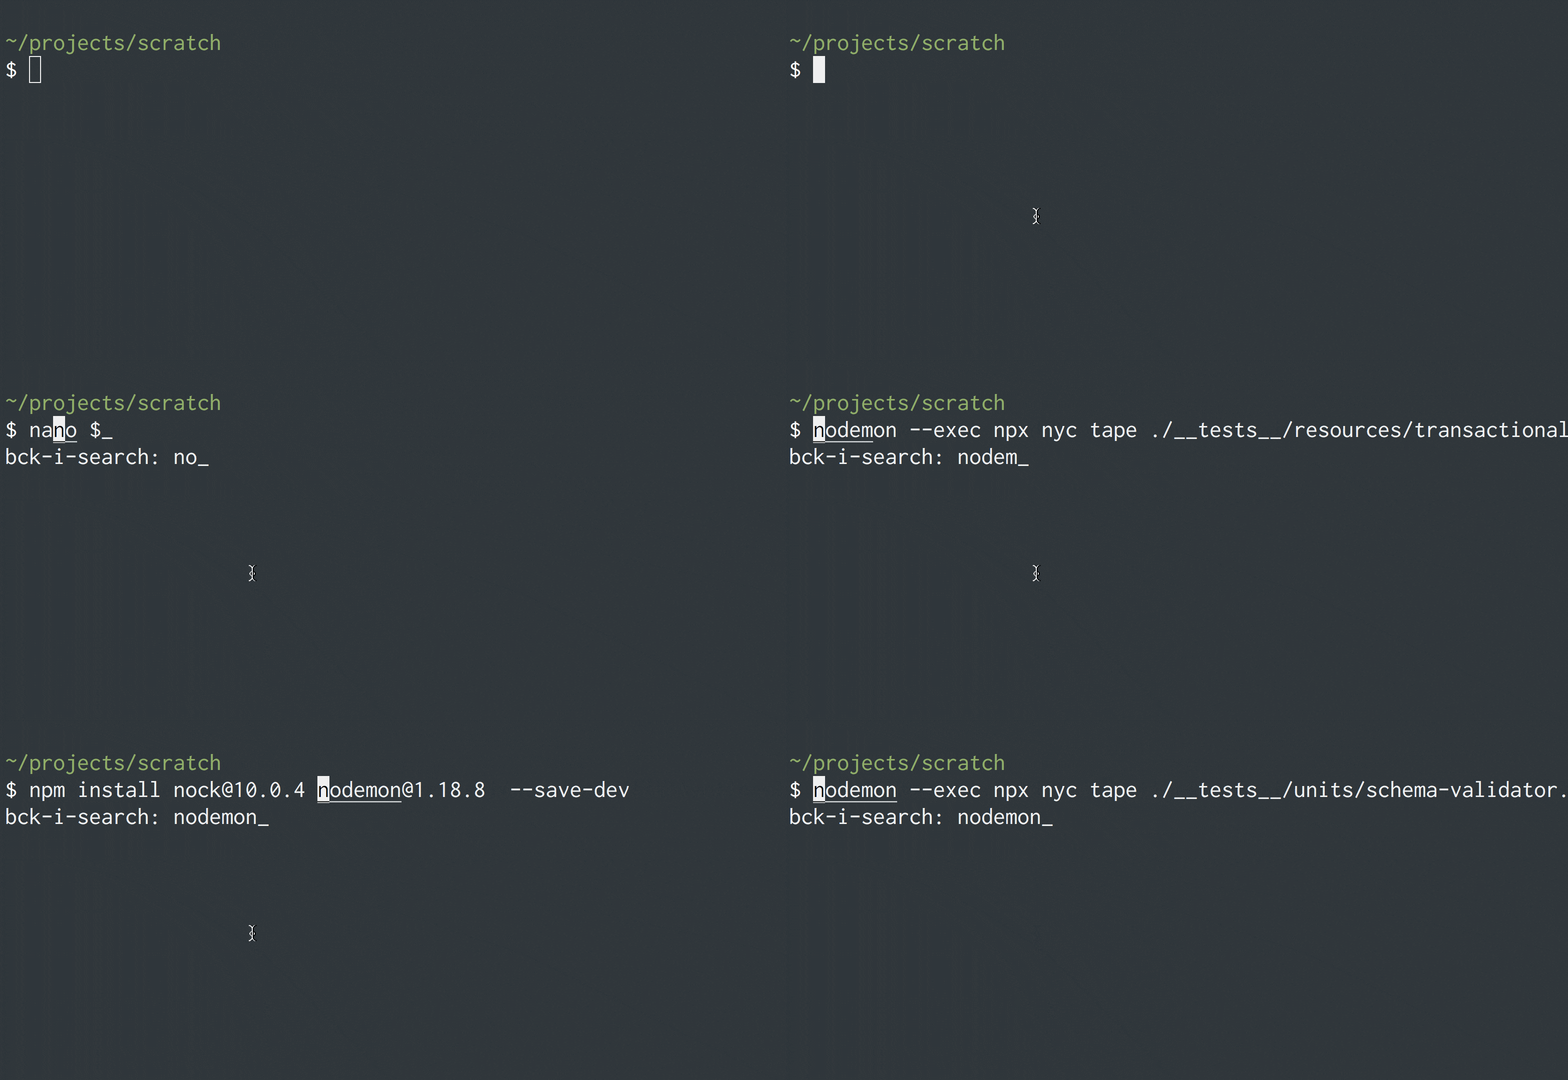
As you type, you get the command which contains whatever you are writing. To view more suggestions, you can hit Ctrl + R repeatedly till you find whatever you were searching.
Accessing the last argument
What about when you want to access the last argument of your last command? Like, you typed:
$ touch /path/to/some/really/long/folder/inside/some/directory/file.txt
Hmm. You can certainly rewrite it, but don't fool yourself; you're an engineer, you are hard-wired to be lazy. There has to be a better way.
There is: $_ This simply "parameter" means the last argument of the previous command. For example:
$ touch /path/to/some/really/long/folder/inside/some/directory/file.txt
$ nano $_
Is the same as:
$ touch /path/to/some/really/long/folder/inside/some/directory/file.txt
$ nano /path/to/some/really/long/folder/inside/some/directory/file.txt
Remember, it's the last argument.
Accessing the last command
This just means copy the last command.
Sometimes, we forget to execute something as sudo and we have to rewrite the entire command. Which is a pain. Instead, now, you can just do:
$ imagine some/really --long command --here which -i forgot
$ sudo !!

Now, I was a lot more comfortable with my terminal and I used it for everything (I am writing this draft on my terminal!)
However, I still had some problems with my pane splitting. What to do, I thought. Then. I. Saw. tmux or terminal multiplexer. It's basically a stand-alone version of the split pane feature in iTerm. And it is infinitely customizable.
So, I downloaded it. And now, I was stuck. How on Earth am I supposed to use it?!
Well, everything revolves around something called a prefix key. Or a key combination you hit before executing any command. By default, it's set to C-b or Ctrl + b which is really weird.
What's more weird is the way you split screens. You use C-" to split vertically and C-% to split horizontally. WHAT. Who, in their right mind, came up with these bizarre shortcuts!?
Alright. Let's fix it! Remember, I said it's infinitely customizable. That includes the ability to change the key maps.
You can view my dotfiles and be sure to use them!
.tmux.conf
- Sets
C-aas the prefix which is much easier to reach. - You split horizontally with
C-a -(the dash) - You spit vertically with
C-a |(the pipe) Alt+Arrowis used to navigate around the panes- Installs some cool plugins!
.zshrc
You get my autocomplete, themes, and everything else! Be sure to fork it and improve it!
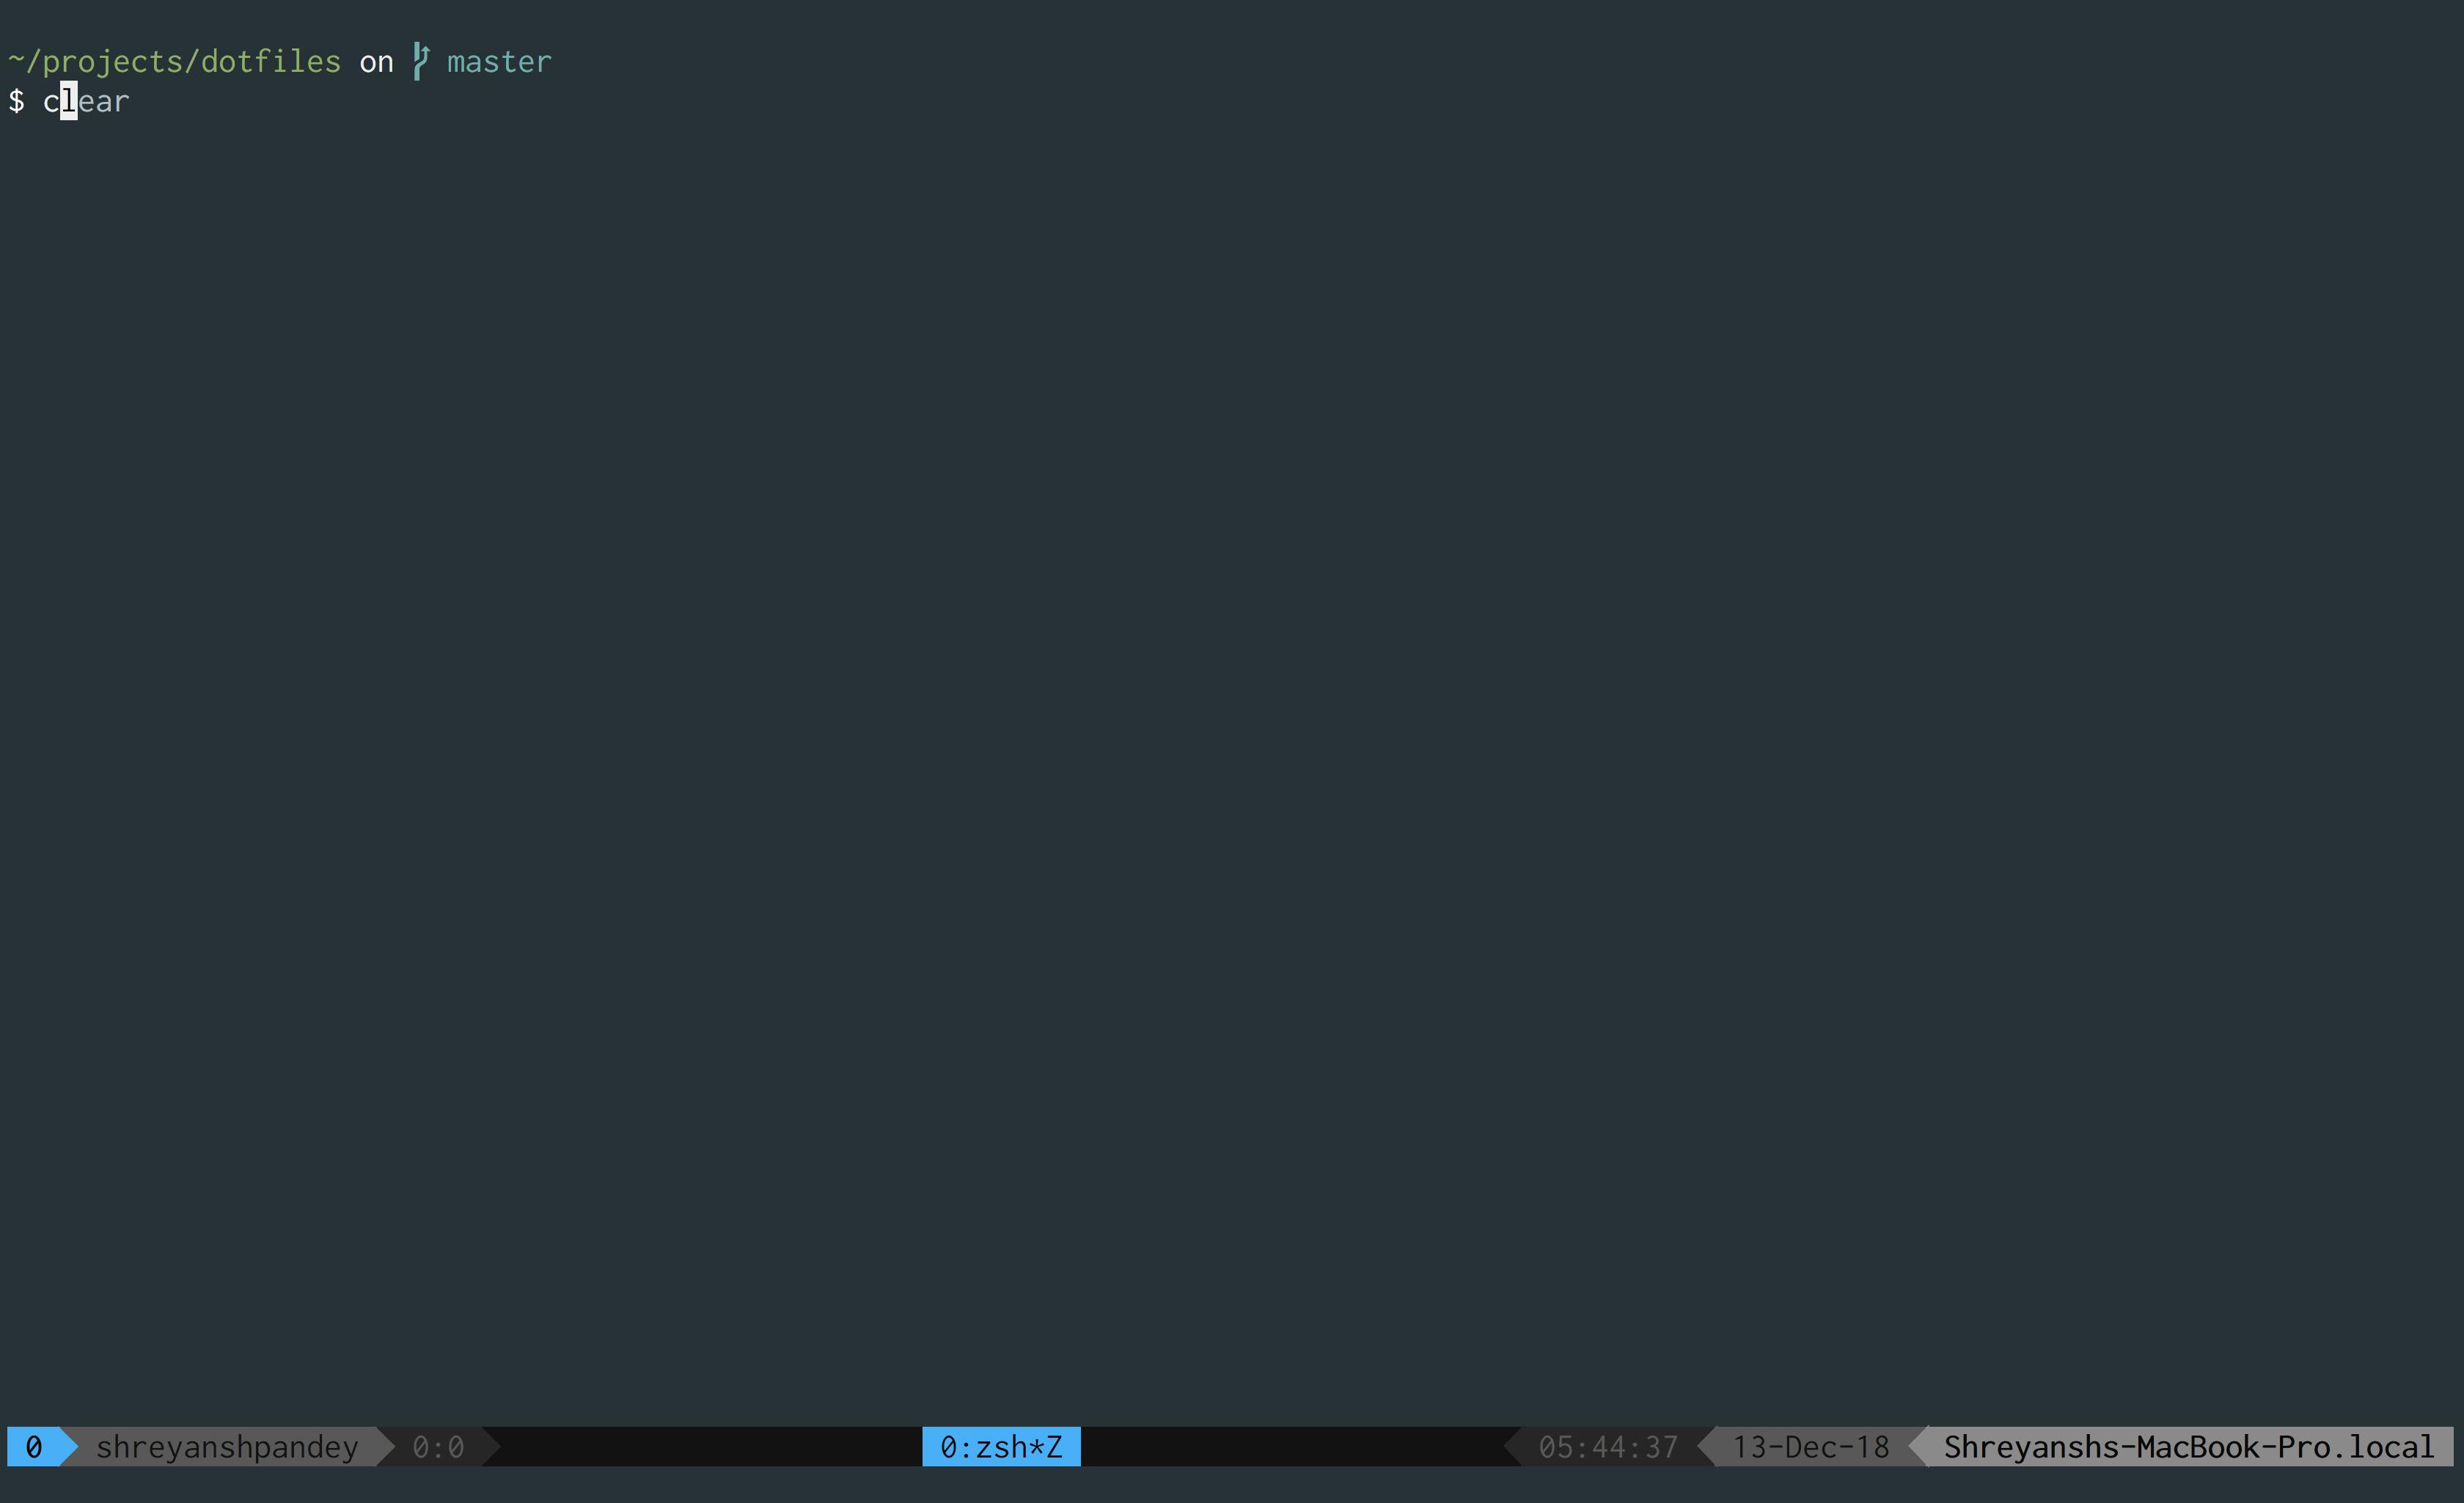
Once you are done with all of that, you will have something which looks like this:
Conclusion of the first part
With that, I conclude the first part of this series! It's just a musing I wanted to share with the community to make sure that everyone becomes fluent in the terminal. This article is in no way complete and I wanted to put it out there with whatever was there in the back of my mind. Because I have a lot to share, I will continue this in the second part!
In the next part, I will be sharing my adventure of choosing the correct text editor, becoming a master at tmux and ohmyzsh amongst the few things!
I hope you enjoy the series! If you spot an error or if you have some suggestions or questions or just want to say hi, drop a comment!
*tips his hat*