


The current trend is to build a feature-rich and powerful browser application, aka single page app, which sits on top of a micro service architecture. Over time the frontend layer, often developed by a separate team, grows and gets more difficult to maintain. That’s what we call a Frontend Monolith. We faced all the related challenges at Namecheap a few years ago. And so we decided to move further with Micro Frontends.
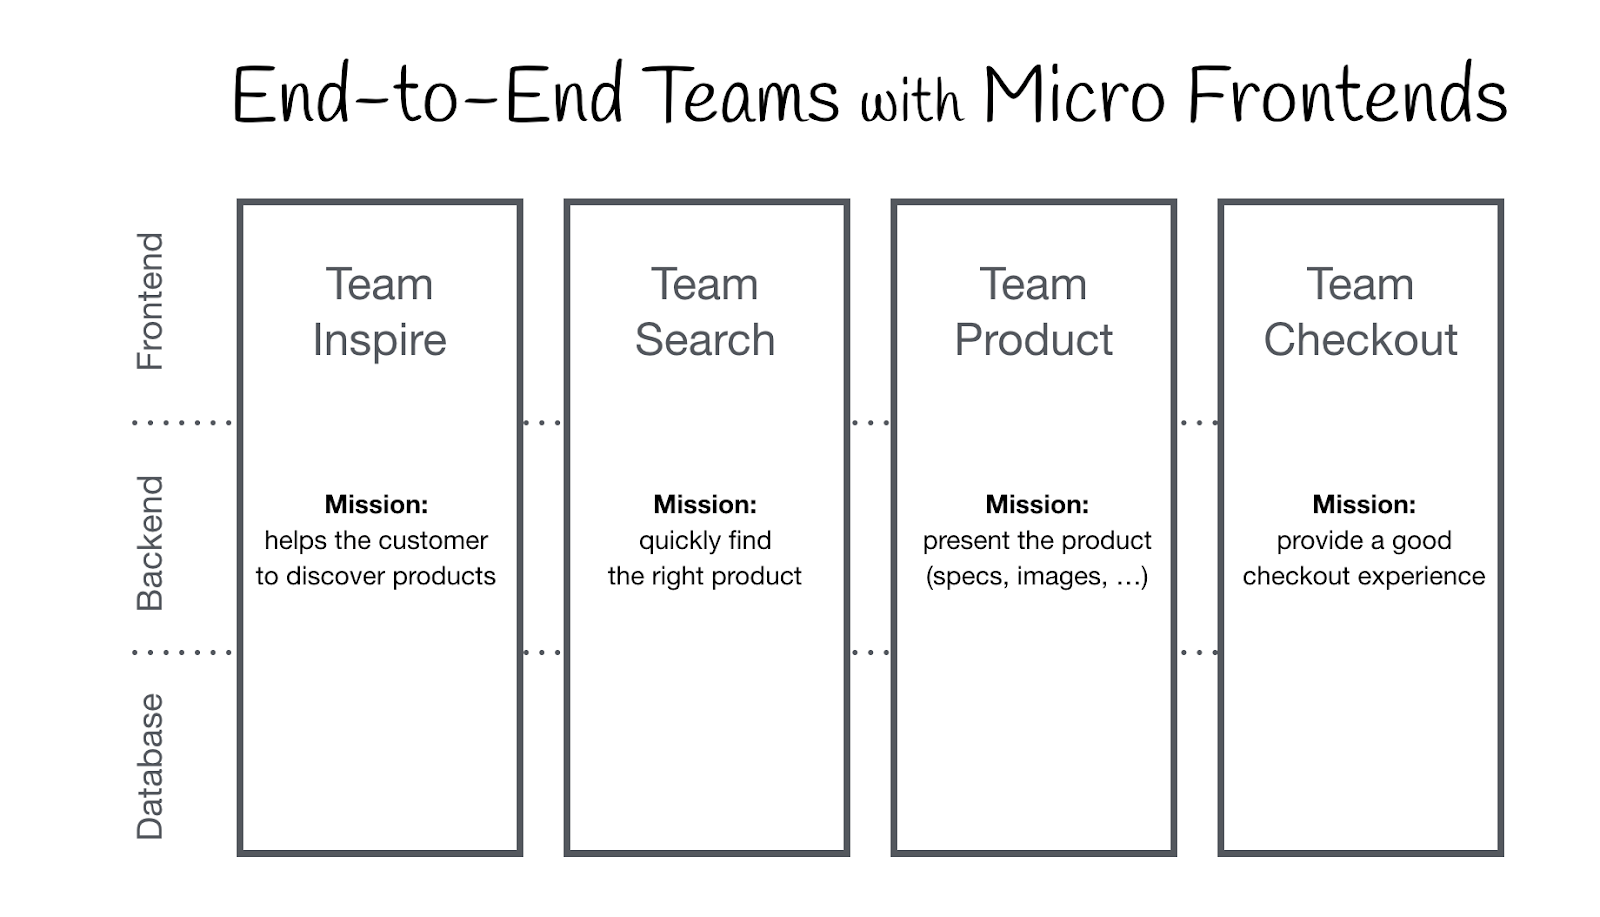
Currently we run micro frontends in production for 2 years already using 3 different frameworks (Vue.js, React & Angular), actually the main page of the namecheap.com is composed from a few applications. The approach that we use now is very similar to the one that Zalando uses in Tailor. I wouldn’t be explaining now all the pros & cons of our current approach as it is not the goal of this article 🙂 What matters is that recently we decided to take a step forward & come up with a much flexible & performant approach.
And so we built Isomorphic Layout Composer (ILC) — complete solution for Micro Frontends composition into SPA with SSR support. Don’t forget to check out GitHub to see all it’s features and let’s move to the main goal of this article — creation & launch of your first micro frontend.
We need React app with SSR first
As you might already guess, to build new micro frontend we need to have regular application first. Hopefully I already did all the dirty work for you dear reader.
So you can go and grab it here github.com/StyleT/ilc-learning-react. Or you can use codesandbox.io/s/github/StyleT/ilc-learning-react to have it running for you in the cloud. I would recommend to use codesandbox.io to eliminate all the local environment related issues that may appear as we move forward.
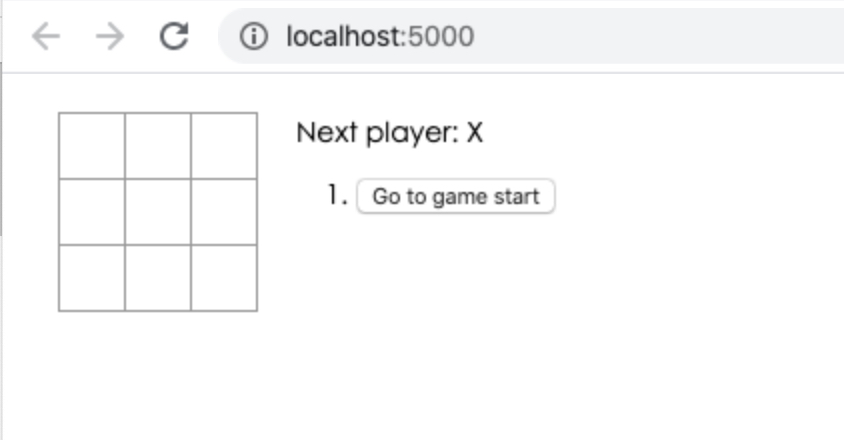
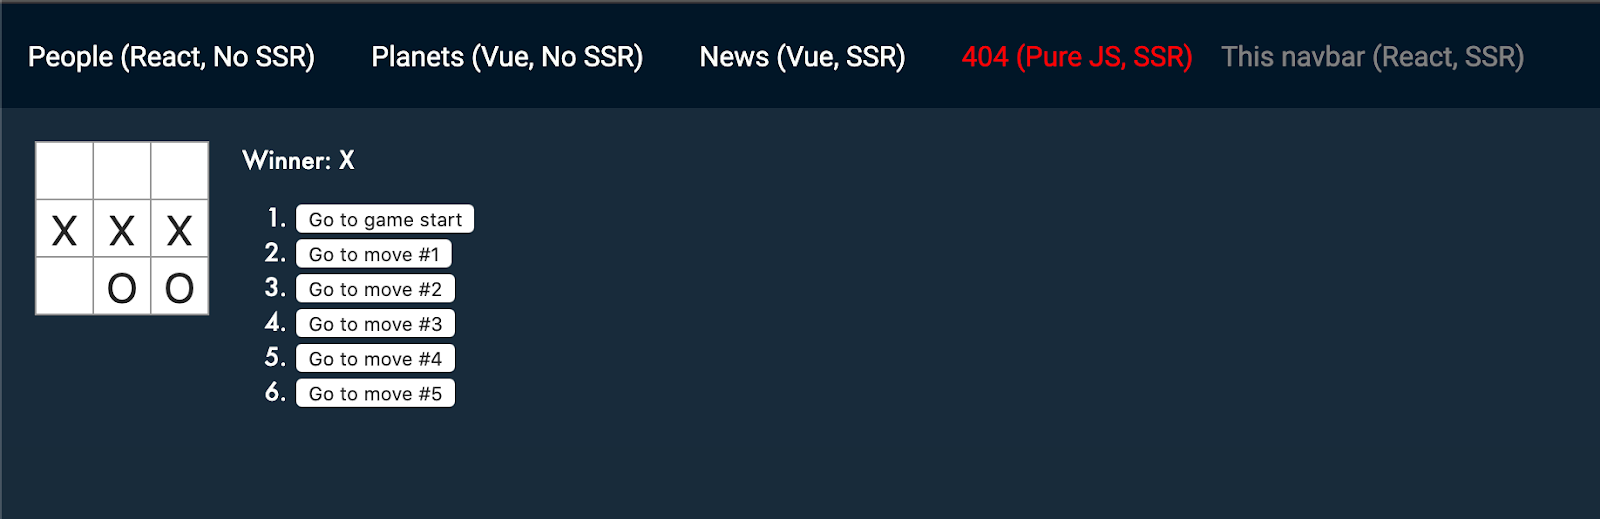
As soon as you started the app — try to play few tic-tac-toe matches 😎
Adapting the app to ILC
To make the application work correctly with ILC we need to make it compliant with ILC to App interface. Fortunately that’s pretty easy, go through the source code and resolve all the //TODO: comments I placed for you there.
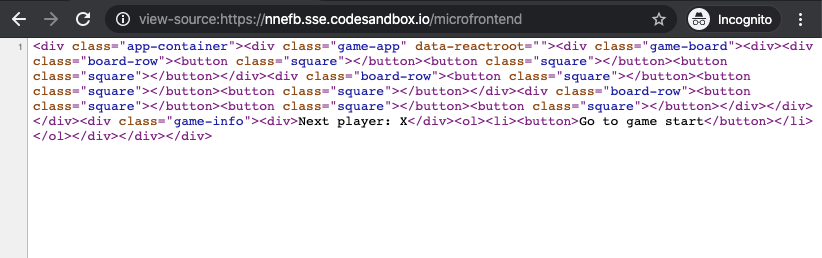
As soon as you’re finished with this — restart the app & try to open /microfrontend route. You should get 200 OK response code & some SSR markup.
Note: in case of any troubles — try to switch to the “step_1-ILC_integration” branch in the repo — it has all the changes already done for you.
Configuring ILC to handle new app
In this step we’re gonna use our public demo website and “Develop right at “production”” ILC feature to complete the task. We will do it for the sake of simplicity only. However you can achieve pretty the same results using ILC that you run locally.
To make your new fancy micro frontend work we need to determine your publicPath & ssrPath first.
If you’re using codesandbox.io (recommended approach)
Your publicPath will be somewhat like abcde.sse.codesandbox.io/public. Check the address bar of your virtual browser.
And your ssrPath will be abcde.sse.codesandbox.io/microfrontend
If you’re running app locally
Your publicPath will be 127.0.0.1:5000/public.
And your ssrPath will be XXX.XXX.XXX.XXX:5000/microfrontend where you need to replace XXX with the real public IP address of your machine. You can use services like https://ngrok.com/ to get one if your Internet provider keeps you behind NAT.
As soon as you’ve figured out all the details — let’s change the ILC config for us. To do so you need to open demo.microfrontends.online/nosuchpath and execute the following code in browser console:
var publicPath = 'abcde.sse.codesandbox.io/public/';
var ssrPath = 'abcde.sse.codesandbox.io/microfrontend';

var overrideConfig = encodeURIComponent(JSON.stringify({
    apps: {
        '@portal/myapp': {
            spaBundle: publicPath + 'client.js',
            cssBundle: publicPath + 'style.css',
            ssr: {
                src: ssrPath,
                timeout: 10000,
            },
            props: { publicPath },
            kind: 'primary',
        },
    },
    routes: [{
        routeId: 555,
        route: '/nosuchpath',
        slots: {
            body: {
                appName: '@portal/myapp'
            }
        }
    }]
}));

document.cookie = `ILC-overrideConfig=${overrideConfig}; path=/;`
Refresh the page after code execution. If you did everything correctly — you should be able to see your app running inside a public ILC demo website.
If it doesn’t work for you — ensure that ssrPath is accessible not only from your machine (use https://reqbin.com/) and JS/CSS links are actually working from your machine.
Now try to go between different pages using top bar. See that not only server side rendering works but also client one. Disable JS to see how page looks like w/o it.
If it works well together with other apps — my congratulations dear reader 🎉 You just built your first micro-frontend.
If it doesn’t work for you — please leave a comment below or PM me so I can try to help you & enhance this article as result.
Summary
We just turned the simplest React application into a Micro Frontend and I hope it went smoothly for you. As you can see with a proper toolchain it is not as hard as you might think.
It’s also worth saying that this article doesn’t cover a lot of the peculiarities of this process but if it will receive enough feedback from the community — I’ll write more about how you can practically build & launch more complex micro frontends in reasonable time.