

How to connect front-end react application to a backend express server- Definitive guide
Why make frontend applications when we can make fullstack applications!


Okay so as usual let me start with some context as to why I am writing this ''technical" blog
P.S: It is not for the purpose of making my resume better, or for the purpose of getting a job which seems to be the norm these days(noise > signal)
I am writing this blog to contribute my bit to a problem I struggled with immensely while learning full stack development, connecting the front end to the backend to be very specific and just to make things clear, I will not be teaching anything in particular here, I just intend to guide you through the process assuming you have some familiarities with mentioned technologies.
Part 1
Express.js Setup
Create an empty folder on your local machine named anything and open it on your code editor and enter the following command
npm init -y
After doing this you can see a package.json file on your folder which is just to keep track of all your files and dependencies.
Now moving on to the next step create a file called index.js which will be our main operating file for the creation of server, once done go to the terminal and install the respective dependencies
npm install express nodemon concurrently
Now that we have everything installed, it's time to get started with the index.js file to create our very first server!
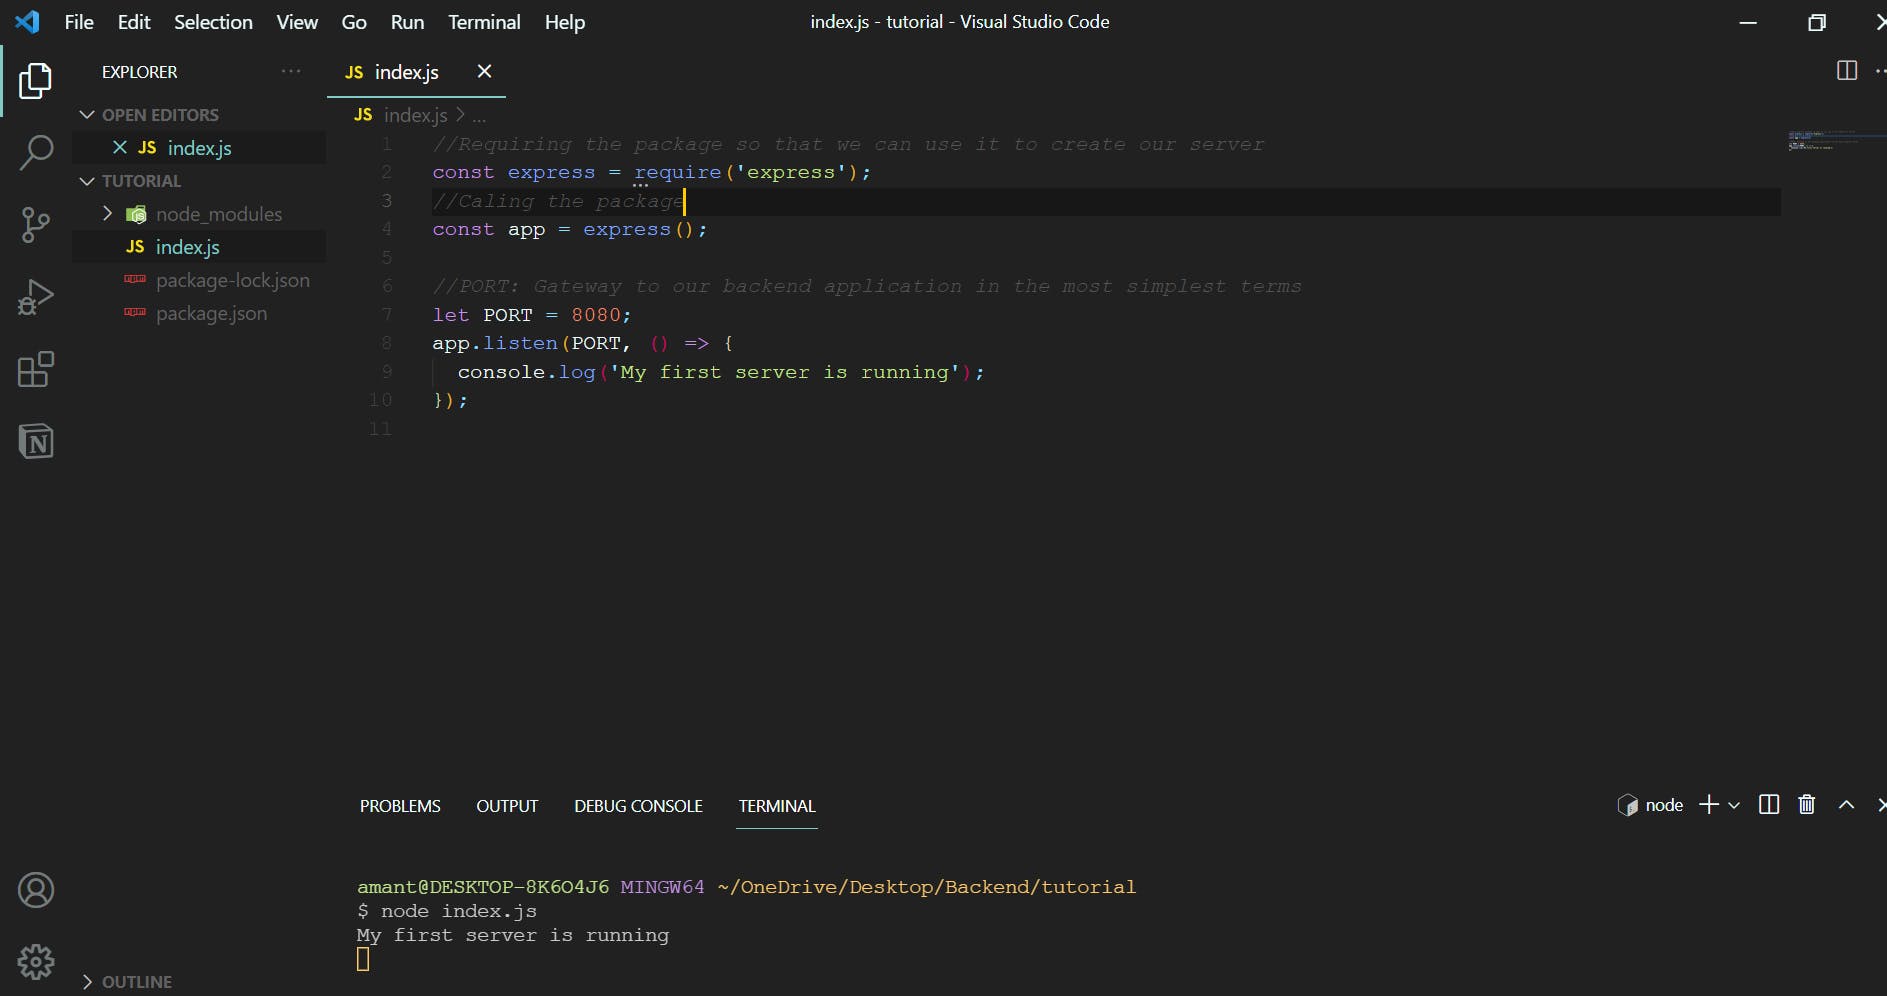
As you can see I went ahead and wrote each and every code we need to make our own first server and yes it's this simple, I have tried my absolute best to clarify everything in the comments but still if you feel unsure, asking someone is always a very good hack in life, and with this we are almost done except one thing, our routes!
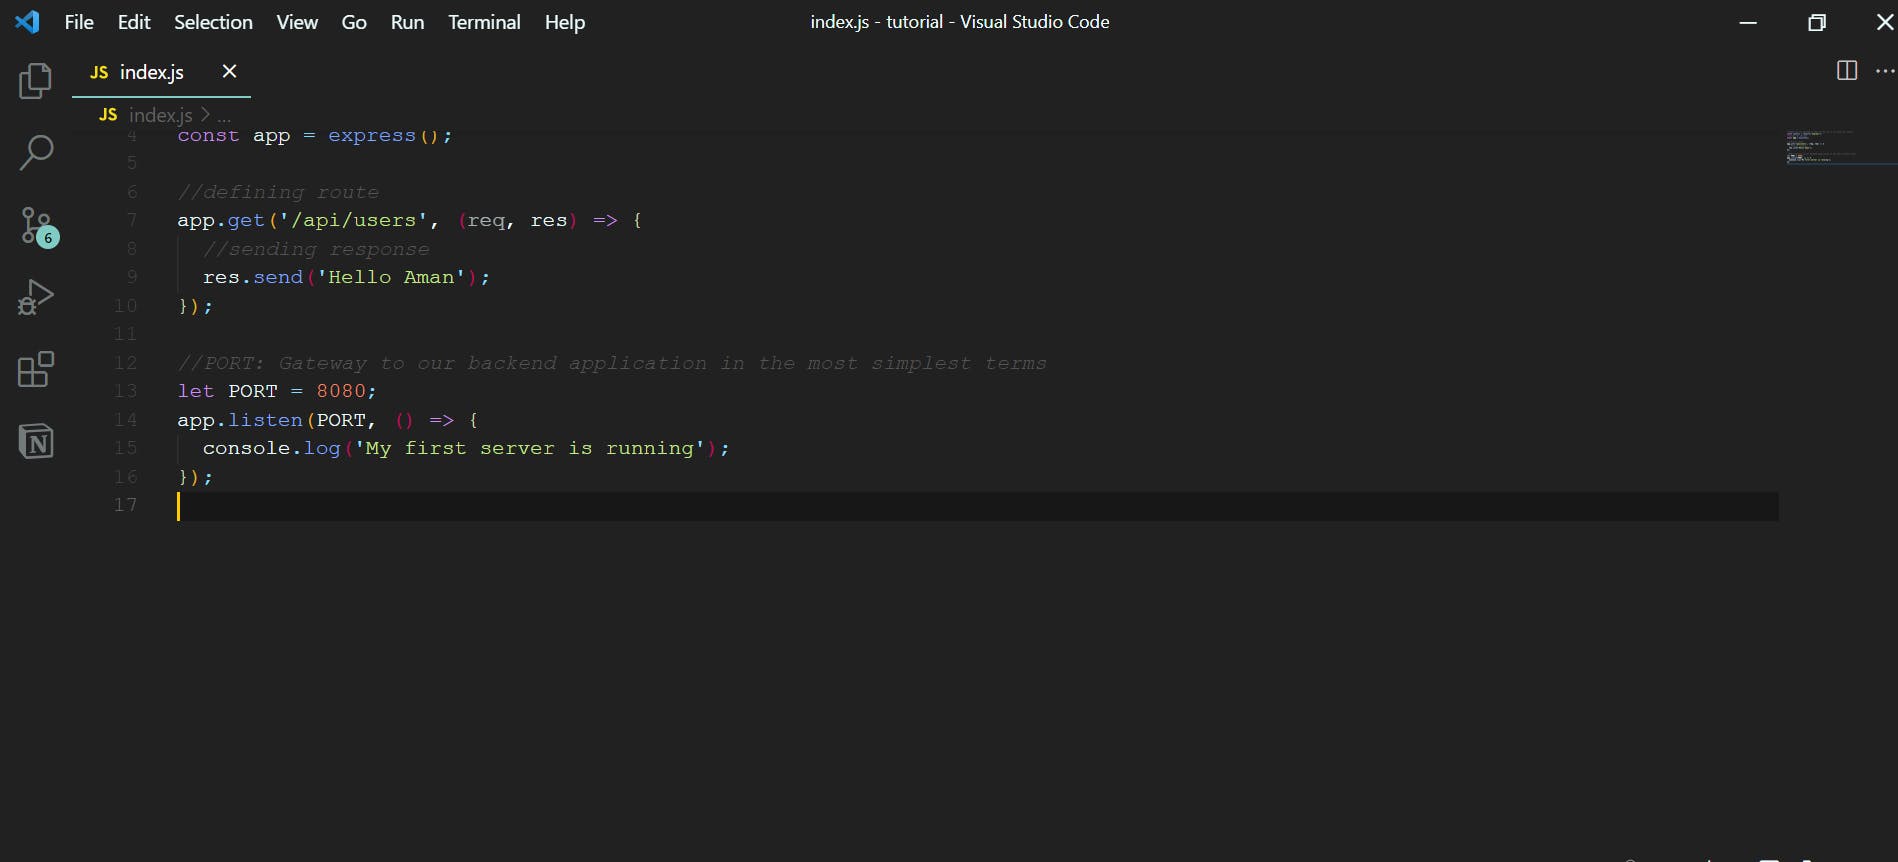
P.S: I am assuming you are familiar with HTTP methods get and post if not it is best to go through the documentation once
You can test if it's working properly or not by going to the address
http://localhost:8080/api/users
Now that we have our own server up and running there's one last change that we need to make to our package.json file so that it makes our workflow very very easy.
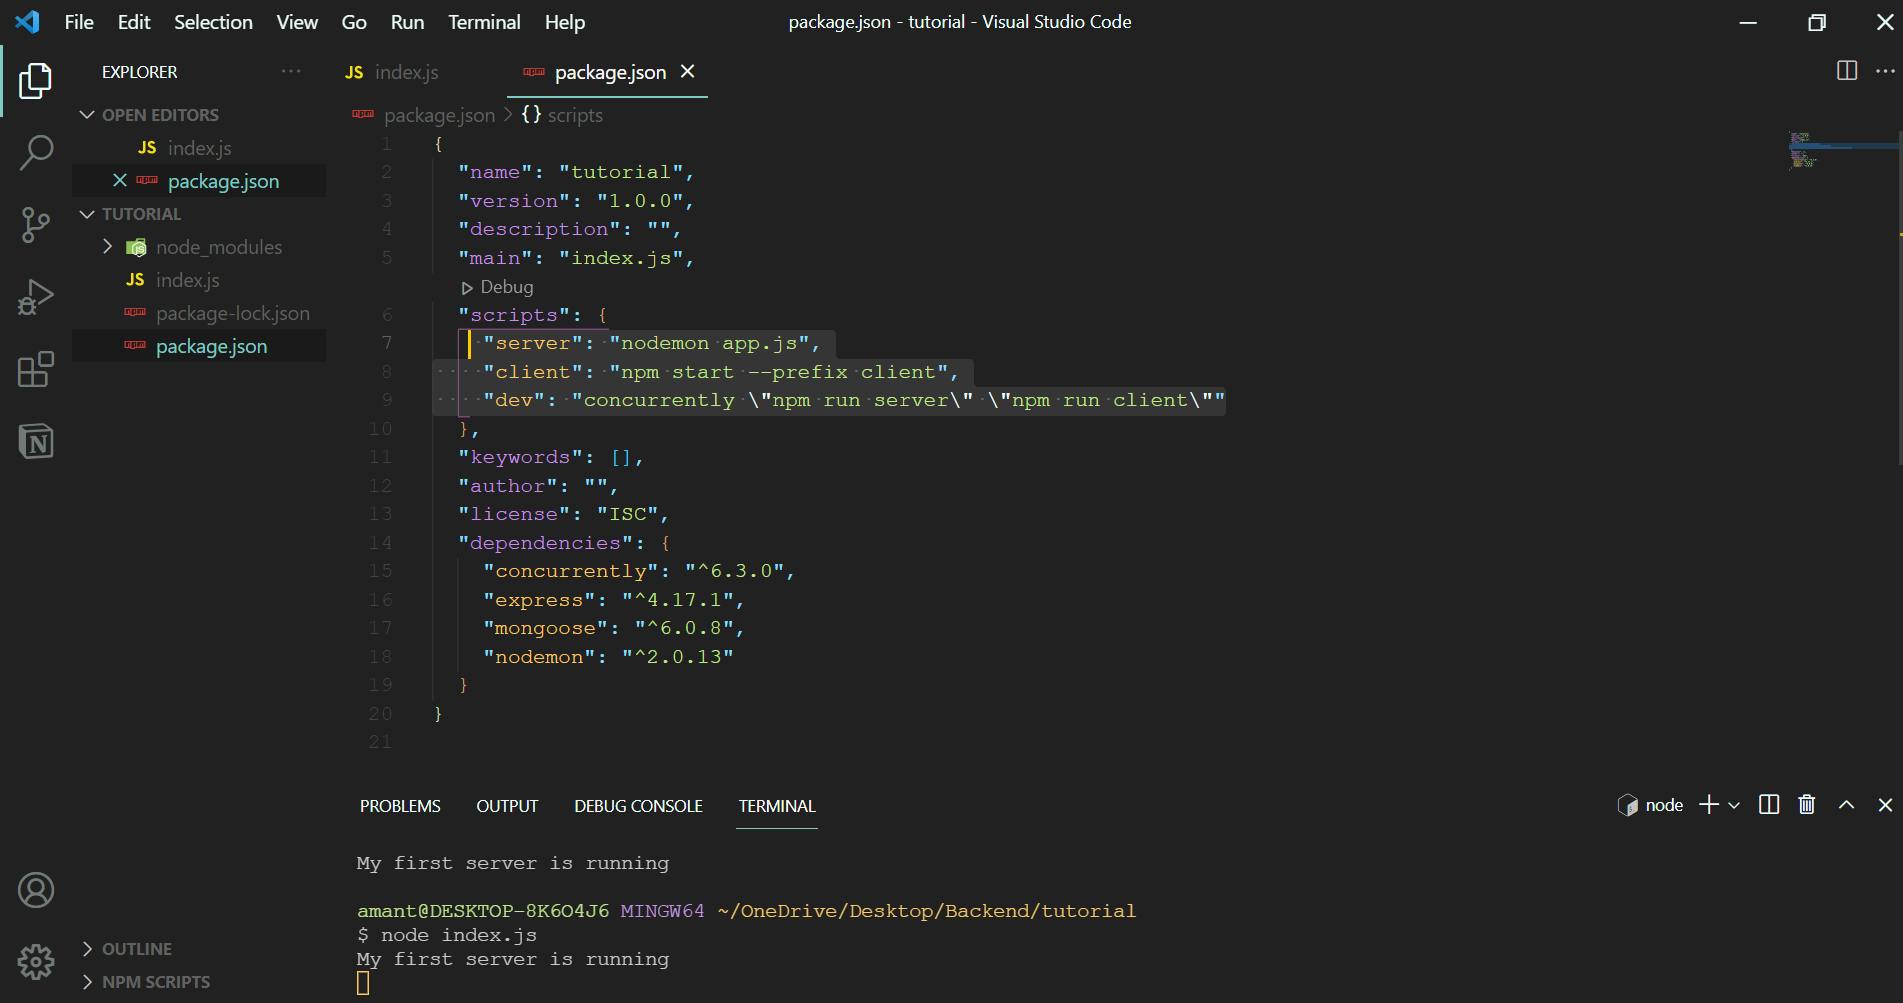
and don't worry I will come back to it later to explain what it does btw you can run two different servers at two different ports using the same index.js file, totally off the topic I know but still in case if any of you might wonder in the future, do remember me 😜
Now let's see what the other half of our puzzle looks like!
Part 2
React Setup
Inside the folder where we have our index.js file you need to create a react application named anything you want, from what I have learned from other developers they usually name it as client
npx create-react-app client
This will create a react application inside your folder and now comes the part which will make our workflow easier, remember I told you to make some changes to your package.json file to be more specific I added some scripts to that file, it was for this purpose!
A react application runs on it's own separate server which can be accessed through the port 3000 and our backend server is running on port 8080 defined by us now we will need to start both these servers in order to start the application which can be done by opening two separate terminal windows, no issues at all!
but but but
why not make our lives easier when we now we can, remember the concurrently package which we installed in the beginning, yes that concurrently. Well it basically allows us to start two separate servers operating on different ports through a single terminal window and isn't it absolutely amazing?😁
Let's not get carried away and test our code to see if it's working or not, by typing the command
npm run dev
inside our terminal window and vollaaa, we have our application running!
Who thought connecting our backend server to our frontend react server would be this simple right?
Now
cd client
npm install react-router-dom axios http-proxy-middleware
After installing the required dependencies it's again time for some boilerplate code
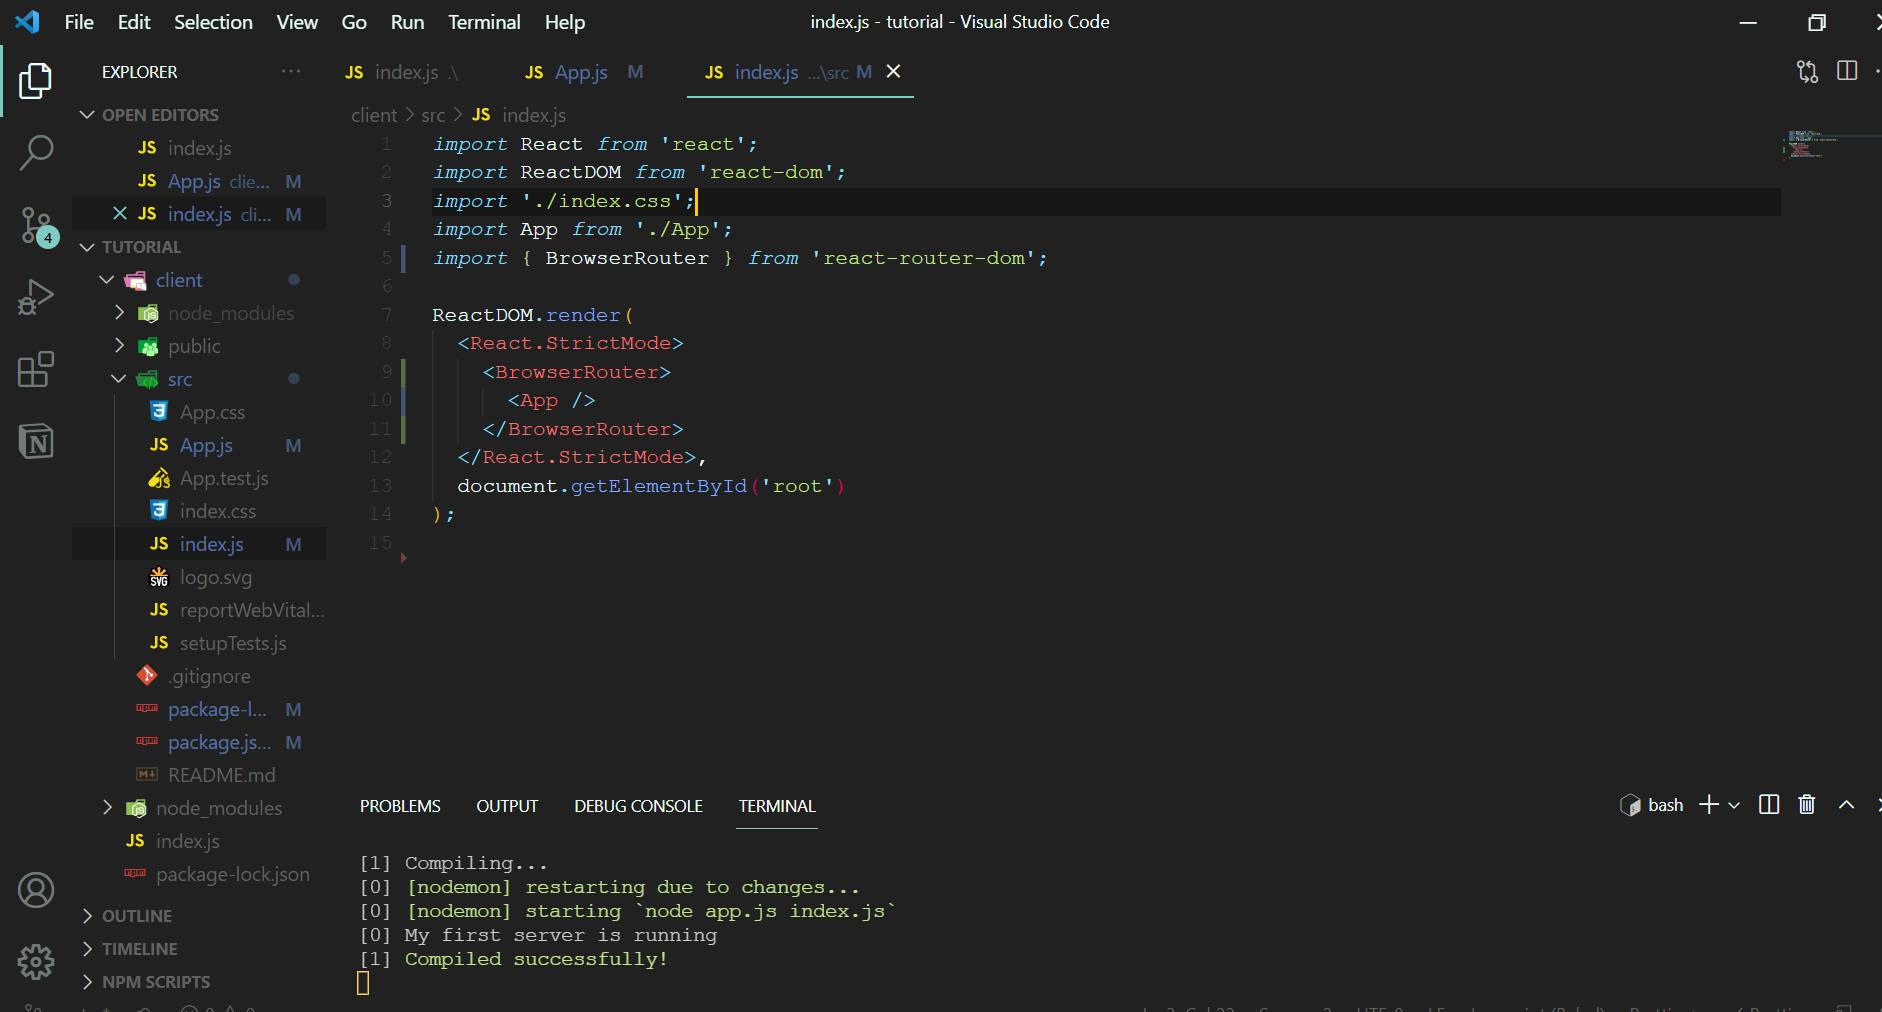

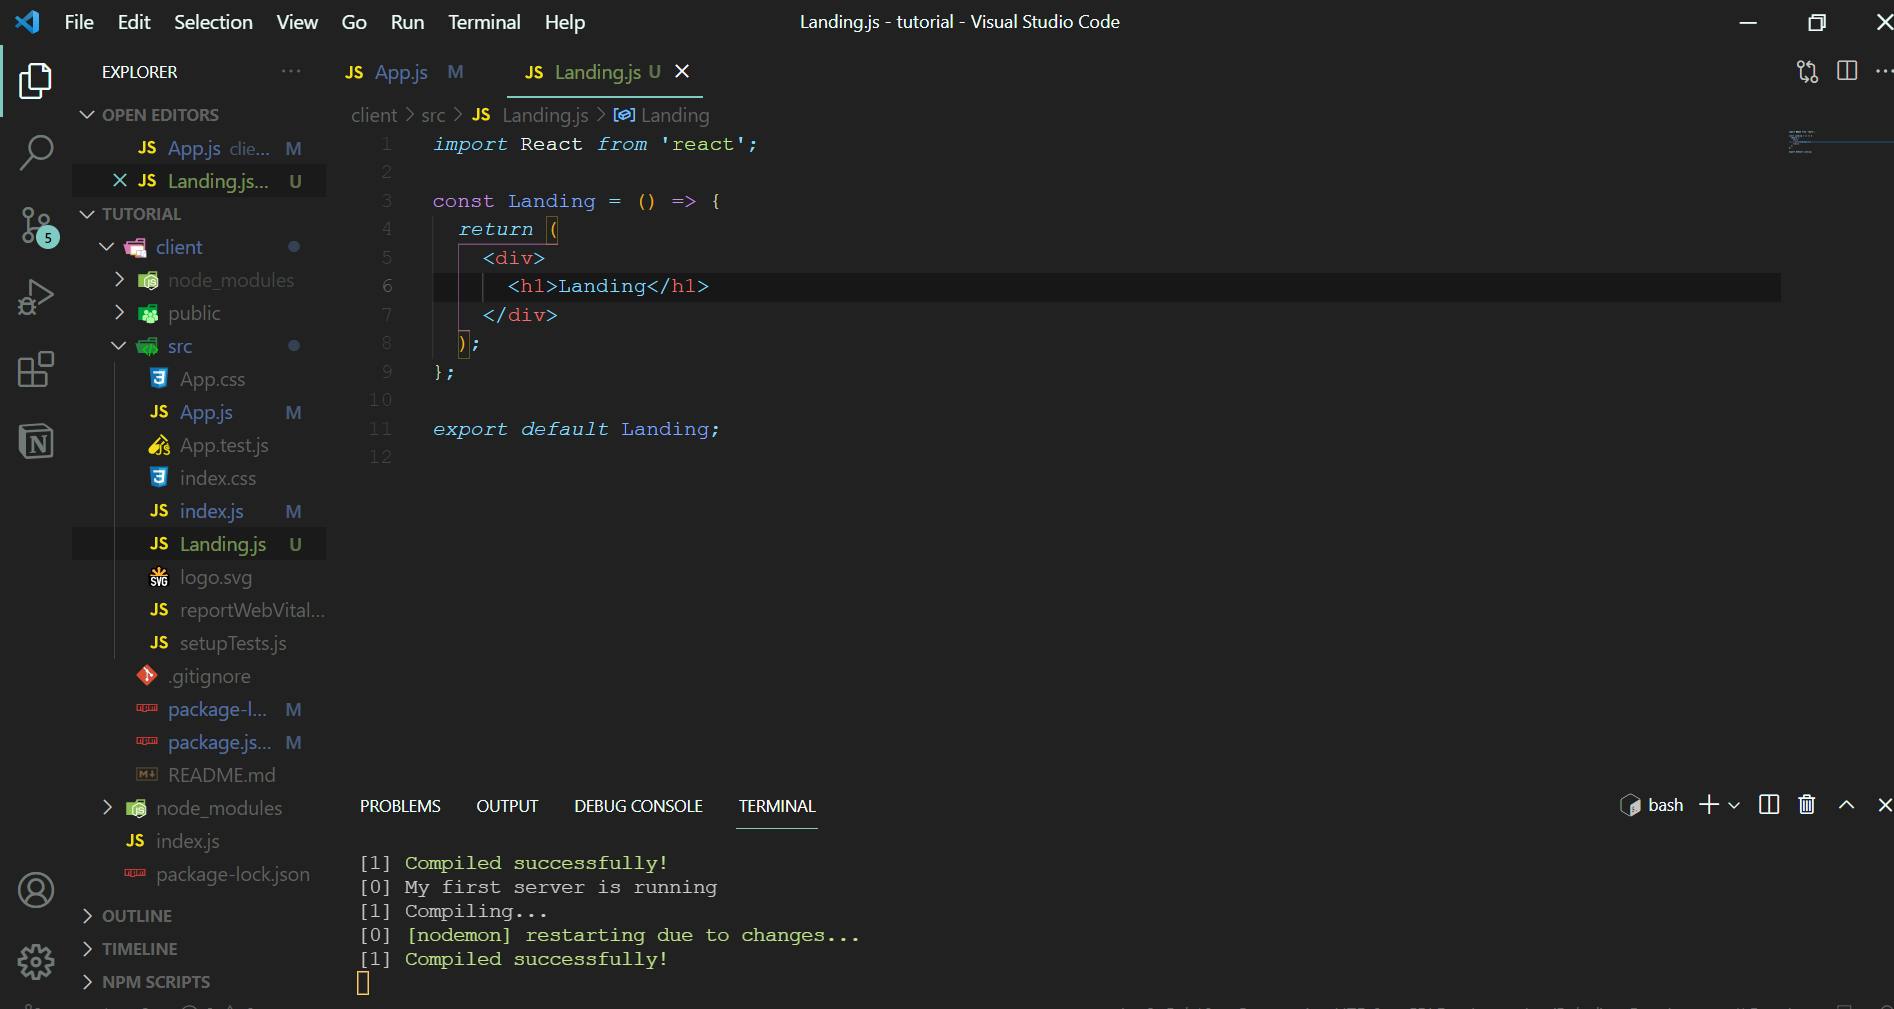
Let me explain:
React is a JavaScript library for building interfaces that has it's own separate routing package which we need to install to link one page to another, similar to what we have defined in express and this is exactly what react-router-dom helps us with.
Once you have completed this basic setup, pat yourself on the back because we are just two step away from connecting the two pieces and for that we need to add another file into our client src folder i.e. setupProxy.js inside that file add the following boiler plate code
const { createProxyMiddleware } = require('http-proxy-middleware');
module.exports = (app) => {
  app.use(
    ['/api*'],
    createProxyMiddleware({
      target: 'localhost:8080',
    })
  );
};
what this proxy middleware does is that it tells our client side to redirect all the routes starting from localhost:3000/api to our backend port localhost:8080 so that we can make request to the respective routes that we have defined on our backend index.js file and I hope by now you must have figured why we installed http-proxy-middleware package, if it still bugs you give this a read.
But wait how to make requests?
axios enters the blog....
If you don't know what axios does don't worry, axios basically allows us to make api requests to external routes running on different servers.
Now It's time to call our route that we defined paragraphs ago:
 axios
      .get('/api/users')
      .then((res) => console.log(res))
      .catch((err) => console.log(err));
  });
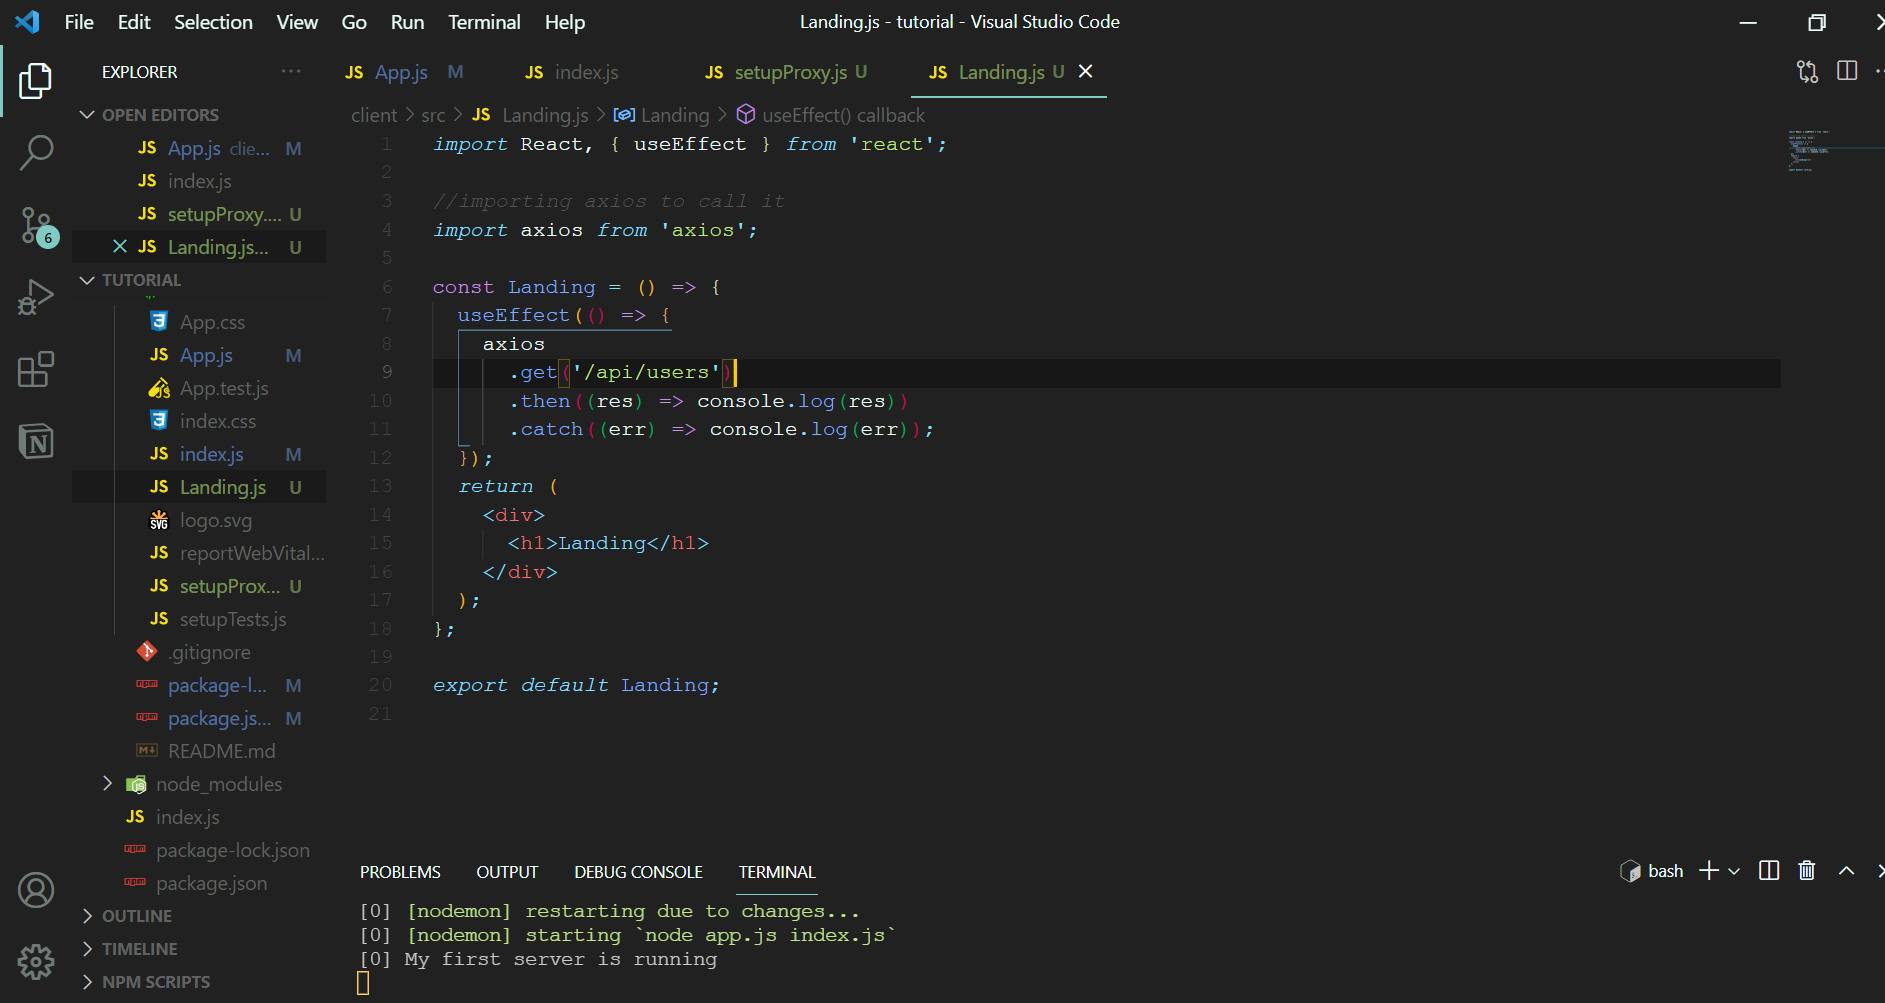
If you are not familiar about useEffect hooks I suggest you go through the basics once, otherwise this piece of code should be pretty self explanatory for you and with this we have finished our connection, yes we have connected the two, no more code required, don't trust me?
check your browser console you should be getting something like this:

Things I learned by doing
- In this guide, I have shown how you can request the get routes in particular, similarly you can also make requests to the post put and delete routes by axios.post, axios.put and axios.delete methods respectively for example:
axios
      .post('/api/routeEndPoint, { object to send })
      .then((res) => console.log(res))
      .catch((err) => console.log(err))
- The react routing endpoints and backend routing endpoints can be different but to make the application more readable and easier to understand they should be defined somewhat similar.
- To send form data you need to first store the data in the react state of the form and then pass it to the backend route which can be further accessed by req.body at the backend side it might be the case that the form data may not be in json format for such cases:
const { urlencoded } = require('express');

app.use(urlencoded({ extended: true }));
app.use(express.json());
Finally, If you find this guide useful do let me know in the comments or feel free to dm me on twitter if you have any doubts regarding this, feedback are much much appreciated 😀