How to verify your Hashnode powered blog with Google Webmasters


When you unlock your Hashnode blog, the first thing you should do is submit it on Google Webmasters. This is to make sure that you are found on the web. However, the process can be a bit tricky! Some of our community members have reached out to me and suggested that we publish a brief guide which explains this process. So, I've put together a guide that explains how to verify your Hashnode powered blog with Google Webmasters. So, let's get started!
Step 1
Open Google Webmasters and sign in using your Google credentials.
Step 2
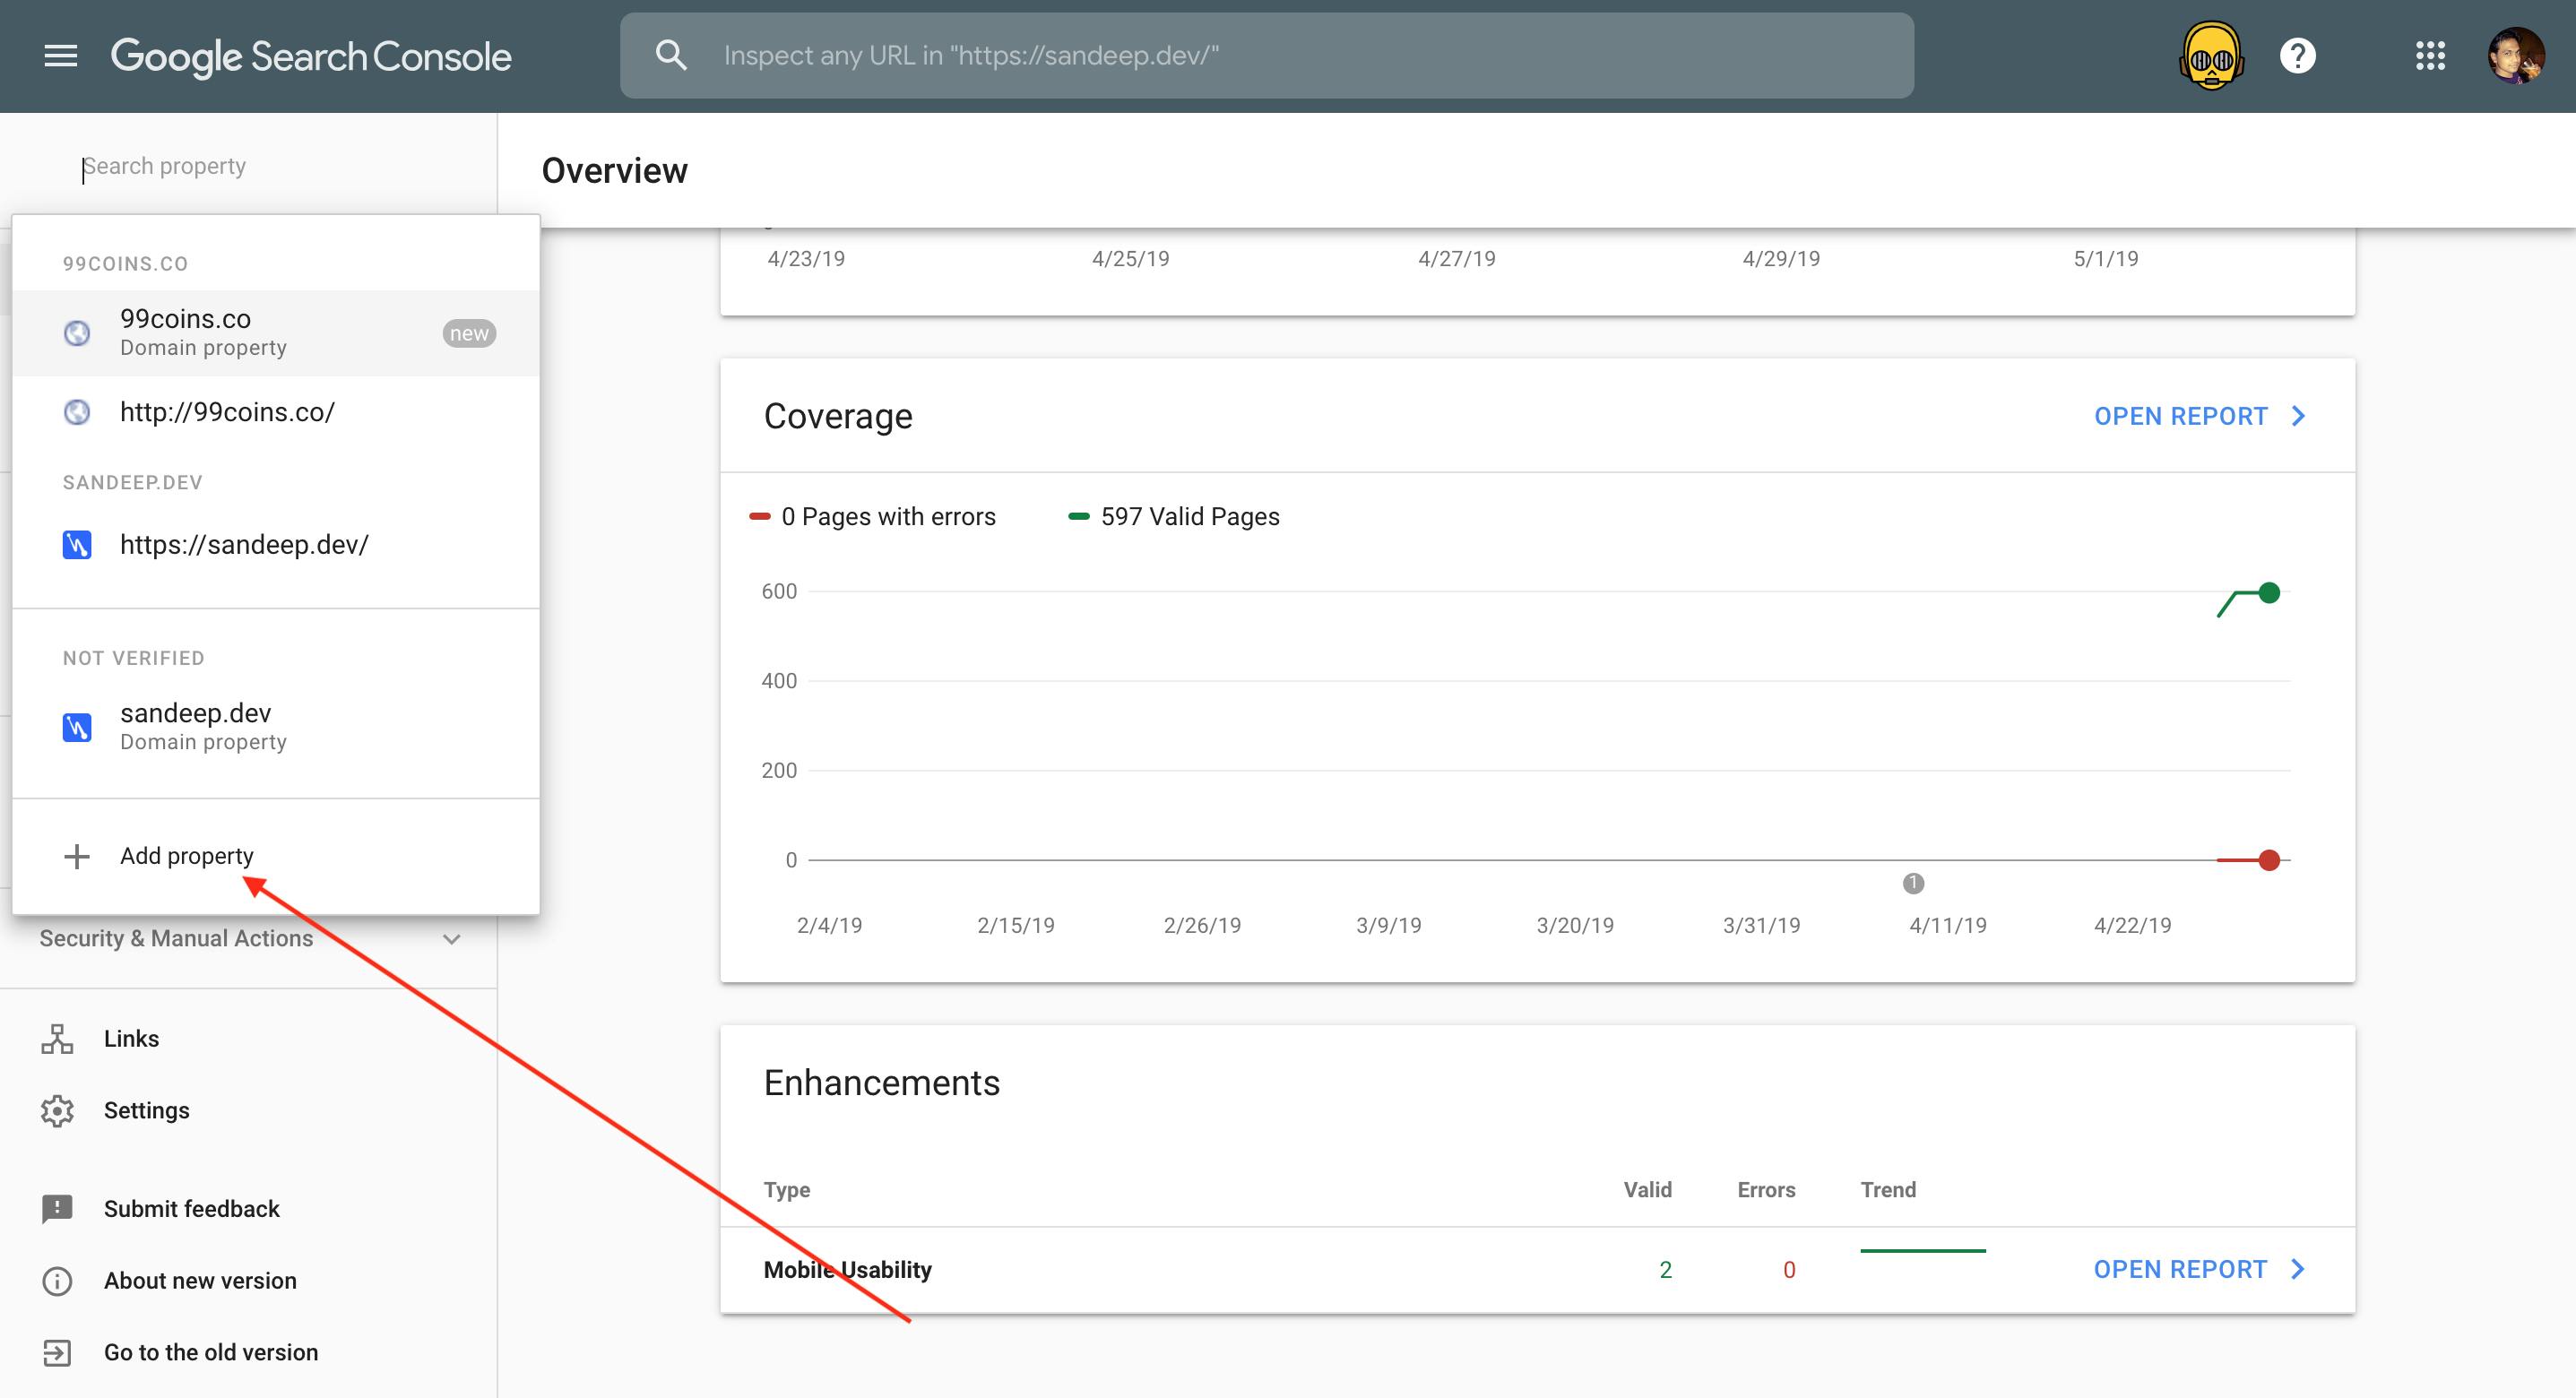
Choose "Add Property" from top left corner of the page.
Step 3
Now Google will show you a modal that will allow you to choose between two kinds of properties.
Domain Property
If you are using custom domain, you can choose this one. DNS verification is a must with this approach. You just need to enter your domain name (without any prefix such as http://) and Google will display a TXT record in the next screen. All you need to do is, visit your DNS provider, add that TXT record and click verify on Google Webmasters once you are done.
For example, if I enter sandeep.dev as my domain name, Google will display the following TXT record:
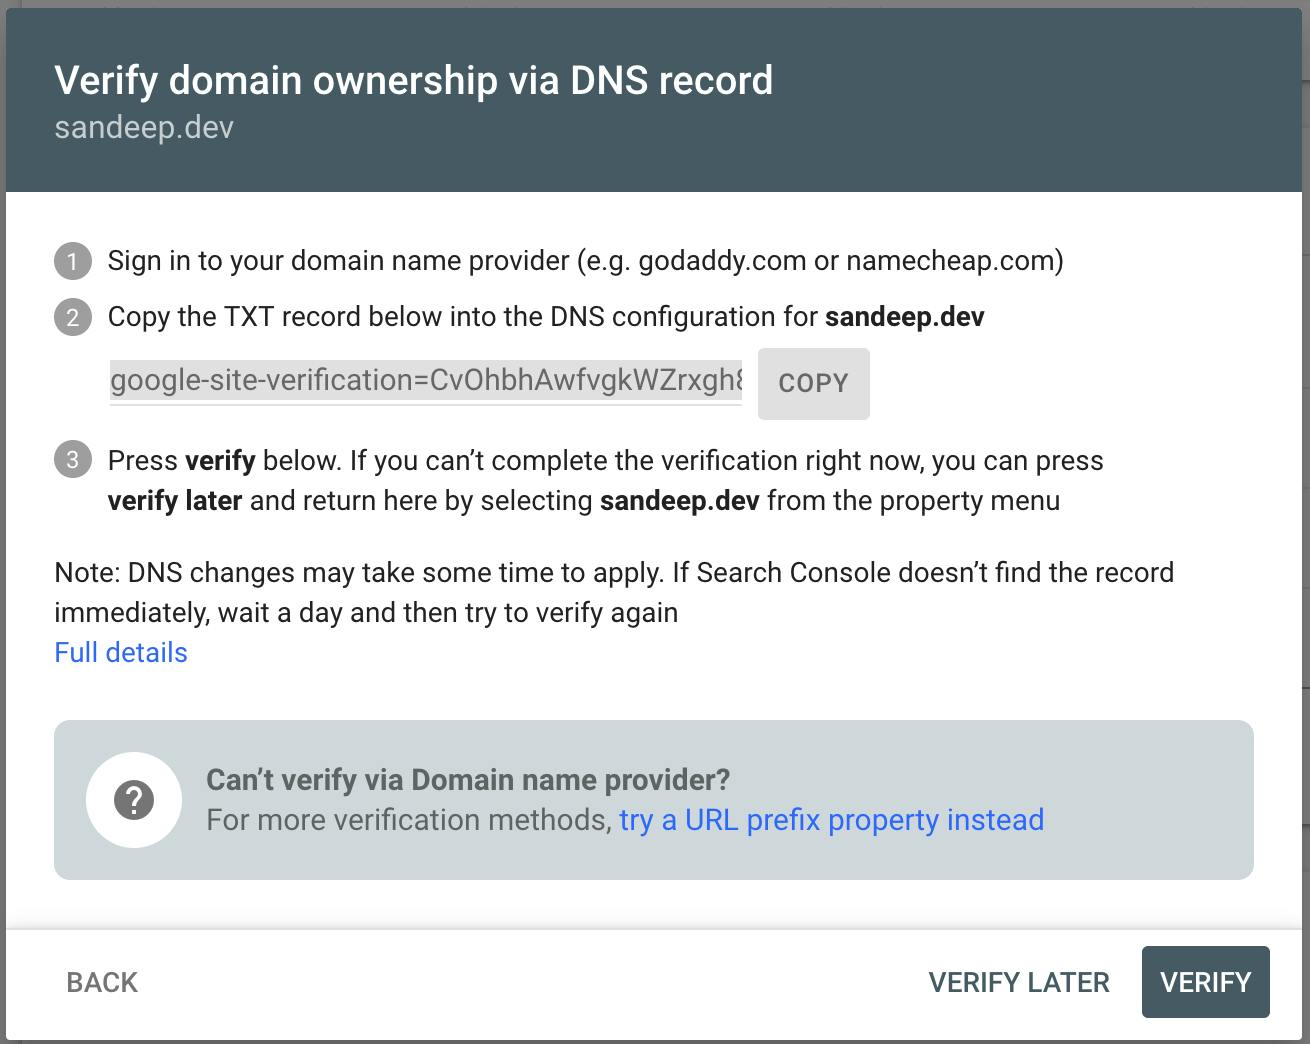
So, I just need to grab that string, visit my DNS provider and add a TXT record at the root level of my domain. For example, in my case I'll add a TXT record as following to my domain:
host = @
value = google-site-verification=CvOhbhAwfvgkWZrxgh8Y9kbiYh6BSYjDTiQ8PqDpiBc
One you are done, click "Verify" on Webmasters and your domain will be successfully verified.
URL Prefix
Naturally, those who are using .hashnode.dev subdomain can't verify their domain in the above way. They should choose "URL Prefix" option. So, if my domain is sandeep.hashnode.dev, I'll enter something like this into the URL field:
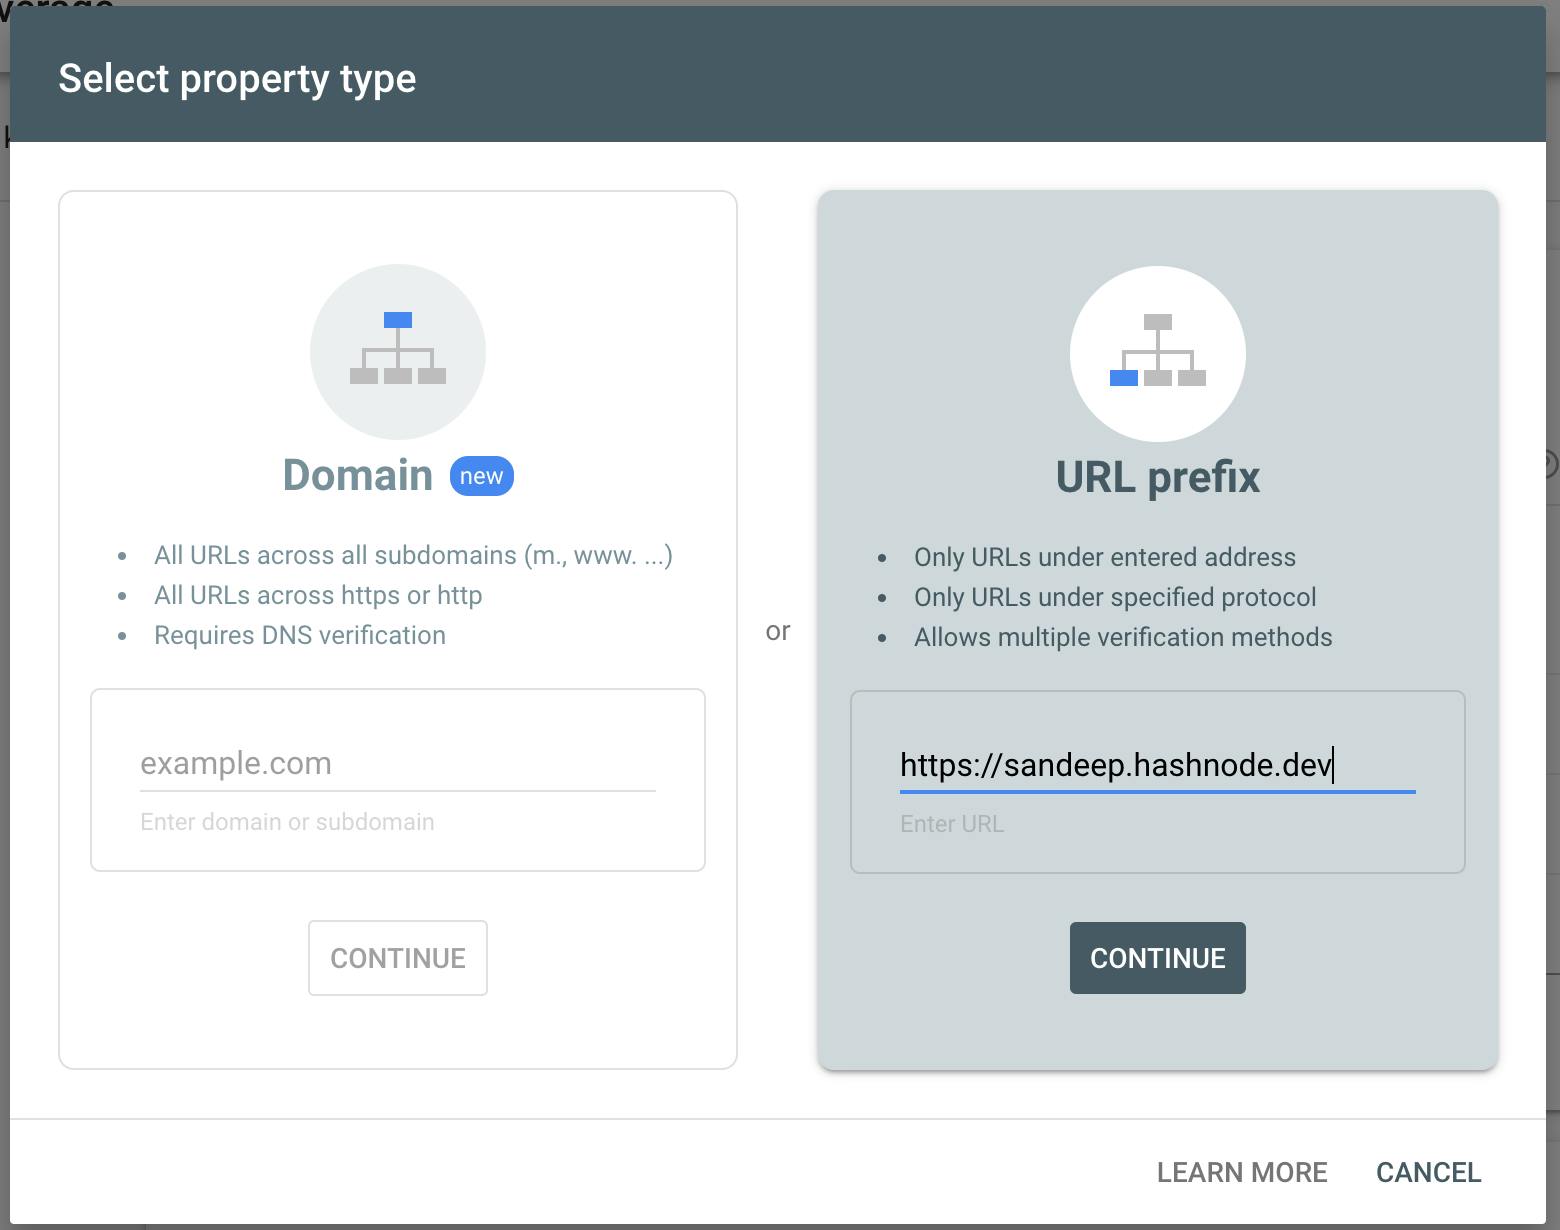
Note: You need to type the full domain name including https://.
Click "continue" and you will find multiple options to verify the domain:
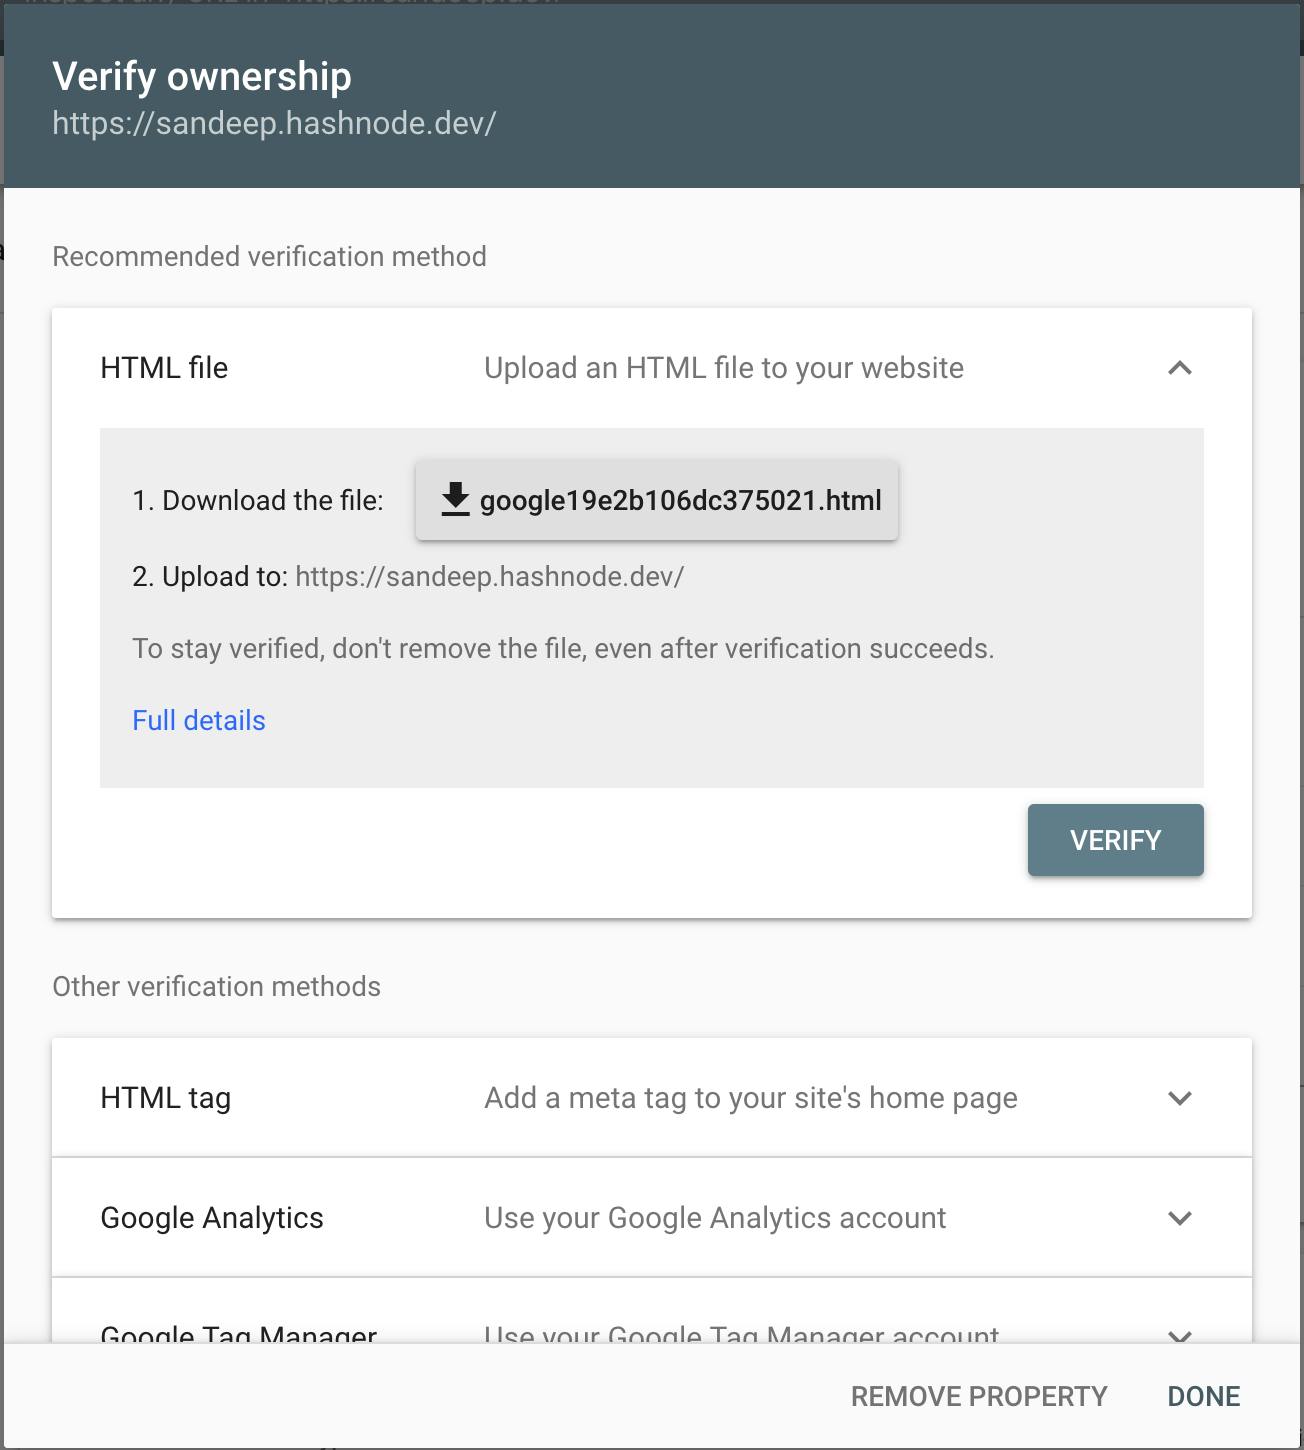
From the list, select "HTML tag" option. It'll give you a meta tag like following:
<meta name="google-site-verification" content="HDKqH-gvwfUxbUDeMR_OdB7Dsqm3tfvenvXcoDZevnI" />
Grab that string and head to your blog's dashboard. Go to "SEO" tab and scroll down to find "Meta Tags" field.
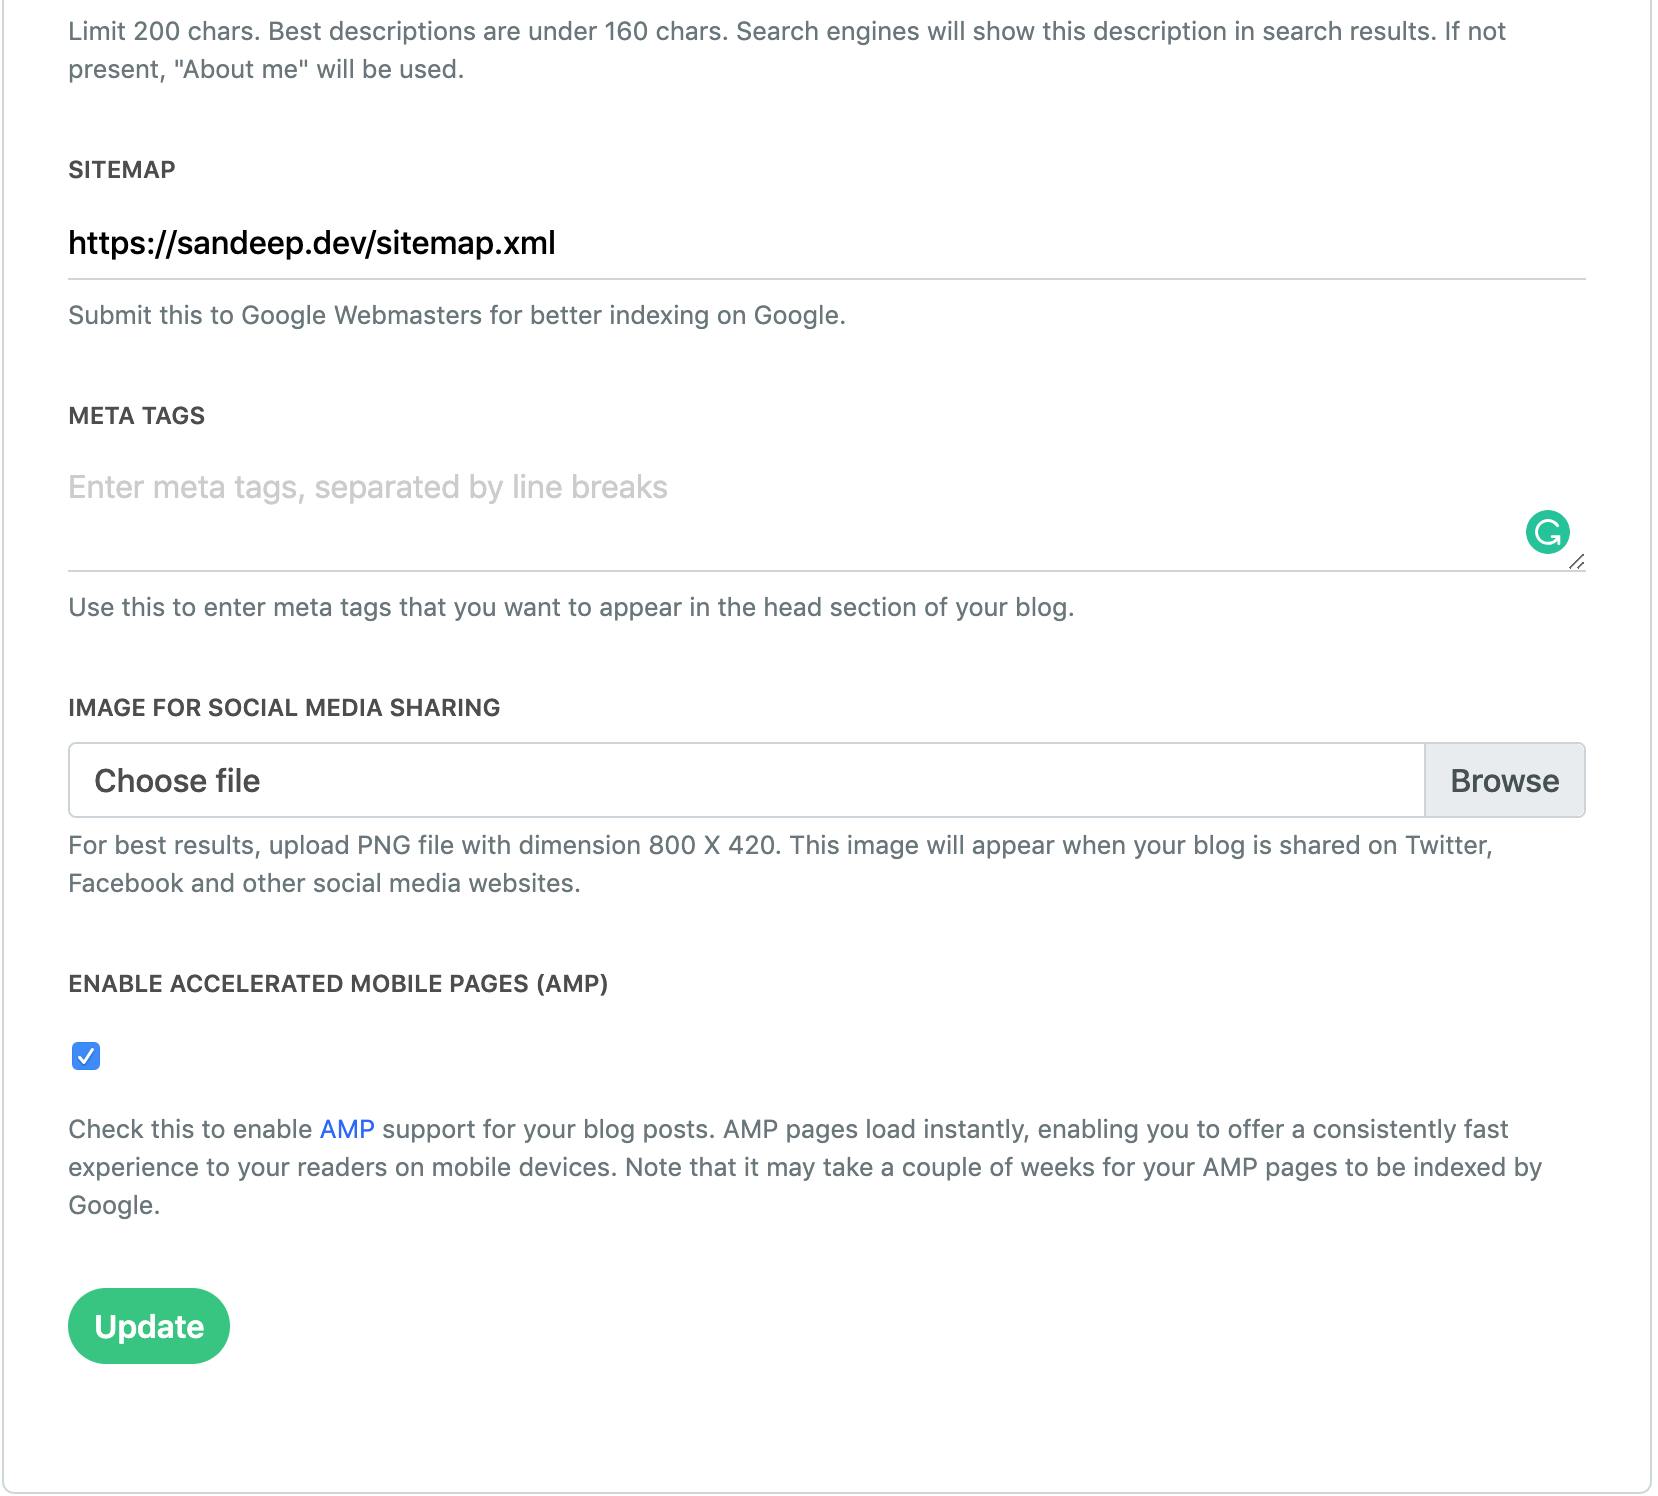
Now enter the meta tags string you got from Webmasters and click "Update". Now go back to Google Webmasters and click "Verify". Congrats! You have now verified your property successfully. 🙌
Hope this guide was helpful to you. If you face any problem, feel free to reach out and we'll be more than happy to help you out.
You can read more about the differences between Domain and URL-prefix properties here. Also, note that users who use a custom domain can use either of the above two options to verify their domain. However, if you are using a hashnode.dev subdomain, you must use the 2nd option i.e. URL-prefix.