
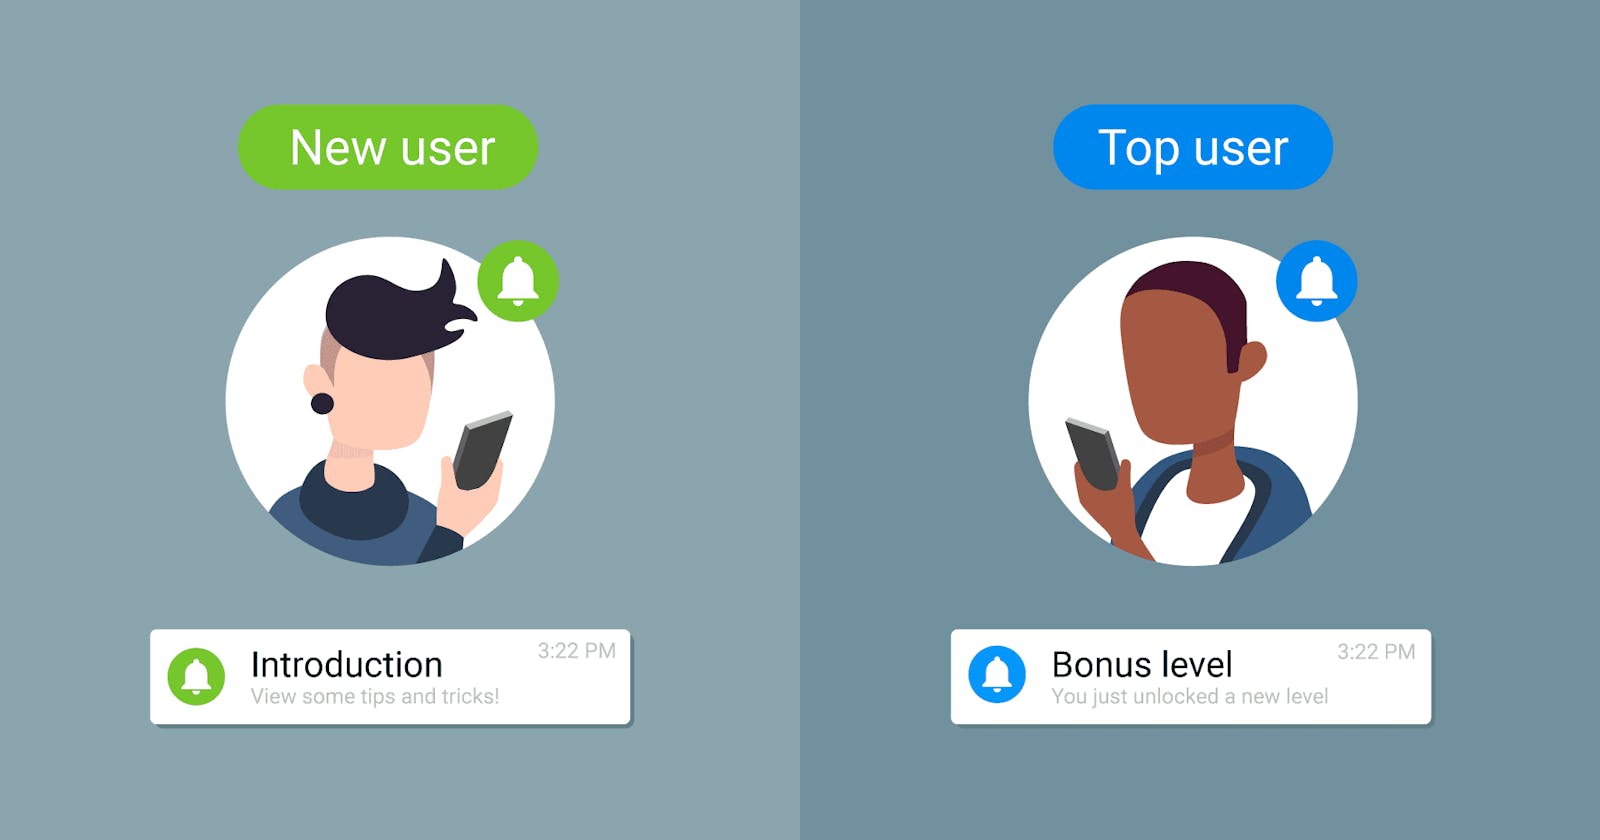


Freshchat provides live chat feature on Web, Mobile and social media platforms like Whatsaap, Facebook Messenger, Slack, Spotify etc. It helps connecting users in different platforms, engage them by interacting with each other and hence developing the business.
Here comes the outstanding ones in freshchat !! With freshchat:
- one can send in-app messages
- set up email campaigns
- set user segments and target messages based on specific business logic
- push Notification services
- multi-channel messaging and many more..
In this article, we are going to explore in-app messaging + push notification features of fresh chat which is a booming feature in almost every mobile apps nowadays😀
Prerequisite knowledge
Assuming the reader of this article has basic knowledge of flutter, android + ios development along with dart language
Installation
In order to integrate freshchat plugin in our project:
- Add
flutter_freshchatdependency to your project's pubspec.yaml file:
dependencies:
  flutter_freshchat: ^1.4.0
- Install it through command line:
$ flutter pub get
- Import and use in your project as:
import 'package:flutter_freshchat/flutter_freshchat.dart';
Android Integration
To set up firebase cloud messaging(fcm) in your app, please follow this link
- To handle the background messages,
Add
com.github.freshdesk:freshchat-androiddependency in your app-level build.gradle file that is located at<app-name>/android/app/build.gradle.
dependencies {
        // your other dependency plugins
    implementation 'com.github.freshdesk:freshchat-android:3.3.0'
  }
To handle remote messages sent by Freshchat via FCM when app is in background mode:
<service android:name=".FcmMessageService"
         android:exported="false">
    <intent-filter>
        <action android:name="com.google.firebase.MESSAGING_EVENT"/>
    </intent-filter>
</service>
Create a class FcmMessageService which handles the remote message inside FreshchatMessagingService.kt file that is located at <app-name>/android/app/src/main/kotlin.
package <your package's identifier>

import com.freshchat.consumer.sdk.Freshchat;
import com.google.firebase.messaging.FirebaseMessagingService
import com.google.firebase.messaging.RemoteMessage

class FcmMessageService : FirebaseMessagingService() {
    override fun onMessageReceived(remoteMessage: RemoteMessage) {
        super.onMessageReceived(remoteMessage)
       if (Freshchat.isFreshchatNotification(remoteMessage)) {
            Freshchat.handleFcmMessage(this, remoteMessage);
        }
    }
}
For java, create FreshchatMessagingService.java file located at <app-name>/android/app/src/main/java .
package <your package's identifier>;

import com.freshchat.consumer.sdk.Freshchat;
import com.google.firebase.messaging.RemoteMessage;
import io.flutter.plugins.firebasemessaging.FlutterFirebaseMessagingService;

public class FcmMessageService extends FirebaseMessagingService {

    @Overridepublic void onNewToken(String token) {
        super.onNewToken(token);
    }

    @Overridepublic void onMessageReceived(final RemoteMessage remoteMessage) {
        super.onMessageReceived(remoteMessage);
        if (Freshchat.isFreshchatNotification(remoteMessage)) {
            Freshchat.handleFcmMessage(this, remoteMessage);
        }
    }
}
- Since Freschat does not provide a default FileProvider, Add this to your
AndroidManifest.xmlfile that is located at<app-name>/android/app/src/main/AndroidManifest.xmlfor secure sharing of files and to grant temporary access to files which freshchat requires.
<manifest>
    ...
    <application>
        ...
          <provider
             android:name="android.support.v4.content.FileProvider"
             android:authorities="com.example.demoapp.provider"
             android:exported="false"
             android:grantUriPermissions="true">
               <meta-data
                  android:name="android.support.FILE_PROVIDER_PATHS"
                  android:resource="@xml/freshchat_file_provider_paths" />
           </provider>
        ...
    </application>
</manifest>
For those who have migrated projects to androidX, replace line android:name="android.support.v4.content.FileProvider" with android:name="androidx.core.content.FileProvider"
- To define the resource used by the fileProvider, add this to strings.xml file that is located at
<app-name>/android/app/src/main/res/values/strings.xml
<?xml version="1.0" encoding="utf-8"?>
<resources>
<string name="freshchat_file_provider_authority">com.example.demoapp.provider</string>
</resources>
IOS Integration
- To allow your app to access the Photos and Camera of an IOS phone, IOS requires these additional permission access. Add this to
info.plistlocated at<app-name>/ios/Runner/info.plist. After adding this, user will be prompted with a dialog box asking for "Allow" and "Don't Allow" options
    <key>NSPhotoLibraryUsageDescription</key>
    <string>To Enable access to Photo Library</string>
    <key>NSCameraUsageDescription</key>
    <string>To take Images from Camera</string>
This completes the installation process and set up for the freshchat plugin. We shall now see how to use the freshchat API's and few use cases
How Freshchat works? 🤔
- First initialise the Freshchat plugin for the app in
main.dartwith the code below.
import 'package:flutter_freshchat/flutter_freshchat.dart';
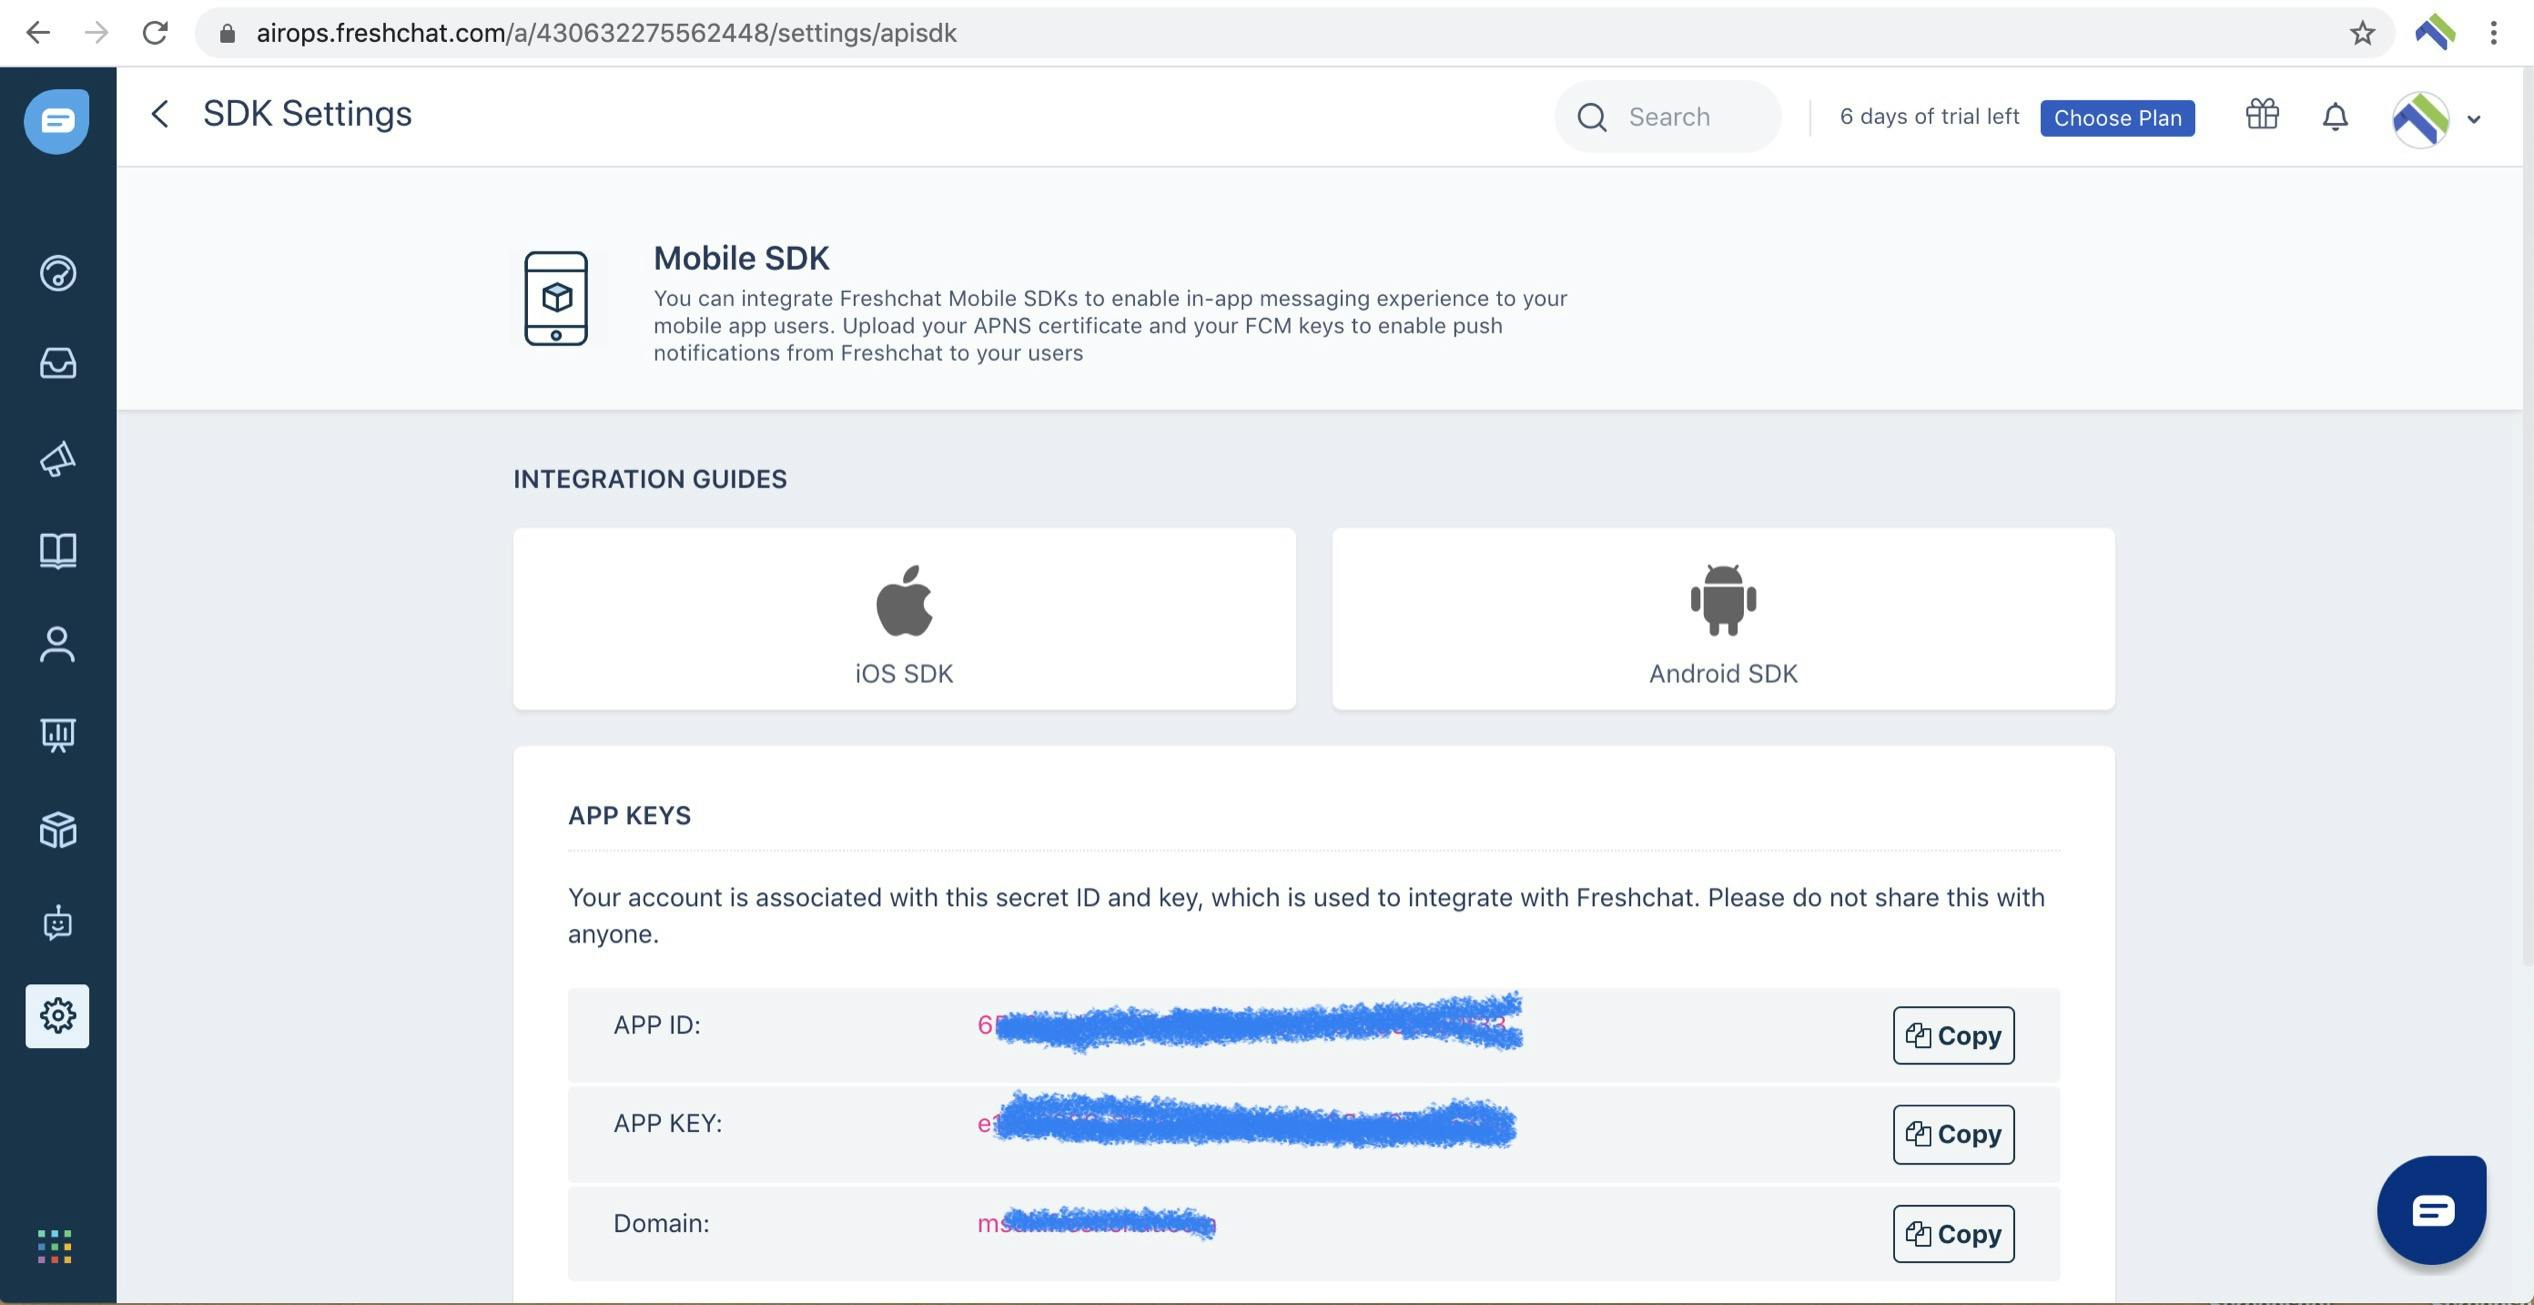
await FlutterFreshchat.init(
appID: "your App ID here",
appKey: "your App Key here",
domain: "your domain here"
)
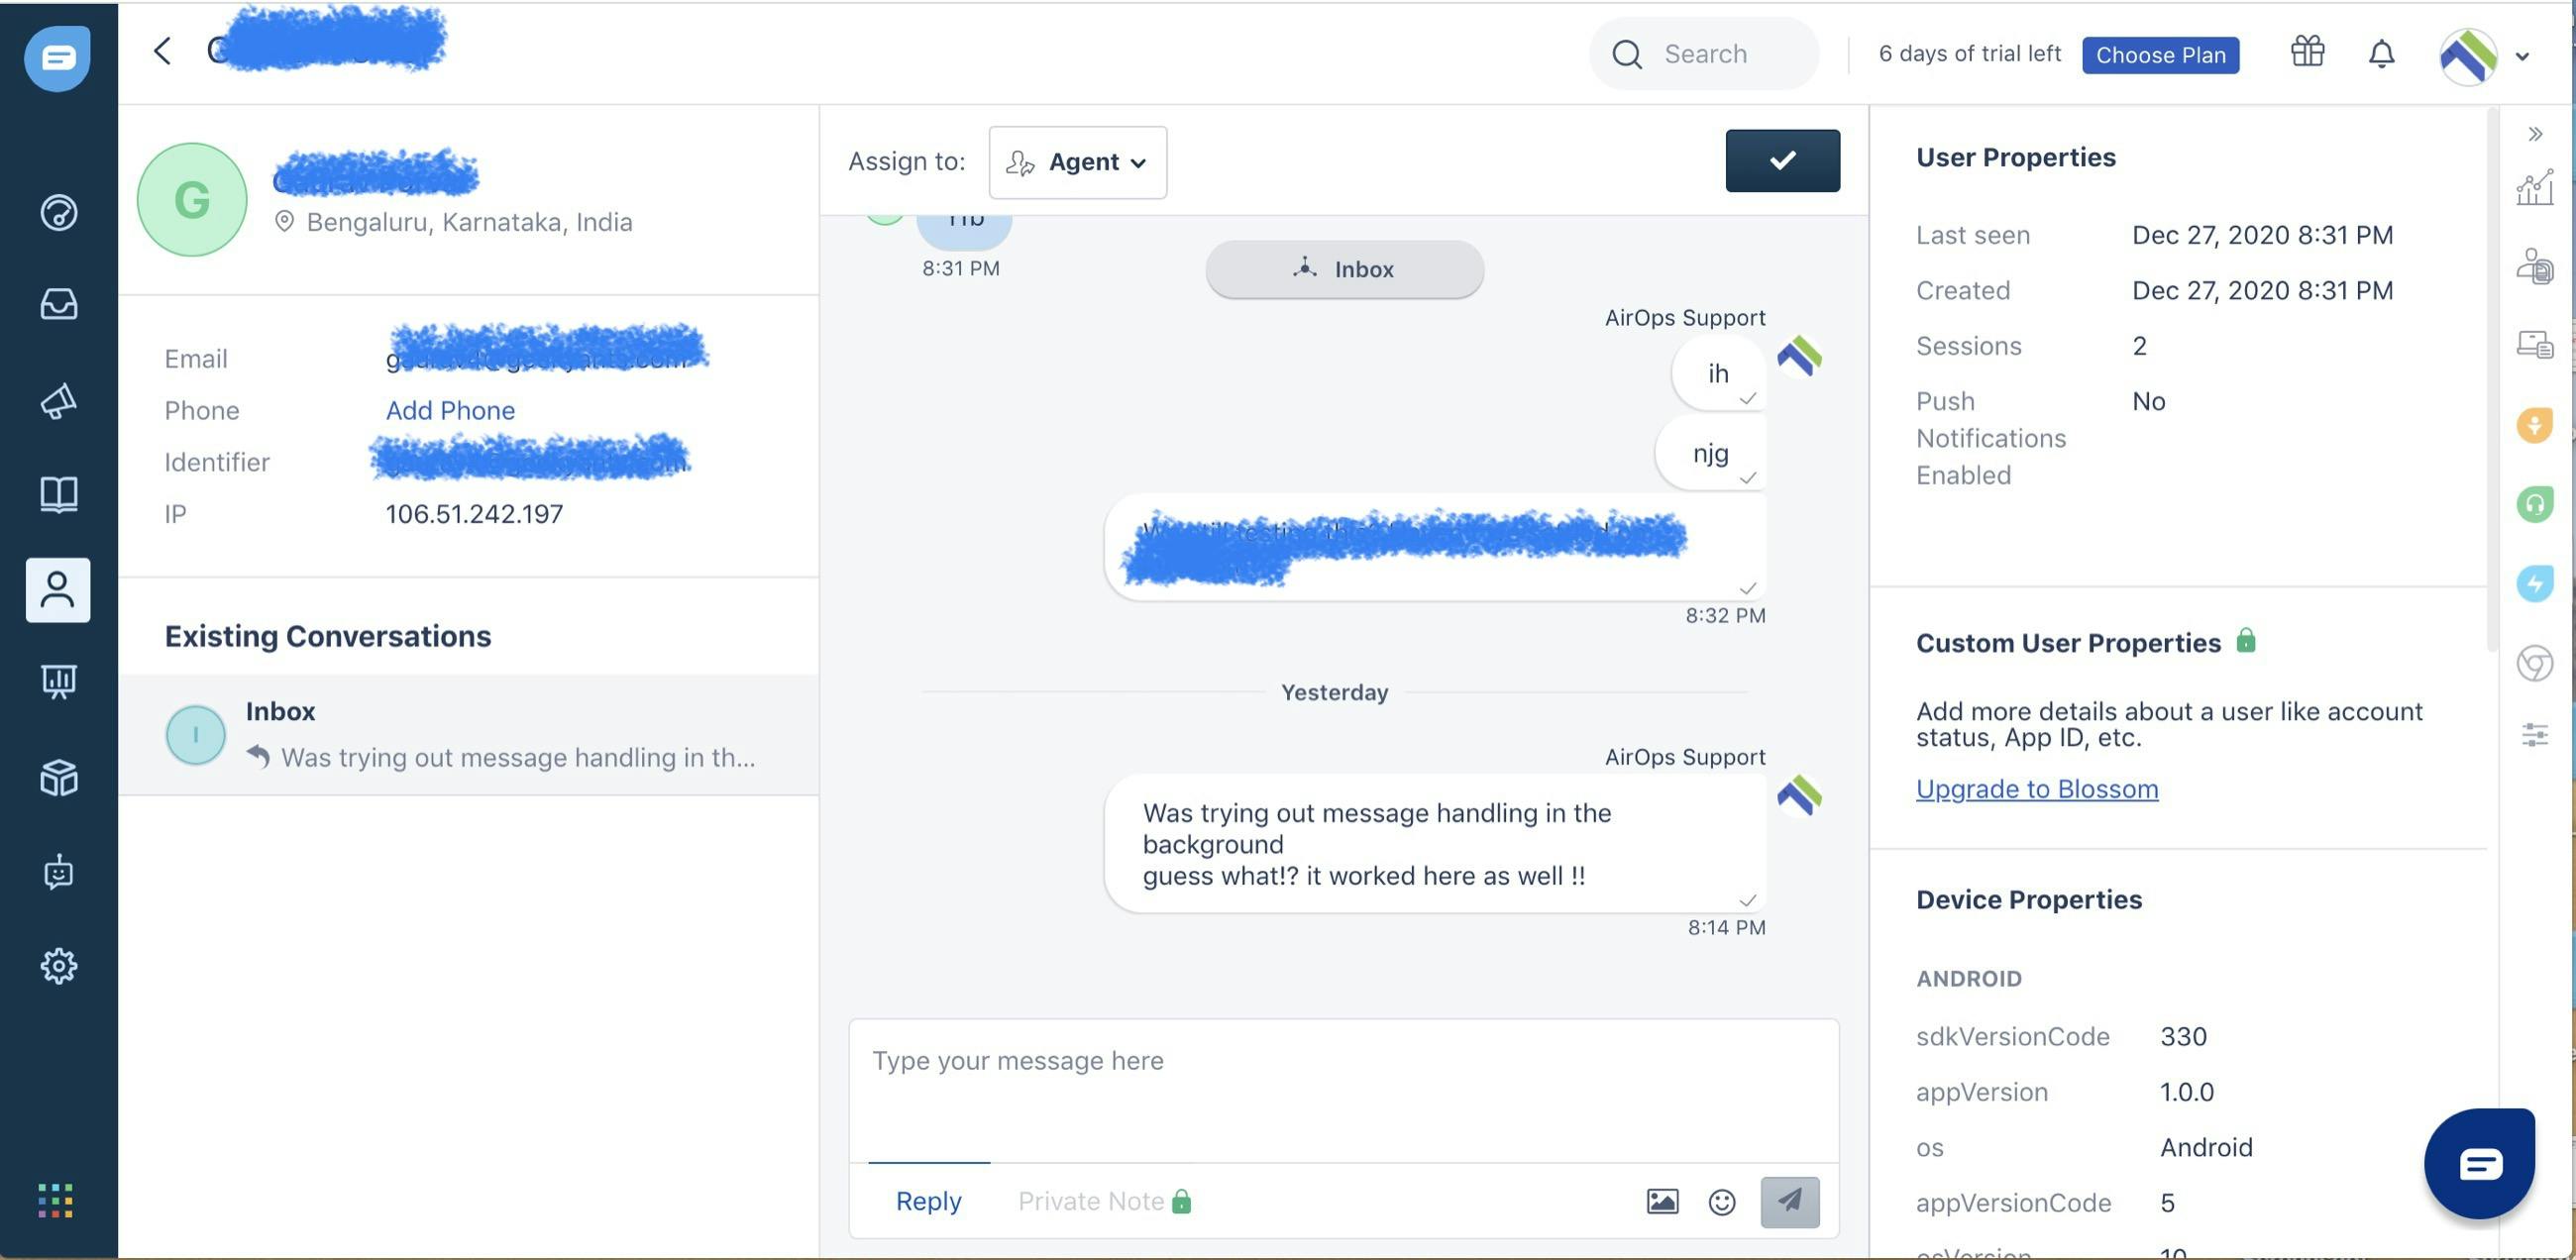
You can find the AppId, AppKey and domain here in the Freshchat dashboard.
Also, send the fcmToken to the Freshchat, add this method where you are fetching your firebase's token.
await FlutterFreshchat.setupPushNotifications(token: fcmToken)
- IOS push Notification To set up the push Notifications for IOS, Upload p.12 file of your project, its password and bundleId of your project
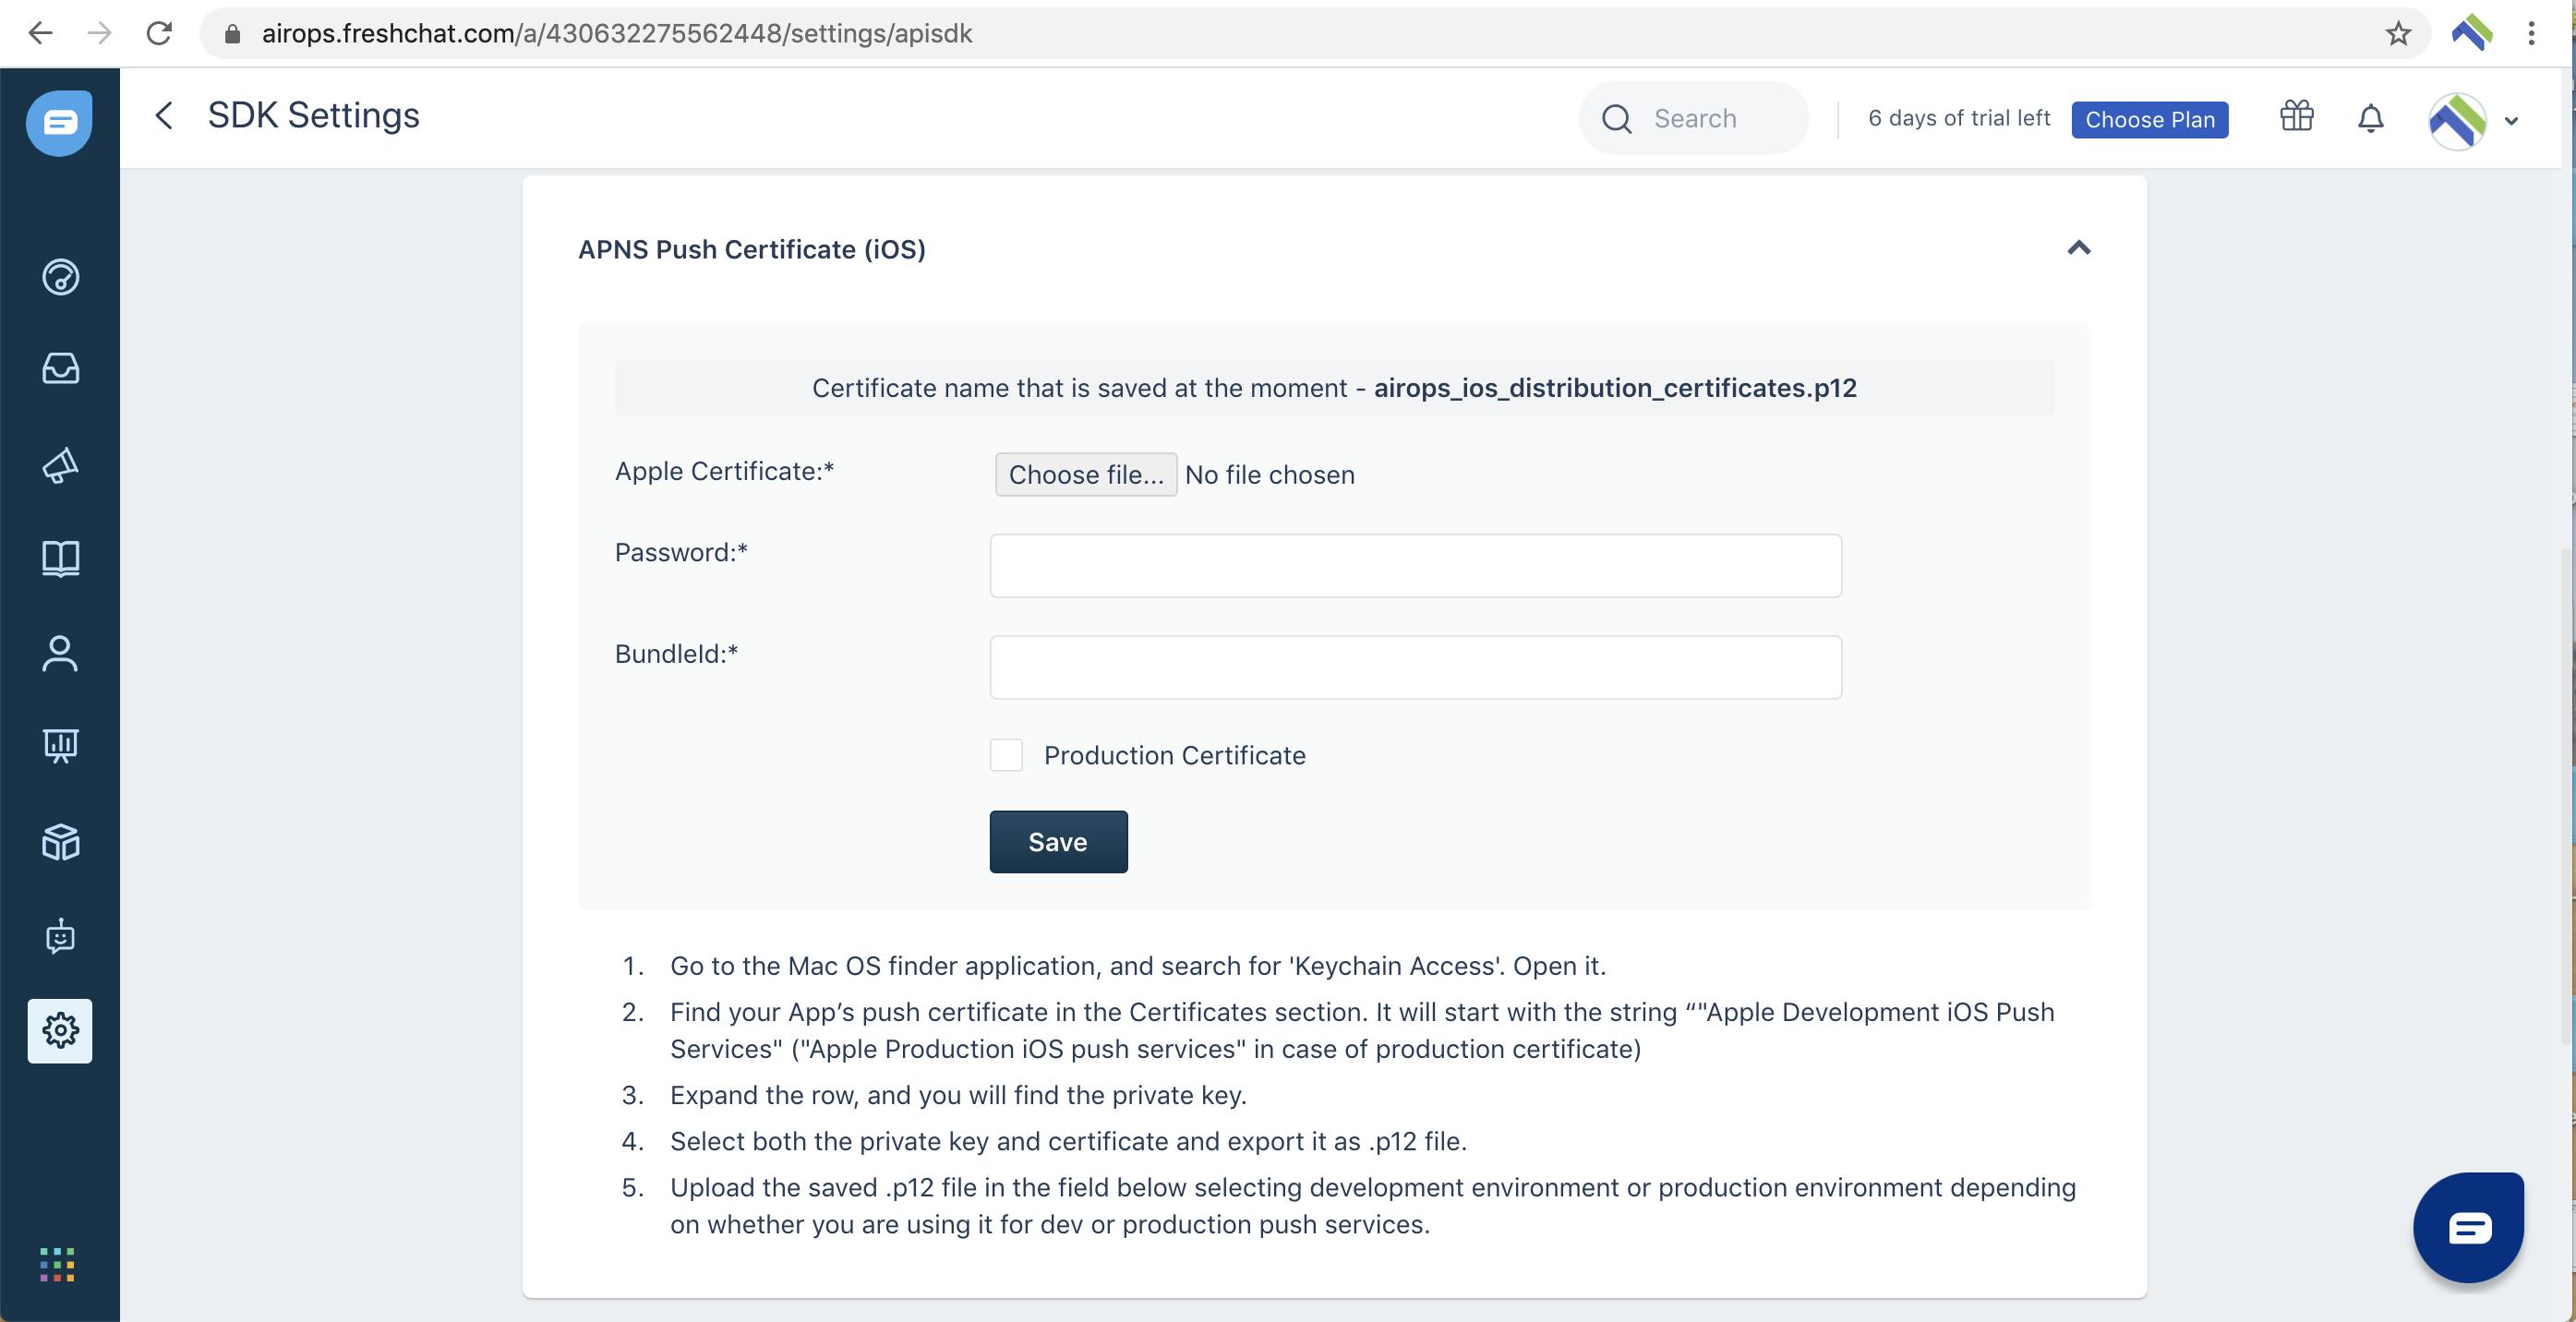
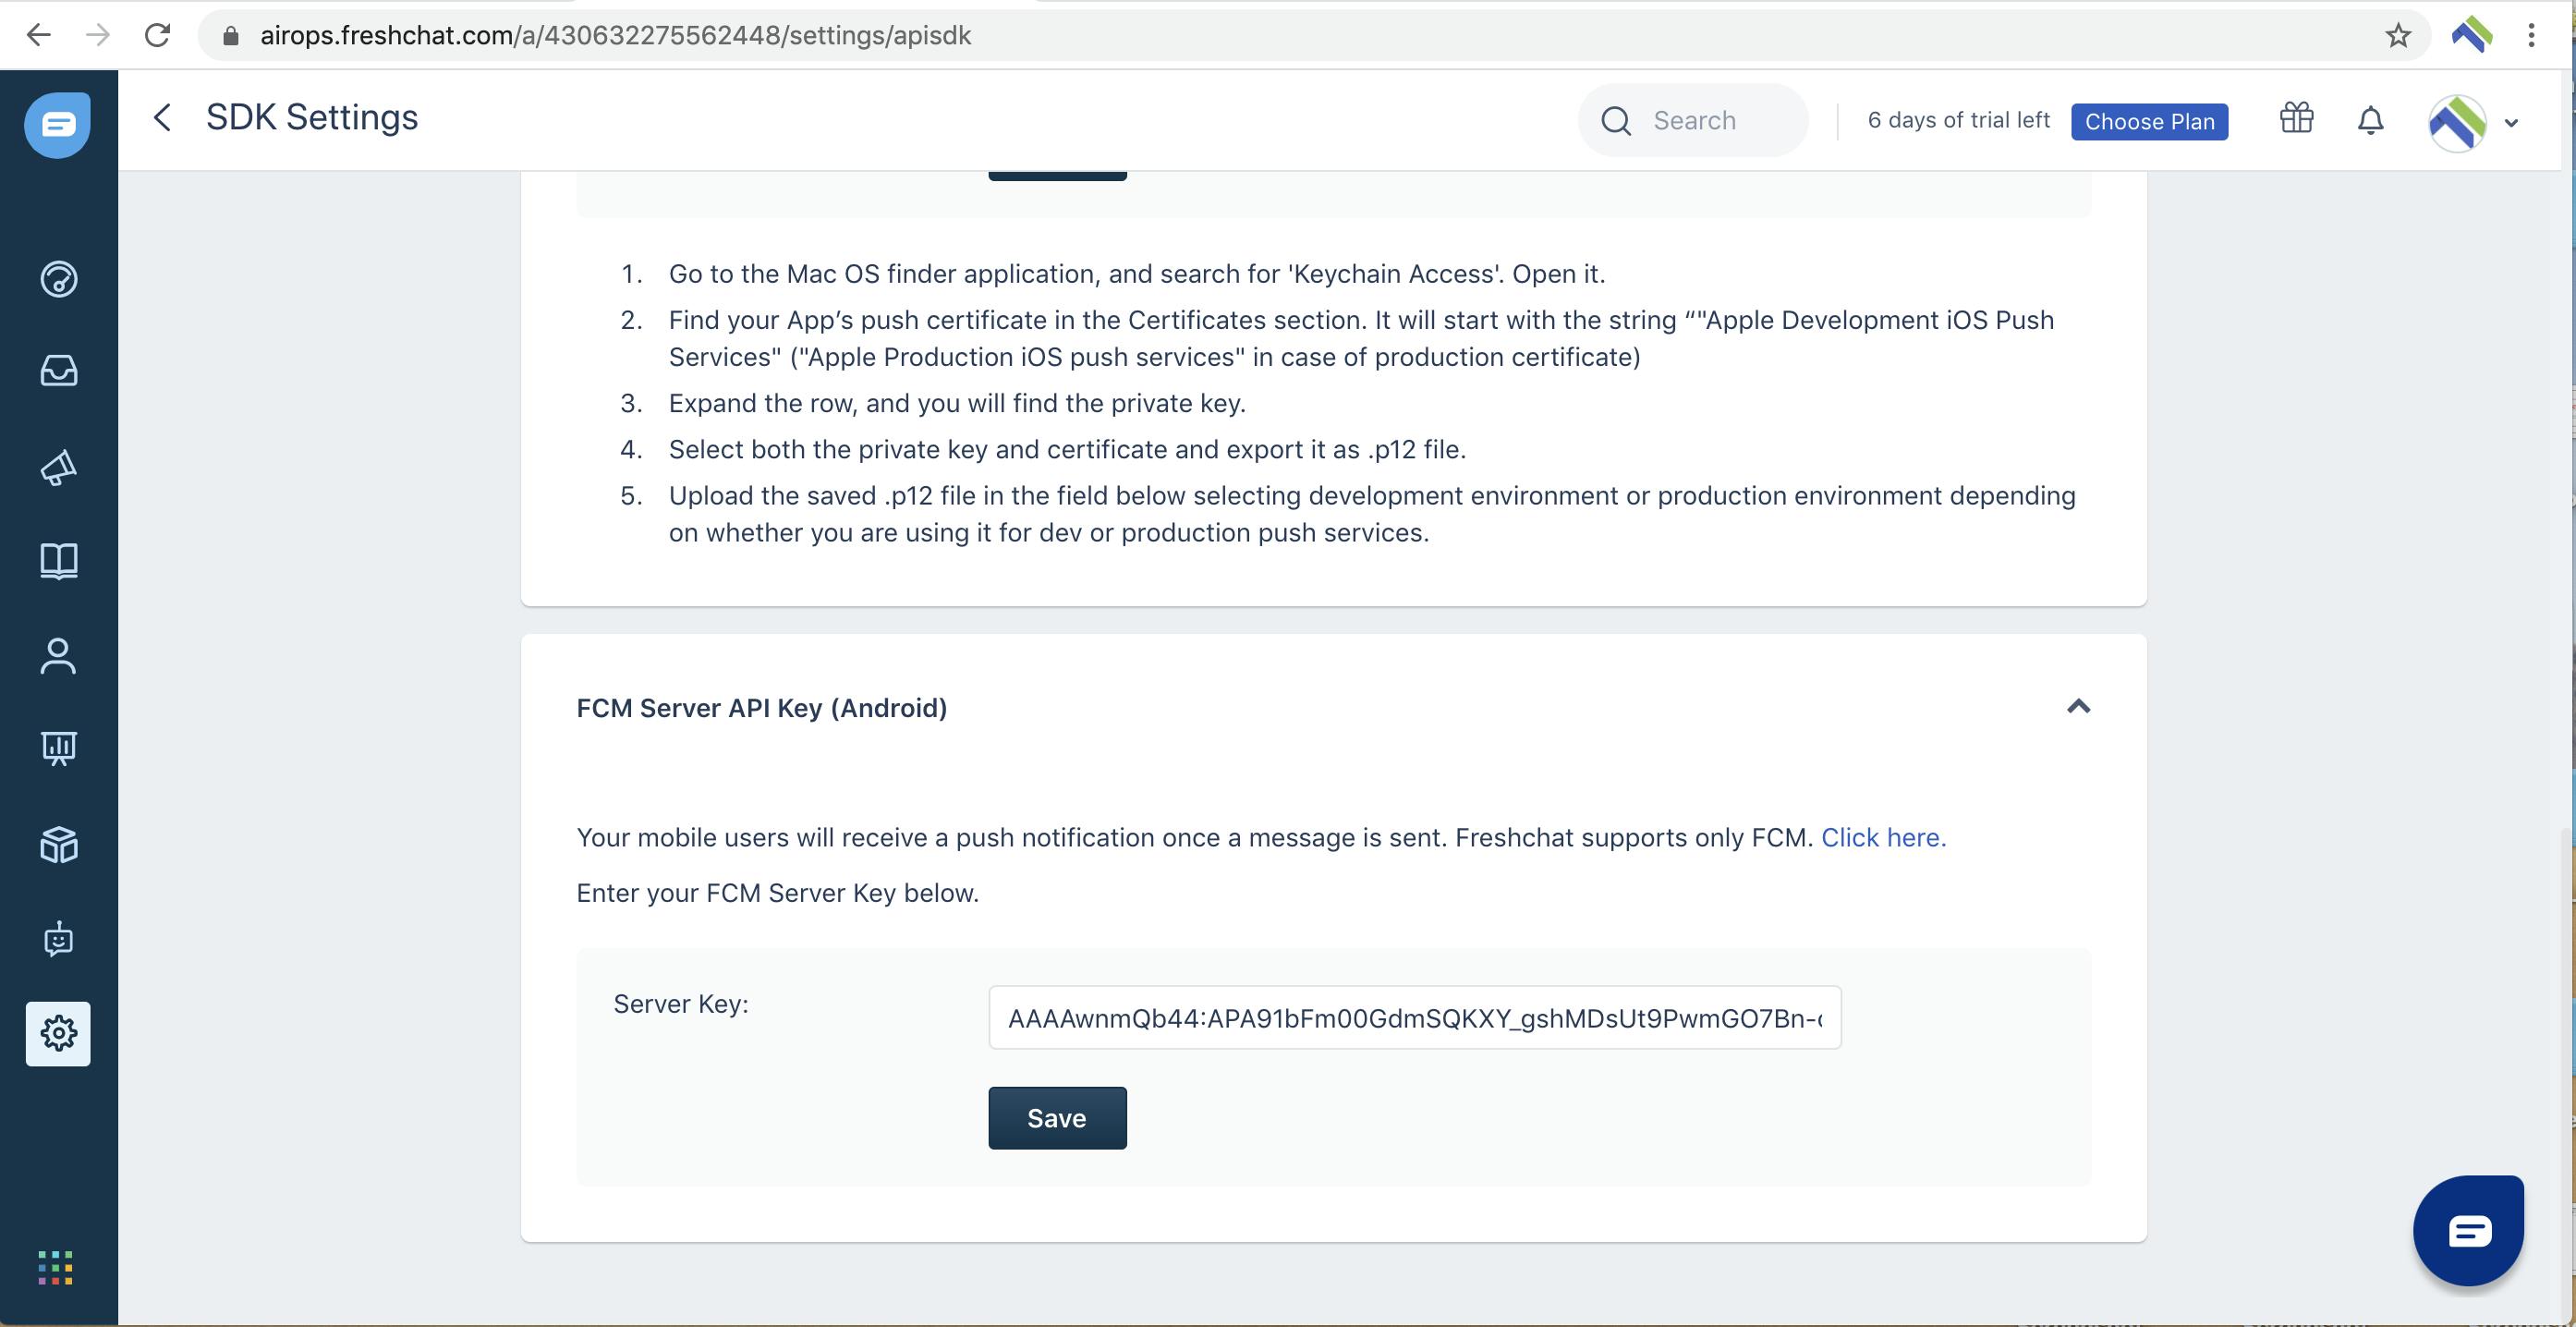
- Android push Notification To set up the push Notifications for android, add FCM Server key of your project which firebase provides
Users and Conversations
- Create/Register an user in the Freshchat
//creating a new user
FreshchatUser user = FreshchatUser.initial();
user.email = "test.com";
user.firstName = "test";
user.lastName = "user";
user.phoneCountryCode = "+91";
user.phone = "0123456789";

await FlutterFreshchat.updateUserInfo(user: user);

// Custom properties can also be included
Map<String, String> customProperties = Map<String, String>();
customProperties["loggedIn"] = "true";
customProperties["companyName"] = "company";
customProperties["userCategory"] = "admin";

await FlutterFreshchat.updateUserInfo(user: user, customProperties: customProperties);
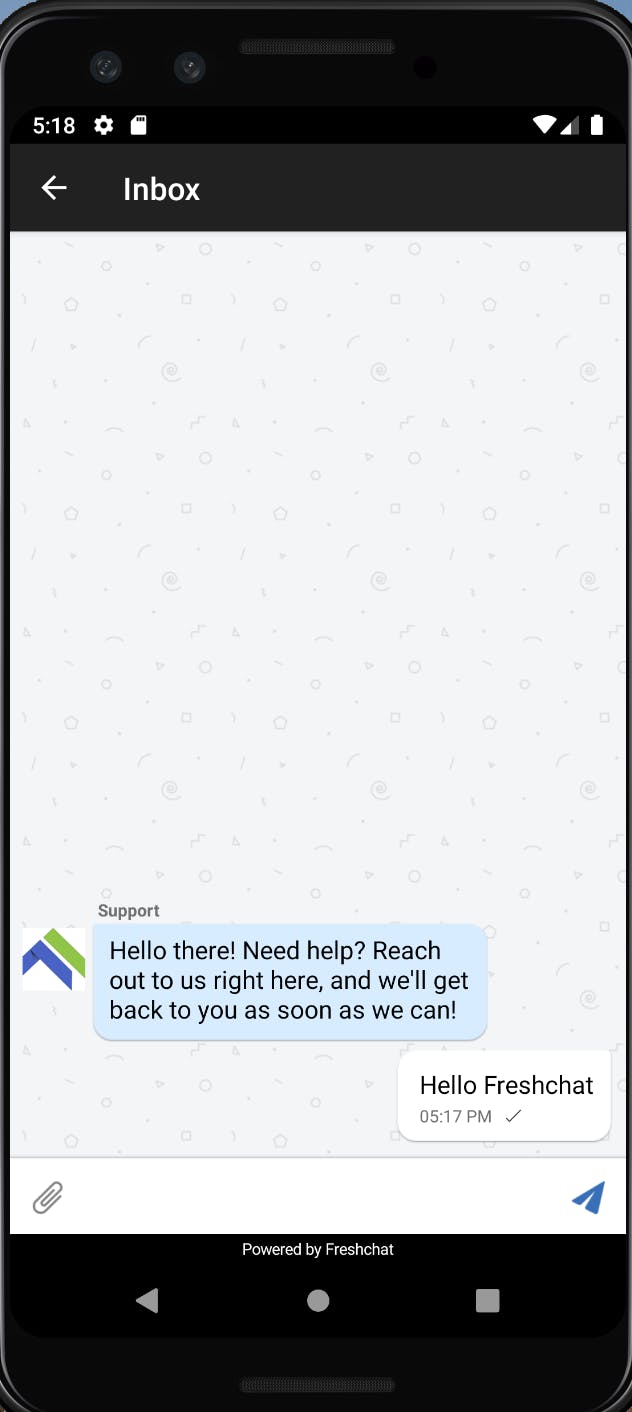
- Show conversation opens the conversation screen, one can set the title for the chat screen and one can reply to the conversation like shown in the attachment
await FlutterFreshchat.showConversations(tags: const [], title: 'CHAT_SCREEN_TITLE');
- To restore the chats, restoreID is required .Please note: restoreID returns a value only once conversation is initiated. note: For the first time restoreId will be null
int restoreId = await FlutterFreshchat.identifyUser(externalID: 'UNIQUE_ID', restoreID: 'RESTORE_ID');
where, externalID is the one which (email/userId ) you want to uniquely identify the user. The above call returns the restoreID
- To get the unread message count
int unReadMessageCount = await FlutterFreshchat.getUnreadMsgCount();
Common issues
These are the issues which one might face repeatedly while running freshchat on an IOS app and can kill one's time in resolving them.
- If you face any issues while running IOS app:
cd /ios
rm Podfile.lock
pod install --repo-update
flutter clean
Swift compiler errors which says:
include of non-modular header inside framework module 'flutter_freshchat.FlutterFreshchatPlugin'
Objective-c module errors
To fix them,
- Open your ios folder in the xcode
- Open the pods folder present in the left side, just below the Runner
- Click on the freshchatSDK folder inside the pods folder and click on the freshchatSDK.h file
- Press cmd+options+0 for the right side pane to find the target membership frameworks
select the flutter_freshchat framwork and also make it public (present in its right side)
Now, again run the project and everything works as expected!
By making the header file (.h) to be public, swift compiler can easily compile the code written in Objective C language Please Note: Manually set up the target of the freshchatSDK.h when you switch or rebuild the xcode project. It seems like there is still an open issue on automating this
Few takeaways (Tips) 😀
When encountered any error/issues in the middle of using the package:
- From my experience, it is better to first look into the open and closed issues of the package by visiting View/report issues link . This saves a lot of time in figuring out the solution and also helps one in knowing the community help for a particular package.
- Don’t get overwhelmed by the installation procedures put up by multiple articles at once, simply follow one at a time
Happy chatting !!😄