


Sometimes 5 minutes is all you've got. So in this article, we're just going to touch on two of the most used hooks in React: useState and useEffect.
If you're not familiar with hooks, here's the TL;DR: because of hooks, there's almost no more need for class-based components. Hooks let you "hook into" the underlying lifecycle and state changes of a component within a functional component. More than that, they often also improve the readability and organization of your components.
If you want a proper introduction to this subject, you can join the waitlist for our upcoming advanced React course on Scrimba , or if you're still a beginner, check out our introductory course on React.
useState
Let's begin with a functional component.
import React from 'react';
function App() {
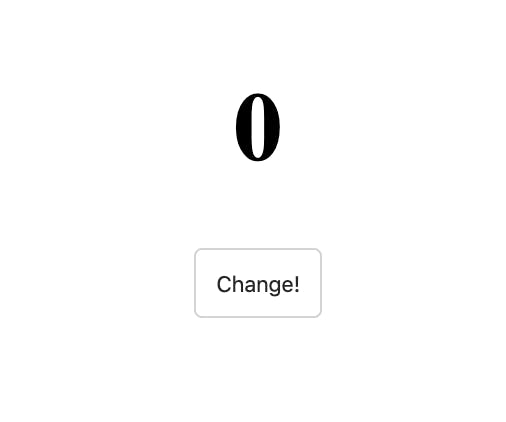
return (
<div>
<h1>0</h1>
<button>Change!</button>
</div>
);
}

As you can see, nothing fancy at the moment. We're just rendering some text and a (useless) button.
Now let's import our very first hook, useState to learn how to handle state in our functional component.
As this hook is a function, let's console.log what we get returned from it.
import React, { useState } from 'react';

function App() {
  const value = useState();
  console.log(value);

  return (
    <div>
      <h1>0</h1>
      <button>Change!</button>
    </div>
  );
}
In the console, we get an array
> [null, ƒ()]
And when we pass an argument to useState:
const value = useState(true);
In the console, we get an array with our value as the first member.
> [true, ƒ()]
Now, in our component, we can access our state at value[0] and render it in <h1> instead of a hardcoded value.
import React, { useState } from 'react';

function App() {
  const value = useState(0);
  console.log(value); // [0, ƒ()]

  return (
    <div>
      <h1>{value[0]}</h1>
      <button>Change!</button>
    </div>
  );
}
We can improve our code by using array destructuring to store the value from useState hook. It's similar to object destructuring, which tends to be a bit more commonly seen. In case you're not super familiar with object destructuring, here's a quick recap:
const person = {
  name: 'Joe',
  age: 42
};

// creates 2 const values from person object
const { name, age } = person;
console.log(name); // 'Joe'
console.log(age); // 42
Array destructing is almost the same, but uses square brackets [] instead of curly braces {}.
A quick tip: in object destructuring, the names of created variables must match the names of properties in the object. For array destructuring, that's not the case. It's all about the order. The benefit here is we can name the items whatever we want.
Using array destructuring, we can get the initial value of state from the useState() hook.
import React, { useState } from 'react';

function App() {
  // remember, there's a second item from the array that's missing here, but we'll come right back to use it soon
  const [count] = useState(0);

  return (
    <div>
      <h1>{count}</h1>
      <button>Change!</button>
    </div>
  );
}
OK, we've got the initial state value. How do we change the value in the state with hooks?
Remember that useState() hook returns an array with 2 members. The second member is a function that updates the state!
const [count, setCount] = useState(0);
You can, of course, call it what you wish, but by convention, it's normally called with prefix "set-", and then whatever state variable we wish to update was called, so setCount it is.
It's simple to use this function. Just call it and pass the new value you want that state to have! Or, just like this.setState in a class component, you can pass a function that receives the old state and returns the new state. Rule of thumb: do this anytime you need to rely on the past state to determine the new state.
To call it, we'll pass it to the onClick event listener. And just like with a regular setState in a class-based component, we can pass our state update to setCount.
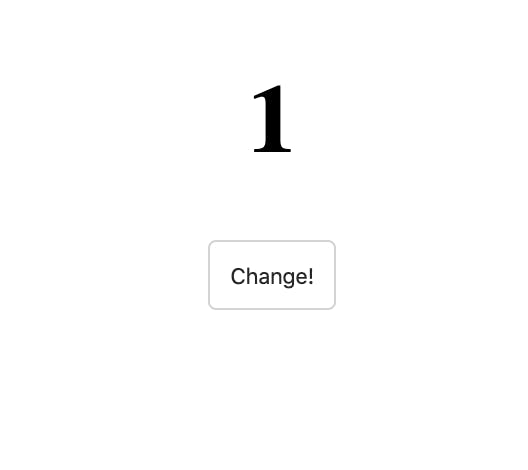
function App() {
const [count, setCount] = useState(0);
return (
<div>
<h1>{count}</h1>
<button onClick={() => setCount(prevCount => prevCount + 1)}>
Change!
</button>
</div>
);
}
We can clean this up a bit, by extracting our state update to a separate function.
function App() {
const [count, setCount] = useState(0);
function change() {
setCount(prevCount => prevCount + 1);
}
return (
<div>
<h1>{count}</h1>
<button onClick={change}>Change!</button>
</div>
);
}
Great! And now when we can see the counter going up when we click the button.
Of course, useState can get a lot more complicated than this, but we've only got 5 minutes here, so let's move on to the next hook for now.
useEffect
Hooks have simplified quite a few things, compared to the way things were in class-based components. Previously we needed to know a bit about lifecycle methods and which one is best suited for which situation. useEffect hook simplified this situation. If you wish to perform side effects, network request, manual DOM manipulation, event listeners or timeouts and intervals.
useEffect hook can be imported just like useState.
import React, { useState, useEffect } from 'react'; To make useEffect do something, we pass it an anonymous function as an argument. Whenever React re-renders this component, it will run the function we pass to useEffect.
useEffect(() => {
  /* any update can happen here */
});
This is what the whole code might look like.
import React, { useState, useEffect } from 'react';
function App() {
const [count, setCount] = useState(0);
function change() {
setCount(prevCount => prevCount + 1);
}
useEffect(() => {
/* any update can happen here */
});
return (
<div>
<h1>{count}</h1>
<button onClick={change}>Change!</button>
</div>
);
}
export default App;
As an example, we will use a nice npm package that generates a random color. Feel free to write your own if you wish of course, but for this tutorial, we will just install it, npm i randomcolor, and import.
import randomcolor from 'randomcolor'; Let's now use our knowledge about useState hook to store some random color in the state.
const [color, setColor] = useState('');
// initial value can be an empty string
We then can then assign the color of the counter we already have.
<h1 style={{ color: color }}>{count}</h1>
Now, just for the sake of it, let's change the color of the counter on every click of the Change! button. useEffect will run every time the component re-renders, and the component will re-render every time the state is changed.
So if we write the following code, it would get us stuck in an infinite loop! This is a very common gotcha with useEffect.
useEffect(() => {
  setColor(randomcolor());
});
setColor updates state, which re-renders the component, which calls useEffect, which runs setColor to update the state, which re-renders the component... Yikes!
We probably only want to run this useEffect when the count variable changes.
To tell useEffect which variable(s) to keep track of, we give an array of such variables as a second argument.
useEffect(() => {
  setColor(randomcolor());
}, [count]);
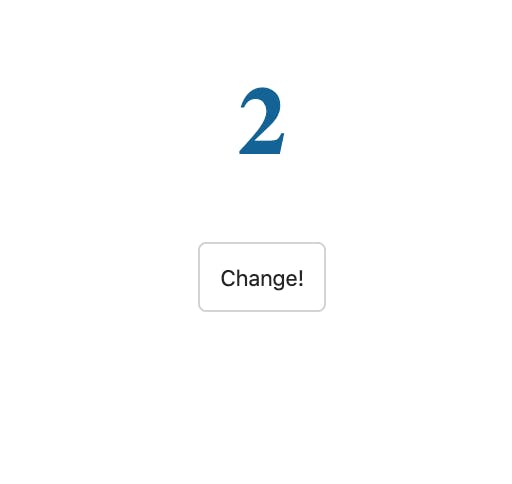
This basically says "only run this effect if the count state changes. This way we can change the color and not cause our effect to run infinitely.
Conclusion There's a lot more to learn about hooks, but I hope you've enjoyed this quick 5-minute peek into hooks.
To learn more about React Hooks and other great features of React, you can join the waitlist for our upcoming advanced React course on Scrimba . Or if you're looking for a more beginner-friendly you can check out our introductory course on React.
Happy coding 🤠