


How to get started with Material-UI?
Here is the easy and the right way in my opinion.
Just go and follow the instructions right here:
Wait! Are you on some kind of Unix based system? Mac? Linux? If so you might want to change the
PORTwithin the.envfile, which I have set to80which works on Windows. Razzle's default is3000so you can remove that line if you feel like it.
The project is up and running.

Go wild and experiment!
I am not joking. Close this article right now and try the project instead!
Just kidding! 😄 You can read on later...
Are you lazy? Start the project on Codenvy instead! One click and the project is up and running after login.
Are you still reading? All right, I will hold your hand and walk you through it.
Usage
Things will get boring here. I have told you to try it yourself instead.
All right, jokes aside. We are getting serious here.
Basic

Folder structure
- public ⬅Static files are here.
- src
As you may already figured out. The Main.js contains the React.js component. So basically you can change the main content of your site here.
The server.js renders the React.js application, collects the styles, and serves all of this content as HTML when you visit the site.
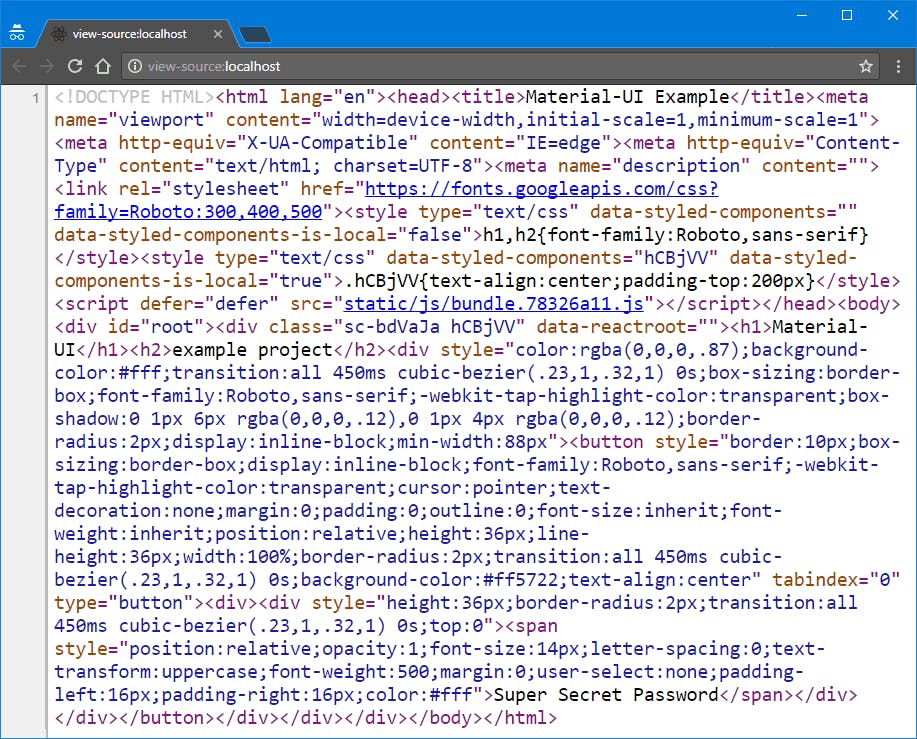
Inspect the source code! Yes, the dream came true. It is a properly minified one-liner. You can modify your main HTML here, mainly your header.
How to actually start the project is detailed in the already linked readme. Features of the example project are listed there too.
📝 Code
Styling components in Main.js is this easy with Styled Components:
This is how Server Side Rendering works with Styled Components in server.js:
It also includes some extra, like compression for static resources and HTML minification:
Advanced
The src/index.js is the main entry point for the server. This is required by Razzle.
The src/client.js is the main entry point for the browser. This is also required by Razzle.
The optional .env contains some environment variable definitions.
You can find the build scripts in package.json under the scripts object.
📝 Code
This is how the main entry point (index.js) starts the server (server.js):
Here is the full simplest version of index.js.
The client.js entry point hydrates the already rendered application in the browser:
In package.json, the start script is using a build and run approach:

Material-UI
Server Side Rendering makes it a bit more complex to use Material-UI properly. Setting the userAgent is not necessarily straightforward (at least for me). However, the documentation is not that bad.
The following codes with the links are hopefully giving some context: server.js:
Read this solution on Stack Overflow and press the vote up button if you find it useful too.
Single route static site generation
The optional static.js is called from the main server entry point (index.js). It grabs the already generated static resources and copies them into the static folder. Plus it visits the URL and saves the HTML response:

The static site generation script is somewhat complex:
- A regular Razzle build is created with the static setting (
RAZZLE_STATIC=true) baked into the generated server side code. - This build is started in
productionmode. - The static generator is only executed this time. It performs the steps described before and closes the server.
About the example
Motivation
I wanted to create a more current and appealing version of Search is Back!. Why? Because I thought I could do it better and I still think I can. I quickly realized that I will need to combine a couple of technologies to implement my vision.
So "...after testing a bunch of example projects, I ended up finding and using Razzle." (source)
I also needed to choose between Material-UI and Muse UI. (Using material design was no question for me at this point.) I considered other libraries as well. But I quickly fell in love with Material-UI's checkbox animation. It was really robust anyway.

First, I wanted to go with Muse UI, which is a port of Material-UI because I thought I would like Vue.js more than React.js.
However, its documentation was Chinese only at that time, so I choose the original library instead.
Having the CSS and HTML kind of combined into JavaScript using React.js felt a bit strange for the first time. Later, when I used Vue.js for some small client projects, I realized that I actually like the React way a bit more, especially with Styled Components.
Eventually, I created this example project. So I was able to start with my real one called Facebook Searcher:

It is a simple search form that builds a link so you can make custom searches currently for people on Facebook the regular way. You can already use the implemented fields and it already gives more freedom than its competitor.
For example, you can list Facebook users with an interest in both sexes (which Facebook supports). It is still under development and some features are waiting for implementation. So feel free to let me know if you want to support this project in any way!
Other reasons
What is Razzle?
A framework-agnostic build tool for server-rendered universal JavaScript applications.
Why Razzle?
Server side rendering is easy with Razzle. This was a must have for me. Plus, it doesn't force you to use solutions that you don't want to use.
So it "...is [...] minimalistic..." (source)
Hot module reloading is also a nice feature to have. Customizing or extending defaults is simple too.
All this makes Razzle "...a nearly framework-agnostic build system..." which "...will 100% work with Angular, Vue, Rax, Preact, Inferno, React-XP, RN-Web..." - Jared Palmer (source)
Who is using it?
What's next?
Facebook Searcher was first "deployed" to an old-school hosting provider. I had Secure Shell access there, so I was able to install Node.js.
I used Process Manager 2 to make sure it is running no matter what. Of course, this wasn't as fast as having a static website. Plus, I didn't have a good framework for deployments and updates in place. After a while, I started to save the HTML by hand and publish the application on Netlify this way. It was more reliable and the application loaded way faster too.
Later on, I switched to Firebase Hosting, which is even faster and even more reliable in general. I implemented the static site generation feature somewhere at this point. Doing it by hand was unsustainable for sure. Now I can build and deploy Facebook Searcher with just one command. I can now focus hard on implementing the remaining features.

Deploying our application to Firebase Hosting is easy. Moreover, we can still deploy it as a Firebase Function instead (basic example). Maybe this topic alone would worth another article regardless the easiness.
Currently, my project doesn't come with rooting. If you need it for your project, you can add a router or you can consider using After.js instead, which is basically Razzle with routing and related capabilities.
I am also looking forward to updating the project to the 1. version of Material-UI once they release it and add back the checkbox animations that I love so much.
Take away
Experimenting and or reading this article you can use Material-UI quickly and easily in a sophisticated way. So go ahead and build something wonderful! 🎉
Would you use this setup? Do you prefer something else?
⬇ Reply, ask and share your experience in the comments below!
Did you enjoy this article?
⬆ ☺Like the article!
Share this step-by-step guide with your friends and colleges!
Copy the link from the address bar. Message your peers directly. 👋Say hi and send the article to them.
💌 Newsletter
by Erik Engi
Subscribe now and get actionable technical articles into your inbox.
Erik will only email you when he has something important to say. Just like you, he is usually very busy. So this will only happen every now and then and you can unsubscribe at any time.
Follow Erik Engi on DEV and on Medium to get notified about new articles.
Work with Erik Engi
Do you or your company have valuable projects and products? Want to extend your team with a world-class developer?
Hire now – Erik is available for hire
Oengi.com
Erik can work full time for you or at your company. Do you or your team need programming help? Book 1:1 sessions with Erik!
Originally published at codementor.io.