

Multi-Step Form in React using Hooks and Bootstrap...!
In this blog, we are going to build a multi-step form using bootstrap and hooks in React.


Which application does not have a form? very weird question right but this is the fact almost every application does have at least one form. I think this is the best and most organized way to collect data from the user. But sometimes you'll see a form really long which you obviously don't want to go through. I personally think a form that requires to scroll down the window is not a good form. To minimize this problem we all know we can divide that form into several parts i.e. creating a multi-step form. Today I am going to show you how you can build a multi-step form with minimal code. Note that with minimal code I mean literally no use of extra lines code. Let's get started.
Setting up the environment
Setup basic React App.
Go ahead open your terminal and go to the directory you want to create this app. Write the command given below with the app name you want I am writing my app name as multi-step-form. Here we are going to create the react boilerplate.
npx create-react-app mutli-step-form
Install dependencies
Now we are going to install dependencies that are going to require for the app and we will need to install only the bootstrap CSS and the React Bootstrap library that too for the designing purpose only.
npm i boostrap react-bootstrap
Open your project in the VSCode
Change your current directory to the app. If you have already had VSCode installed on your system write down the command in the terminal else you can use other code editors also. This command will open the vscode for you.
code .
First things First
The very first thing we are going to do is to import the bootstrap.min.css file into our index.js file. In the src folder, you will see an index.js file open that and write the import statement there. And you bootstrap CSS all set to go.
import "bootstrap/dist/css/bootstrap.min.css";
Clean up the default code from the App.js
Go into the App.js file clean up all the code written inside the
Components
Let's create a new folder inside your src directory and inside that components create a new file called MultiForm.js. After this import this MultiForm.js into your App.js and render it in the return.
Now your folder structure will look something like this.
multi-step-form
├── README.md
├── node_modules
├── package.json
├── .gitignore
├── public
│   ├── favicon.ico
│   ├── index.html
│   ├── logo192.png
│   ├── logo512.png
│   ├── manifest.json
│   └── robots.txt
└── src
    ├── App.css
    ├── App.js
    ├── App.test.js
    ├── index.css
    ├── index.js
    ├── logo.svg
    └── serviceWorker.js
    ├── components
     └── MultiForm.js
And your App.js will look something like this.
import "./App.css";
import MultiForm from "./components/MultiForm";

function App() {
  return (
    <div className="App">
      <MultiForm />
    </div>
  );
}

export default App;
Now let's move forward to the MultiForm.js file that we created inside the components folder. Which is currently looking like this.
import React from "react";

const MultiForm = () => {
  return <div></div>;
};

export default MultiForm;
Let's hook this file 😉
Don't take me wrong what I meant to say is let's introduce hooks in this section. We will totally be focusing on the React hooks which we will be using to build this multi-step form in this section.
The hook which we are going to use the all-time favorite useState hook. Let's import that from React like this.
import React, {useState} from "react";
We will define our initial state as this will be a registration form our state will be very simple it'll be having values like First Name, Last Name etc. Look at the initial state given below.
 const [values, setValues] = useState({
    first_name: "",
    last_name: "",
    gender: "",
    email: "",
    phone_number: "",
    city: "",
    state: "",
  });
In our registration form, we are going to collect the above information from our user and we are going divide this form into three sections
- Personal Information
- Contact Information
- Location information
Now to handle this step or to keep track of our step we will create another state called a step like this. The default value of the step state will be 1 as that will be the Personal Information form.
const [step, setStep] = useState(1);
Let's create two functions that will be responsible to go to the next step and coming back to the previous step
Next Step Function
The nextStep function will simply add 1 to the existing step but here's the twist as we know that our total steps are 3 we can't go beyond three if the next step does that the compiler will throw an error there will be no component for the 4th step. And also 3rd step will be our final step so on that step we want to submit our form rather than updating the step. Keeping in mind the above information our nextStep function will look something like this.
const nextStep = () => {
    if (step < 3) {
      setStep(step + 1);
    } else if(step === 3) {
        console.log(values);
    }
  };
If and only if the step value is less than 3 then only we are going to update the step by adding 1 into it.
Previous Step Function
As we go one step forward with the nextStep function we will need to go one step backward also to do that we will need the previous step function. This function will subtract one step from the current step. But we have another condition here we don't want to go back when we are already on the 1 because that's the maximum value we can go back. The prevStep function will be like this.
const prevStep = () => {
    if (step > 1) {
      setStep(step - 1);
    }
  };
When the value of the current step is greater than one then only we are going to subtract 1 step from the current step
Handle Change Function
Let's create a handle change function that will handle the onChange call on the input fields. The handle change function will accept the name of the target field and will fire the setValues function which is provided by useState hook. The function will be like this.
const handleChange = (name) => (e) => {
    setValues({ ...values, [name]: e.target.value });
  };
Creating Forms
As I said we will be creating three form components inside the components. Here I have created three components as PersonalInfo, ContactInfo, and LocationInfo. The folder structure will look like this.
multi-step-form
├── README.md
├── node_modules
├── package.json
├── .gitignore
├── public
│   ├── favicon.ico
│   ├── index.html
│   ├── logo192.png
│   ├── logo512.png
│   ├── manifest.json
│   └── robots.txt
└── src
    ├── App.css
    ├── App.js
    ├── App.test.js
    ├── index.css
    ├── index.js
    ├── logo.svg
    └── serviceWorker.js
    ├── components
     ├── MultiForm.js
     ├── ContactInfo.js
     ├── PersonalInfo.js
     ├── LocationInfo.js
Importing Forms
Import all these components in our MultiForm.js file as given below.
import PersonalInfo from "./PersonalInfo";
import ContactInfo from "./ContactInfo";
import LocationInfo from "./LocationInfo";
Design the Form
Now let's design the basic structure of our form. In MultiForm.js we will create a card that will be in the middle of the screen. That card will display the heading of the current step and two buttons at the bottom one for the back and another for the next. And inside the card we will call the switch case statement which will check for the current step and will render the exact component for that step. So our code will look like this.
<div className="bg-dark vh-100">
      <div className="container d-flex justify-content-center align-items-center">
        <div className="card p-3 w-50 mt-5">
          {
            {
              1: <PersonalInfo />,
              2: <ContactInfo />,
              3: <LocationInfo />,
            }[step]
          }
          <div className="d-flex justify-content-around px-5 mt-5">
            {step > 1 ? (
              <button className="btn btn-warning" onClick={prevStep}>
                Back
              </button>
            ) : null}
            <button className="btn btn-warning" onClick={nextStep}>
              {step === 3 ? "Submit" : "Next"}
            </button>
          </div>
        </div>
      </div>
    </div>
You can see the ternary operators in the buttons section. We will show the back button only when the step is greater than 1 also on the final step the text for the next button will change to submit.
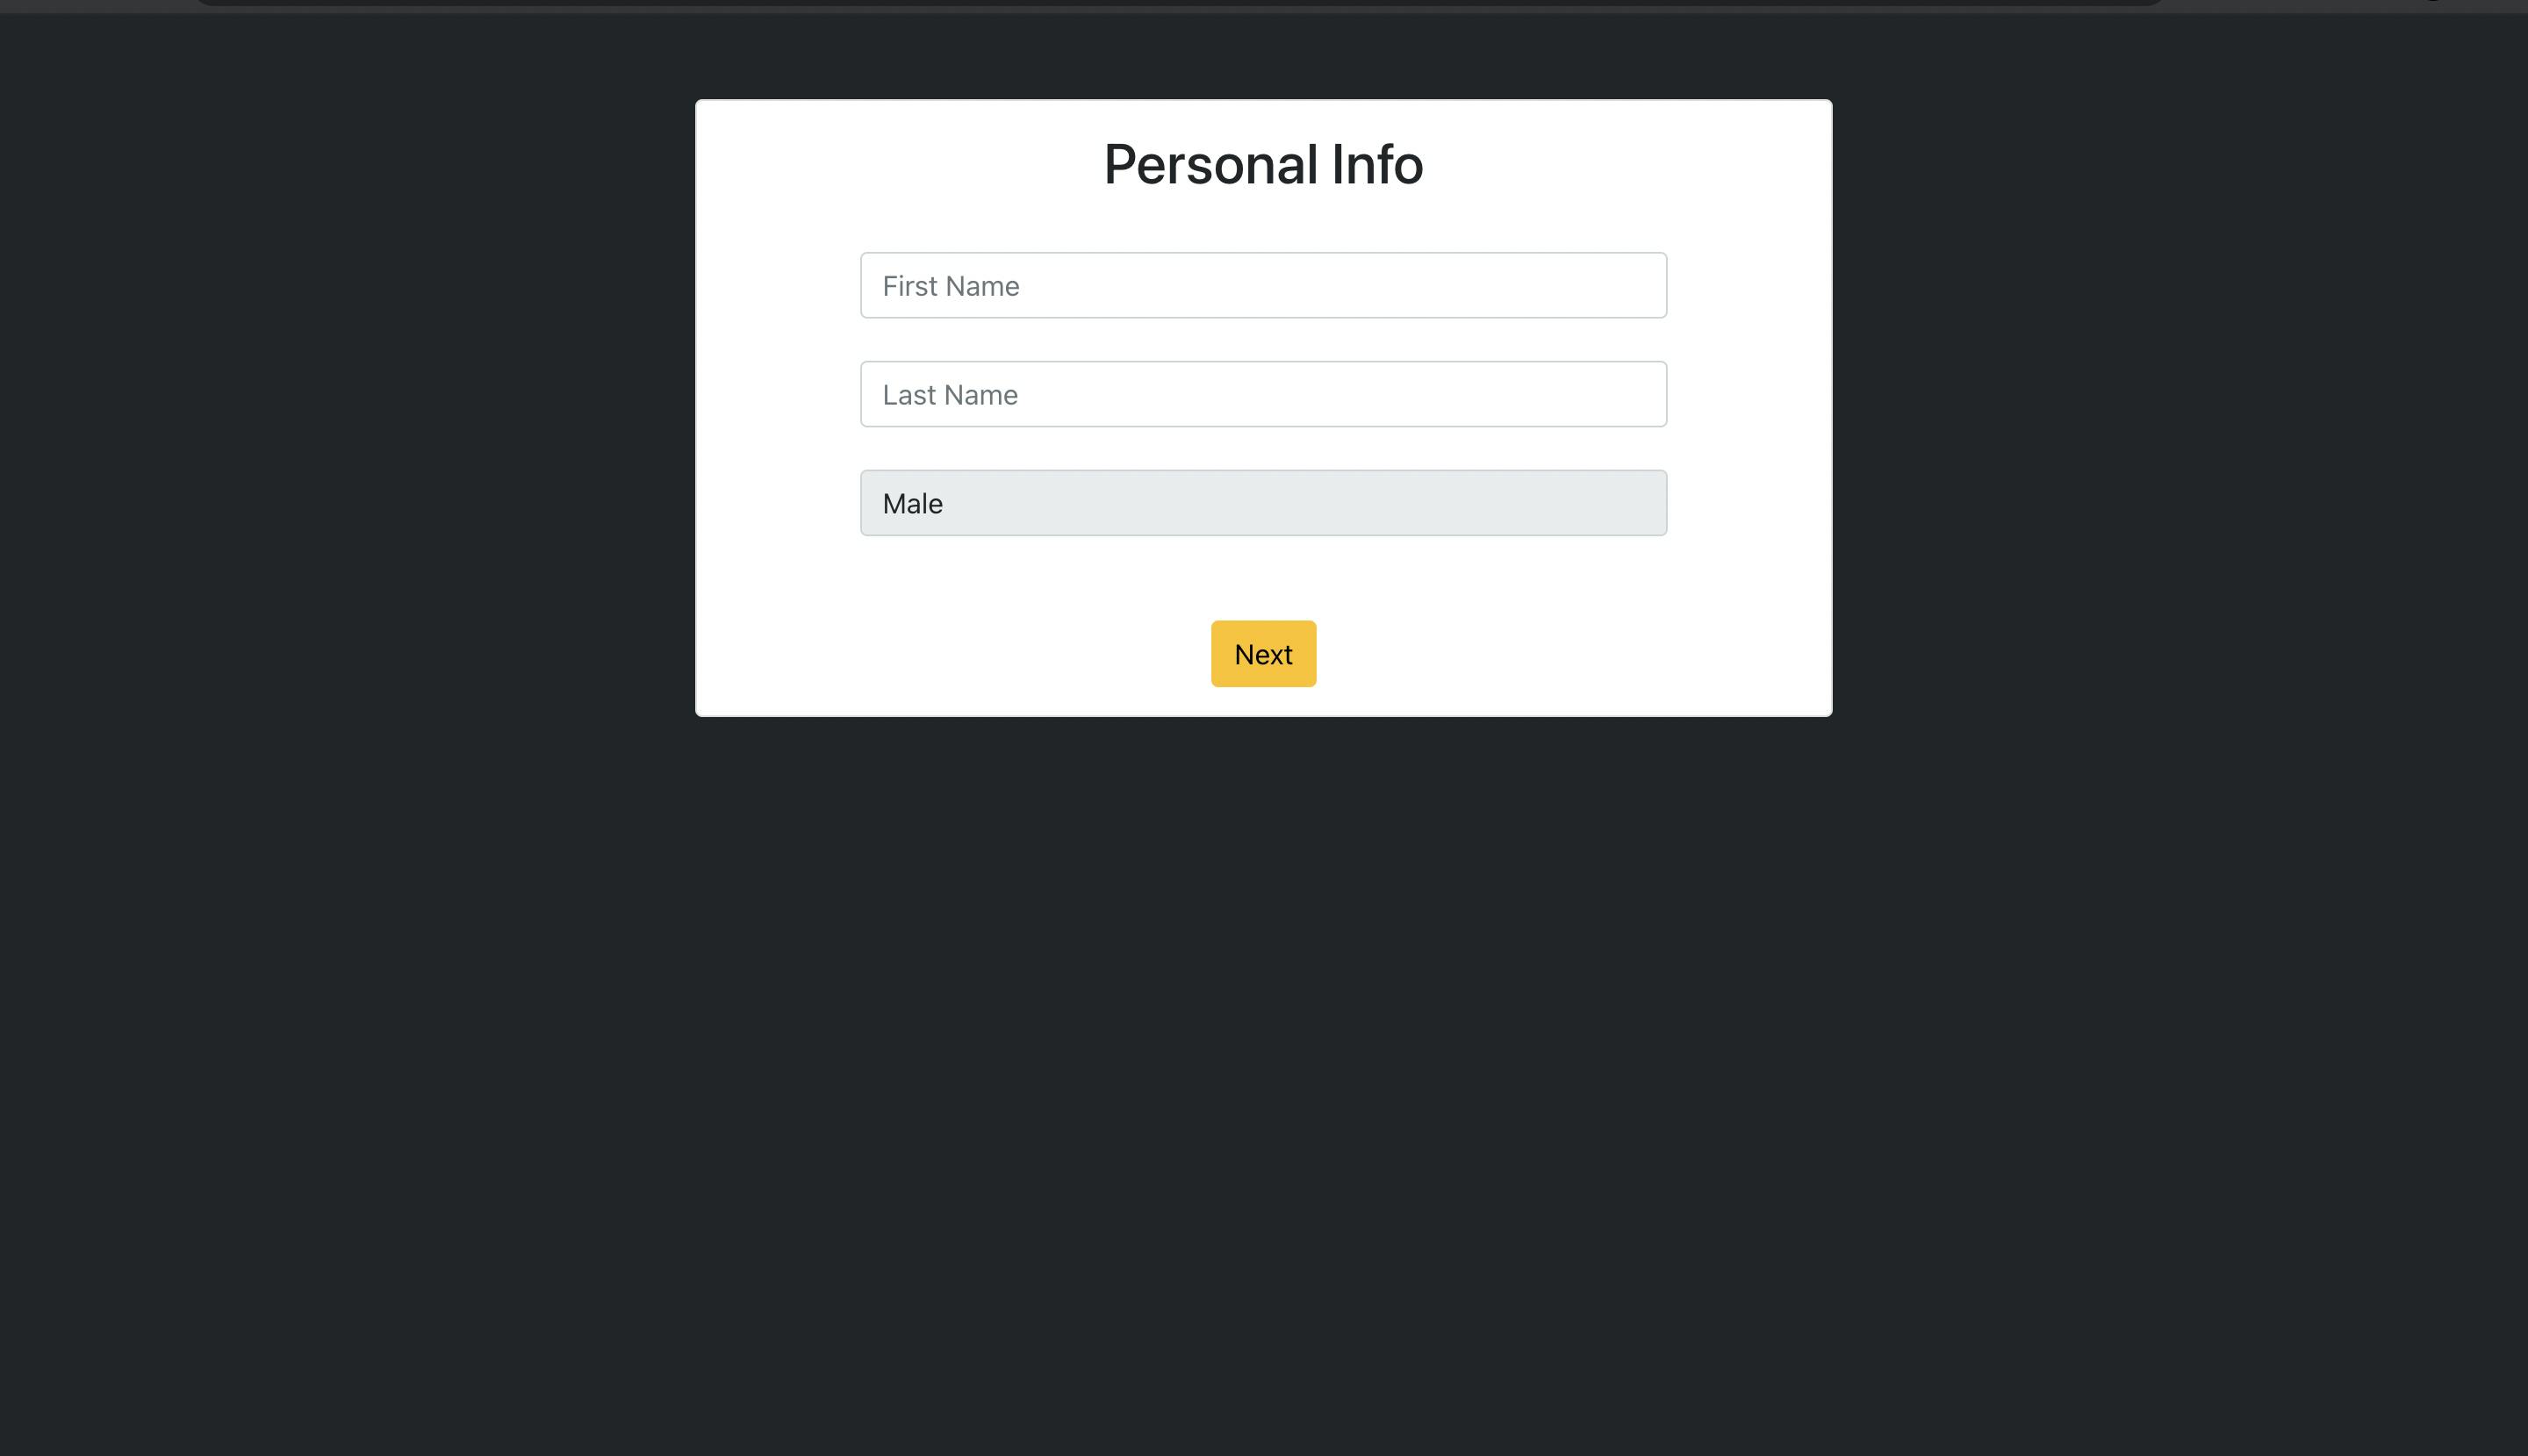
Personal Information Form
Now let's go and create the personal information form. Go to PersonalInfo.js and we will create our first form here. To create this form we are going to use the React Bootstrap Library. We will import the Form from React Bootstrap. Here's how the PersonalInfo file will look like.
import React from "react";
import { Form } from "react-bootstrap";

const PersonalInfo = ({ handleChange }) => {
  return (
    <div className="d-flex flex-column align-items-center">
      <h2>Personal Info</h2>
      <Form.Group className="w-75 mt-4">
        <Form.Control
          placeholder="First Name"
          onChange={handleChange("first_name")}
          name="first_name"
        />
      </Form.Group>
      <Form.Group className="w-75 mt-4">
        <Form.Control
          placeholder="Last Name"
          onChange={handleChange("last_name")}
          name="last_name"
        />
      </Form.Group>
      <Form.Group className="w-75 mt-4">
        <Form.Control
          placeholder="First Name"
          as="select"
          onChange={handleChange("gender")}
          name="gender"
        >
          <option>Male</option>
          <option>Female</option>
        </Form.Control>
      </Form.Group>
    </div>
  );
};

export default PersonalInfo;
Notice that I have destructured the handleChange function from the props which we will pass from the MultiForm.js. Don't forget to do that.
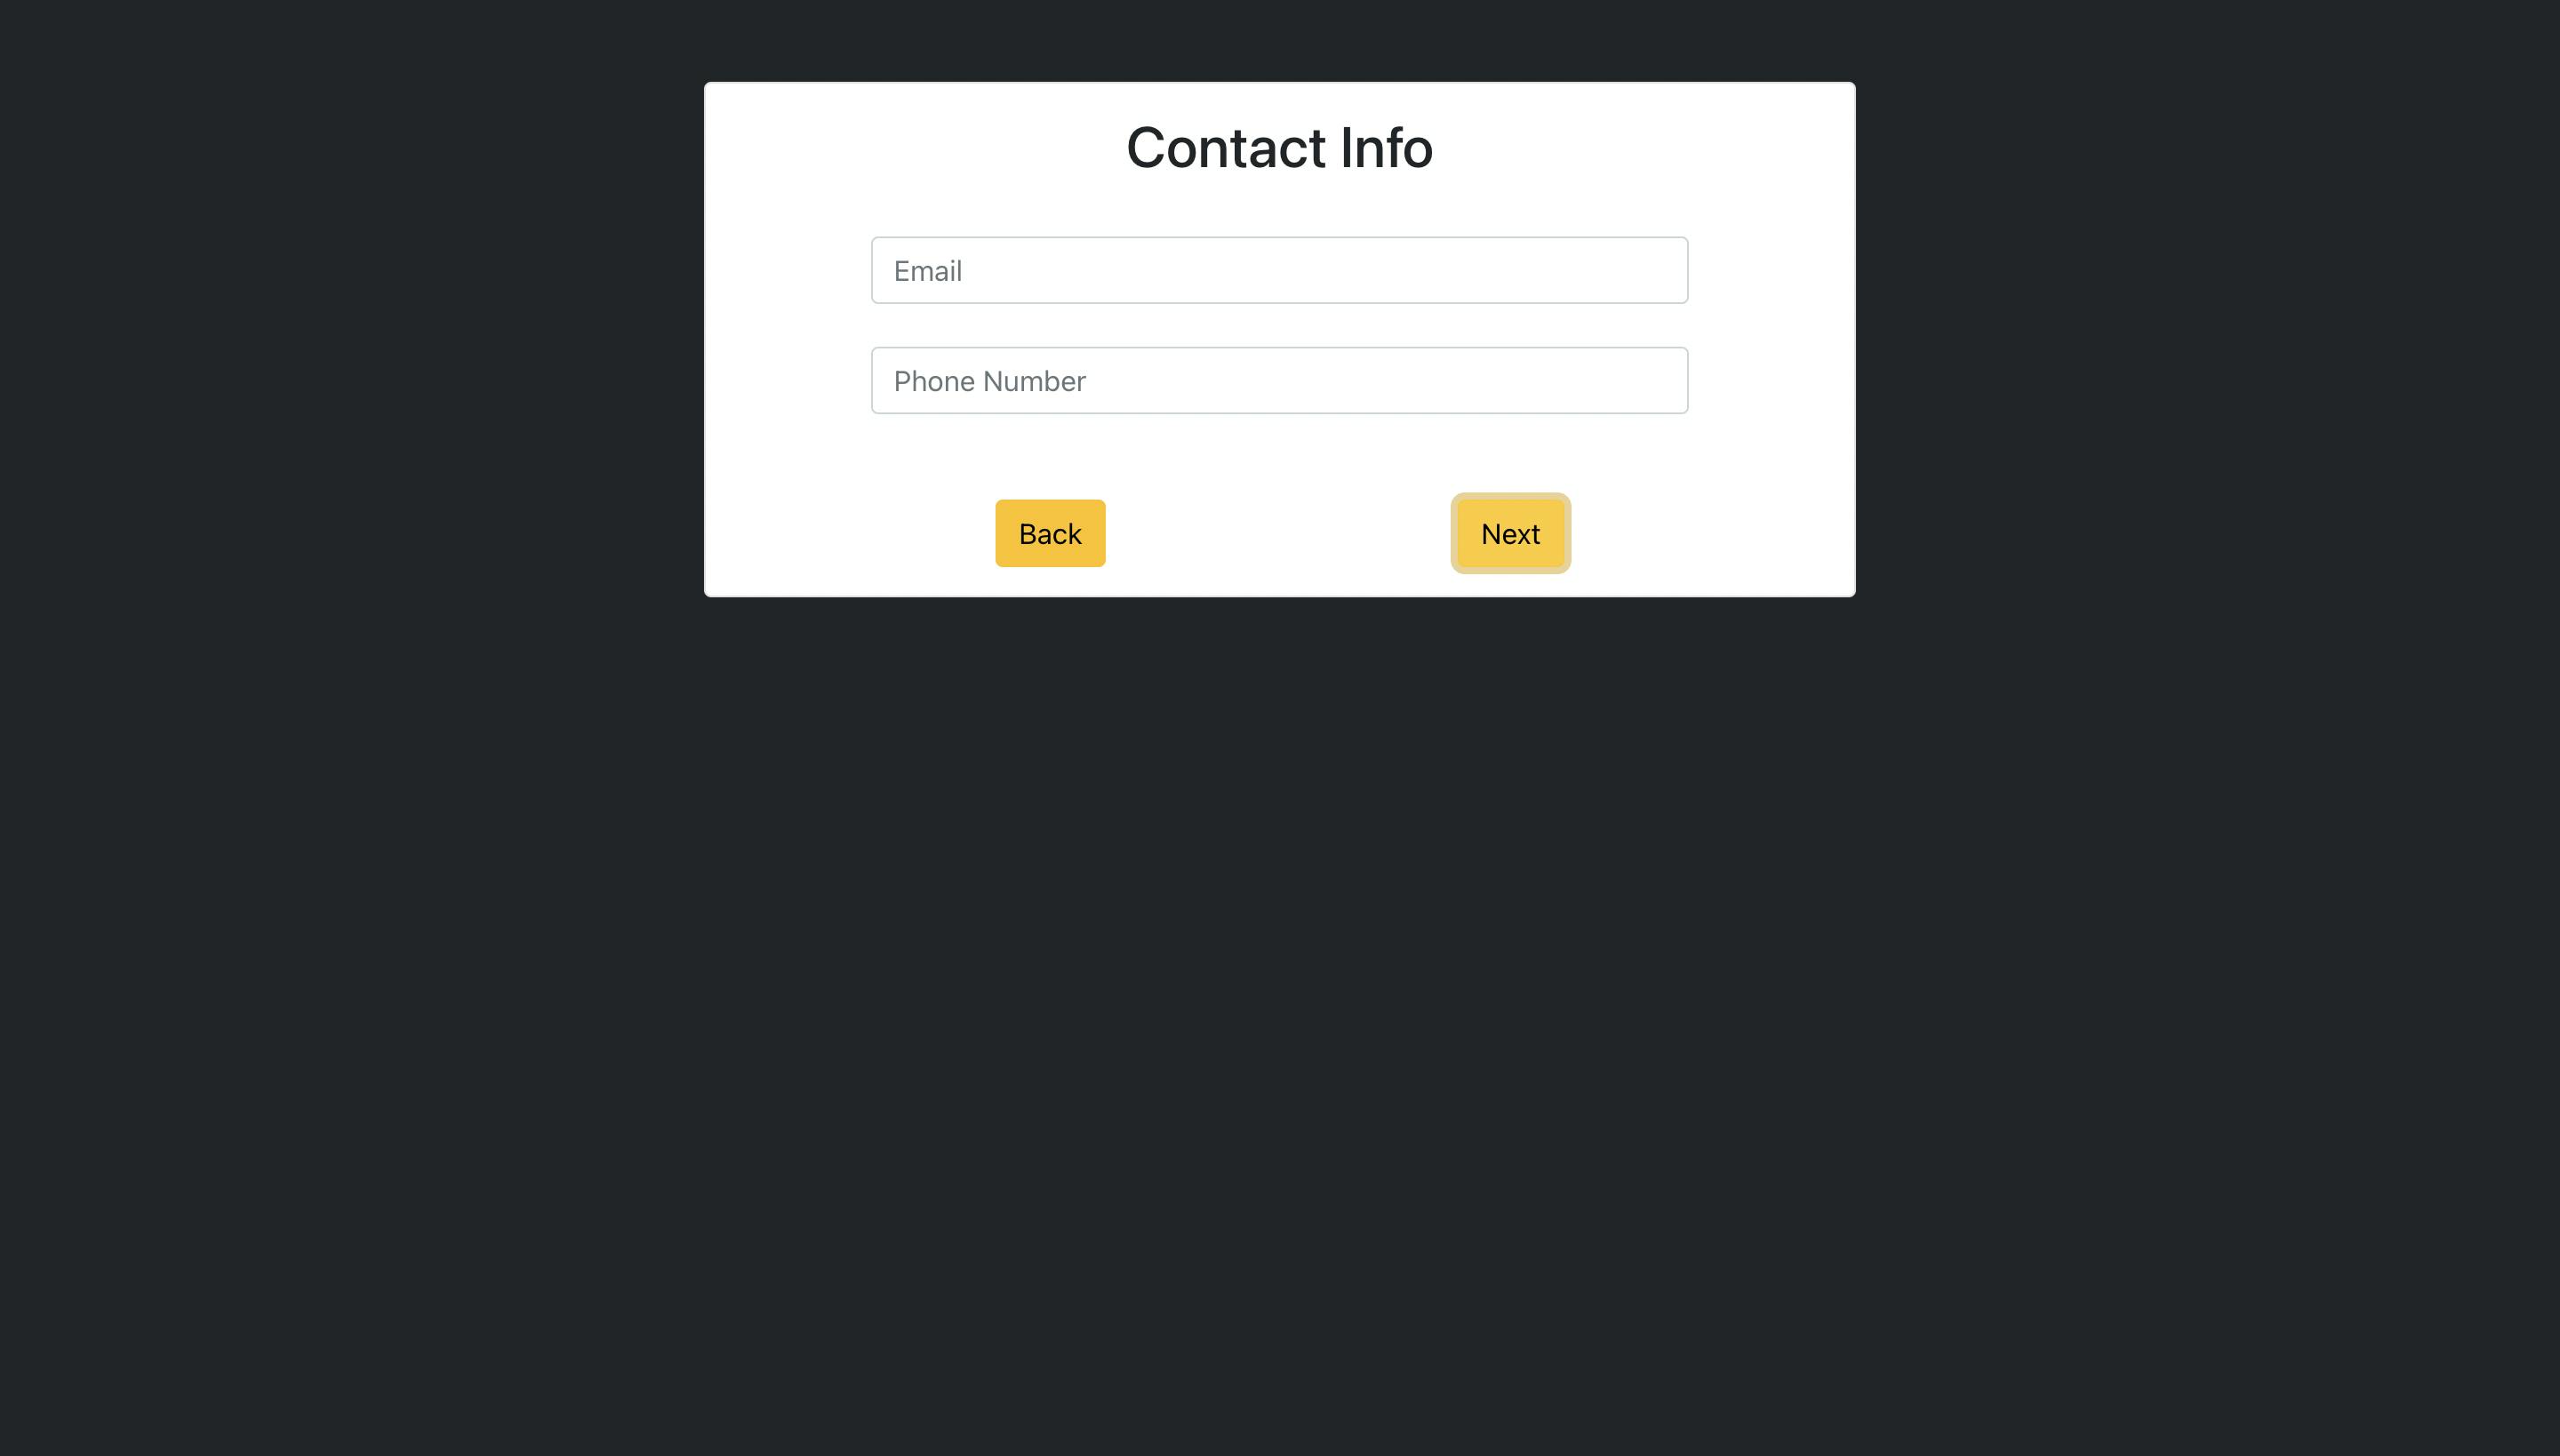
Contact Form
Creating the contact form will be the same process. So without wasting our time see the given code below
import React from "react";
import { Form } from "react-bootstrap";

const ContactInfo = ({ handleChange }) => {
  return (
    <div className="d-flex flex-column align-items-center">
      <h2>Contact Info</h2>
      <Form.Group className="w-75 mt-4">
        <Form.Control
          placeholder="Email"
          onChange={handleChange("email")}
          name="email"
        />
      </Form.Group>
      <Form.Group className="w-75 mt-4">
        <Form.Control
          placeholder="Phone Number"
          onChange={handleChange("phone_number")}
          name="phone_number"
        />
      </Form.Group>
    </div>
  );
};

export default ContactInfo;
Location Form
Let's do the same thing for the Location form.
import React from "react";
import { Form } from "react-bootstrap";

const LocationInfo = ({ handleChange }) => {
  return (
    <div className="d-flex flex-column align-items-center">
      <h2>Location Info</h2>
      <Form.Group className="w-75 mt-4">
        <Form.Control
          placeholder="State"
          onChange={handleChange("state")}
          name="state"
        />
      </Form.Group>
      <Form.Group className="w-75 mt-4">
        <Form.Control
          placeholder="City"
          onChange={handleChange("city")}
          name="city"
        />
      </Form.Group>
    </div>
  );
};

export default LocationInfo;
Let's take a final look at the MultiForm.js file. That's where the Magic is 🪄
import React, { useState } from "react";
import PersonalInfo from "./PersonalInfo";
import ContactInfo from "./ContactInfo";
import LocationInfo from "./LocationInfo";
import { Form } from "react-bootstrap";

const MultiForm = () => {
  const [values, setValues] = useState({
    first_name: "",
    last_name: "",
    gender: "",
    email: "",
    phone_number: "",
    city: "",
    state: "",
  });

  const [step, setStep] = useState(1);

  const nextStep = () => {
    if (step < 3) {
      setStep(step + 1);
    } else if (step === 3) {
      console.log(values);
    }
  };

  const prevStep = () => {
    if (step > 1) {
      setStep(step - 1);
    }
  };

  const handleChange = (name) => (e) => {
    setValues({ ...values, [name]: e.target.value });
  };

  console.log(values);
  return (
    <div className="bg-dark vh-100">
      <div className="container d-flex justify-content-center align-items-center">
        <div className="card p-3 w-50 mt-5">
          {
            {
              1: <PersonalInfo handleChange={handleChange} />,
              2: <ContactInfo handleChange={handleChange} />,
              3: <LocationInfo handleChange={handleChange} />,
            }[step]
          }
          <div className="d-flex justify-content-around px-5 mt-5">
            {step > 1 ? (
              <button className="btn btn-warning" onClick={prevStep}>
                Back
              </button>
            ) : null}
            <button className="btn btn-warning" onClick={nextStep}>
              {step === 3 ? "Submit" : "Next"}
            </button>
          </div>
        </div>
      </div>
    </div>
  );
};

export default MultiForm;
Our UI will look something like this.
Step 1
Step 2
Step 3
