


This post I will be explaining about setting up a basic JavaScript project, installing webpack and using it in the project.
Let's get started
Project Setup
- At first open up your terminal
ctrl + alt + t
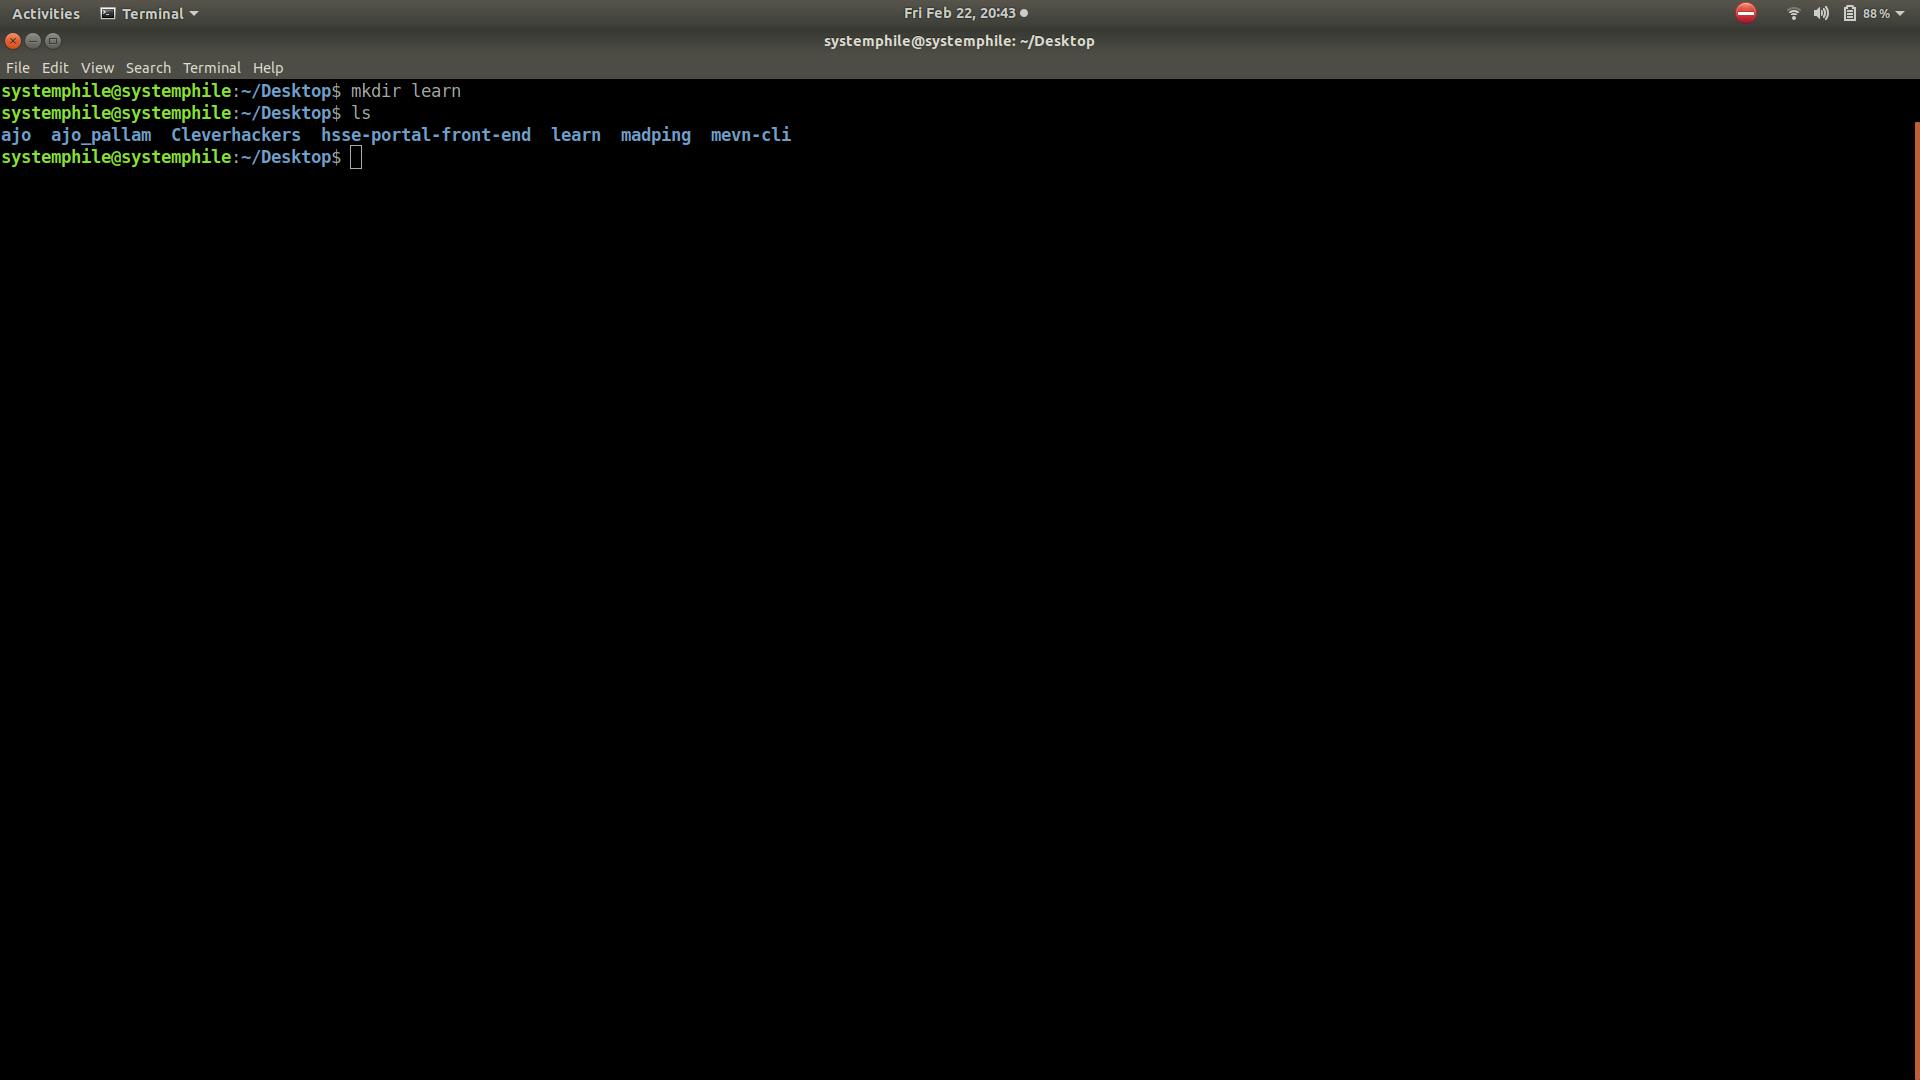
- Create a folder
mkdir learn
- Now lets initialize it for npm using
npm init
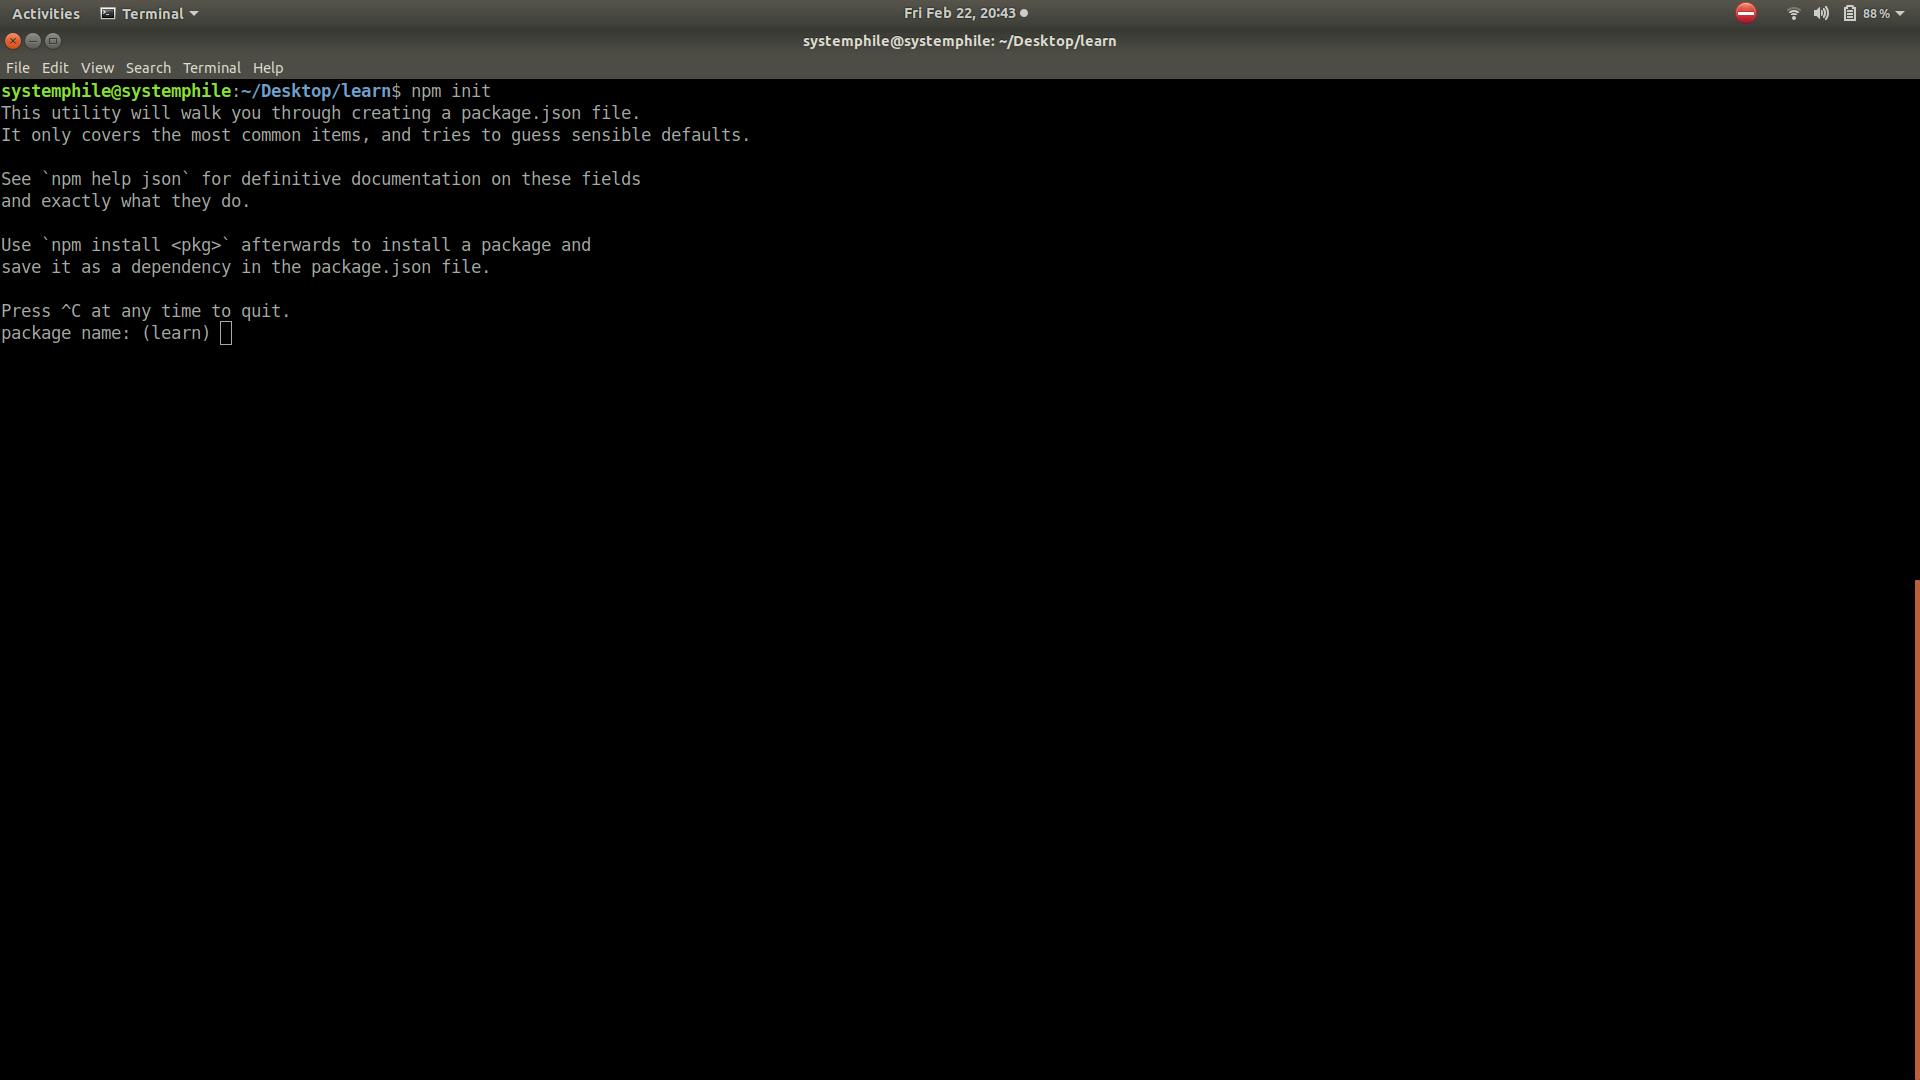
On using the above command, you will be asked couple of questions where in which you will have press enter until it gets completed :)
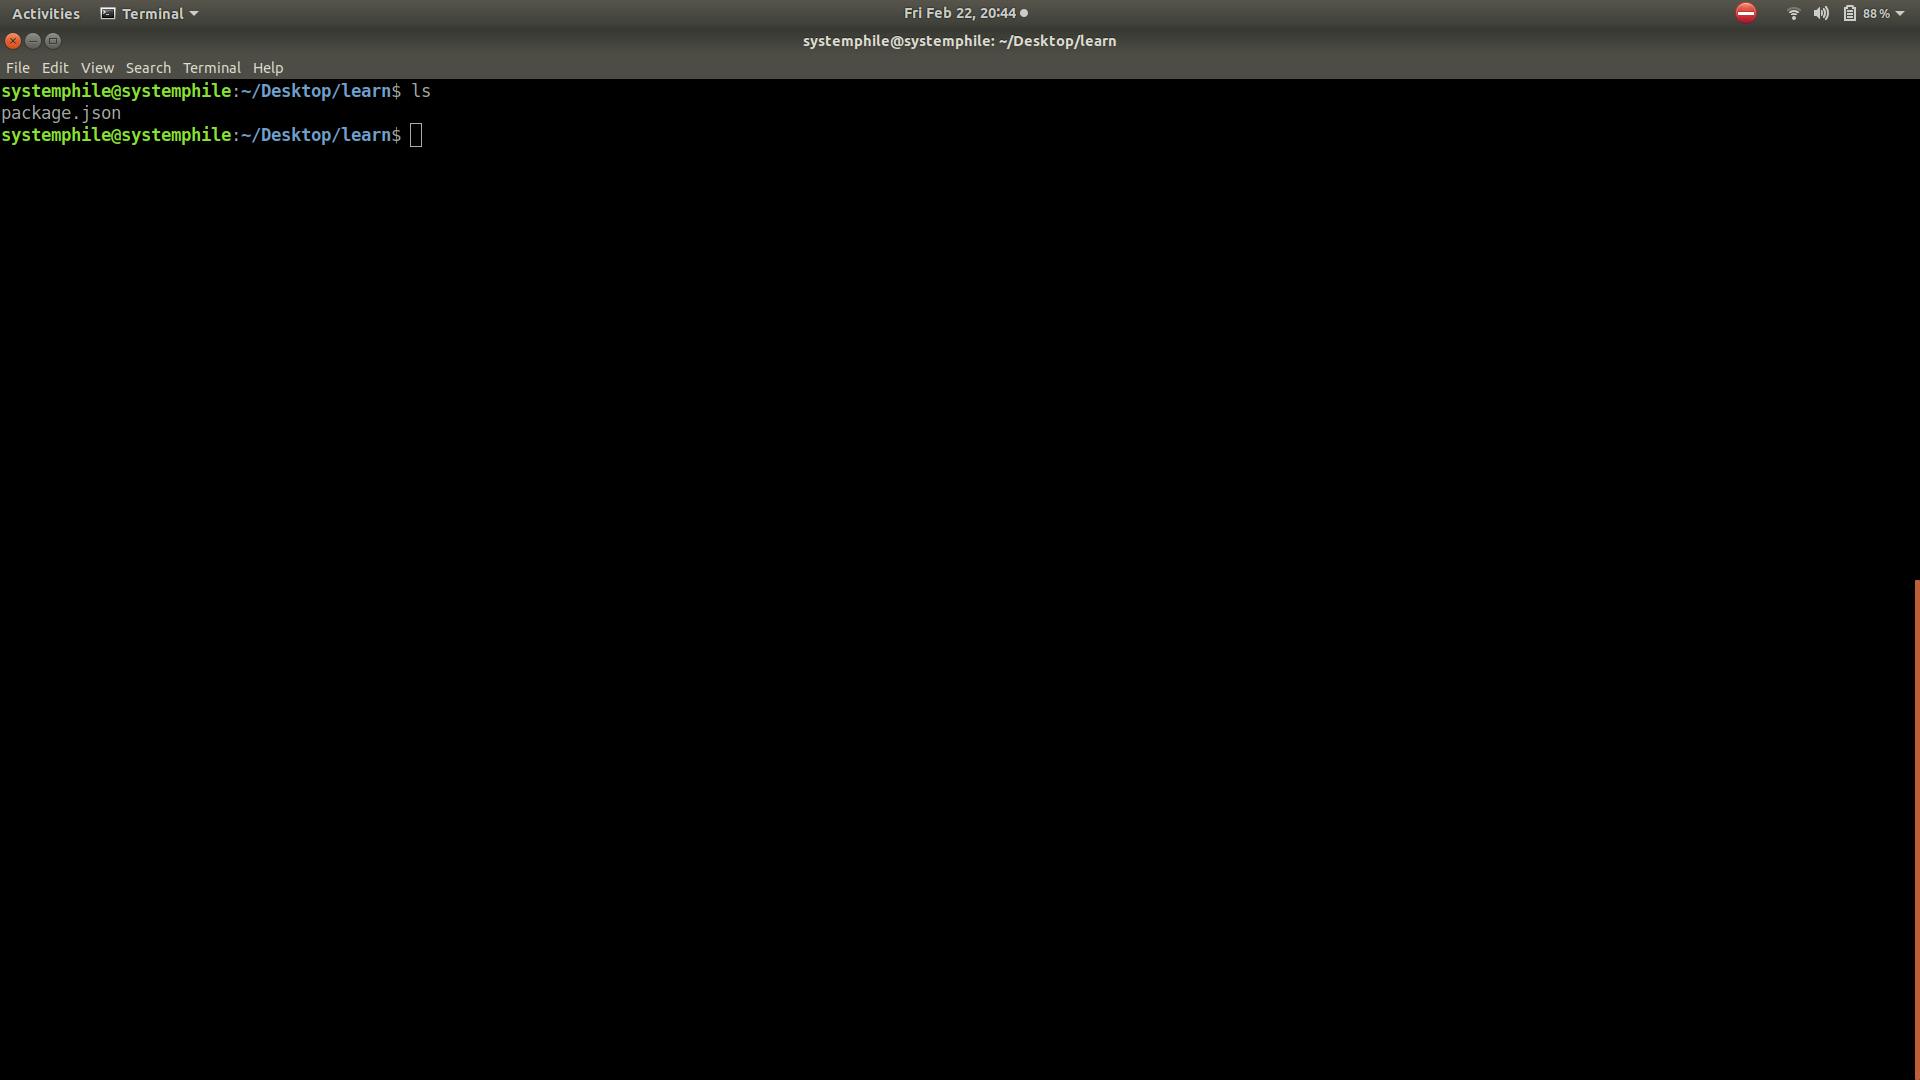
Now on
lsyou will be getting a new file calledpackage.json
Hope you are with me :P
Now let's create some basic folders and files needed for the project
At first let's create a folder using
mkdir srcNow let's get into
srcby usingcd srcand create another folder by usingmkdir scriptsLet's move into
scriptsusingcd scriptsand create a new file usingtouch app.jsAfter running the above commands, you will be getting a project structure as below
/learn
    package.json
    /src
        /scripts
            app.js
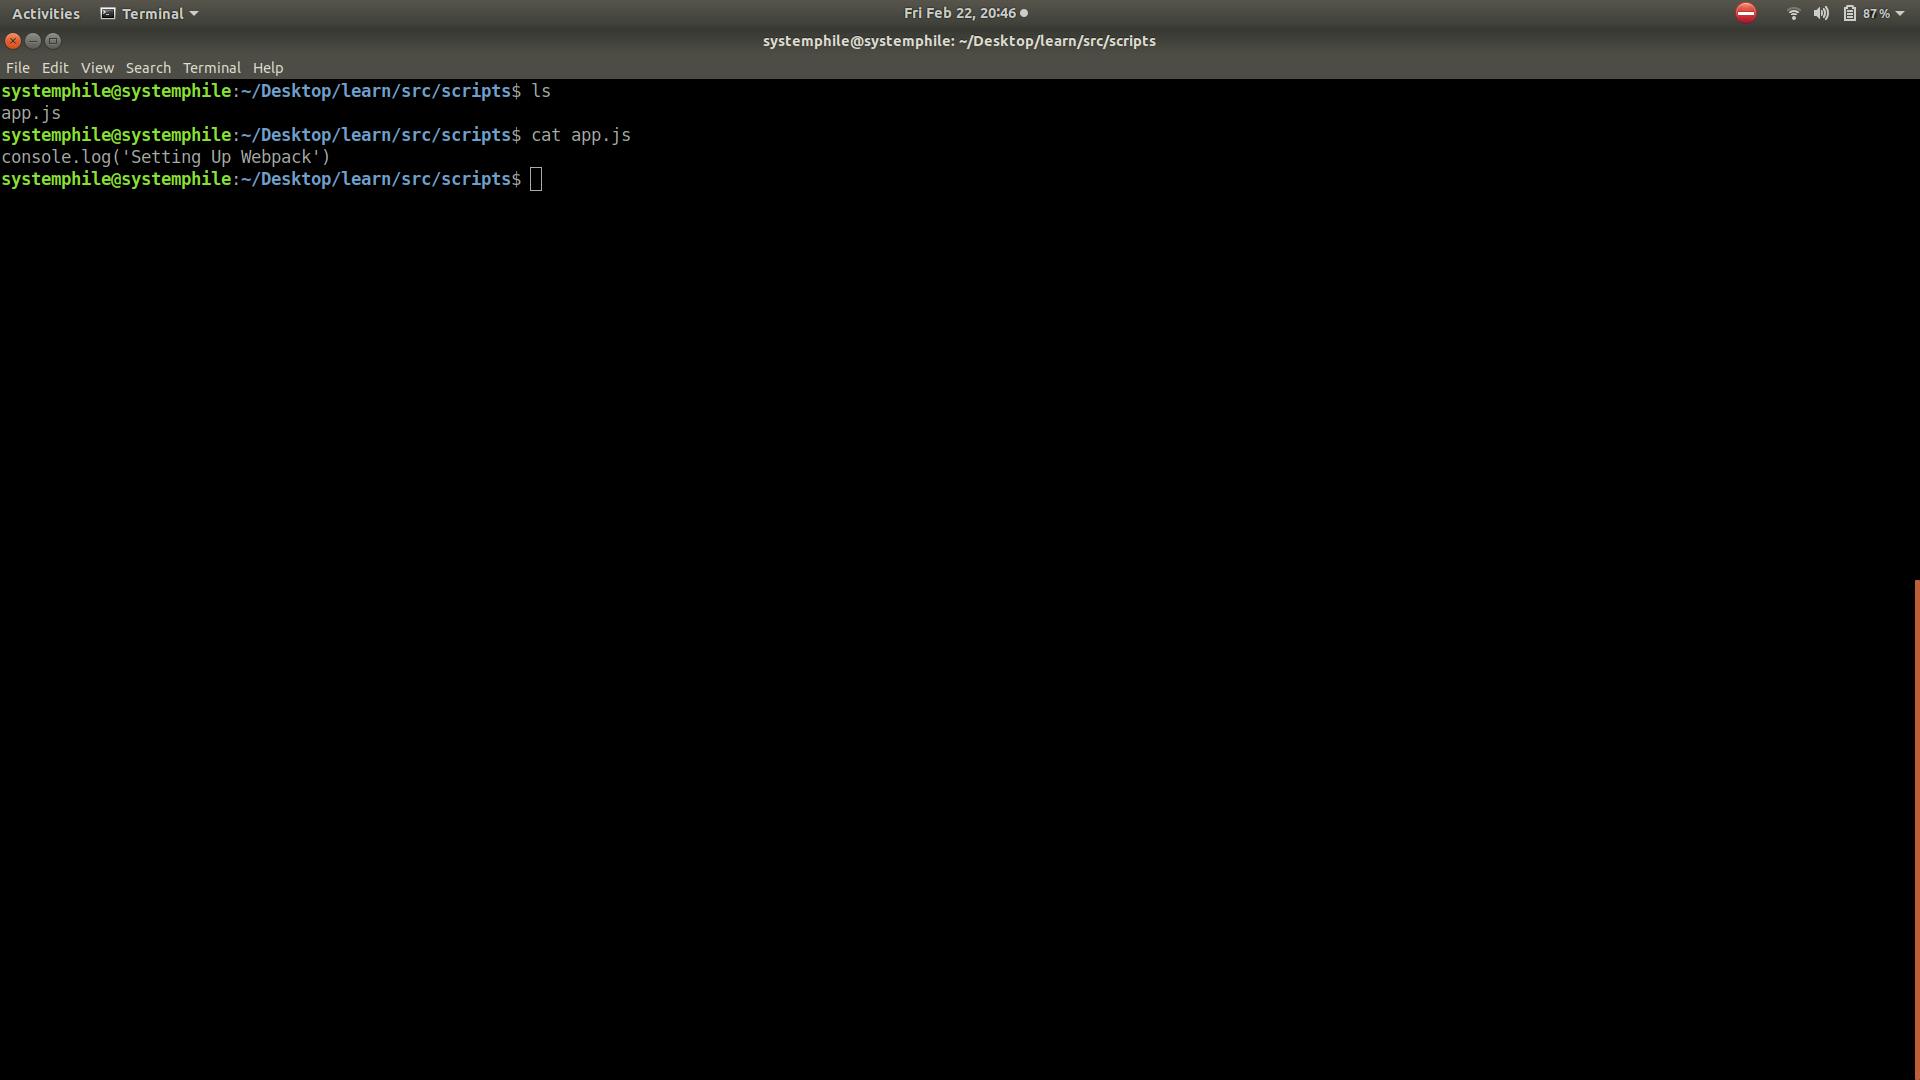
Now let's write a simple code into our
app.jsFor this type
nano app.jswhich will open up an inbuilt editor and writeconsole.log('Learn Webpack')Save the file by pressing
ctrl + Xafter which pressYNow if we check
app.jsusingcat app.jswe could see ourconsole.log()that we just typed in
Now we have setup a basic JavaScript project
Install and Using Webpack
Webpack can be installed in two ways
Install Webpack globally using
sudo npm install -g webpack
- Install Webpack locally in the project folder using
npm install --save-dev webpack
- Global Webpack Install
With this type of installation we can make use of the command webpack to pack our application
webpack ./src/scripts/app.js --output ./dist/app.bundle.js --mode development
In this the first argument ./src/scripts/app.js is the entry file from where the webpack will start building the module dependency tree and start packing them into a single output file.
The second argument ./dist/app.bundle.js is the output file which the webpack creates after packing the application and all the other module dependencies
- Local Webpack Install
We will be using this to serve our purpose
For this let's move into the
learnfolder usingcd learnNext we will have to install webpack using
npm install --save-dev webpack
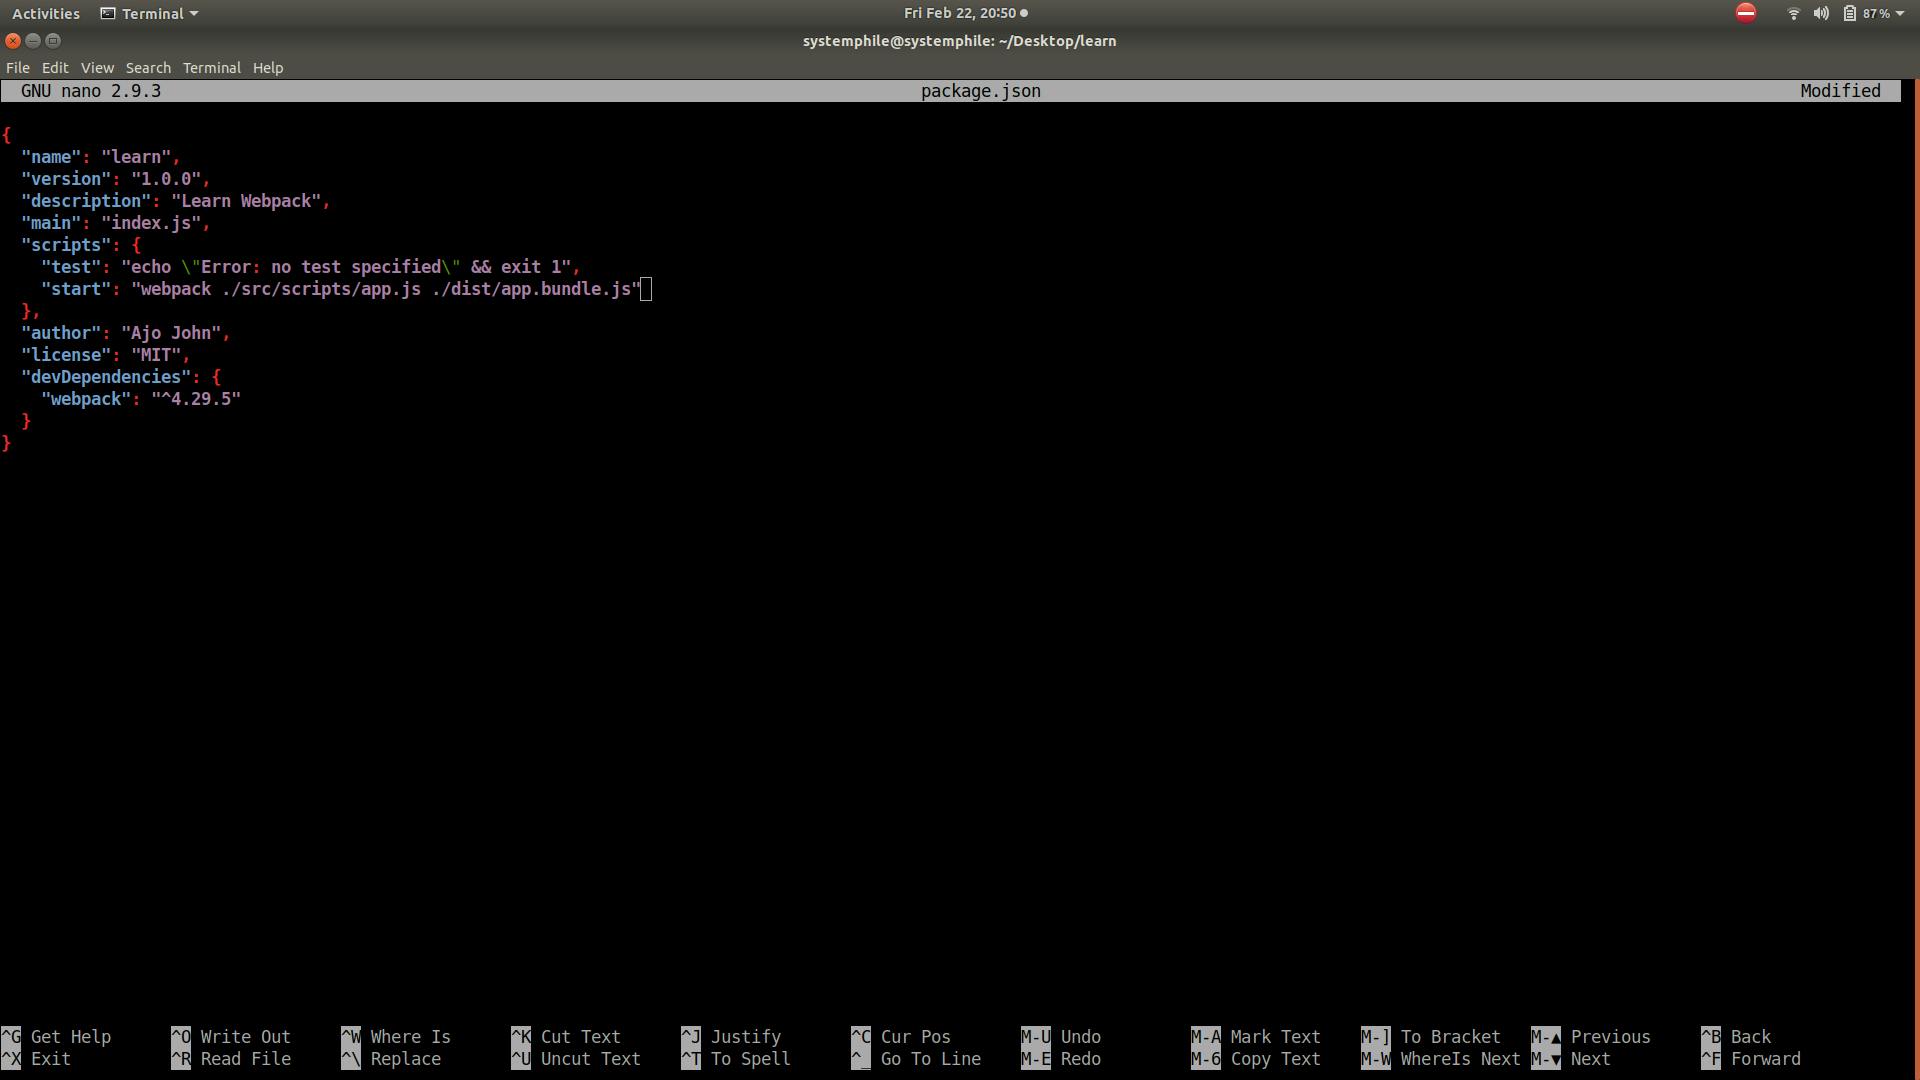
Now we need to use the
scriptsobject inpackage,jsonInside the scripts object, add a new property called
startwhich will have a value
scripts: {
   "start": "webpack ./src/scripts/app.js --output ./dist/app.bundle.js --mode developement"
}
- Finally now your
package.jsonshould be looking like
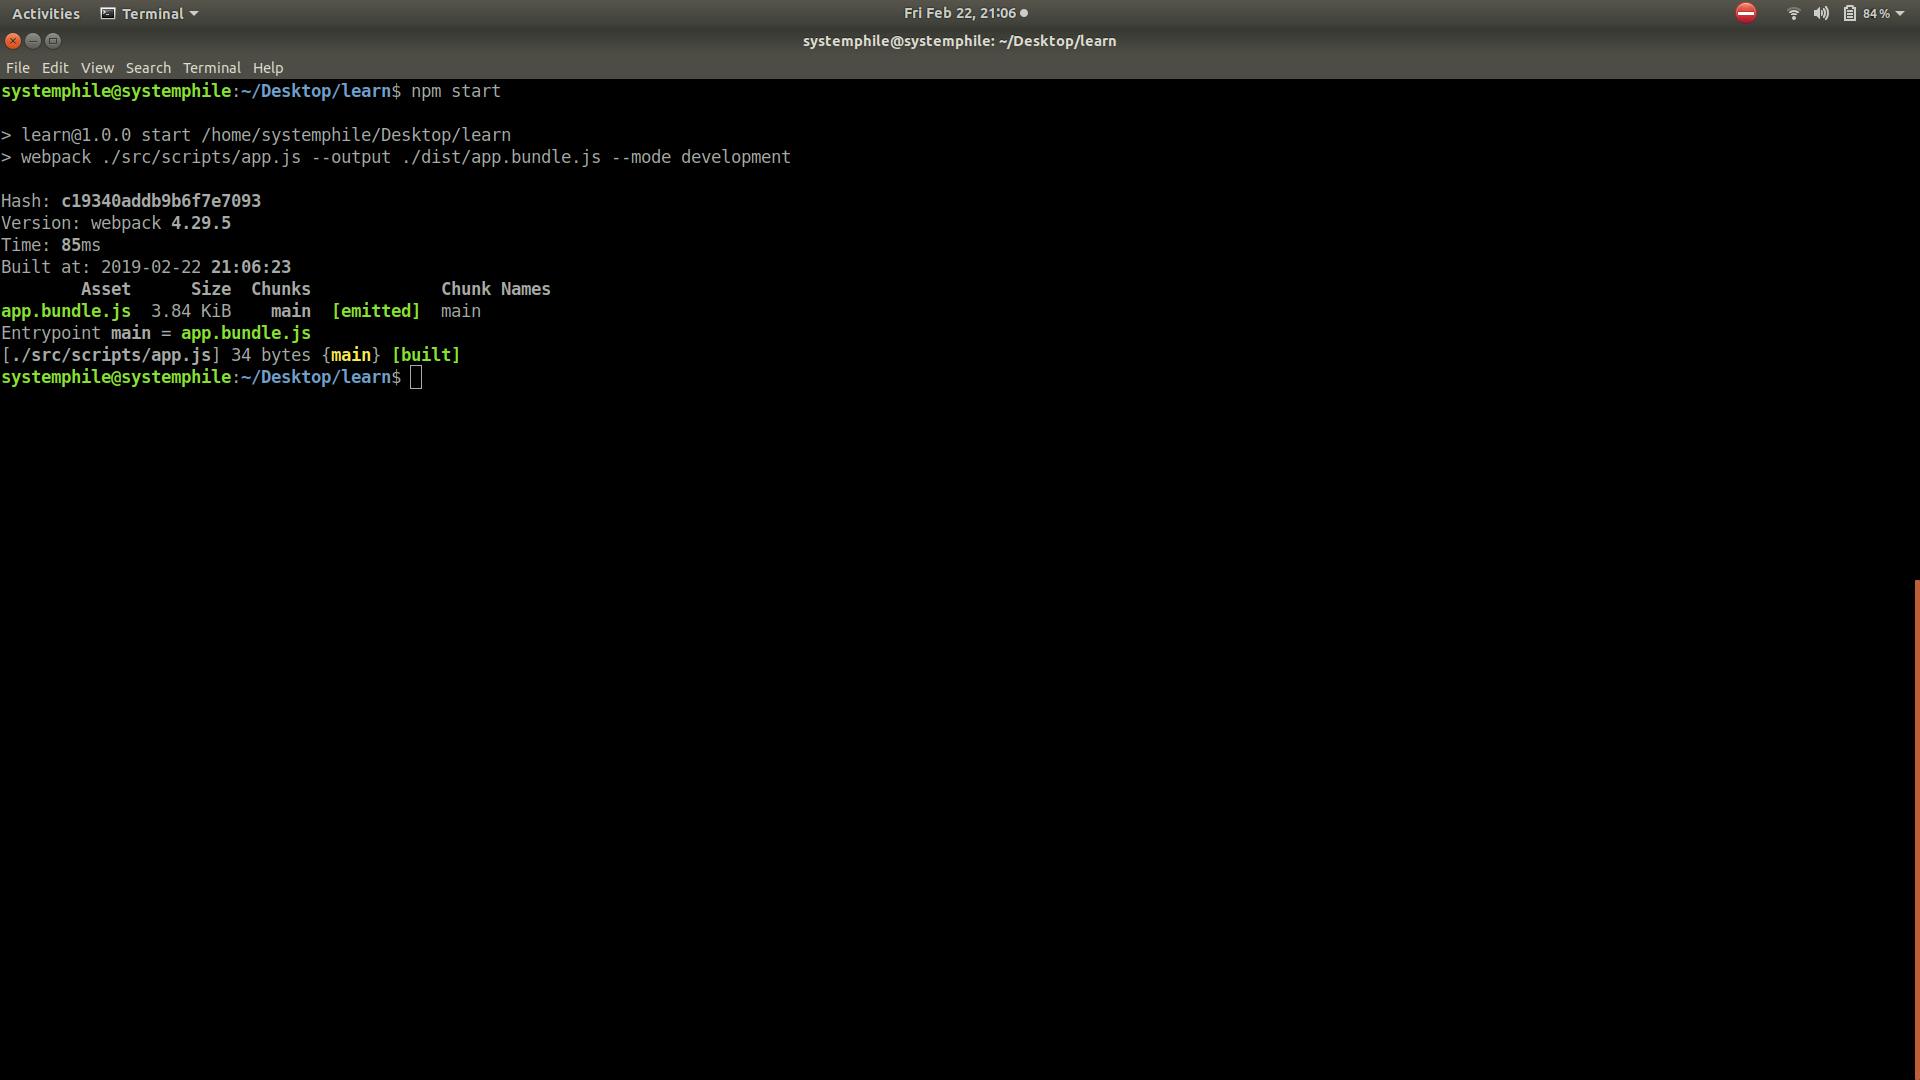
- Now lets run our webpack that we just setup, using the command
npm start
And here we go :)
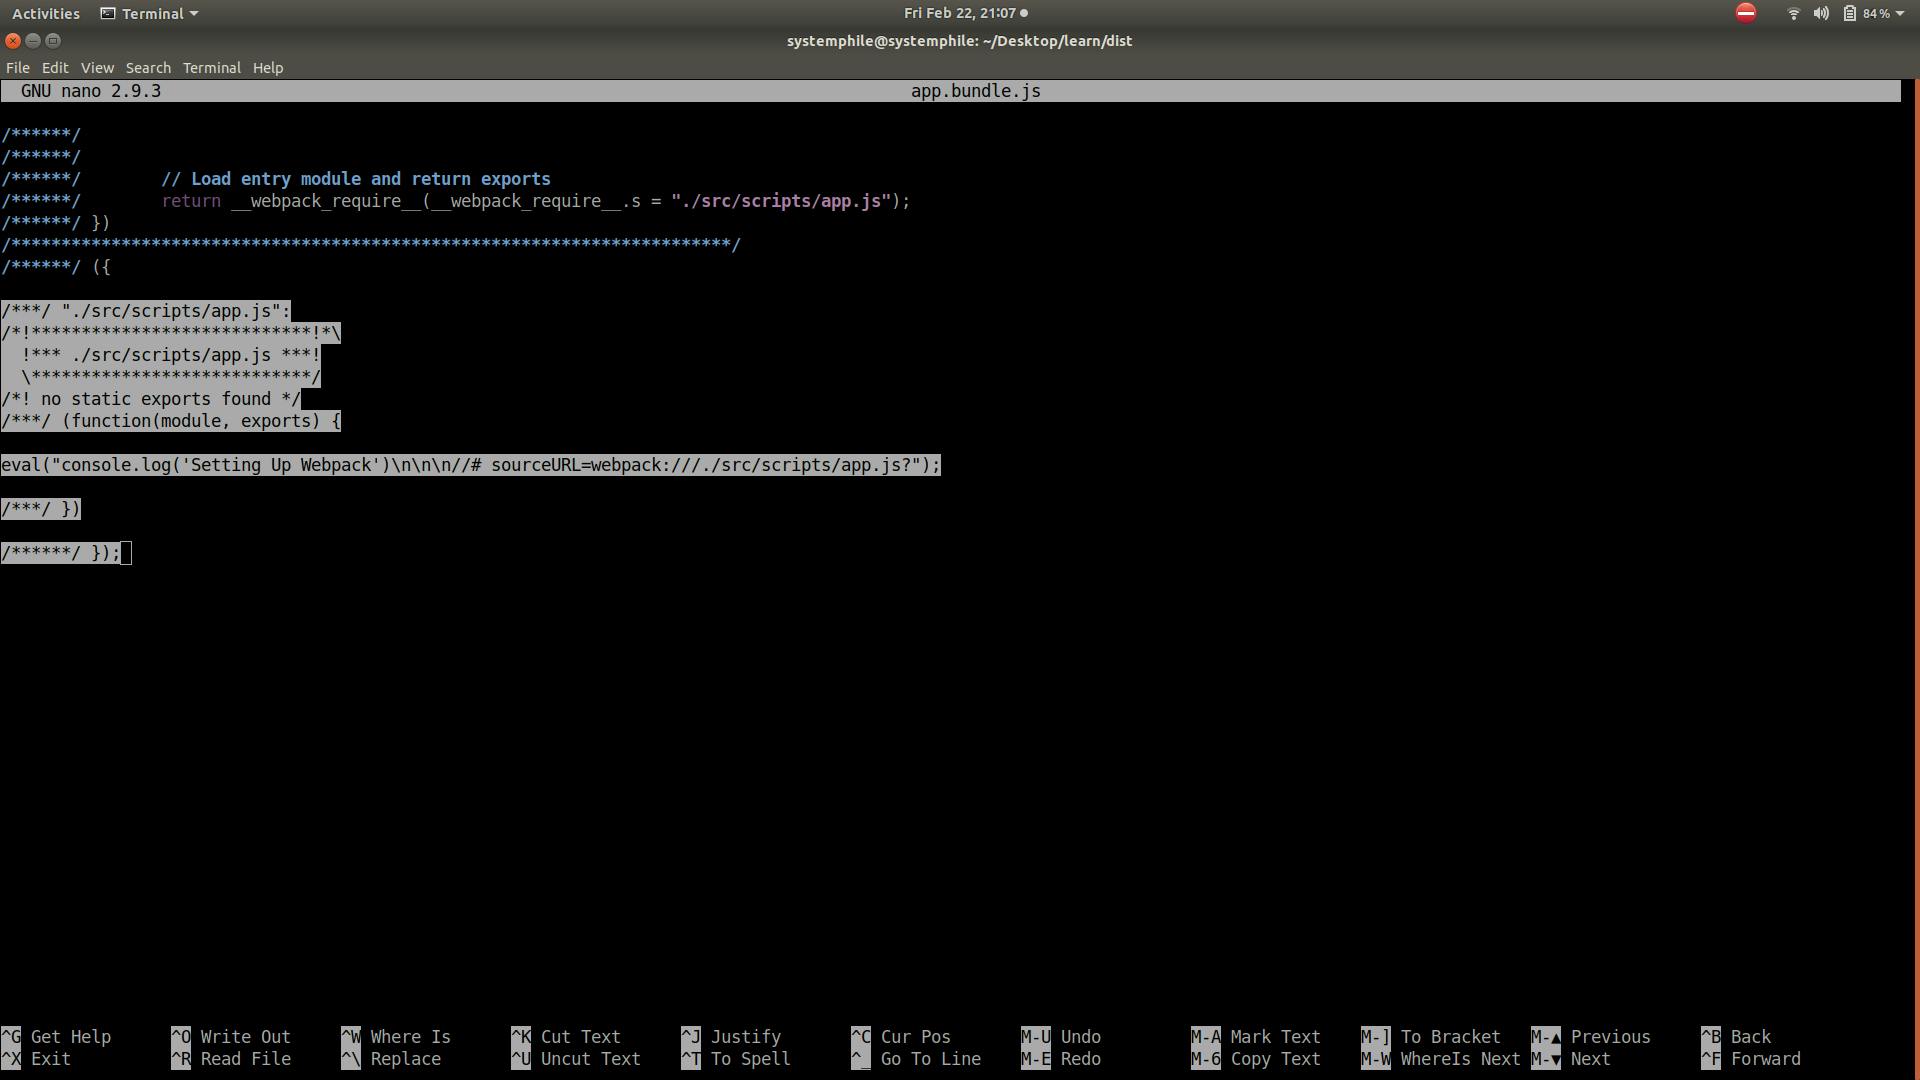
- Now let's move into
distusingcd distand check what the output file looks like by usingnano app.bundle.js
And this is what it looks like
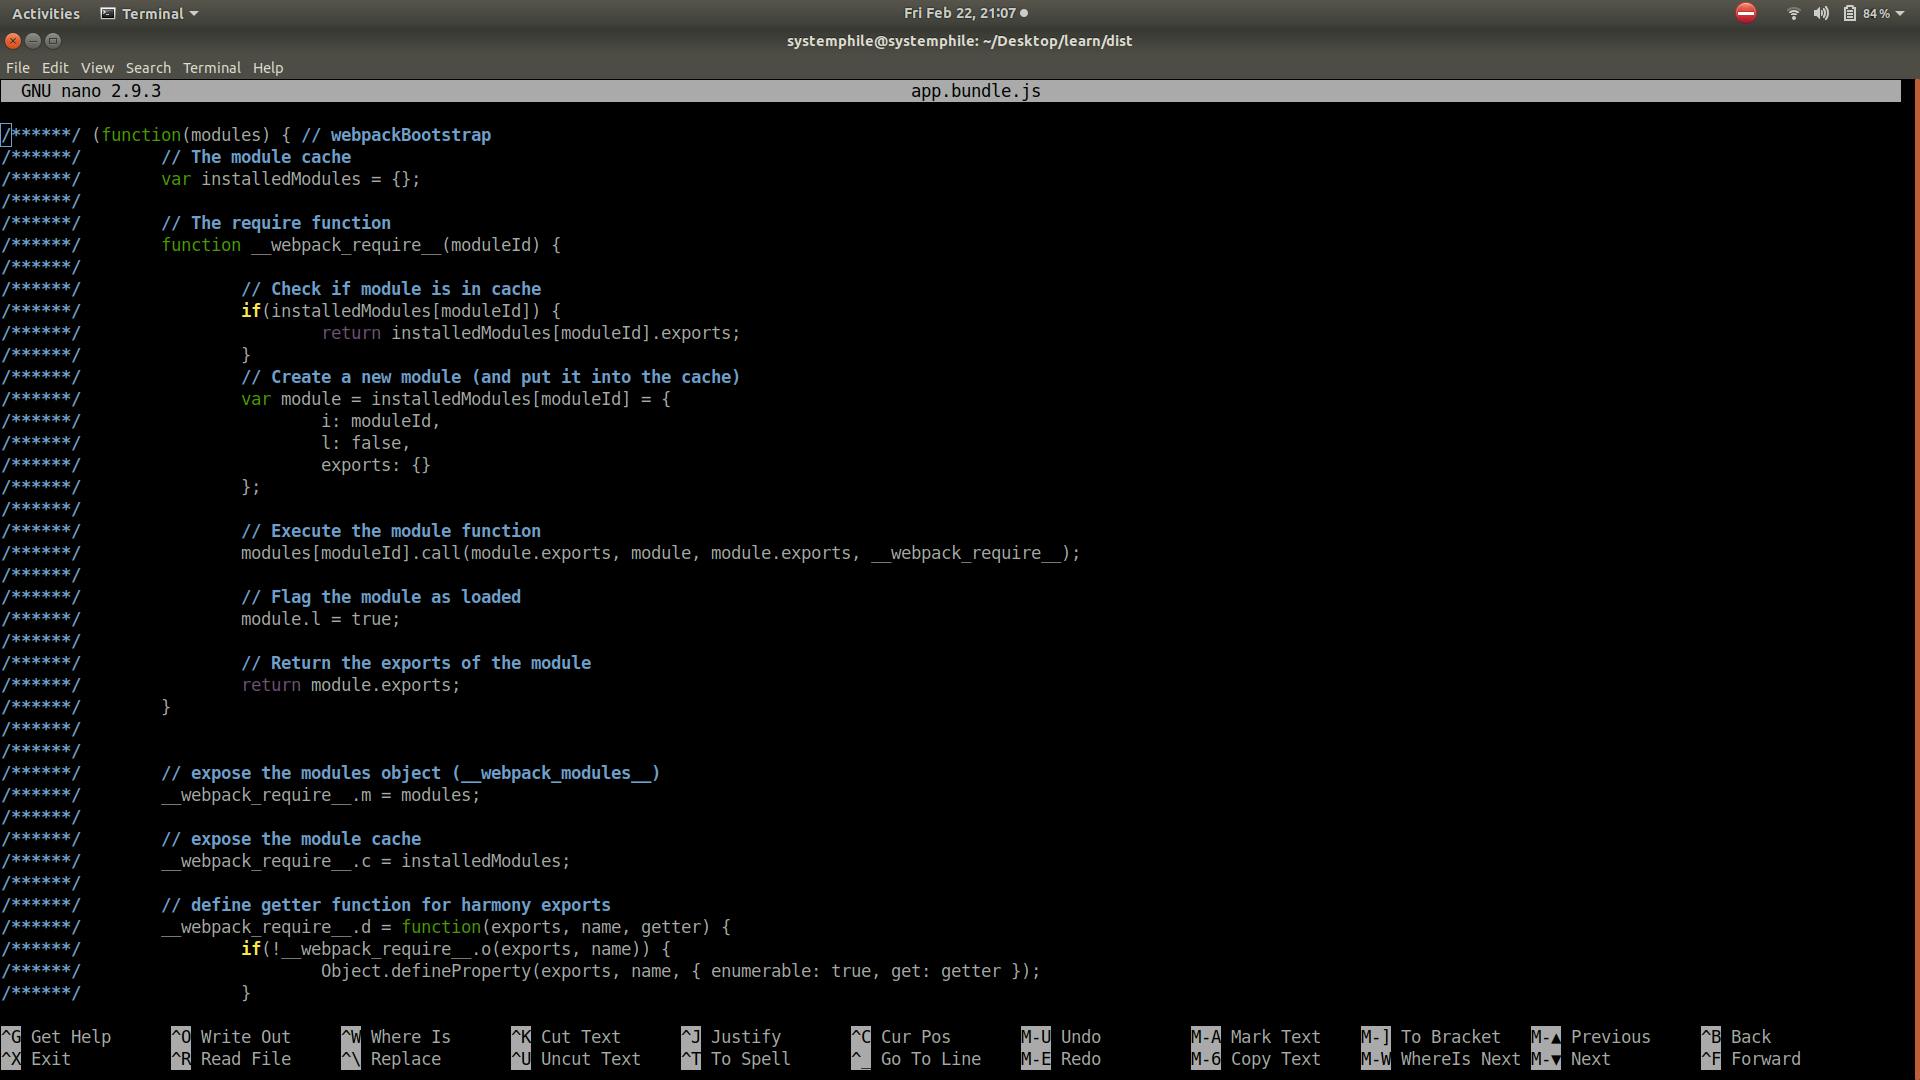
Here is how webpack packed our code in app.js
Hope you guys had a great time installing and using webpack.
If you like this post please don't forget to give a thumbs up :P
Those of you who missed out the first part, here it is
Next up I will be explaining on how to configure webpack options using the webpack.config.js until then cheers :)