Responsive Team Members Card Using HTML And CSS
In this blog, We are going to learn how to create a simple responsive team members card using HTML and CSS only.
Hello Everyone 👋🏻
In this blog, We are going to learn how to create a simple responsive team members card using HTML and CSS only. We will not use any frameworks and libraries, We just need the basic knowledge of these languages to create this responsive card. So without any further delay let's gets started.
Step 1 : HTML
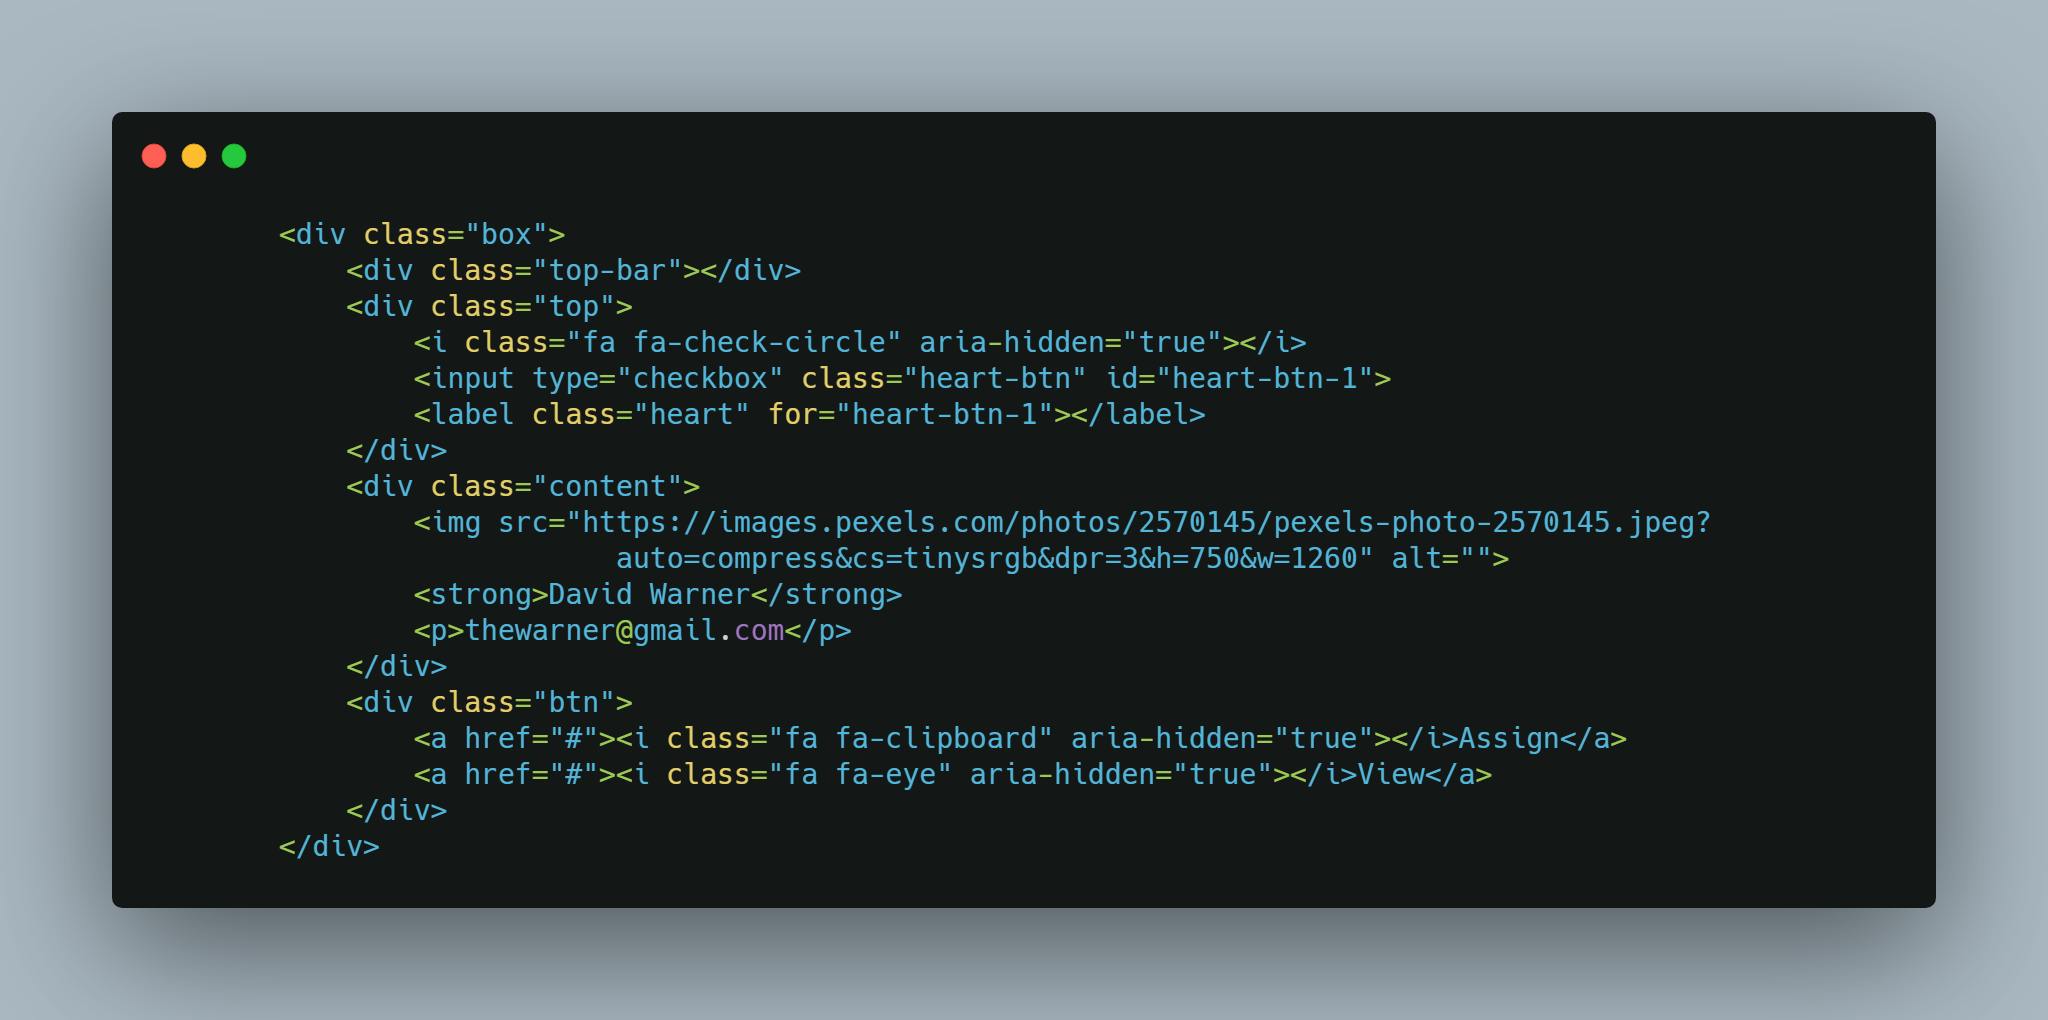
We will first begin by creating a h1 with a class .h1-text . Wrap it around the text "team members" inside h1 . Then we will create a div with class of .container . div with class .container will be the parent of divs of class .box. Inside the div of class .box write yours contents. The code for it is as follows :
 In similar way add your contents to two more
 divs with class .box.
The source code is given down below.
<!DOCTYPE html>
<html lang="en">

<head>
    <meta charset="UTF-8">
    <meta name="viewport" content="width=device-width, initial-scale=1.0">
    <link rel="stylesheet" href="stackpath.bootstrapcdn.com/font-awesome/4.…"
        integrity="sha384-wvfXpqpZZVQGK6TAh5PVlGOfQNHSoD2xbE+QkPxCAFlNEevoEH3Sl0sibVcOQVnN" crossorigin="anonymous">
    <title>team section</title>
    <link rel="stylesheet" href="style.css">
</head>

<body>
    <h1 class="h1-text">
        <i class="fa fa-users" aria-hidden="true"></i>Team Members
    </h1>
    <div class="container">
        <div class="box">
            <div class="top-bar"></div>
            <div class="top">
                <i class="fa fa-check-circle" aria-hidden="true"></i>
                <input type="checkbox" class="heart-btn" id="heart-btn-1">
                <label class="heart" for="heart-btn-1"></label>
            </div>
            <div class="content">
                <img src="images.pexels.com/photos/2570145/pexels-ph…"
                    alt="">
                <strong>David Warner</strong>
                <p>thewarner@gmail.com</p>
            </div>
            <div class="btn">
                <a href="#"><i class="fa fa-clipboard" aria-hidden="true"></i>Assign</a>
                <a href="#"><i class="fa fa-eye" aria-hidden="true"></i>View</a>
            </div>
        </div>
        <div class="box">
            <div class="top-bar"></div>
            <div class="top">
                <div>
                    <i class="fa fa-check-circle" aria-hidden="true"></i>
                </div>
                <div>
                    <input type="checkbox" class="heart-btn" id="heart-btn-2">
                    <label class="heart" for="heart-btn-2"></label>
                </div>
            </div>
            <div class="content">
                <img src=images.pexels.com/photos/2826131/pexels-ph…=compress&cs=tinysrgb&dpr=3&h=750&w=1260
                    alt="">
                <strong>Rohan Tolani</strong>
                <p>rooohan@gmail.com</p>
            </div>
            <div class="btn">
                <a href="#"><i class="fa fa-clipboard" aria-hidden="true"></i>Assign</a>
                <a href="#"><i class="fa fa-eye" aria-hidden="true"></i>View</a>
            </div>
        </div>
        <div class="box">
            <div class="top-bar"></div>
            <div class="top">
                <i class="fa fa-check-circle" aria-hidden="true"></i>
                <input type="checkbox" class="heart-btn" id="heart-btn-3">
                <label class="heart" for="heart-btn-3"></label>
            </div>
            <div class="content">
                <img src=images.pexels.com/photos/3681591/pexels-ph…=compress&cs=tinysrgb&dpr=2&h=650&w=940
                    alt="">
                <strong>Raquel John</strong>
                <p>Raquel John</p>
            </div>
            <div class="btn">
                <a href="#"><i class="fa fa-clipboard" aria-hidden="true"></i>Assign</a>
                <a href="#"><i class="fa fa-eye" aria-hidden="true"></i>View</a>
            </div>
        </div>
        <div class="box">
            <div class="top-bar"></div>
            <div class="top">
                <i class="fa fa-check-circle" aria-hidden="true"></i>
                <input type="checkbox" class="heart-btn" id="heart-btn-4">
                <label class="heart" for="heart-btn-4"></label>
            </div>
            <div class="content">
                <img src=images.pexels.com/photos/1689731/pexels-ph…=compress&cs=tinysrgb&dpr=2&h=650&w=940
                    alt="">
                <strong>Priya Mehra</strong>
                <p>priyamehraa@gmail.com</p>
            </div>
            <div class="btn">
                <a href="#"><i class="fa fa-clipboard" aria-hidden="true"></i>Assign</a>
                <a href="#"><i class="fa fa-eye" aria-hidden="true"></i>View</a>
            </div>
        </div>
    </div>
</body>
</html>
That's all we need for the HTML and now it's time to style it with CSS
Step 2 : CSS
CSS is really awesome and using a mix of older and modern CSS we can do a lot of things.
This is power of CSS. It gives you options. Use then or don't.
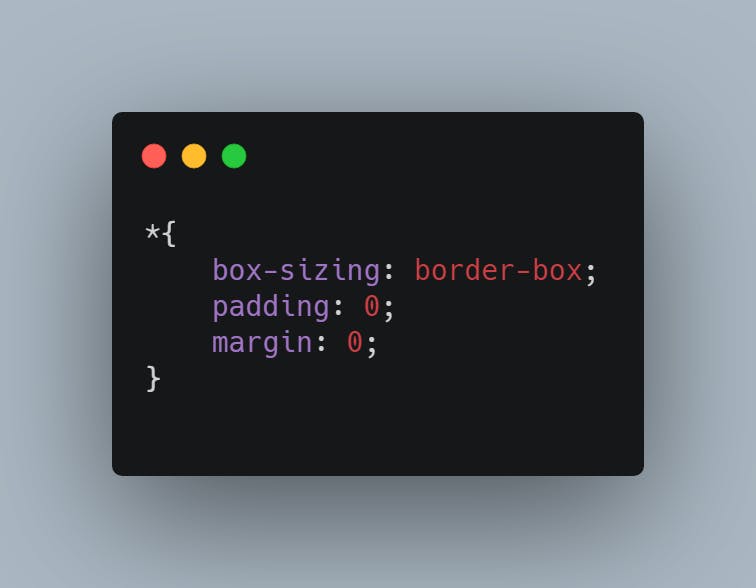
Now it's time to style it with CSS. Create a style.css file. First we add a reset of styles By resetting your styles, you avoid browser's default build-in style, which differs from browser to browser.
 This will reset margin to 0px, padding to 0px, and will border box to all element we gonna use.
Now we will add CSS to .container , .box along with there children's elements.
The source code is given down below.
@import url('fonts.googleapis.com/css2?family=Roboto:wg…);

*{
    box-sizing: border-box;
    padding: 0;
    margin: 0;
}

body{
    width: 100%;
    font-family: 'Roboto', sans-serif;
    margin: 0;
    padding: 0;
    background: #b8dae3;
    display: flex;
    justify-content: center;
    flex-direction: column;
}
a{
    text-decoration: none;
}


.h1-text{
    font-size: 1.3rem;
    margin: 40px 0;
    color: #2c2c2c;
    font-weight: 500;
    display: flex;
    align-items: center;
    justify-content: center;
}

.h1-text i{
    background-color: #509bfc;
    color: #fff;
    width: 40px;
    height: 40px;
    box-shadow: 2px 5px 30px rgba(80, 123, 252, 0.4);
    display: flex;
    justify-content: center;
    align-items: center;
    font-size: 1rem;
    margin: 0 20px;
}

 .container{
    width: 100%;
    display: flex;
    justify-content: center;
    align-items: center;
    flex-wrap: wrap;
}


.box{
    position: relative;
    min-width: 250px;
    background-color: #fff;
    box-shadow: 2px 3px 30px rgba(0,0,0,0.05);
    display: flex;
    flex-direction: column;
    justify-content: center;
    align-items: center;
    padding: 20px;
    margin: 20px;
    position: relative;
    border-radius: 10px;
}


.top-bar{
    width: 50%;
    height: 4px;
    background: #507bfc;
    position: absolute;
    top: 0px;
    left: 50%;
    transform: translateX(-50%);
    border-radius: 0px 0px 10px 10px;
}

.top{
    display: flex;
    justify-content: space-between;
    align-items:center ;
    width: 100%;
}

.fa-check-circle{
    color: #17b667;
}

/* creating heart */
 .heart{
    color: rgba(155,155,155);
}
.heart::before{
    content: '\f004';
    font-family: fontawesome;
    line-height: 30px;
    cursor: pointer;
    z-index: 1;
    transition: all 0.3s;
}
.box .heart-btn:checked ~ .heart::before{
    color:#e41934
}
.heart-btn{
    position: absolute;
    top: 25px;
    right: 20px;
    padding: 1rem;
    display: none;
}


.content img{
    width: 90px;
    height: 90px;
    border-radius:100px;
    overflow: hidden;
    object-fit: cover;
    object-position: top;
}
.content{
    display: flex;
    flex-direction: column;
    justify-content: center;
    align-items: center;
}
.content strong{
    font-weight: 500;
    color: #141414;
    margin-top: 10px;
}
.content p{
    font-size: 0.9rem;
    color: #7a7a7a;
    margin: 4px 0px 10px 0px;
    cursor: pointer;
}
.content p:hover{
    text-decoration: underline;
}

.btn{
    margin-top: 5px;
    display: flex;
    justify-content: space-between;
    align-items: center;
    width: 100%;
}
.btn a i{
    margin-right: 9px;
}
.btn a{
    border-radius: 20px;
    color: #8b8b8b;
    padding: 8px 20px;
    font-size: 0.9rem;
}
.btn a:hover{
    color: #fff;
    box-shadow: 2px 5px 15px rgba(80,123,252,0.05);
    background-color: #507bfc;
    transition: all ease 0.5s;
}
So I hope you must have got an idea of how to make a fully responsive team members card using HTML and CSS. Try to customize more things according to your needs and keep practicing : ) .
here is the complete source code in the codepen