Write First UI Test in Android
How to write your first android UI automation test using the Kakao DSL library.
In this article, we will be looking into Android UI automation tests using the Kakao library which has been built on top of Espresso. Please check my article for the basics of UI testing in Android.
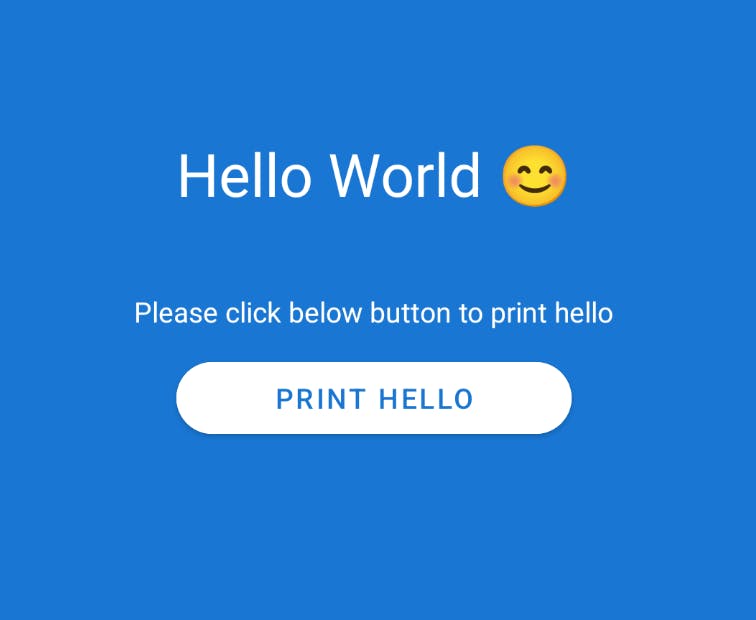
As you can see in the below picture, we have a button that prints Hello World text on the screen on click event. So let’s get started…

Please make sure you have disabled the device animations from settings -> developer options.
- Window animation scale
- Transition animation scale
- Animator duration scale
Leaving system animations turned on in the test device might cause unexpected results or may lead your test to fail.
1- Setup
Add the following dependency to the module build.gradle file
androidTestImplementation 'io.github.kakaocup:kakao:3.0.4'
2- Write a Screen Class
We will need to write a class MainActivityScreen.kt inside androidTest directory to get the references of actual UI views to perform some necessary assertions and events.
import io.github.kakaocup.kakao.screen.Screen
import io.github.kakaocup.kakao.text.KTextView

class MainActivityScreen : Screen<MainActivityScreen>() {

    private val textViewTitle = KTextView {
        withId(R.id.textView_title)
    }

    private val textViewDescription = KTextView {
        withId(R.id.textView_description)
        withText(R.string.print_hello_description)
    }

    private val buttonPrintHello = KButton {
        withId(R.id.button_printHello)
        withText(R.string.button_print_hello_text)
    }

    fun assertInitialStateOfMainScreen() {
        textViewTitle.isVisible()
        textViewTitle.hasEmptyText()
        textViewDescription.isVisible()
        buttonPrintHello.isVisible()
        buttonPrintHello.isEnabled()
    }

    fun performClickOnHelloButton() {
        buttonPrintHello.click()
    }

    fun assertFinalStateOfMainScreen() {
        textViewTitle.isVisible()
        textViewTitle.hasText(R.string.hello_word_title)
        textViewDescription.isVisible()
        buttonPrintHello.isVisible()
        buttonPrintHello.isEnabled()
    }
}
You can see we are getting the references of views from our UI with the help of Kakao DSLs KTextView, KButton and we are also performing some assertions before and after the click event.
assertInitialStateOfMainScreen()verifies whether our UI is in default state.performClickOnHelloButton()performs click event on buttonassertFinalStateOfMainScreen()verifies whether our UI is in expected state.
3- Write UI Test
Now we will consume the screen class we created in step 2 to automate button click event by writing a UI test. Let's create a class MainActivityInstrumentationTest.kt inside androidTest directory to write our UI test.
import androidx.test.core.app.ActivityScenario
import io.github.kakaocup.kakao.screen.Screen.Companion.onScreen
import org.junit.Before
import org.junit.Test

class MainActivityInstrumentationTest {

    @Before
    fun setup() {
        ActivityScenario.launch(MainActivity::class.java)
    }

    @Test
    fun printHelloTest() {
        onScreen<MainActivityScreen> {
            assertInitialStateOfMainScreen()
            performClickOnHelloButton()
            assertFinalStateOfMainScreen()
        }
    }
}
MainActivity is necessary to launch before the test and inside the test method, we are calling the screen class methods by onScreen<ScreenClass>{...} DSL.
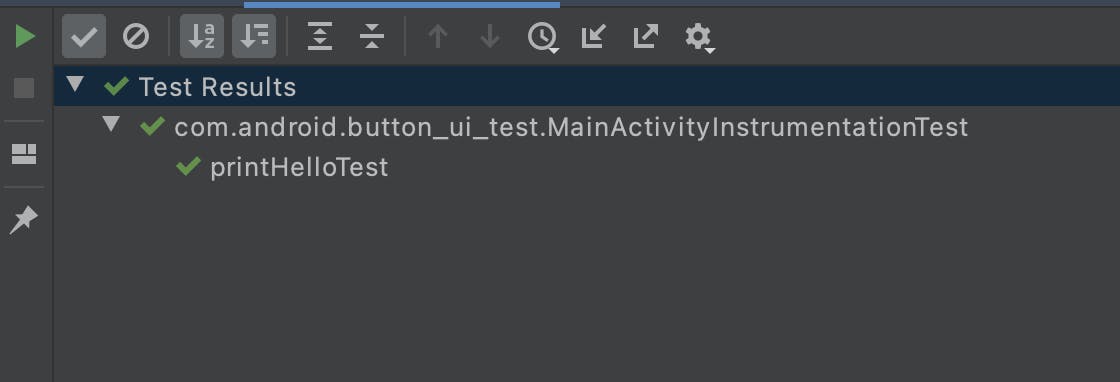
LET'S RUN THE TEST 😎

Here is the Github repo link android-button-ui-test