

In part 1 of this tutorial, we built the ASP.NET Core back-end .
Part 2 - Create the Angular 8 app
Now, let’s finally start with the Angular app. We will use Node.js and Angular CLI to generate the Angular project and necessary files.
Remember. Github repo is here: Angular 8 blog app tutorial using .NET Core 2.2 and Entity Framework back-end
Prerequisites
When Node.js is installed, you can open the Node.js command prompt.
Execute this command in the command prompt to install the Angular 8 CLI:
npm install -g @angular/cli
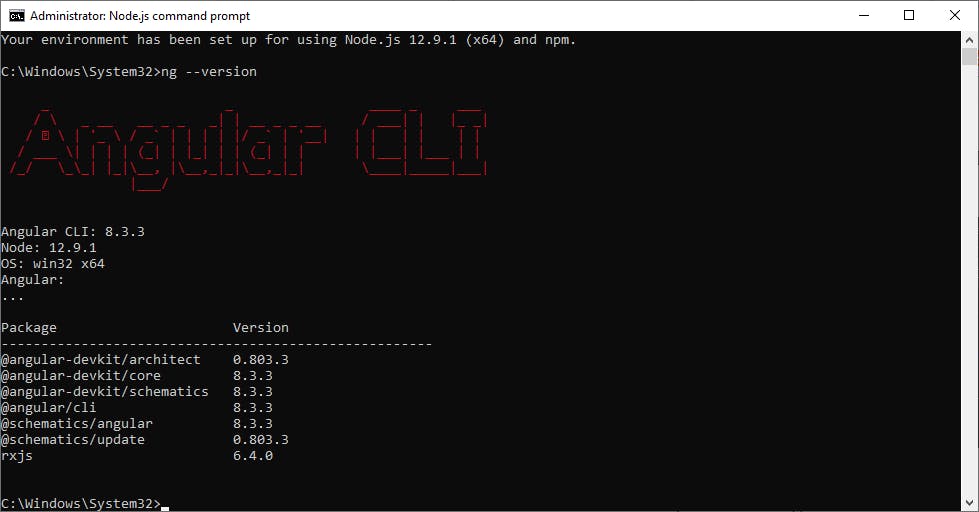
This will install the latest Angular CLI globally and it’ll take a little while. When you’re done, you can check the Angular version with this command:
ng --version
The Node.js command prompt should look something like this:
Now, let's move to the folder where our Visual Studio back-end is located. Use the cd command to do this:
cd c:/projects/blog
We will simply call our Angular 8 application ClientApp. Let’s execute the command that creates our Angular application:
ng new ClientApp
We’ll be prompted with some questions. We want to use routing (press Y) and stylesheet format: SCSS. Then let Node do its thing and create the web app. It’ll take a minute or so.
When the app is created, cd command into the app folder:
cd ClientApp
And then build and run the app with the ng serve command:
ng serve
The command prompt will look like this:
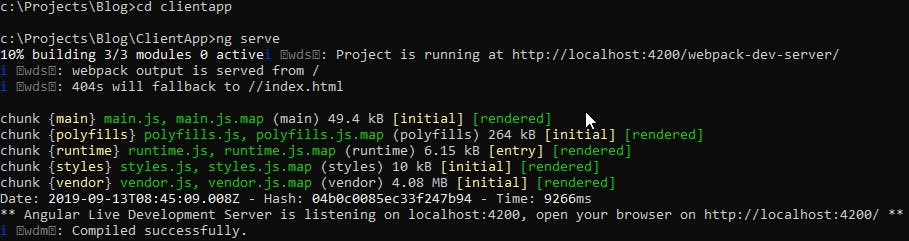
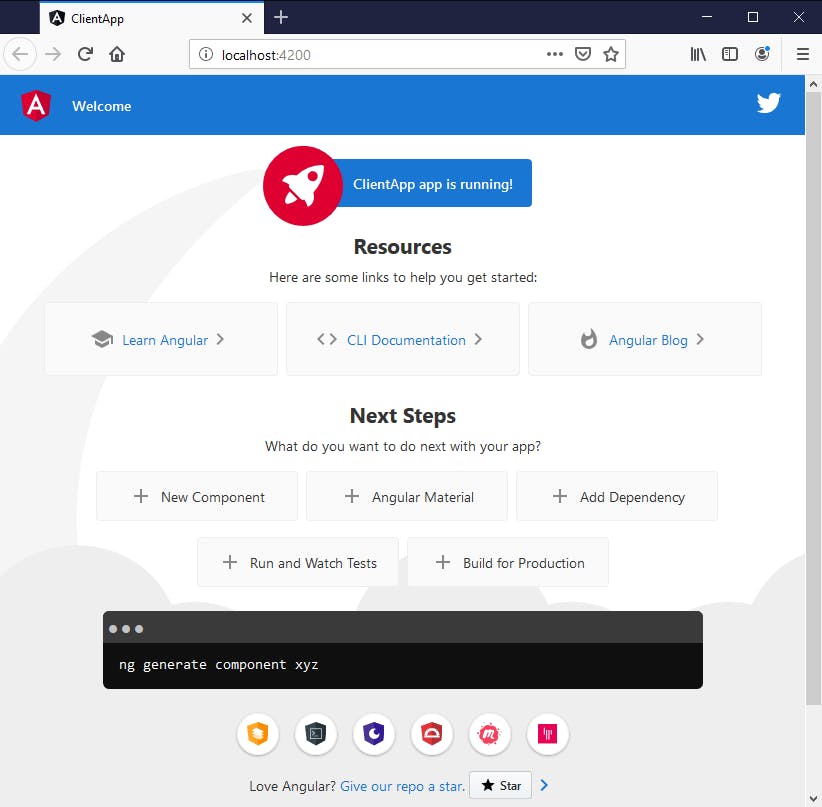
The build succeded and now you can browse to your Angular app with the URL **http://localhost:4200**. The basic Angular 8 app is based on a template and it’ll look something like this:
If you have a look at the source code, it’ll look like this:
The interesting thing here is <app-root></app-root>, which is Angular specific and tells us where our Angular app will execute.
One final command is good to know — it’s Ctrl+C to close the Angular application, and you should press it twice to terminate the batch job and stop ng serve.
One of the nice features of Angular development is changes you save in front-end files will immediately be reflected in the browser. For this to happen the app needs to be running.
For some changes though, like adding Bootstrap, you need to restart the application to make it work.
Angular 8 fundamentals
Let’s pause, take a step back and learn some of the Angular 8 fundamentals.
Angular 8 is an open source client-side JavaScript framework, based on TypeScript which is compiled to JavaScript.
The Angular 8 architecture consists of the following:
Modules
Components
Templates, Directives, Data-Binding
Services and dependency injection
Routing
You can delve deeper into the Angular architecture here in the official documentation. Here’s a quick rundown though:
Modules
Angular NgModules are fundamental to any Angular application. Every Angular app has a root module called AppModule, which bootstraps and launches the app. Modules can call components and services. The default module is app.module.ts.
Components
Components provide us with a class and a view, and are parts of the application. The class is TypeScript based and the view is HTML. All Angular app has at least one component called app.component.ts.
Templates, directives, data-binding
A template combines HTML with Angular markup. The directives provide logic and the binding markup connects the application data with the DOM.
Services and dependency injection
Service classes provide application logic that isn’t tied to a specific view and shared across the app. They are injectable using the @Injectable() decorator. Component classes are kept nice and tidy using dependency injection.
Routing
The Router NgModule provides a service that defines navigation in the app. It works the same way as a browser’s navigation.
Visual Studio 2019 for back-end, VS Code for front-end
While Visual Studio 2019 works very well for back-end as well as front-end, VS Code is actually better for front-end heavy work with frameworks like Angular. I recommend you try VS Code and most instructions for the Angular application in this tutorial, will be for VS Code.
To make front-end and Angular development easier in VS Code, install these extensions. You can do it easiest through the VS Code Extensions module.
There’s obviously a lot more awesome extensions like Beautify and Path Intellisense that makes your development more productive. It’s all up to your preference and style.
In VS Code, make sure you open the folder ClientApp on your disk and work from there.
Add components and services to our Angular app
Let’s continue building the Angular app. First, press Ctrl+C twice in the Node.js command prompt, if you haven’t closed the connection to your app.
Next, let’s add Bootstrap 4 to the application. Execute this command in the Node.js command prompt:
npm install bootstrap --save
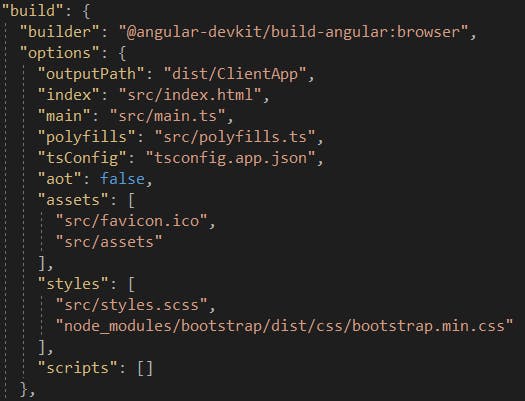
Then find the angular.json file and edit the build node to make styles look like this:
The angular.json build node should look like this:
Next up, let’s create our components. We will have three components for our blog application:
BlogPosts — shows all blog posts.
BlogPost — show a specific blog post.
BlogPostAddEdit — add new or edit existing blog post.
To create these components, execute the following commands in the Node.js command prompt:
ng generate component BlogPosts
ng generate component BlogPost
ng generate component BlogPost-AddEdit
Under ClientApp/src/app, the components are now there:
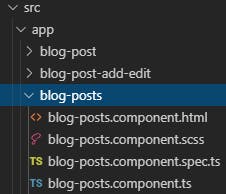
As you can see, we have a .html file, scss file, spec.ts file and component.ts file for each component.
HTML and SCSS are used for the view.
spec.ts is for tests.
component.ts contains our component class and logic.
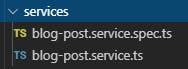
While we’re at it, let’s create our service as well, using the command prompt:
ng generate service BlogPost
Create a new folder under app and call it services. Move the two generated service files to the folder:
Now let’s leave our components and services and have a look at the app.module.ts file. This is where we import modules and components, declare them and also add providers.
We get a few things for free from the created app. Necessary imports are added and a few modules too. When we add components in the Node.js command prompt, the app.modules.ts file is updated as well. However we don’t get help with everything. For our blog app, we need to manually import some modules on our own and add them. We also need to import and add our service to providers.
Let’s update the file to look like this:
Necessary modules like HttpClientModule and ReactiveFormsModule are imported. AppRoutingModule and AppComponent were already created for us from the beginning.
Just make sure to declare components, add modules to imports and also add our service to providers.
Just one thing on import and export.
TypeScript uses the module concept from EcmaScript 2015. Modules are executed in their own scope and not in the global scope. To make one module’s classes, variables, functions etc visible to other modules, export is used. Also to use some of these from another module, an import is needed.
Setup routing
Open app-routing.module.ts. Here you have the routes setup with no routes configured:
const routes: Routes = [];
Update the file to look like this instead:
We import necessary component and update Routes with paths and tell what components will be loaded in those paths.
{ path: '', component: BlogPostsComponent, pathMatch: 'full' }
This tells us we will load the BlogPostsComponent on the app start page.
{ path: '**', redirectTo: '/' }
This tells us all invalid paths for the application will be redirected to the start page.
Open app.component.html and update the file to look like this:
The <router-outlet></router-outlet> element will be replaced by the correct component and this file will be used for all components in the app.
Now let’s build and run the app again using the ng serve command in the Node.js command prompt. When Node is done compiling, go to http://localhost:4200. The start page will now look like this:
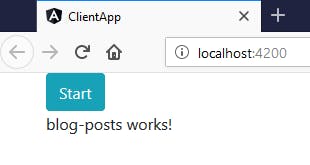
This is our BlogPostsComponent in action. Try browsing to http://localhost:4200/add as well and you’ll get the view for our BlogPostAddEditComponent.
If you try to browse to a path that doesn’t exist, you’re redirected to the start page again.
Different ways to build and run the application
We have two different ways that we can use to build and run our Angular application:
Node.js command prompt and
ng serve.Visual Studio F5 command and IIS Express.
This is good to know. The simplest thing to do is to just use Visual Studio to build and run our Angular app as well as the back-end. To make the Angular app work, we need to edit Startup.cs to allow SPA static files.
In Startup.cs, we already have commented out configuration for SPA. In the ConfigureServices method, uncomment the services.AddSpaStaticFiles section:
In the Configure method, uncomment the app.UseSpaStaticFiles() line and app.UseSpa() section. Since before, we already have app.UseMvc():
Also, let’s update environment.ts. Add appUrl to the environment constant, it should look like this:
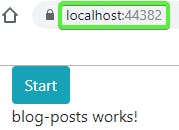
Now in Visual Studio 2019, press F5 and your Angular app AND back-end will be up and running on the same address, on IIS Express:
Whether you want to use the Node.js command prompt to build and run the Angular application is up to you. Just remember the back-end needs to be up and running too.
Visual Studio building and running both the front-end and back-end means one less thing to think about.
Create blog post model and service methods
We need a blog post model to work with in TypeScript. Let’s create a new folder called models and then a TypeScript file(right click the folder -> New file in VS Code) and name it blogpost.ts.
Copy and paste this BlogPost model class into blogposts.ts:
Our BlogPost model will now be available across the application.
Angular 8 service CRUD tasks
Our Angular service will call our back-end and carry out these tasks:
Create blog post.
Show all blog posts / show a single blog post.
Update an existing blog post.
Delete a blog post.
Now let’s go back to our previously created service, located in the services folder. Open blog-post.service.ts and edit the file to look like this:
We already injected the service into the providers array in app.module.ts, meaning the service can be used right away across the application.
Observables in Angular
The Angular HttpClient methods use RxJS observables. Observables provide support for passing messages between publishers and subscribers in your application. They are powerful and have several advantages and are therefore used extensively in Angular.
Observables in the Angular documentation
When we’ve created (published) an observable, we need to use the subscribe() method to receive notifications. We then get a Subscription object we can work with. Also, we can use unsubscribe() to stop receiving notifications.
We make ourBlogPostService injectable via the @Injectable() decorator. We will inject the service into our components later.
For our service’s post and put methods, we will send application/json.
Then we use the pipe() method for each service call. Here we can pass in operator functions for data transformation in our observable collection. We add retry and catchError to our pipe method.
It’s very common to subscribe to observables in Angular. This is fine, but you have to remember to unsubscribe too. pipe does that automatically for you, freeing up memory resources and preventing leaks.
Update components to show service data
Over to our three blog components. Let’s start with BlogPostsComponent which will list all our blog posts. Update the file blog-posts.component.ts to look like this:
We dependency inject BlogPostService in the constructor and in loadBlogPosts() we simply call our Angular service.
Since the service getBlogPosts() method gives us an Observable<BlogPost[]> back, we assign it to this component’s blogPost$ object. It’s common practice to name observable objects with a $ sign at the end.
In the delete() method we need to subscribe to our observable instead to execute the action and then reload the blog post list.
Now open blog-posts.component.html and update it to look like this:
We use the AsyncPipe to subscribe to our observables. When we want to display our observable value in our HTML template file we use this syntax:
(blogPosts$ | async)
ngIf and ngFor are structural directives which change the DOM structure by adding or removing elements.
The routerLink directive lets us link to specific routes in our app.
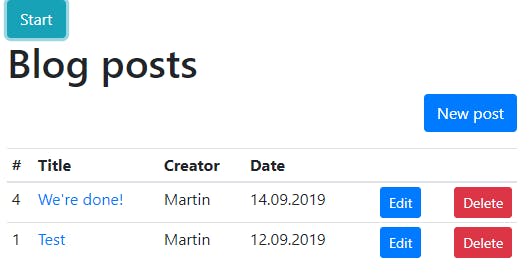
You can press F5 in Visual Studio 2019 or use the Node.js command prompt and ng serve to launch the app. If you use Node.js to launch the app, make sure the back-end is launched as well in the background (using Visual Studio F5 command).
Since we’ve manually added a blog post in Postman before, we should now see this:

Excellent!
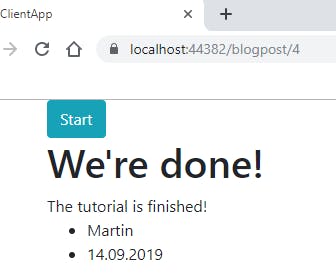
Next up is blog-post.component.ts to view a single blog post. Edit the file to look like this:
As it’s a single blog post we want to show, we fetch the id key from the url querystring with the built in ActivatedRoute component, and pass it to the service getBlogPost() method.
Now open blog-post.component.html and edit it to look like this:
We use the AsyncPipe again and also use the alias blogPost so we don’t have to write blogPost | async everywhere we want to access a blogPost property. We also provide a loading screen.
We’re getting closer. Now we just need a way to create new blog posts and edit existing ones. Open blog-post-add-edit.component.ts and edit it to look like this:
Here we’re introducing Angular forms: FormBuilder, FormGroup and also Validators.
Depending on if we’re creating a new blog post or editing an existing one, we use actionType to show the correct form view with or without data. When we save or update a blog post, we create a new BlogPost object which we then fill with correct form data and then post to our service.
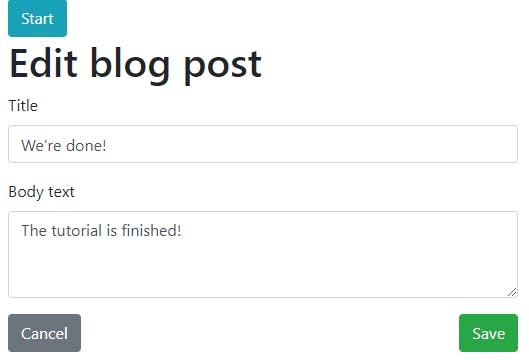
Let’s open the blog-post-add-edit.component.html and edit it to look like this:
Here’s the form with validation.
We’re done!
Press F5 in Visual Studio 2019 or use the Node.js command prompt and ng serve to browse our final app. (If you use Node.js to launch the app, make sure the back-end is launched as well in the background (using Visual Studio F5 command))