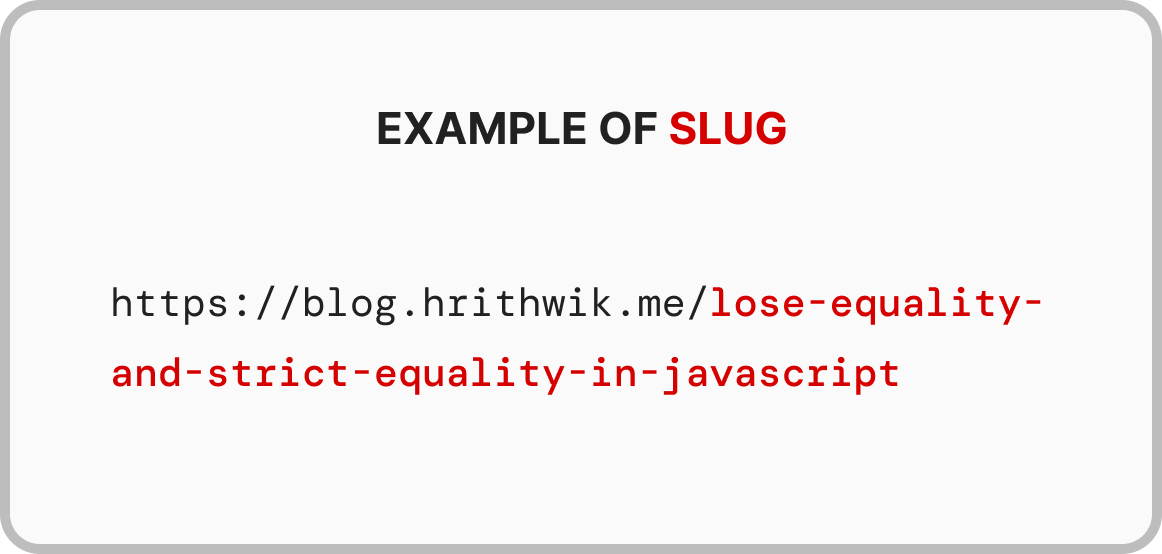
A slug is the part of a URL which identifies a particular article on your blog and explains the page’s content.

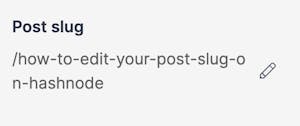
By default, your post’s slug on Hashnode is generated based on the title of your article. That means if the title of your article is Understanding Inline Elements, the slug of the article will look like this: domain/understanding-inline-elements. With the new updates on Hashnode, you can now edit the slug of your blog post.
In this article, I will explain how to edit your post’s slug on your Hashnode powered blog.
How to edit your post’s slug
The ability to change your slug is really good because it gives you the ability to add keywords that can positively affect your articles SEO. To edit your slug, follow the steps below:
- Click on “Create a new story”
- As soon as you write the title of your post, the Post slug’s edit icon will be displayed at the right side of your screen.

- Click on the Post slug’s edit icon and modify the slug based on your preference.
- Click on the Save button to complete the process.
- When you are ready to publish the article, click on the Publish button at the top right of the screen.
Things to note
If you can’t see the Post slug’s edit icon on your draft then it means your blog post uses Hashnode’s Legacy URL pattern. To resolve this, change the URL pattern of your blog from the Legacy pattern to the Simple pattern as explained in this article.
Editing your post’s slug is allowed only if you are publishing the article on your Hashnode blog. If you are publishing directly on hashnode.com, then you won’t be allowed to edit the slug of that post.
Editing your post’s slug after publishing the article is possible but not advisable as old post URL slug will NOT redirected to the new one.