


Someone made an excellent comment recently that an about page would benefit my blog quite a bit.
So why not explore how to add static pages to our dynamic created blog at the same time.
We are going to create a static about page, which is going to sit on the URL /about.
Adding the About page
Create a about.njk file in the root at the same level as the index.njk and insert the following code:
---
layout: layouts/about.njk
permalink: /about/
---
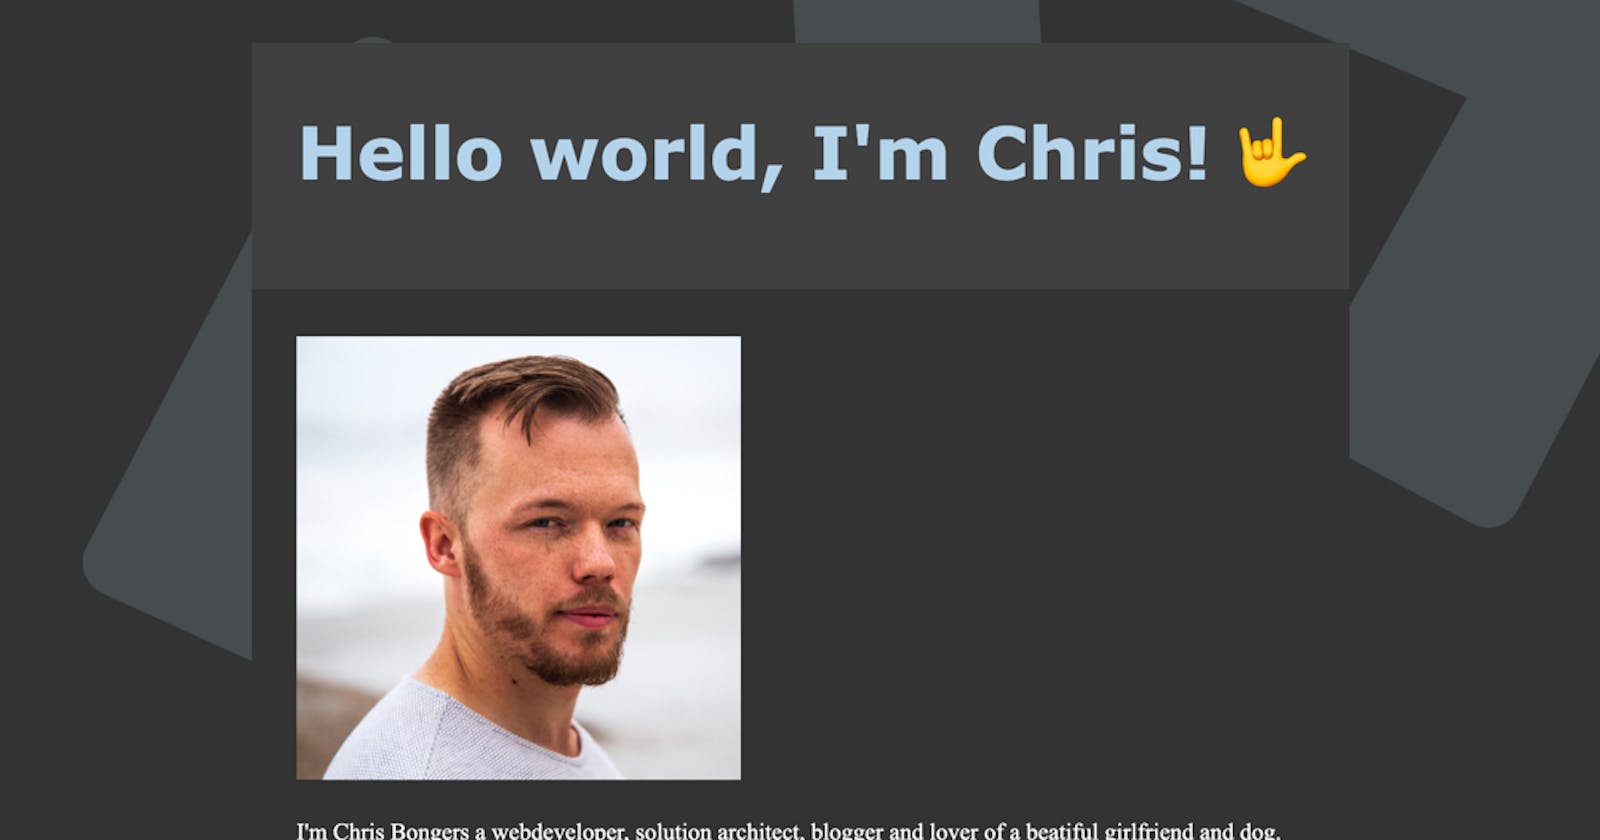
<img src="/img/about.jpg" height="300" />
<h1>Hello world, I'm Chris! 🤟</h1>
<p>
I'm Chris Bongers a webdeveloper, solution architect, blogger and lover of a beatiful
girlfriend and dog.
</p>
<p></p>
<p>
I come from a mixed background being a full stack WordPress developer, a PHP Symfony
developer and just your good old fullstack dev.
</p>
<p>
On the web I just love beatiful things, they must look amazing, be blazing fast and
innovative.
</p>
<p>
I currently live in Cape Town, South Africa 🇿🇦 but my roots are in The Netherlands 🇳🇱.
</p>
<br />
<p>
Feel free to follow me on
<a href="https://twitter.com/DailyDevTips1" target="_blank">Twitter</a>,
<a href="https://www.linkedin.com/in/chrisbongers/" target="_blank">LinkedIn</a> or
<a href="https://www.facebook.com/DailyDevTipsBlog" target="_blank">Facebook</a>
</p>
Here you see we set the layout to a new layout, and add a permalink to /about/ this will actually create a about folder with a index.html inside of it.
Then we add an image and some text.
Images in Eleventy
The image we just added won't work by default. We have to tell Eleventy to put it in our output folder.
We can add a .eleventy file in our root, and let's add the following code in it.
module.exports = function(eleventyConfig) {
  // Copy `img/` to `_site/img`
  eleventyConfig.addPassthroughCopy('img');
};
Here we can change the default Eleventy settings; in this case, we say it must just the addPassthroughCopy function to add the img folder to our output.
That being said, create the img folder in the root of our website and add your profile image in it as we set in the about.njk page!
The About template
---
layout: layouts/base.njk
templateClass: tmpl-about
---

{{ content | safe }}
This layout is the same as our homepage, we could have re-used that one, but I like to keep things separate in case we want to add anything fancy later on.
Testing and Deploying Netlify
As we saw in building a static blog with 11ty we can run the following command to test it locally:
npx eleventy --serve
The open up http://localhost:8080 to see what we got!
To deploy to Netlify we can use our learnings from Hosting on Netlify and push to our git master branch.
You can find this code in the following GitHub repo, or view it online on this link.
Or check out my newly created about page.
Thank you for reading, and let's connect!
Thank you for reading my blog, feel free to subscribe to my email newsletter and connect on Facebook or Twitter