Data Visualizer to upload a text file into Elasticsearch


The File data visualizer feature lets you upload a CSV, JSON, or text file. This feature enables you to ingest, parse, and index your file with a few clicks. It was introduced in elasticsearch version 6.5. The below step-by-step procedure will give you a clear understanding of how to use the File data visualizer.
- The File Data Visualizer feature is found in Kibana under the
Machine Learning > Data Visualizersection. Then click on the"Upload a file"option.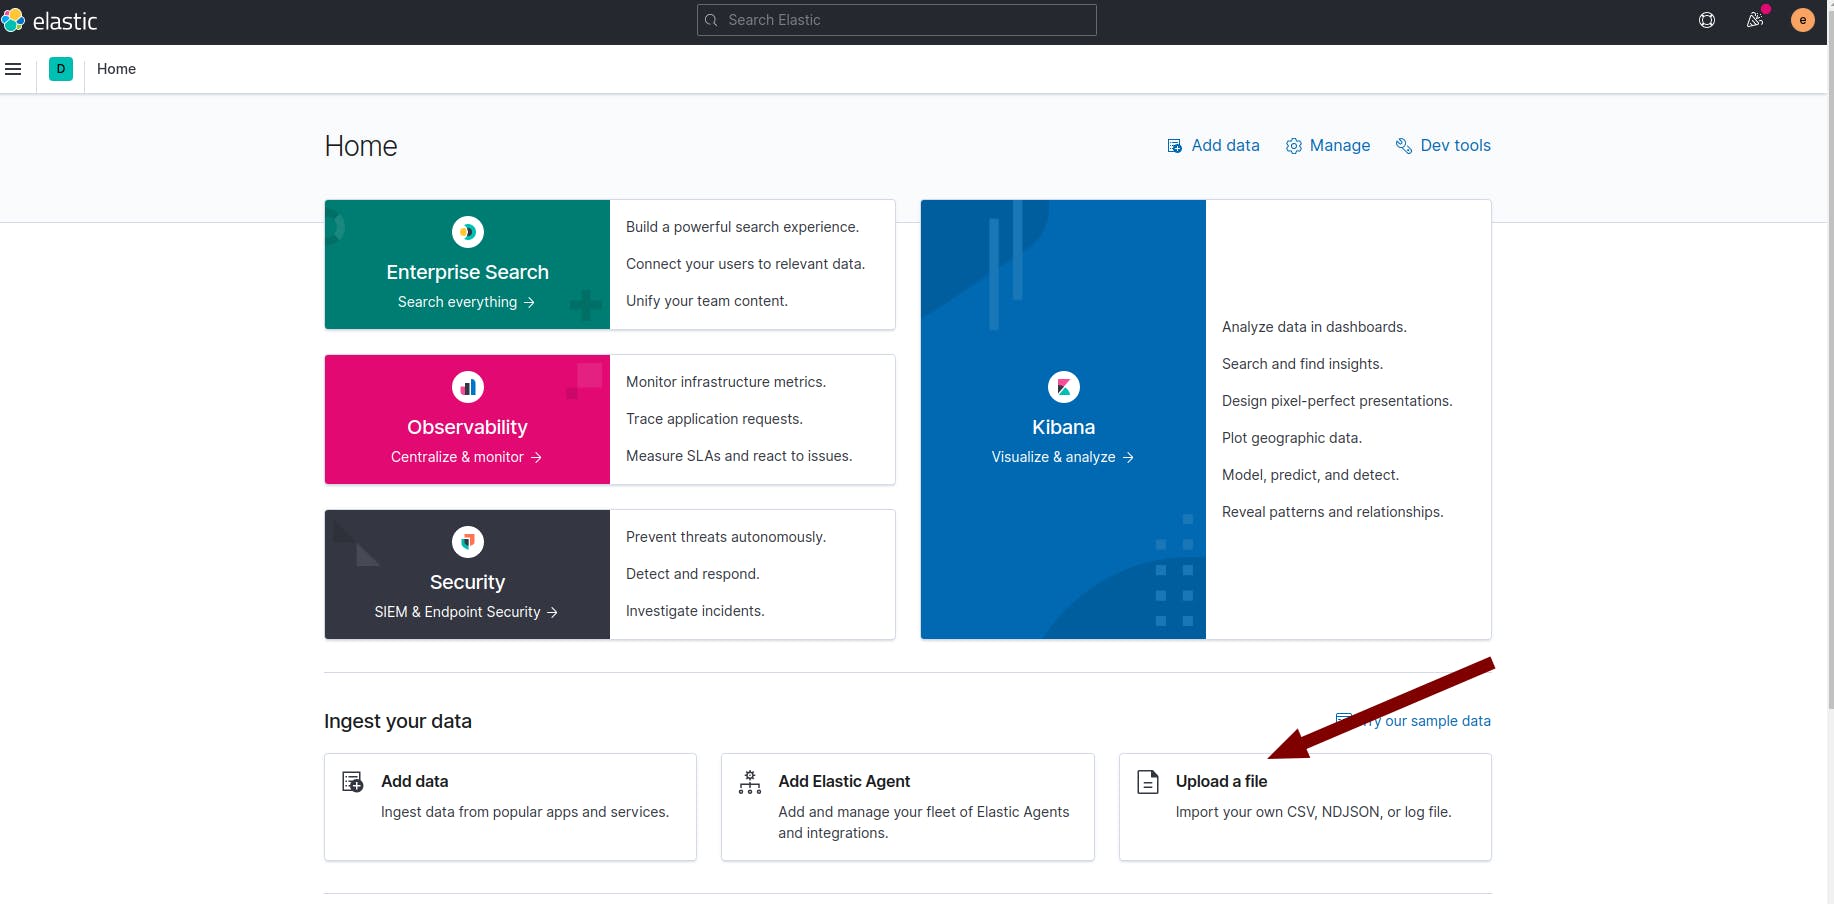
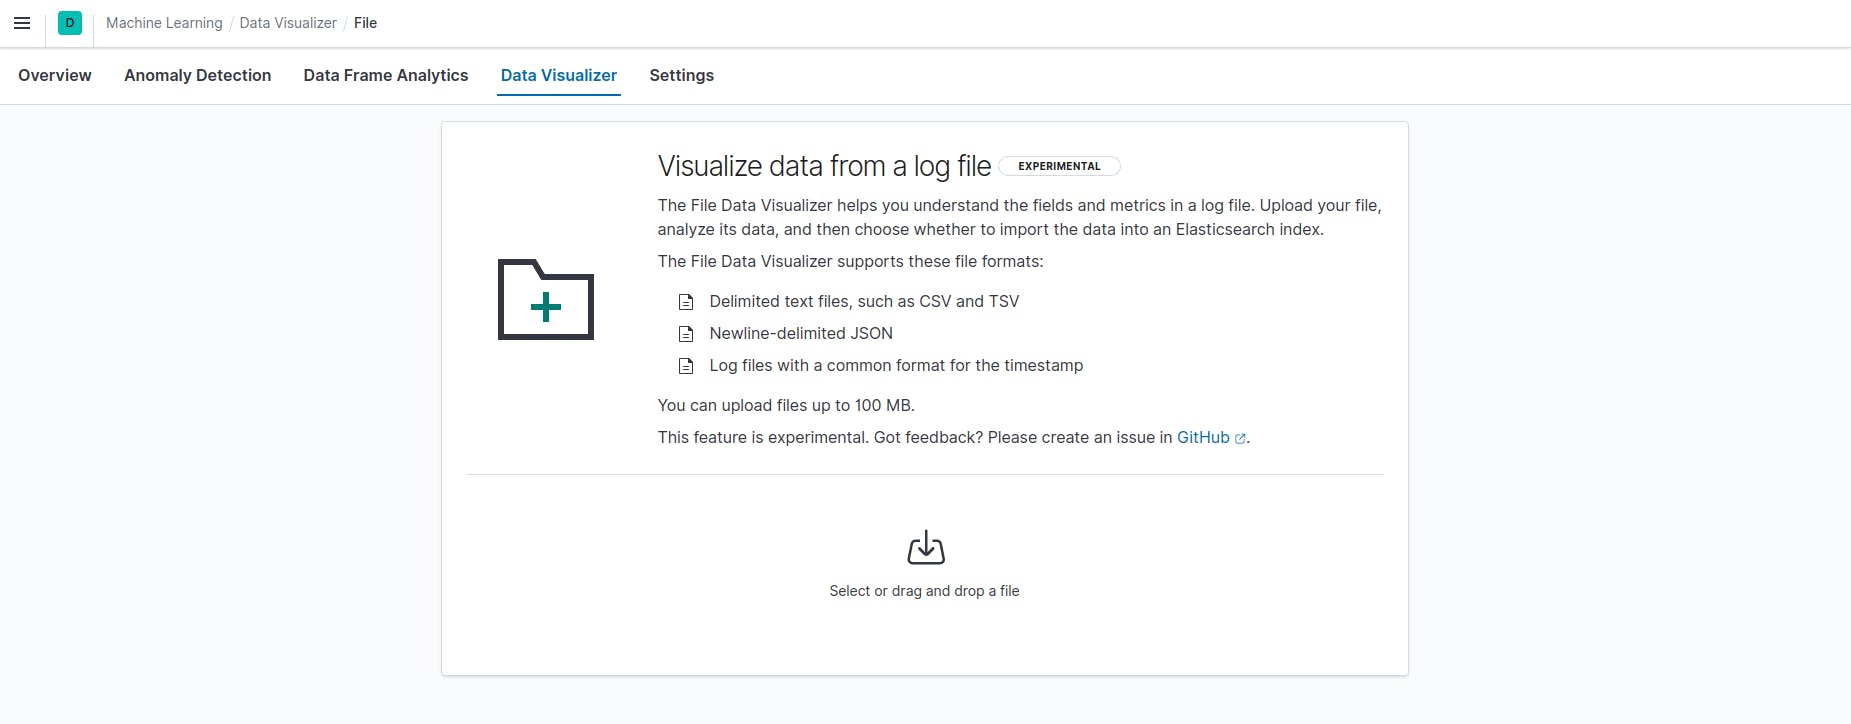
- Navigate to the respective directory, and then select the file which you want to upload.
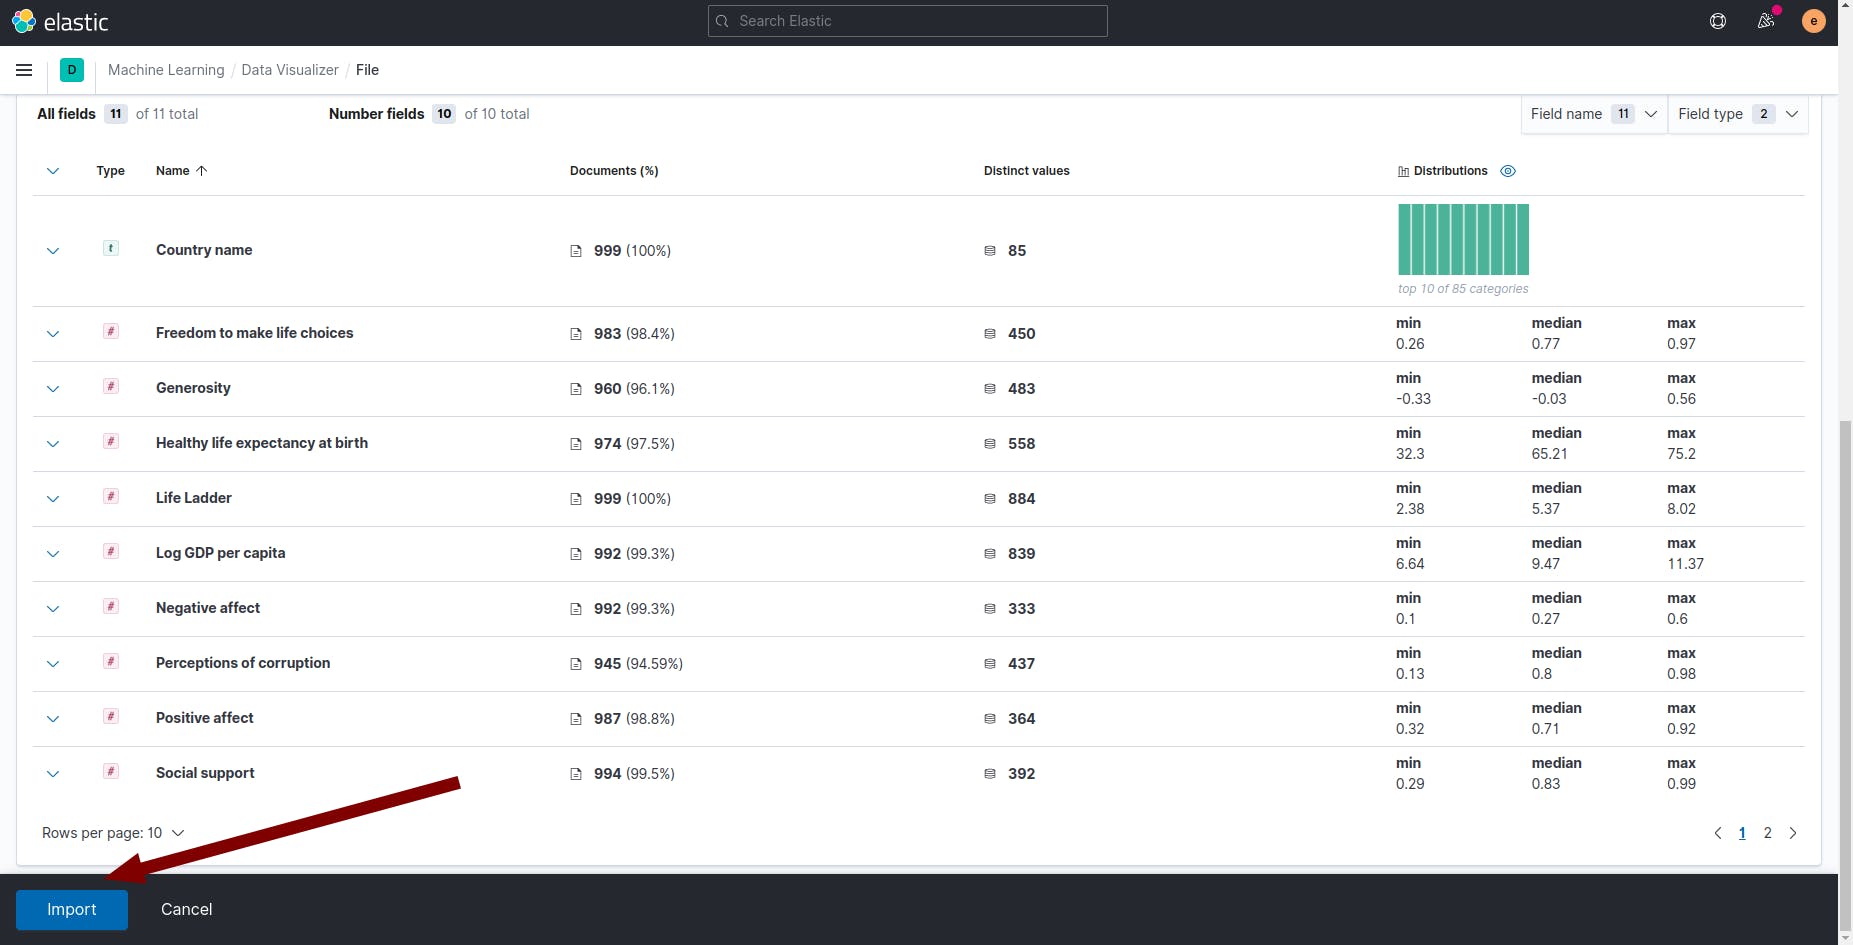
- Once the file is selected, it will give you the file content of the first 1000 lines along with a summary. You can also use the
"Override settings button"to override some of the default settings like column name, field name, data format, etc.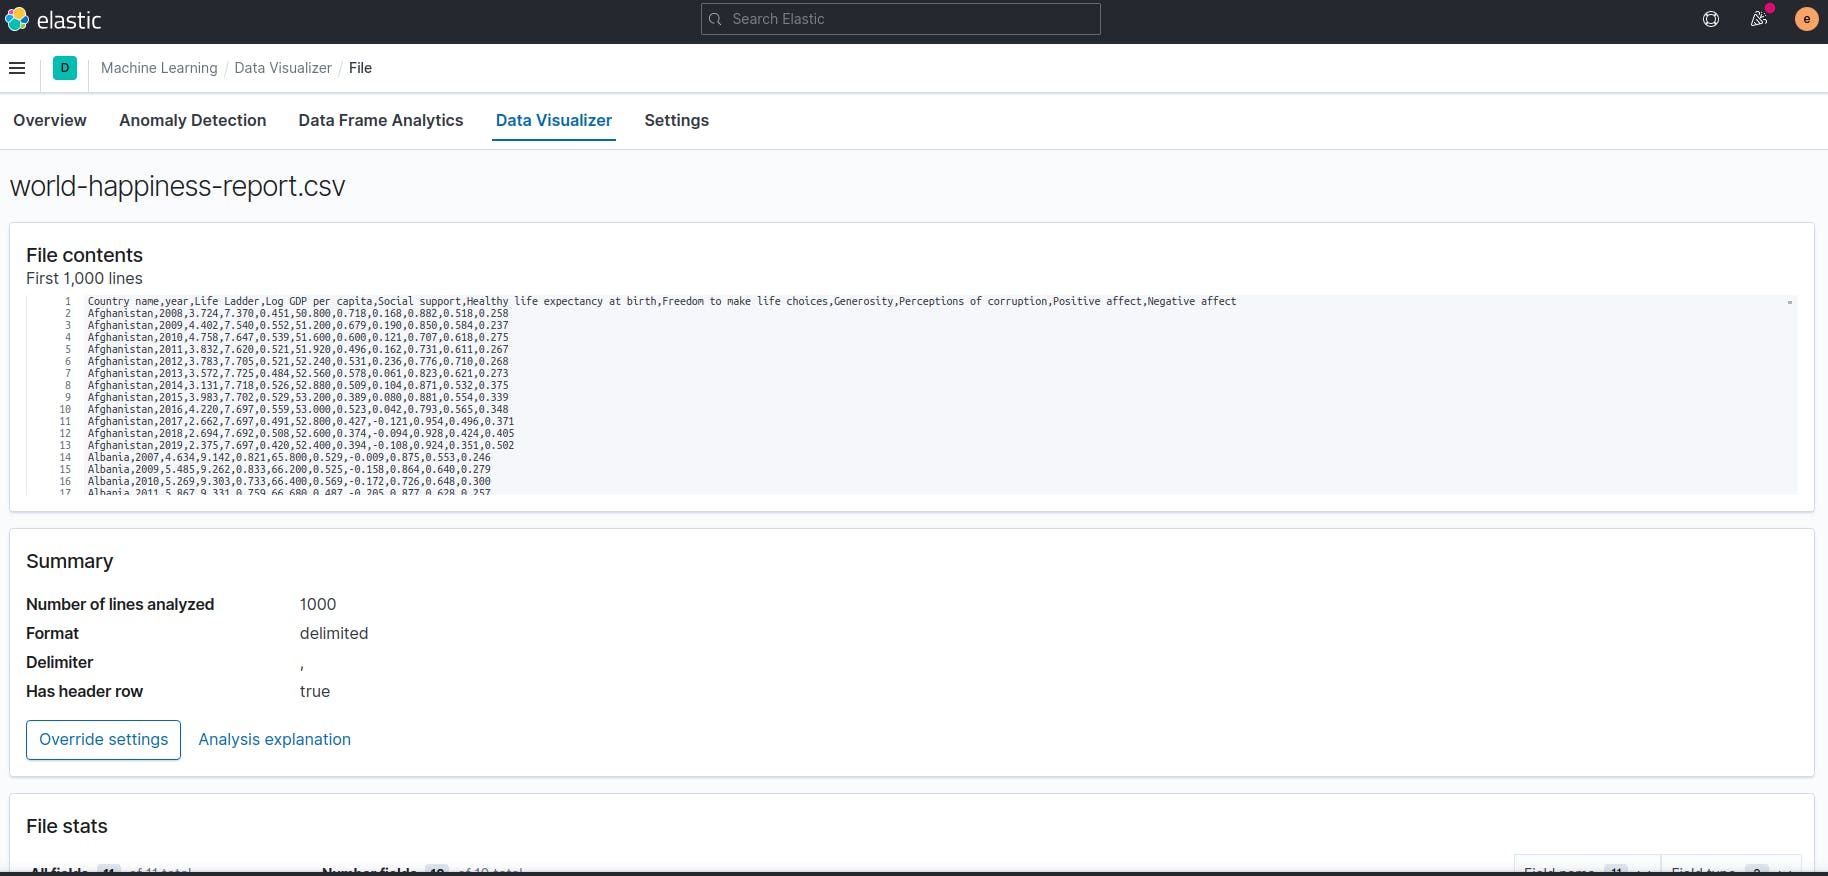
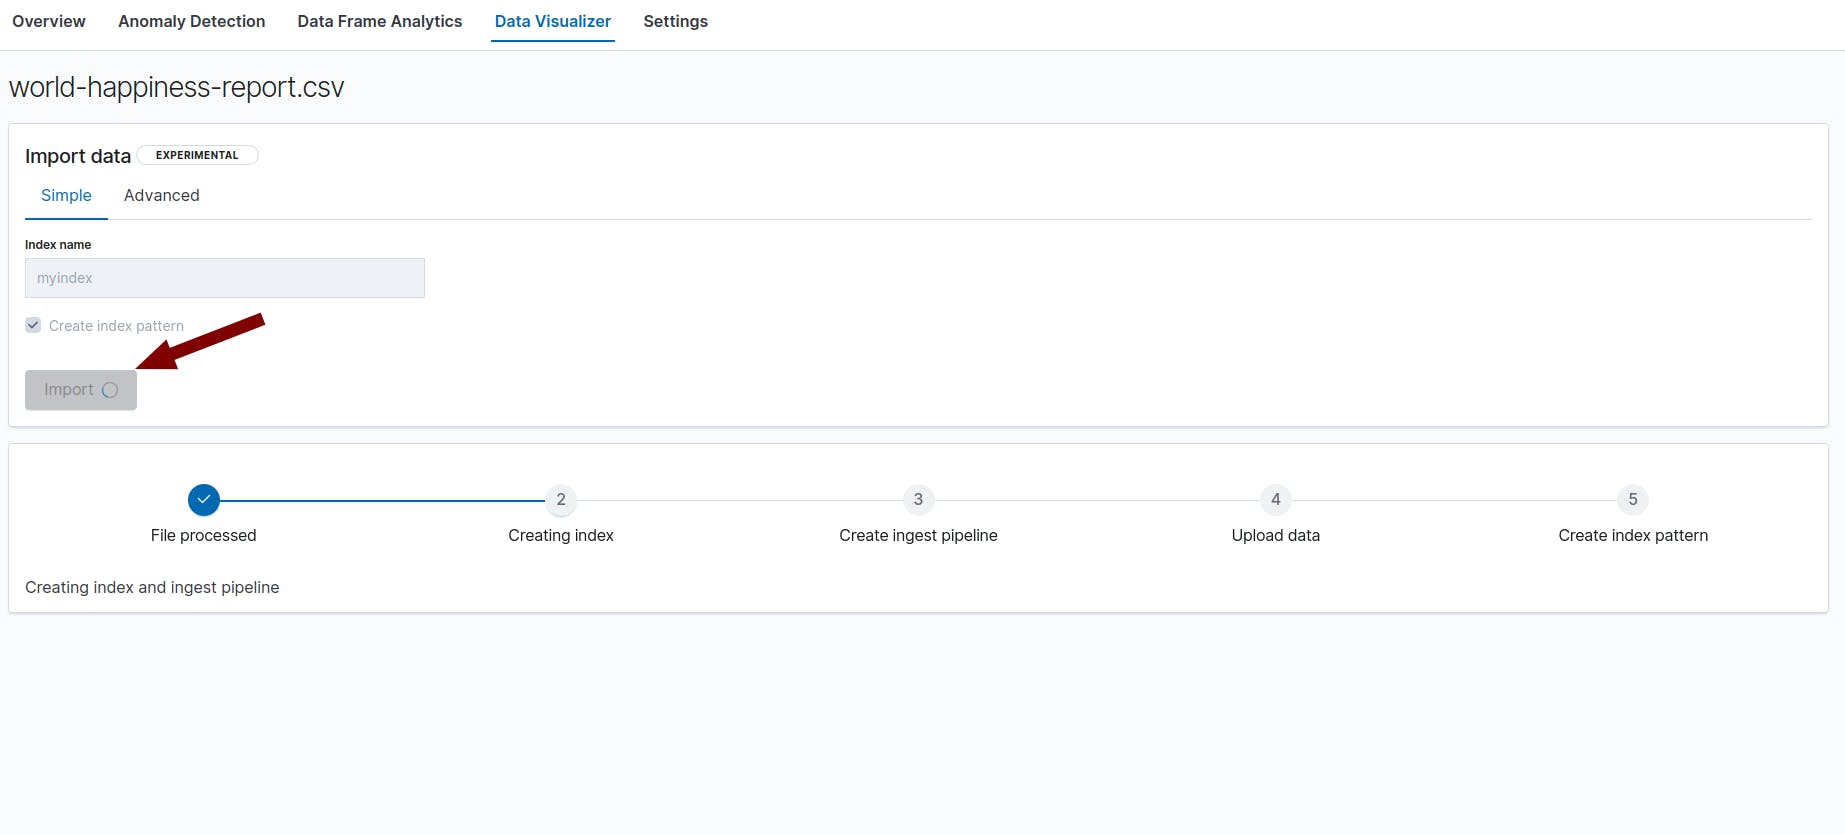
- After making all the required changes, the next step is to import the data
Append a new field in the documents using ingest pipeline
- Follow steps 1-2 again.
- Now, when you are creating a new index there is an
"Advanced"option. Click on that. You will see there are Index settings, mappings, and the ingest pipeline. By default index settings is empty (As no additional settings are set currently), index mapping is the default mapping that is created based on the data that is being indexed, and the ingest pipeline is also the default one.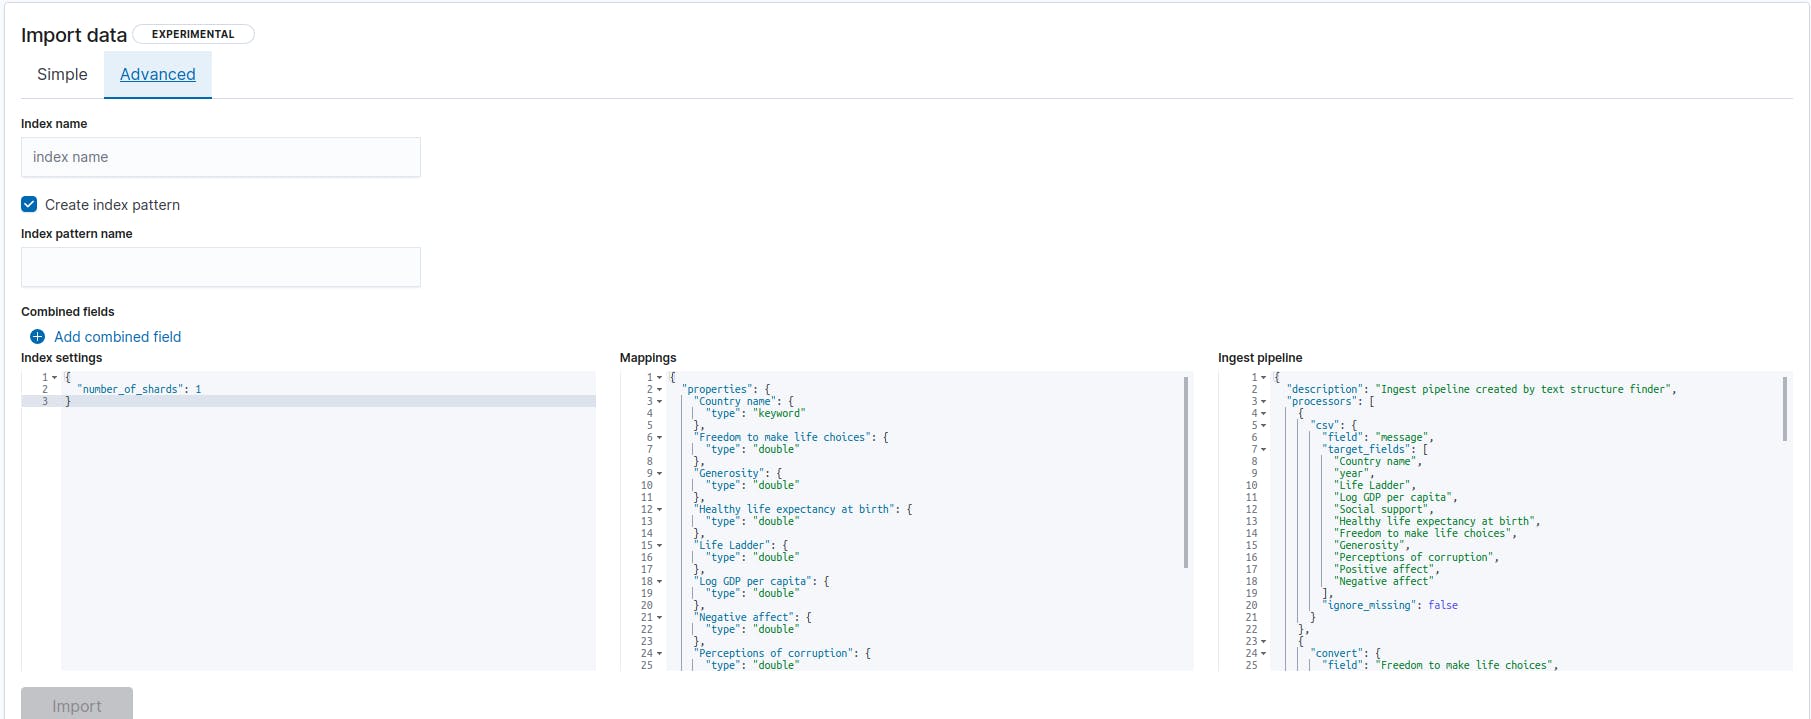
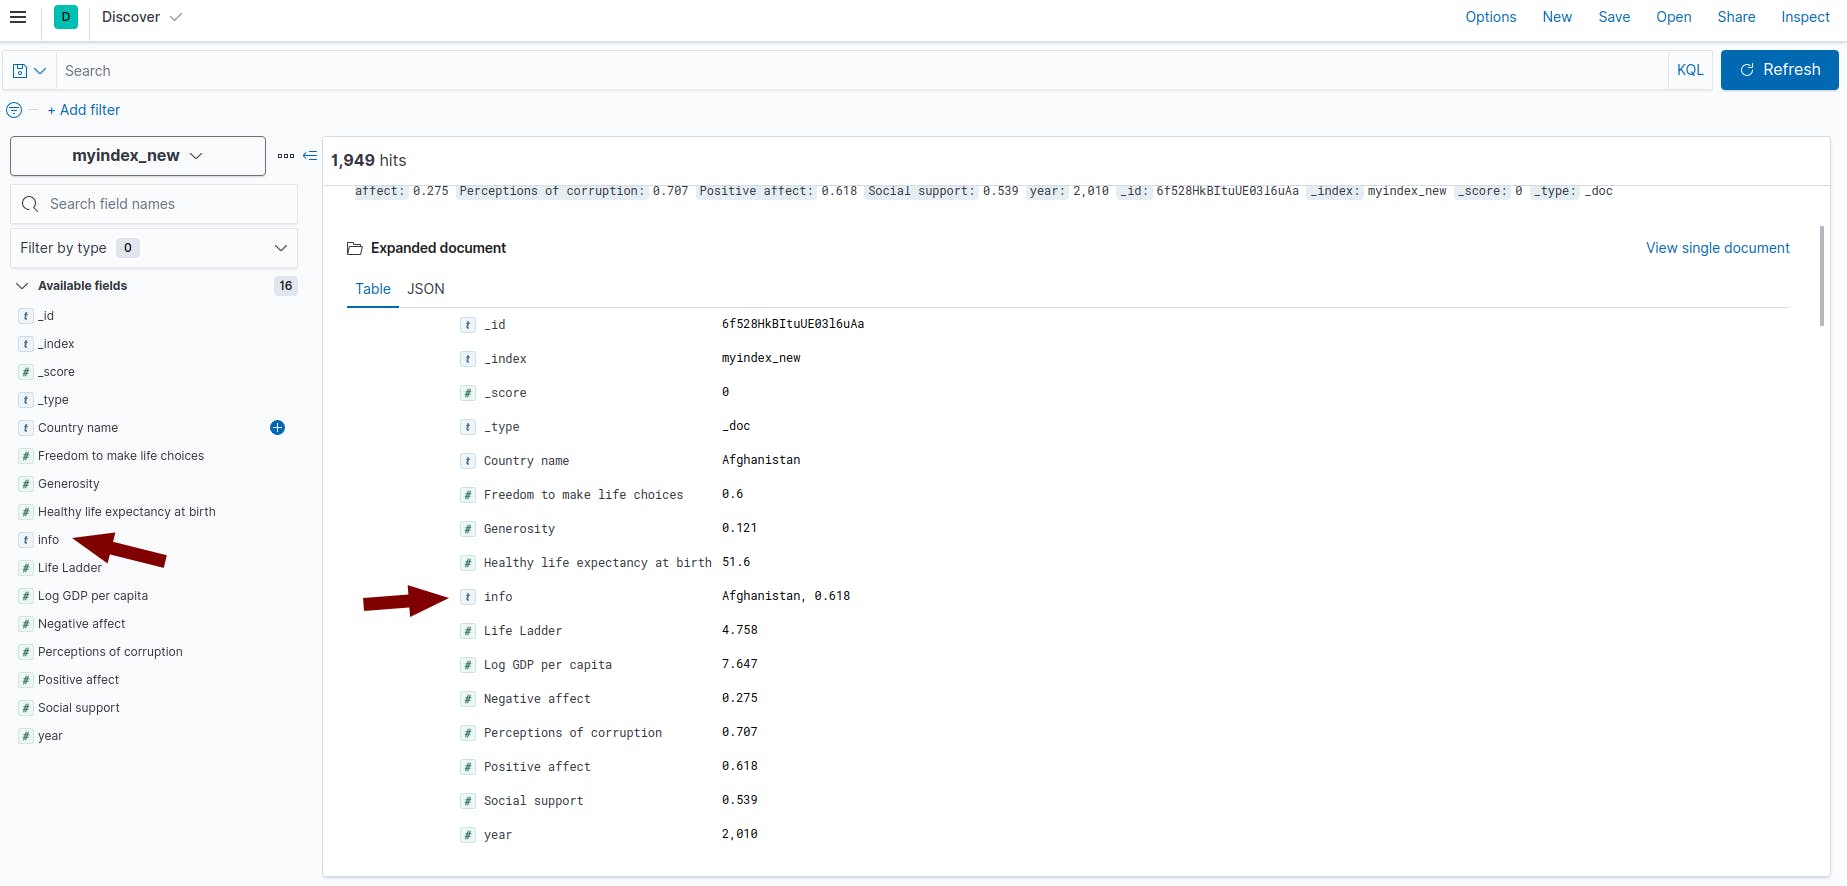
- Main task here is to add a new additional field in the data, let's say the field name is
infowhich will contain the value of both the fieldCountry nameandPositive affect. For this, you need to add this field name in the index mapping and use the append processor in the ingest pipeline to include this field with the correct value in all the documents of this index.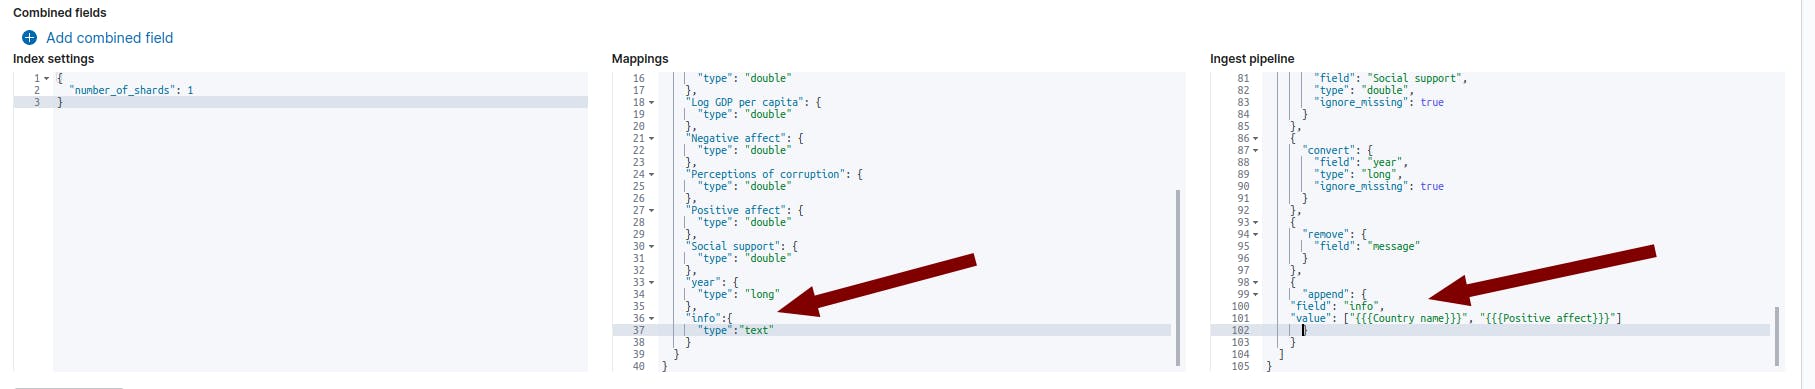
- After all the configuration is done, just click on the import button and click on
"view index in discover"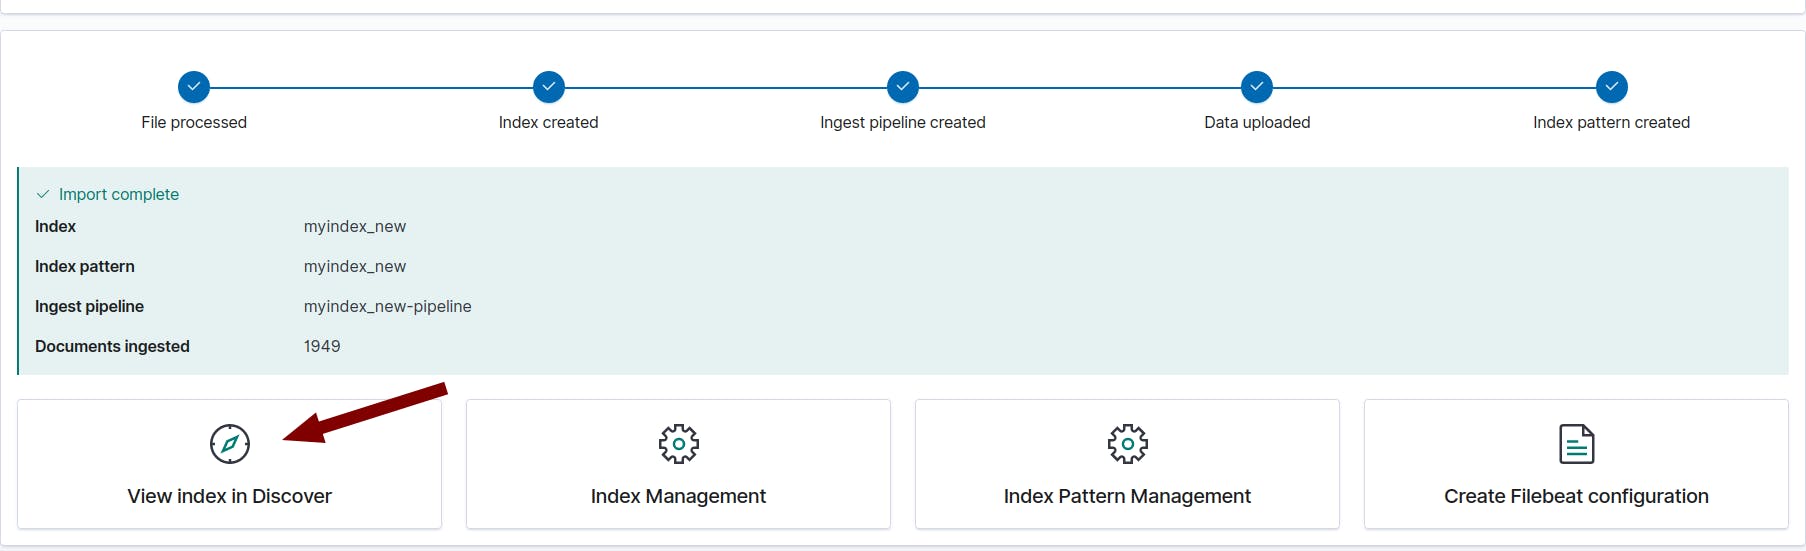
- You can see that the new field value is indexed in each document of the index.