
Djangify
Modern way to convert HTML files / Templates to Django compatible HTML Templates.


The conventional way
we can convert any HTML, CSS, JS, or BootStrap template into a Django compatible template by manually making some changes to it like:
Step 1
Add {% load static %} tags for the JS,CSS,image files that we want to include in the HTML files.
Step 2
we need to change every link to the CSS / JS files in the HTML pages that we need to render in the views.
Example:
<link href=” assets/vendor/bootstrap/css/bootstrap.min.css“ rel=” stylesheet”/>
this needs to be changed to
<link href=” {% static ‘assets/vendor/bootstrap/css/bootstrap.min.css’ %} “ rel=” stylesheet”/>
but this step is very tedious because we need to apply these changes manually to every link in HTML pages. But we can automate this tiresome process with help of the python package djangify which optimizes our work efficiency.
We can better understand with the help of a template and applying this djangify package to convert those HTML files.
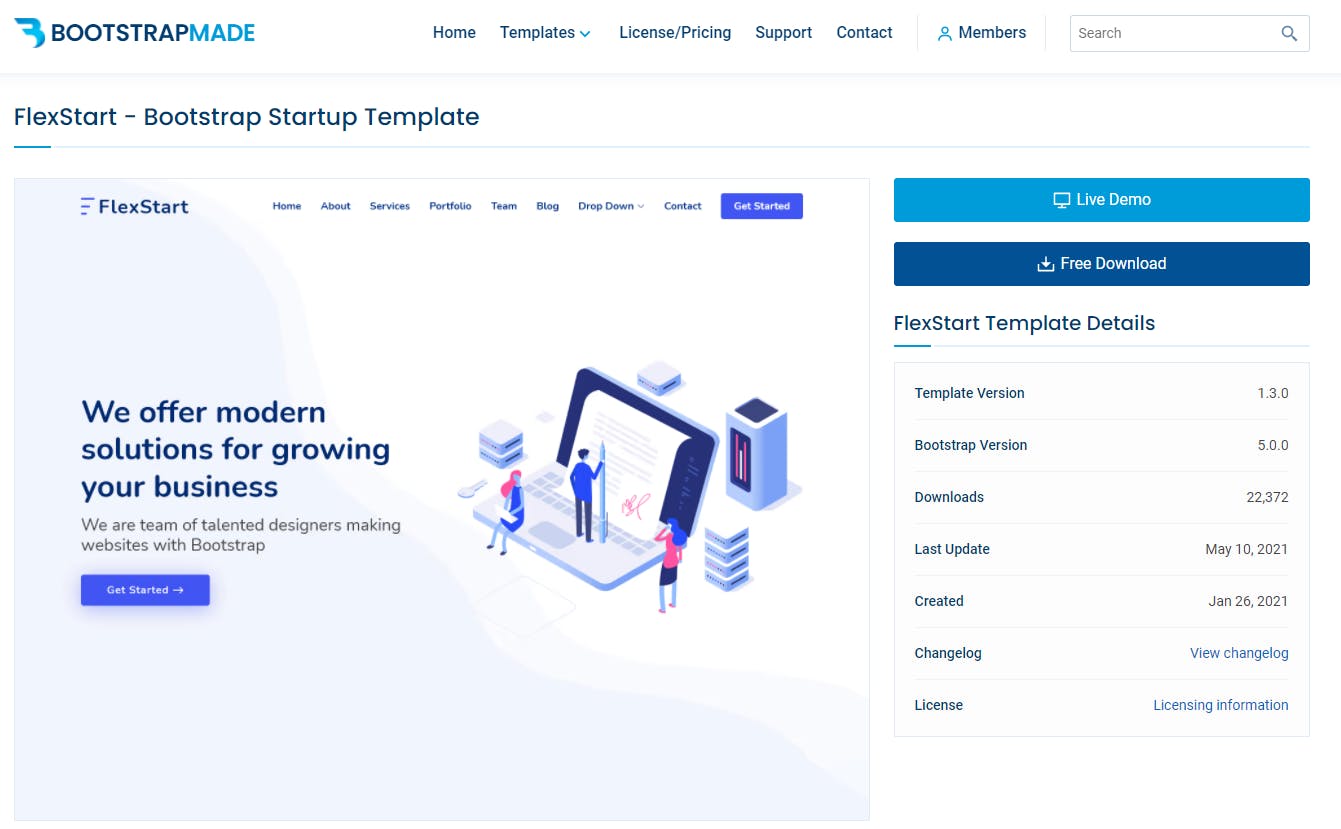 Template From: BOOTSTRAPMADE
Let us create a new Django project and try to load this template into it, below are some steps that we would need to make things work :
Step 1
Create a new Django project by
django-admin startproject djangify_demo
Step 2
cd into the project cd djangify_demo/ and create an app demo:
django-admin startapp demo
Step 3
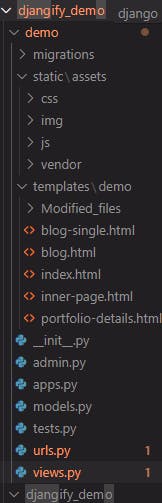
Create a new folder called templates inside the djangify_demo/demo and also a new folder demo inside this template folder and paste all your template files into it.
Now we need to create a folder for static items that we have used in our HTML files. So, create a static folder inside djangify_demo/demo and copy all the static files associated with the project in this case which resides in the assets folder and we directly move the assets folder into djangify_demo/demo/static/ directory.
The file structure will look like this:
Step 4
Now here comes the magic that will automate our tiresome boring task of changing every link in HTML pages that we need to render in the views.
We need to install a python package named djangify by Ohuru using the following command: pip install djangify
After installing the package just run the following command from your shell inside djangify_demo directory: djangify -d demo/templates/demo
And surprise the magic is done we successfully converted all HTML templates into Django compatible templates.
We can see that this will create a folder “Modified_files” in which our HTML pages with every CSS, JS reference link converted to the Django compatible reference, By replacing those files from demo/templates/demo/ with the same-named files in demo/templates/demo/Modified_files/.
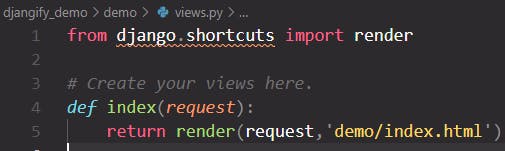
we can simply use those modified files by directly setting the rendering path in views.py as “demo/Modified_files/index.html” or by replacing those files with files from demo/templates/demo/.
we can simply use those modified files by directly setting the rendering path in views.py as “demo/Modified_files/index.html” or by replacing those files with files from demo/templates/demo/.
Example:
<link href=” assets/vendor/bootstrap/css/bootstrap.min.css“ rel=” stylesheet”/>
this changed to
<link href=” {% static ‘assets/vendor/bootstrap/css/bootstrap.min.css’ %} “ rel=” stylesheet”/>
Step 5
We need to manually include the line {% load static %} at the top of the HTML page in order to use the static tag.
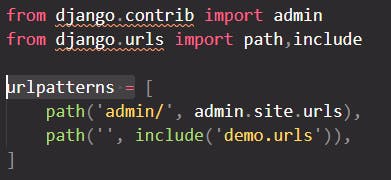
We also need to include the app in the settings.py file by adding ‘demo.apps.DemoConfig’ in the INSTALLED_APPS list and redirect default URLs to demo/urls.py files we can handle the rendering of our HTML template in demo/urls.py
Step 6
Now, we create a function in views.py that will render our HTML template.
We also need to set URL route for our template so make changes in demo/urls.py

Step 7
Migrating the changes and running the server:
python manage.py migrate
python manage.py runserver
After performing the above step we can see that our HTML page template loads perfectly: