
Post hidden from Hashnode
Posts can be hidden from Hashnode network for various reasons. Contact the moderators for more details.

How to Make a Phone Call in Go Using Plivo’s Voice API


Your company has settled on Plivo to handle its voice and messaging communications, and now it’s your job to start integrating Plivo into your company’s applications. Don’t worry — Plivo has an SDK to help you out. Let’s see how to make outbound calls and handle incoming calls through Plivo in a Go application.
Install the Plivo SDK
We’ll presume you already have your Go environment set up. Change to the directory into which you want to install the Plivo Go SDK and run
$ go get github.com/plivo/plivo-go
or you can clone our GitHub repository into your GOPATH.
Find your Auth ID and Auth Token
You have to have proper credentials before you can use the Plivo API. We provide an Auth ID and Auth Token in the Account section at the top of your Plivo Console.

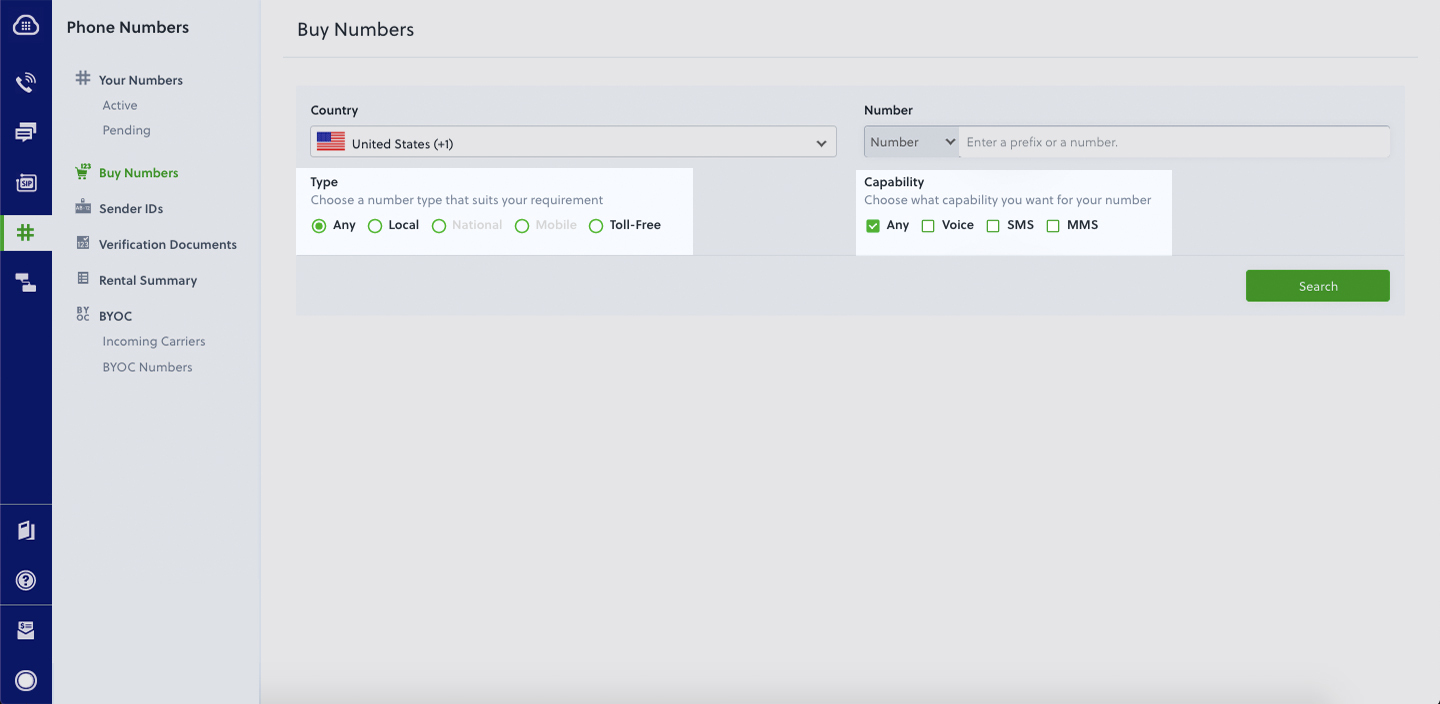
Choose a phone number
You need a voice-enabled Plivo phone number if you want to receive incoming calls. Check the Numbers screen of your Plivo console to see what numbers you have available. You can also buy numbers from this screen.
Use PHLO to set up an outbound call
Now you can turn to PHLO, Plivo’s visual workflow design studio, to set up the workflow for an outbound call. Click on the PHLO icon on the left-side navigation bar, then on the Create New PHLO button. In the window that pops up, click Build My Own.
Let’s start with a very simple workflow. From the list of components on the left side, drag and drop the Initiate Call component onto the canvas, then connect the Start node to the Initiate Call node using the API Request trigger state.
Now you can add configuration information for the call in the right pane. Valid phone numbers begin with a plus sign and a country code. Add a caller ID number in the From field and a destination number in the To field, then click Validate to save the configuration.
PHLO lets you use variables for From and To values, but we’re keeping it simple for this example.
Now drag the Play Audio component onto the canvas. Connect the Initiate Call node to Play Audio using the Answered trigger state. In the Configuration panel, enter the text you want to play for the call recipient, then click Validate.
That’s all we’re going to do for now — we told you it was simple. Give the PHLO a name by clicking on the pencil icon in the upper left, then click the Save button in the upper right.
Run the PHLO to make a call
Now you can trigger the PHLO and test it out. Copy the PHLO ID from the end of the URL of the workflow you just created. You’re also going to need your Auth ID and Auth Token. Create a Go source code file — let’s call it TriggerPhlo.go — and paste this code into it:
package main

import (
    "fmt"
    "plivo-go"
)
// Initialize the following params with corresponding values to trigger resources
const authId = "auth_id"
const authToken = "auth_token"
const phloId = "phlo_id"

func main() {
    testPhloRunWithoutParams()
}

func testPhloRunWithoutParams() {
    phloClient, err := plivo.NewPhloClient(authId, authToken, &plivo.ClientOptions{})
    if err != nil {
        panic(err)
    }
    phloGet, err := phloClient.Phlos.Get(phloId)
    if err != nil {
        panic(err)
    }
    response, err := phloGet.Run(nil)
    if err != nil {
        panic(err)
    }
    fmt.Printf("Response: %#v\n", response)
}
Swap in the actual values for the variables. Save the file and run it with the command
$ go run TriggerPhlo.go
Boom — you’ve made an outbound call.
Set up inbound calls
Of course, outbound calls are only half of the equation. Plivo supports inbound calls as well. To see how, let’s create another PHLO and again specify Build My Own. This time, drag the Play Audio component onto the canvas and connect the Start node to it using the Incoming Call trigger state. In the Configuration panel, enter some text to speak to the caller when the call is answered, then click Validate to save the configuration. Give this PHLO a name, then click Save.
Before you can receive a call using this PHLO, you have to assign it to a Plivo number. Go back to the Plivo console and click on Phone Numbers on the left navbar. From the list of Your Numbers, click on the number you want to use. On the next screen, from the Application Type dropdown, choose PHLO. From the PHLO Name dropdown, choose the PHLO you just created. Then click Update Number at the bottom of the screen.
Guess what? You’re done! You don’t have to run a program for this PHLO to work. Just call the Plivo number you specified and you should hear the message you configured read by Plivo’s text-to-speech processor.
Conclusion
And that’s all there is to sending and receiving voice calls using Plivo’s Go SDK. Don’t use Ruby? Don’t worry — we have SDKs for PHP, Java, Node.js, Python, .NET Core, .NET Framework, and Ruby.