


Weather app is one of the easiest projects to have in one's portfolio, and also its good for beginner to learn some basic vanilla JS concepts while making the real stuff. We are making a weather app that gets the weather conditions with location on, and doing the manual search. So let's get started.
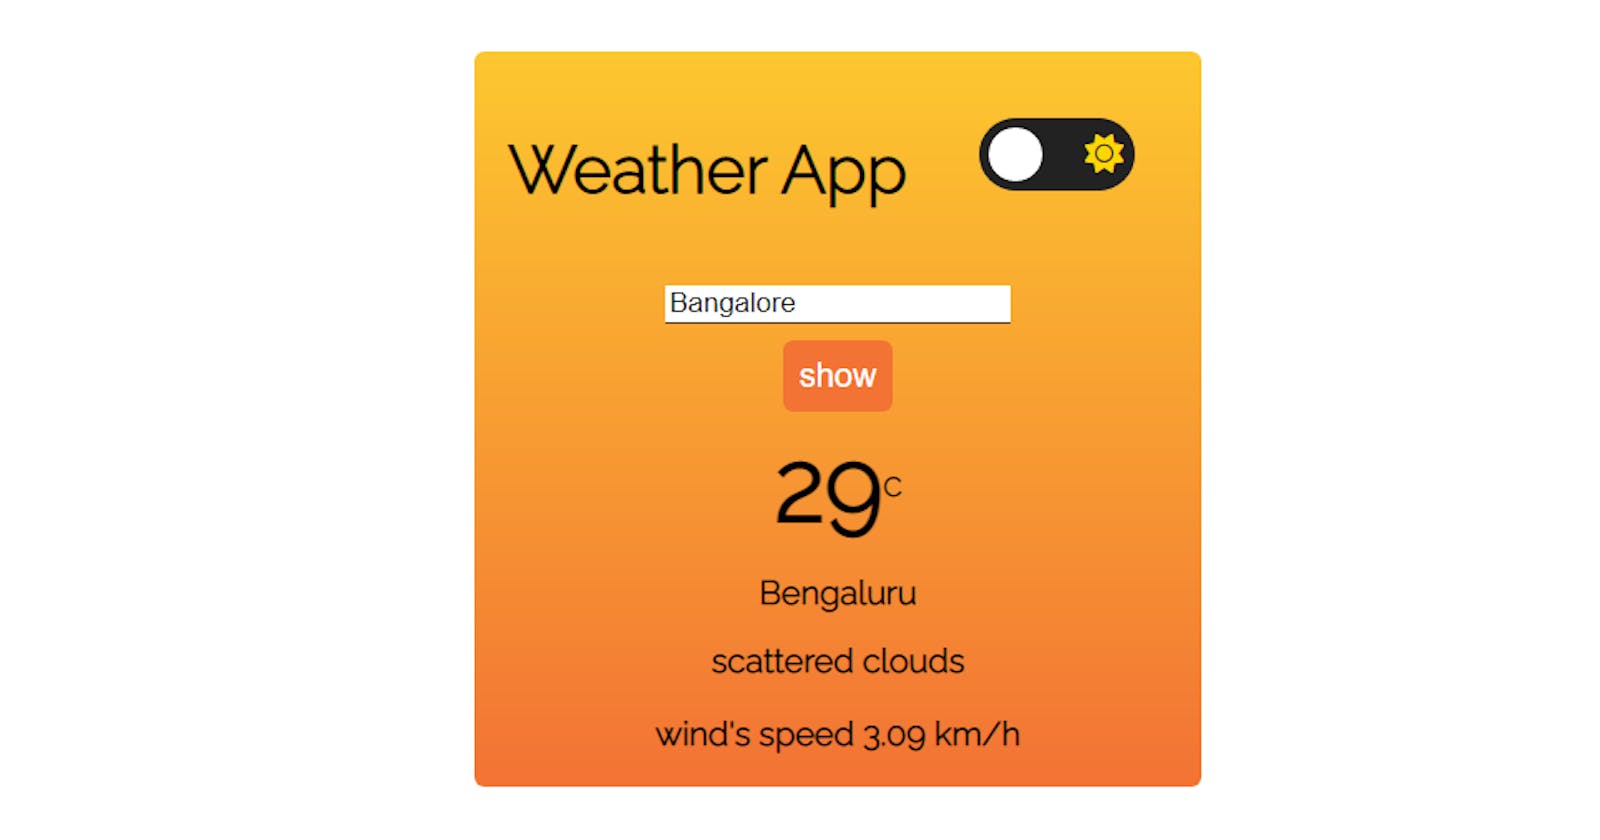
In this weather, we will get the temperature in celsius, weather conditions, and wind speed.
In HTML part,
<div class='app'>
        <div class="heading">
            <h1>Weather App</h1>
            <div id="switch-container">
                <input type="checkbox" id="switch">
                <label for="switch">
                    <i class="fas fa-moon"></i>
                    <i class="fas fa-sun"></i>
                    <span class="ball"></span>
                </label>
            </div>
        </div>
        <input type="text" id="city-name" placeholder="enter the city">
        <button class="check-btn" type="submit">show</button>
        <div id="output"></div>
    </div>
This has a div i.e. switch container that toggles between normal and the dark mode. If you want to learn about how dark mode is made, you can check out the link. The main motive of this blog is to understand the logic part i.e. vanilla js, not even styling. You can do styling on your own.
Now let's move on vanilla js part,
var city = document.querySelector("#city-name");
var btnSearch = document.querySelector(".check-btn");
var output = document.querySelector("#output");
Those are references I stored in the variables. Now we need an API and API key for our weather app. we can get these from openweathermap.org.
we need to sign up and get an API key.
var apikey = "ed314dda4cb8d8cc10a08799a0560276";
In this blog, we have two API, one on which when the browser gets loaded, the app do fetch call and gets the data from the current location and second on the manual search of any city from the world. For this, I wrote the common function. See the code snippet.
function fetchAPI(api) {
  return fetch(api)
    .then((response) => response.json())
    .then((data) => {
      const tempInKelvin = data.main.temp_max;
      const tempInCelsius = (tempInKelvin - 273.15).toFixed(0);
      output.innerHTML = `<h1 id='temp-degree'>${tempInCelsius}
                                           <span id='temp-c'>C</span>
                                           </h1>
                                           <h2 id='temp-city'>${data.name}</h2>
                                           <h2 id='city-condn'>
                                           ${data.weather[0].description}</h2>
                                           <p id='wind-speed' >wind's speed
                                           ${data.wind.speed}
                                            km/h</p>`;
                                          });
                                       }
Here lat and long are latitude and longitude, those are coords. navigator.geolocation is the user's device location.
window.addEventListener("load", function () {
  let lat, long;
  if (navigator.geolocation) {
    navigator.geolocation.getCurrentPosition(function (position) {
      lat = position.coords.latitude;
      long = position.coords.longitude;
      var api =
        "api.openweathermap.org/data/2.5/weather?lat=" +
        lat +
        "&lon=" +
        long +
        "&appid=" +
        apikey;
      fetchAPI(api);
    });
  }
});
In the second API, we need the city name, the rest are the same and we are invoking our fetchAPI function passing different API as an argument.
btnSearch.addEventListener("click", function () {
  var api =
    "api.openweathermap.org/data/2.5/weather?q=" +
    city.value +
    "&appid=" +
    apikey;
  fetchAPI(api);
});
yay! we made it. cheers! That's it! Hope you understand this blog well. You can check the live demo