Using DOM Manipulation while building an RGB generator.


Introduction:
Hello World! Hard coding everything in HTML directly can be cool but what if we can change an element based off of a user's action? This allows a more interactive experience and can add many functionalities to a website or an app. Today I will give you some insight on what DOM manipulation is and what it can do while building a RGB generator! Let’s get started!
What is The DOM?
"The Document Object Model (DOM) is a platform and language-neutral interface that allows programs and scripts to dynamically access and update the content, structure, and style of a document. " - W3Schools.
Step 1: Project Set Up
In this step, I will briefly show you how to set up HTML, CSS, and JavaScript that way you can be ready to start your project.
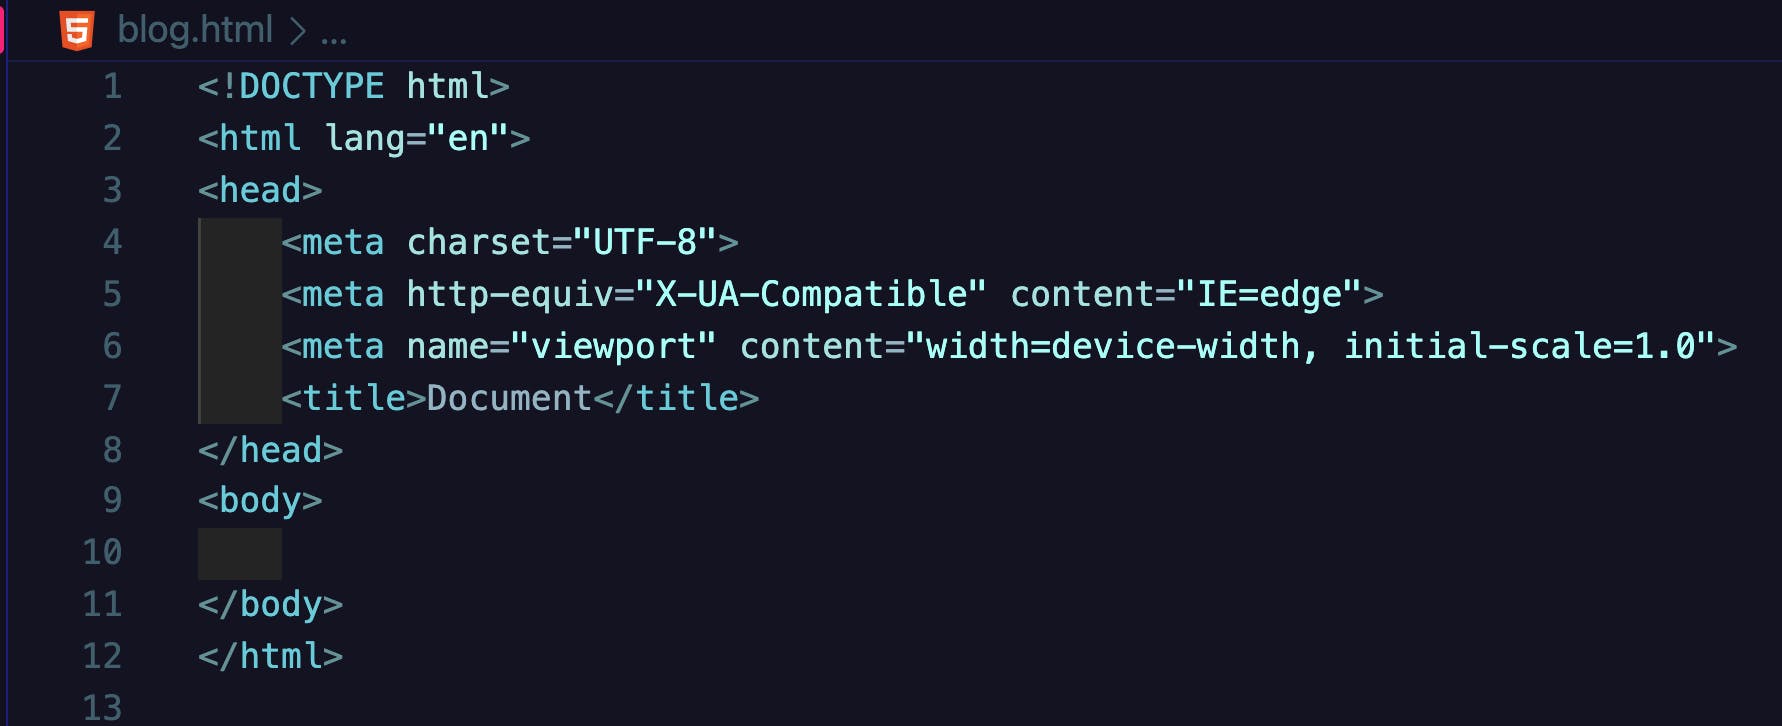 These tags are important basics to setting up your HTML page.
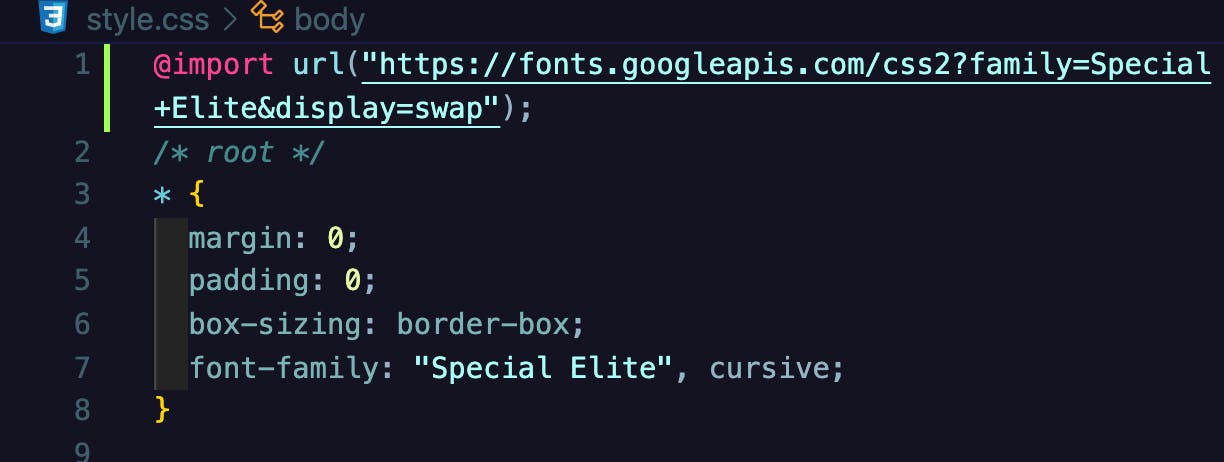
Next, we are going to work with our CSS page I won't get too deep into how I styled my web page since that is a topic on its own, if interested I included a "bonus step" at the end of this blog . As good practice, using the universal selector we will want to reset our margin and padding first and foremost. Secondly, we will use a property called border-box and set it to box-sizing. For further explanation on why this is a good practice, check this link out.

Afterwards, we are going to choose a font-family for our generator, I went with Special Elite because I think it looks enjoyable for this project. There are thousands of fonts out there you can choose from, take a look here.
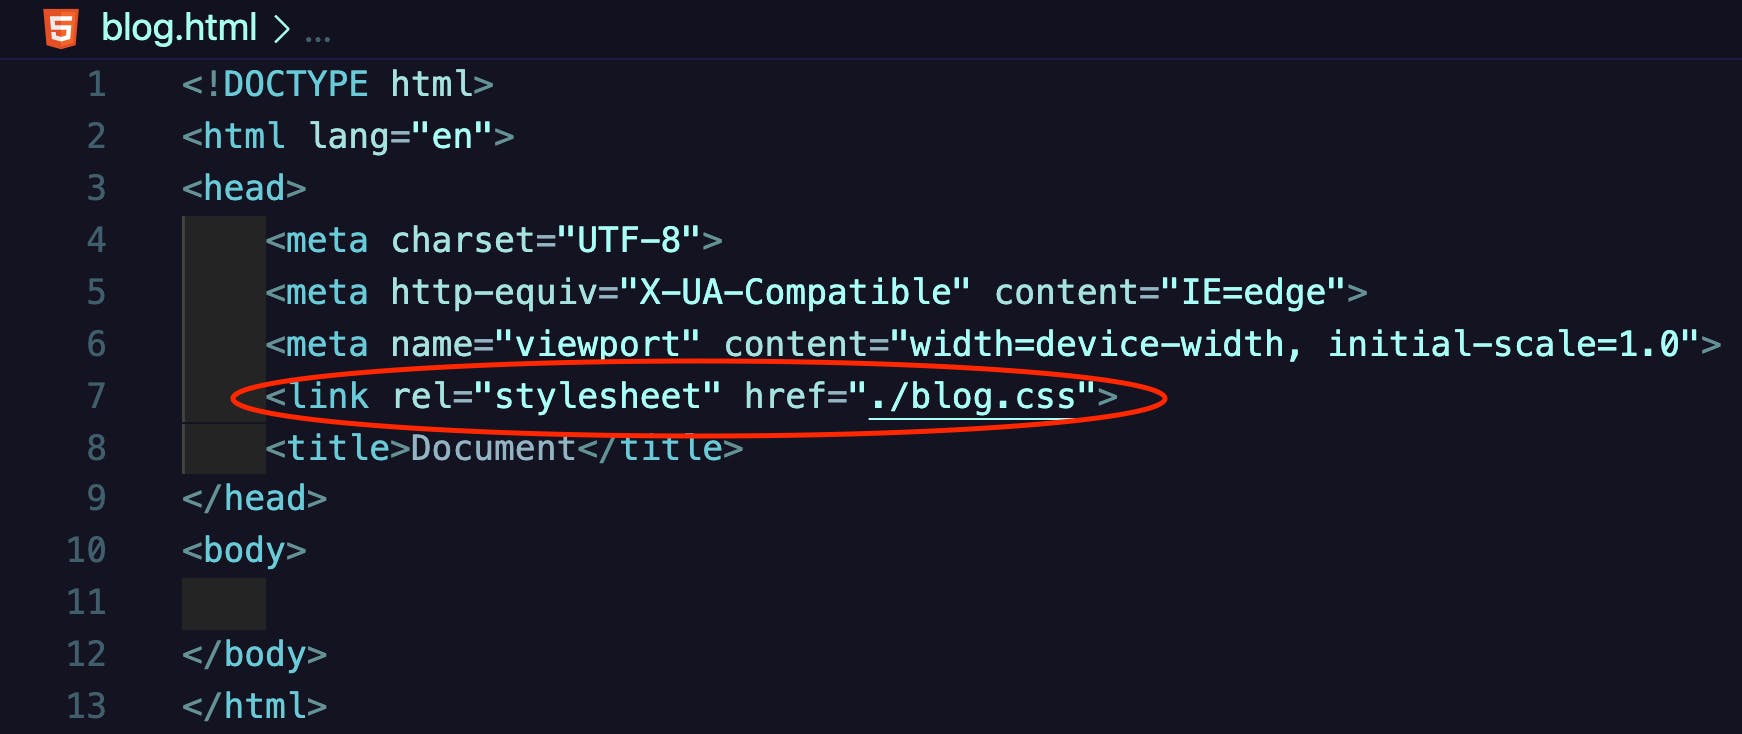
Finally, we are going to link our CSS to our HTML page. It's pretty simple, there are three ways this can be done, I went with linking it externally for my simplicity. You can read up on all three methods here.
The Last step for our project setup is straight forward. We will have to link a JavaScript file to our HTML as well. There can be two methods to link a JavaScript files to a HTML page. Again, I went with the external route for my simplicity. You can read up more on the different methods here
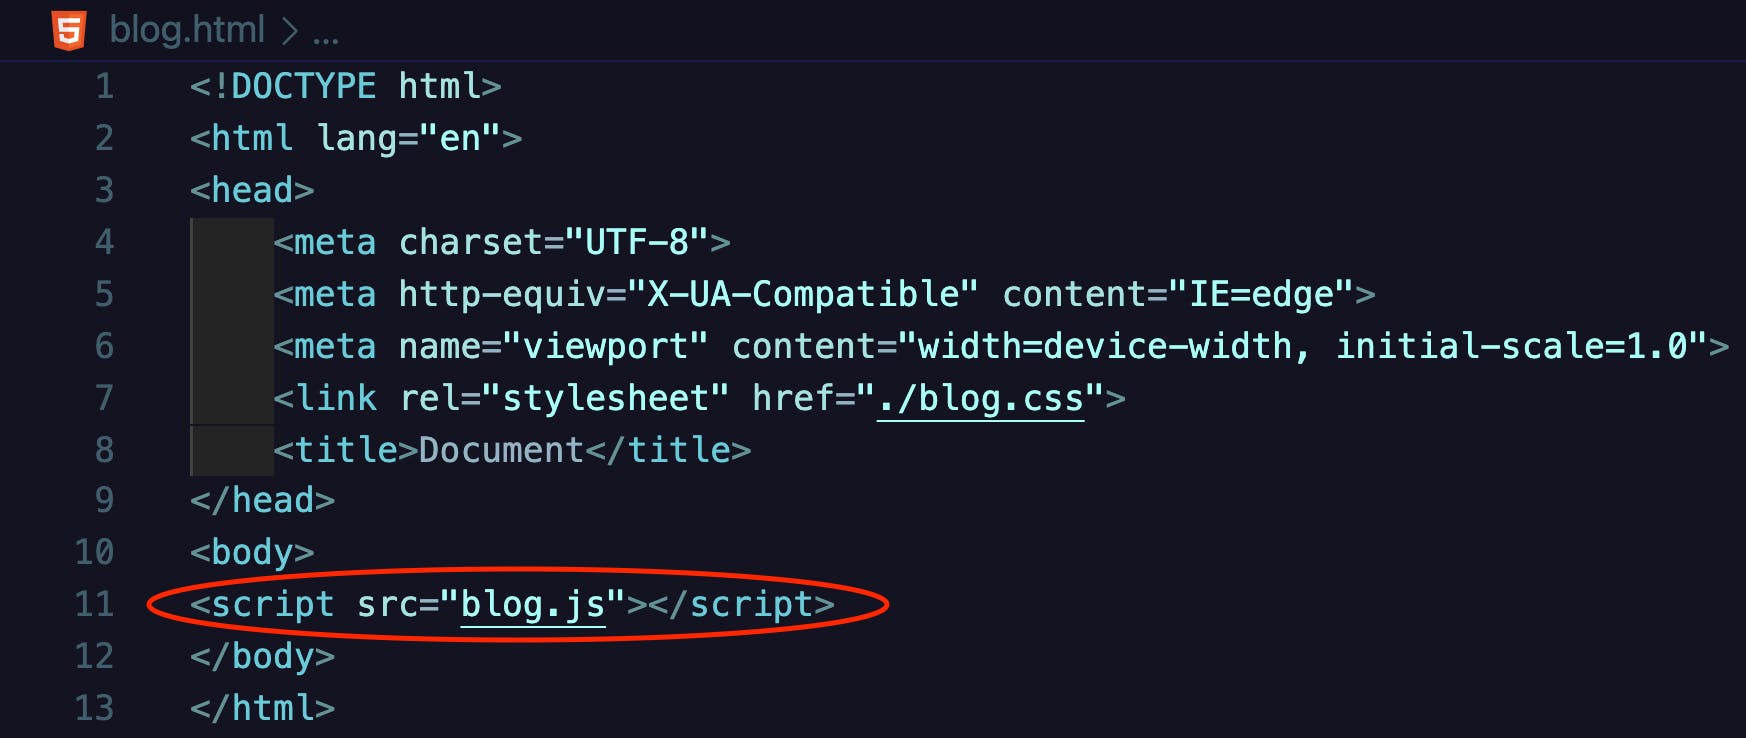
At this point, you should have three files. One for your HTML, one for your CSS, and one for your JavaScript all connected through your HTML page.
Step 2: HTML Elements
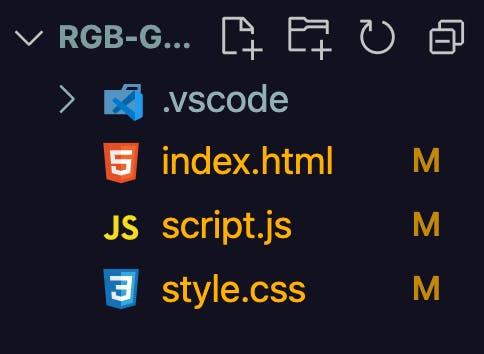
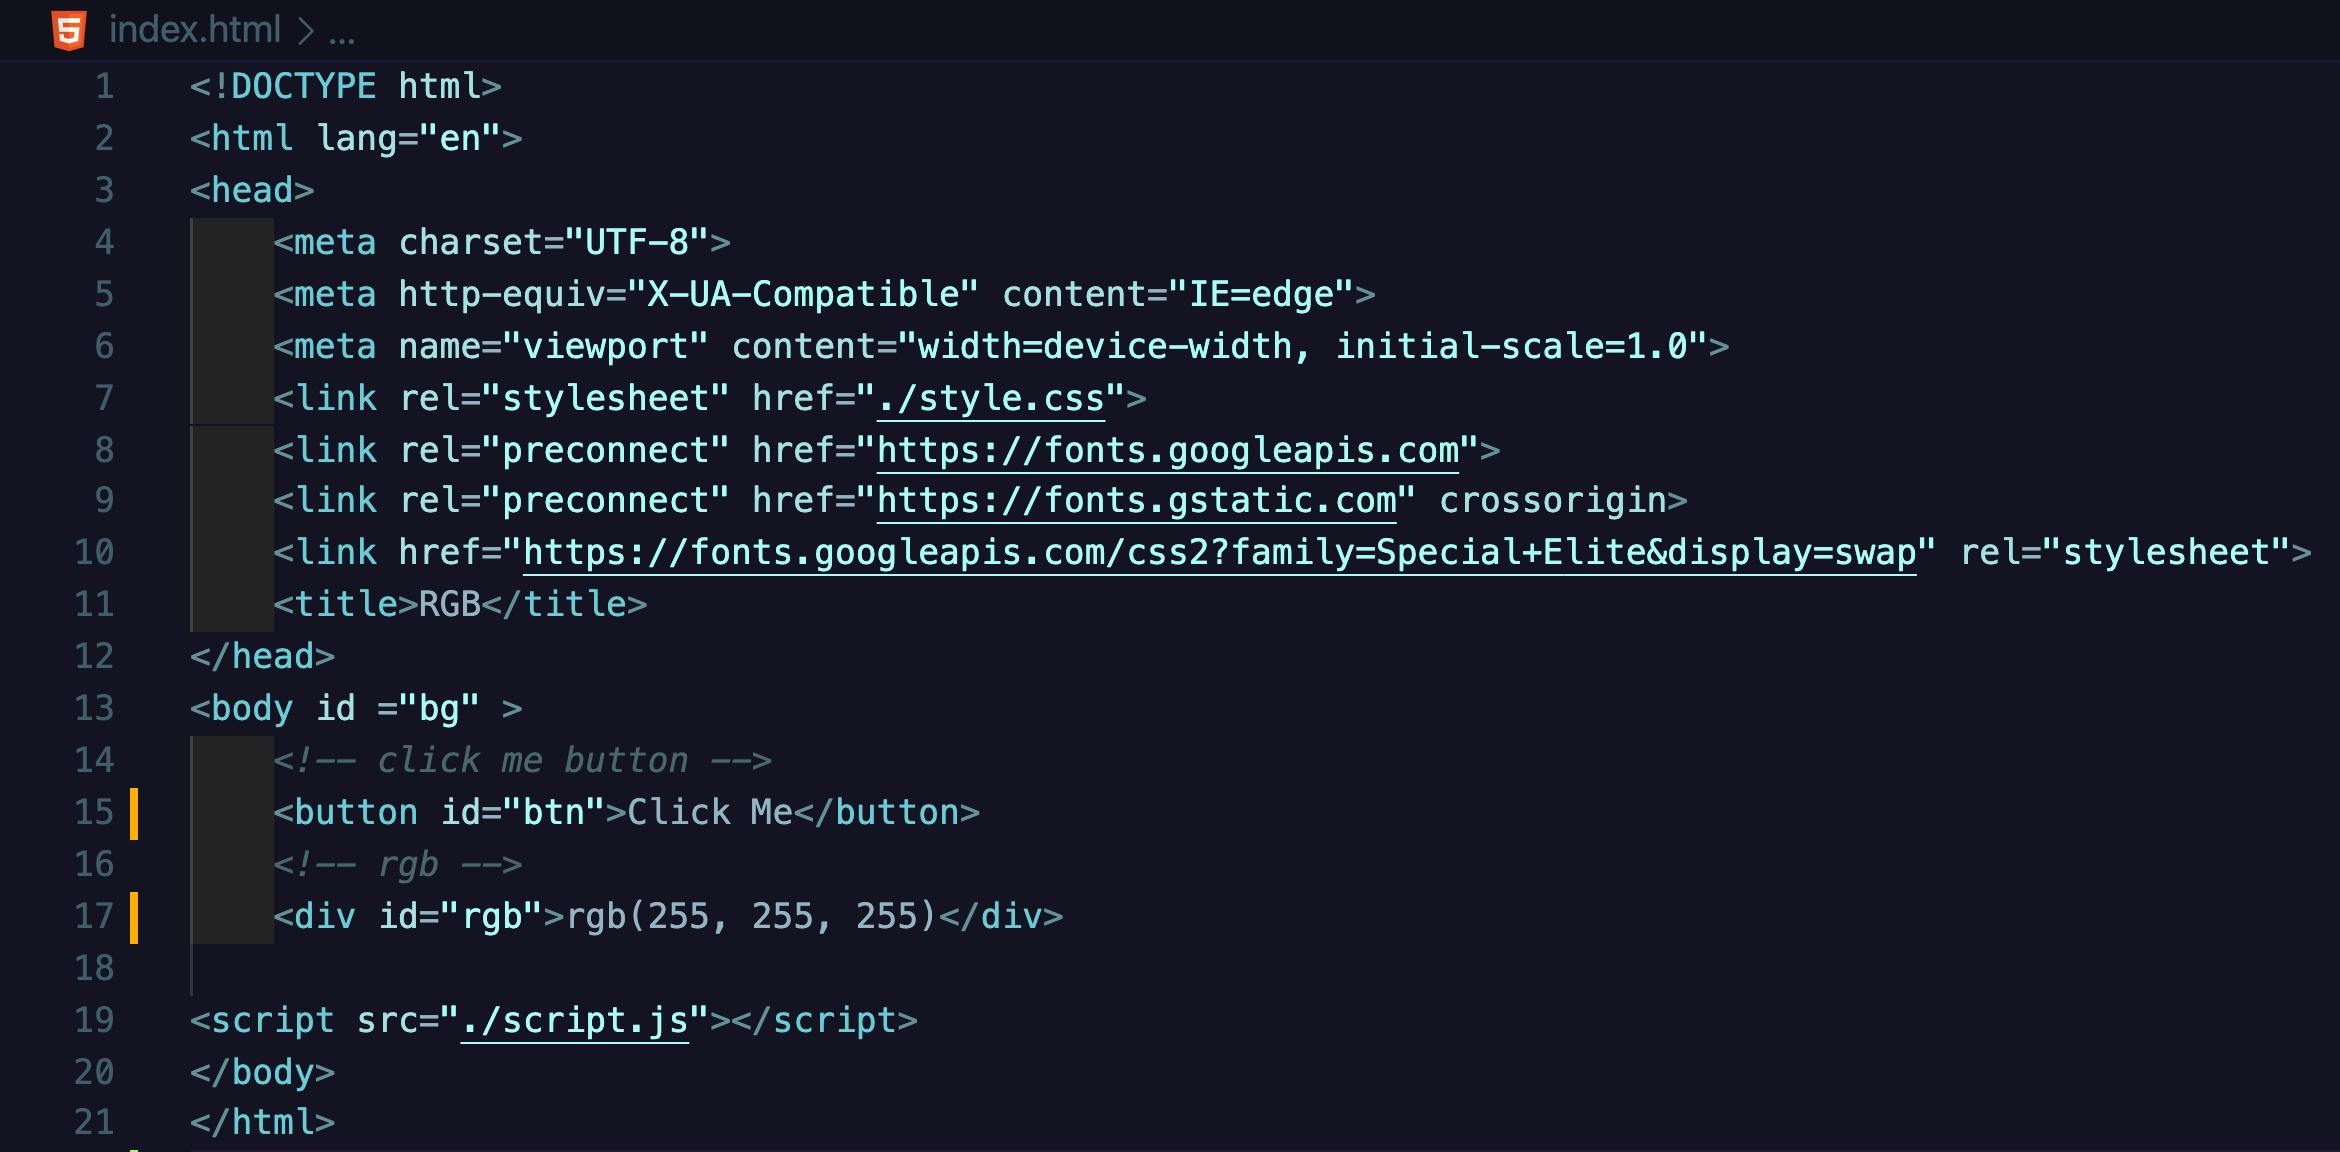
For our HTML code, we just need to do three things. First, add an id attribute to the body tag and name it bg for background. This will be the element we grab to change the background of our webpage.
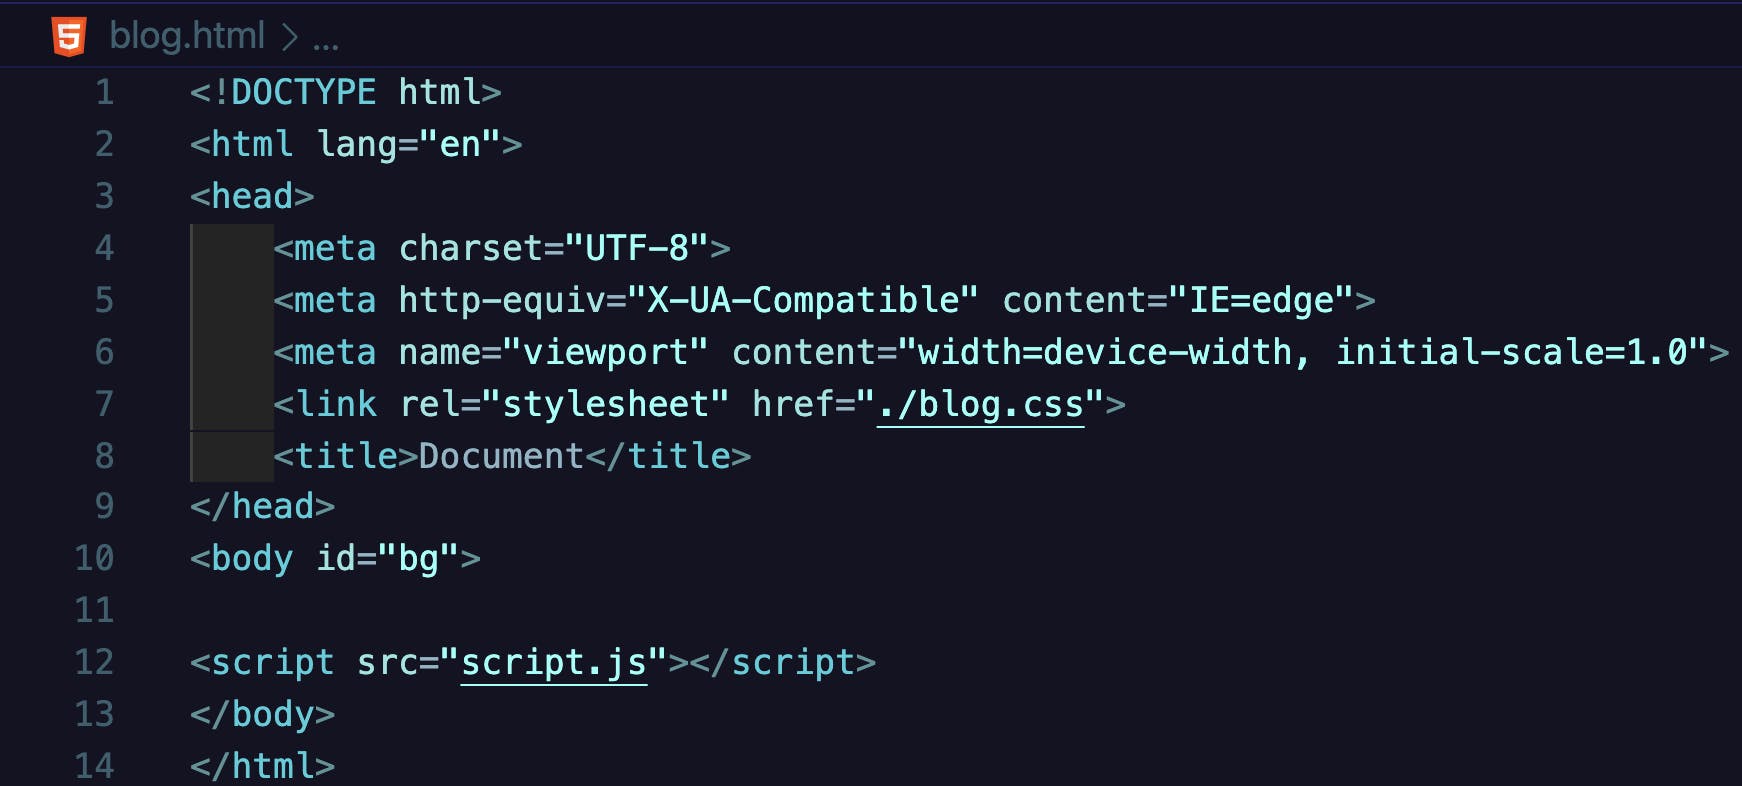
Next, we will add a button tag with the id attribute named btn. This is where we will add an event listener for our users to press and generate a random RGB value.
Lastly, we will create a div tag and give it an id named rgb. Within the div tag we will give it a default RGB value of rgb(255, 255, 255) because when the site is first loaded, the first value will be white.
Step 3: Logic
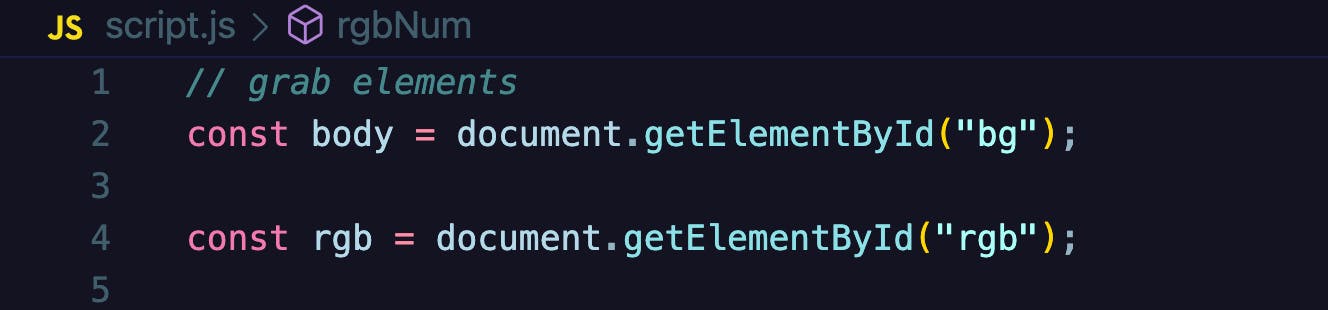
Now moving on to the good part. We will be coding our logic for the functionality of our generator. Starting with grabbing the HTML elements we want to manipulate dynamically. Using document.getElementById() we will select the two elements in our HTML file by their unique id's.
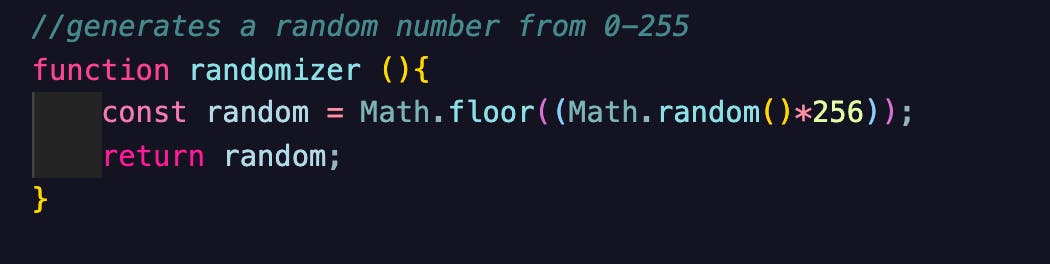
Now that we have our elements we want to change selected and assigned to a variable, we can easily change, remove and add their values and attributes with JavaScript syntax. Before we get to that part we need to set up a function that generates a random number between 0 and 255 since this is the minimum and maximum values for an RGB color using the Math.floor() method and Math.random() method.

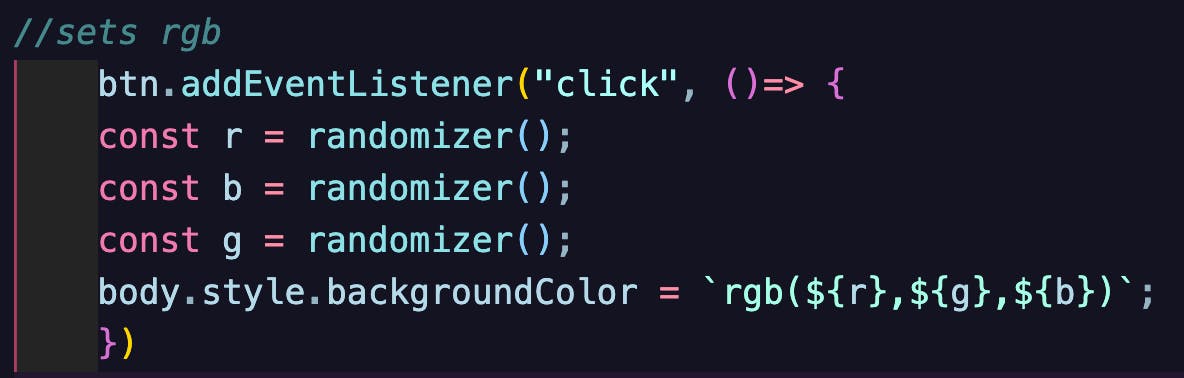
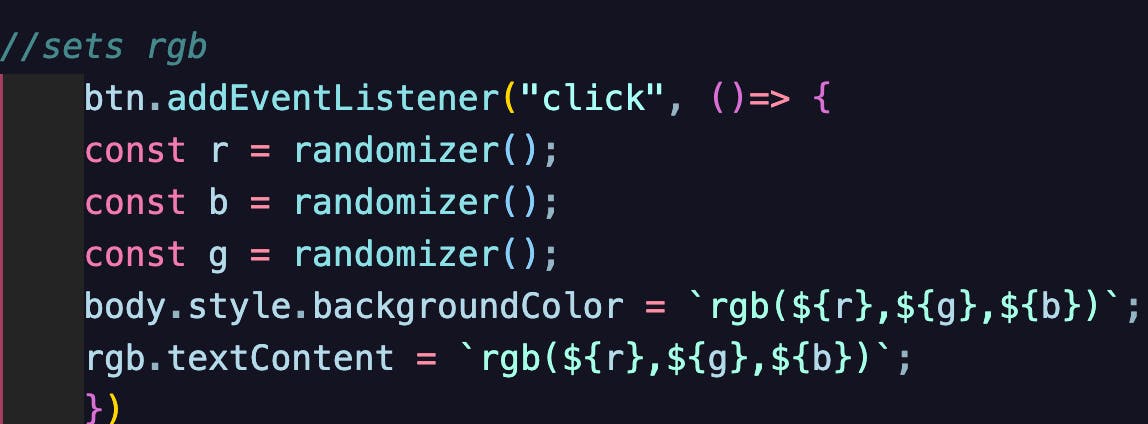
After you have your random number function, we will be setting up and on click event listener. There are a plethora of event handlers you can use to manipulate DOM elements based on a user's action. Within the event listener function we have three variables name r, g, and b, all three of these variables will have a random number value from our random number function.
Next we will need to set the body background color based on the three variable's values. To do this, we will be using common JavaScript syntax that are used to manipulate The DOM. We will begin by calling our body variable that was defined earlier in the global scope and give it a style attribute of background color and assign it to "`rgb(${r},${g},${b})`"
Afterwards, we will be using another common syntax for DOM manipulation. The textContent syntax when used with a variable that is assigned to a DOM element can change it's value dynamically. For example, in our project we would need to render the RGB value that was used to change our web page background color in the div we created earlier.
And voila, There you have it folks! A whole fun, responsive, and interactive website!
In Conclusion
DOM manipulation allows JavaScript to manipulate, structure, and style a website or web application dynamically. I hope this project helped you get a better understanding of The DOM works visually, and how powerful it can be.
To view the final project click here
Bonus Step: CSS Styling
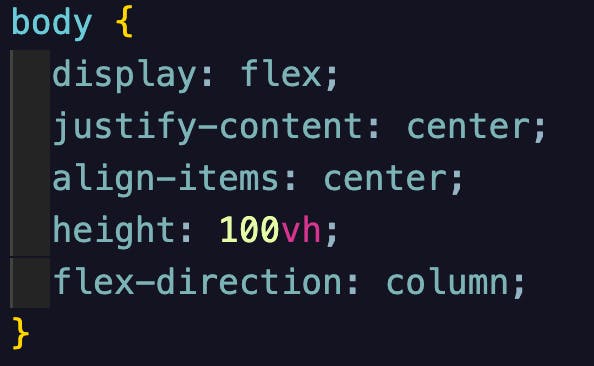
Moving on, we will be styling our HTML webpage. Starting with the body tag selector, we would want to center all elements within the body tag using the display flex property. In my opinion, this is the easiest way to center elements within a parent element. In addition to display flex property, there are three other properties we would need to set in order to center our elements:
- justify-content => will center an element horizontally.
- align-items => will center an element vertically.
- height => In order to use align-items, a height must be specified.
Using these four properties, it is easy to center elements within our webpage on both x and y axis. I have the height set to "100vh" that way the two elements are centered directly in the middle of the webpage.
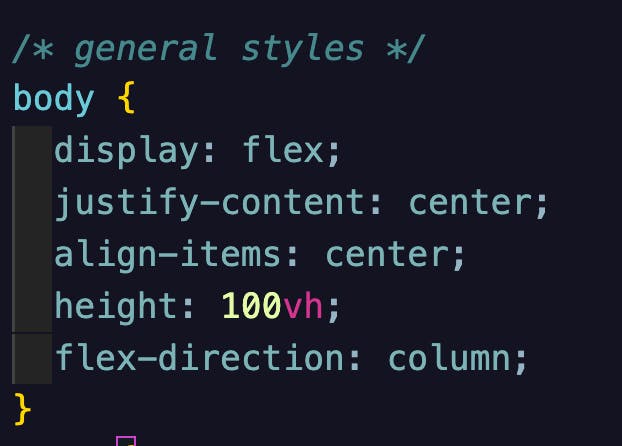
Now you would have noticed your elements are centered but side by side. This is easily corrected with our final property for the body selector. Use the "flex-direction" property with a value of "column" to change direction of your elements to columns.
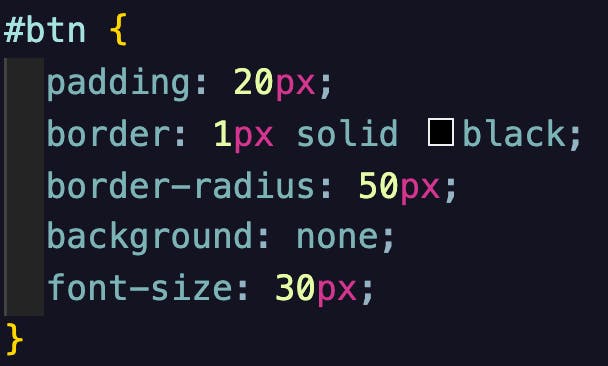
Next we will be using CSS' id selector in order to select the button html element. This element will be the most worked on in terms of CSS styles. We would want to start off with adding some padding of 20px all around to make the button a bit more bigger. Next we will be giving our button element a border of 1px solid black and another property of border-radius with a value of 50px to make the button round. We would want the background color of the button to match the background color of our webpage so we will need to add a background-color property and set it's value to none. To have our font math the size of our styled button we will use the font-size property and assign 30px as it's value.
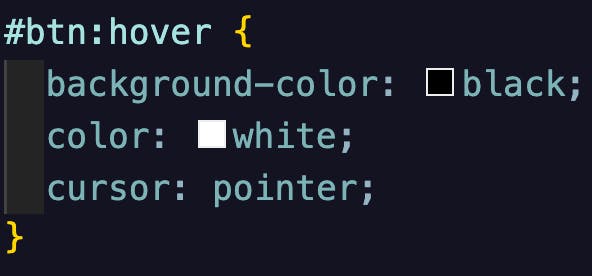
In addition to the styling of the button element we will need to add a pseudo selector in order to change the background color, font color, and the cursor to a pointer when hovering over this button element. This will emphasize and create a more engaging effect when a user decides to click the button.
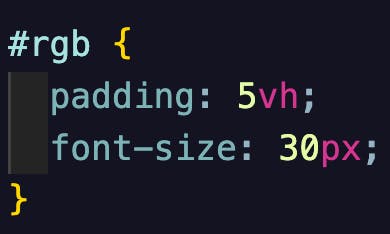
Finally, we will need to add some small styling to our div where the RGB value text that reflects the current background color, will be displayed.